Albatros D.III (Manfred von Richthofen) Revell 1:72 – Modeling
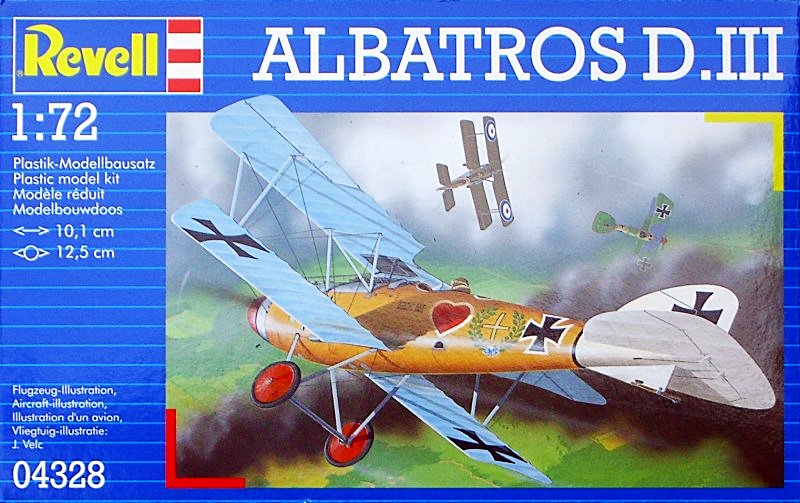
After making my first kit of an airplane of the First World War the Albatros D.III and see the result which I liked a lot as a result of price and quick and easy assembly decided to buy another kit of the same aircraft manufacturer and for Paint work Albatros D.III I use the famous ace of the First World War, Manfred von Richthofen and the first plane red paint. Although he did not have a good reputation this device as it had a problem of structure in their wings and I use very little.
El kit en cuestión:
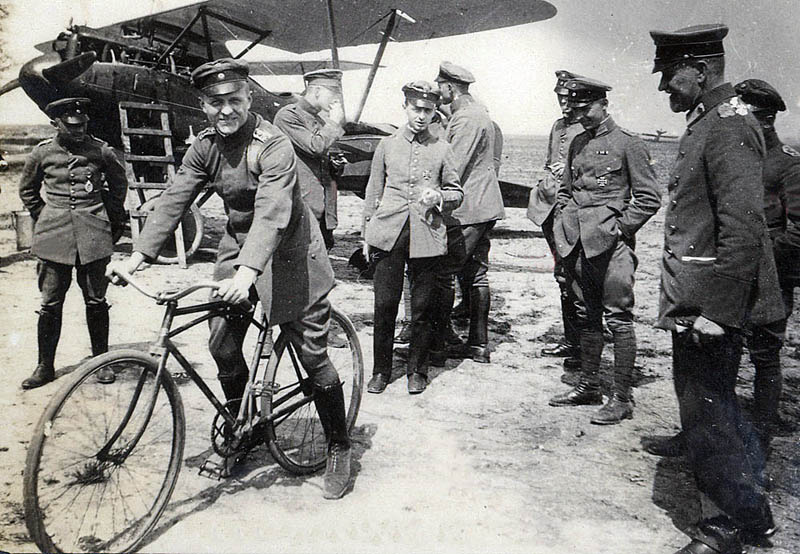
A little history about the Albatros D.III of Manfred Von Richthofen :
Los Albatros D.III entered service in the early months of 1917 and they soon make an appearance on the battlefield. British crews D.III is commonly referred to as "V-bursting" (the media in V). Two flaws were quickly identified in the new fighter. The first D.III carrying a radiator Teeves & Braun in the center of the upper flange, which he tended to cause burns to the pilots if it was hit by enemy bullets. From the 290th unit built, the radiator was placed to the right side.
The new aircraft immediately began experiencing more serious flaws in the bottom flange. El 24 January 1917, Manfred von Richthofen he suffered a fracture of the lower wing of his new D.III. While he landing without injury, Richthofen quickly changed the previous Albatros D.II during the next five weeks. The D.III was temporarily forced to stay ashore in March 1917, forcing members to use the old Jasta D.II Albatros and Halberstadt D.II during the interim. The D.III returned to service with modifications to the wing in April, but they failed to resolve the structural problem of the lower wing. In that moment, the continued wing failures were attributed to poor skills of workers and the use of poor materials from the factory in Johannisthal.
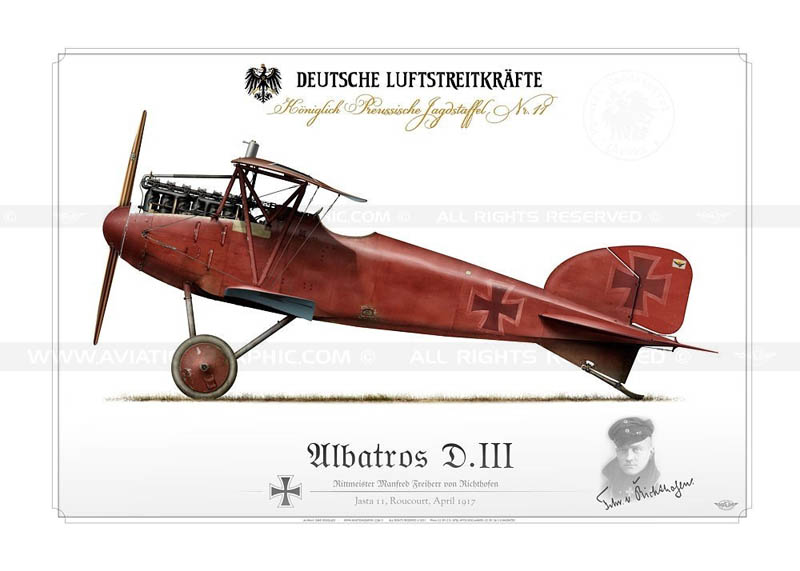
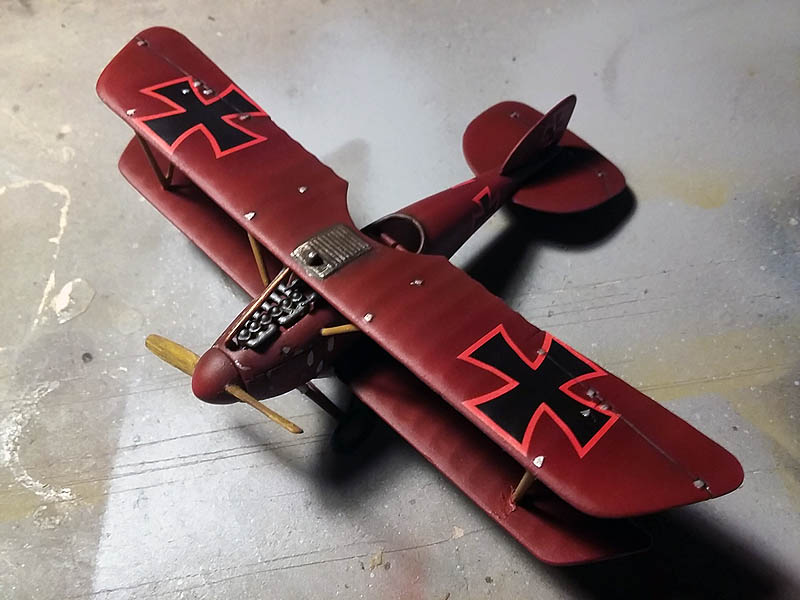
Albatros This model would be the first plane Mandfred red paint Von Richthofen nicknamed by his enemies "Little Red".
Installation and coloring:
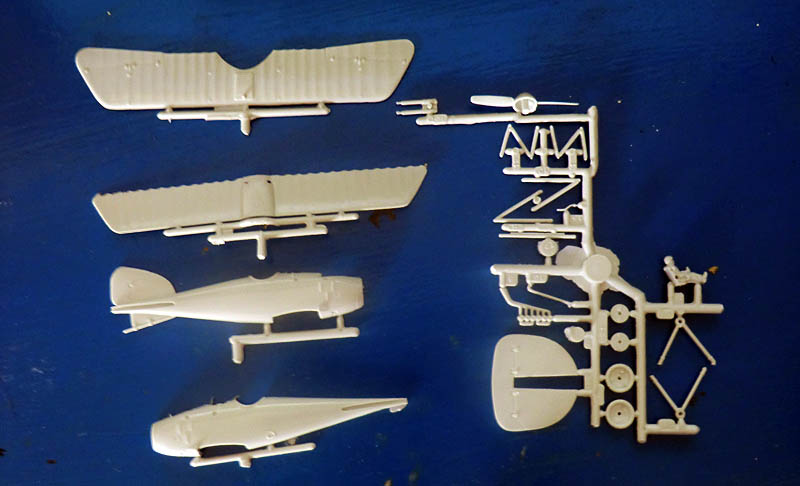
Revell kit is quite easy to install and takes very few pieces pilot takes his cockpit while absent. You have to do some sanding work because the pieces come with some burrs and although his taxed is negative is rather poor.
Staples:
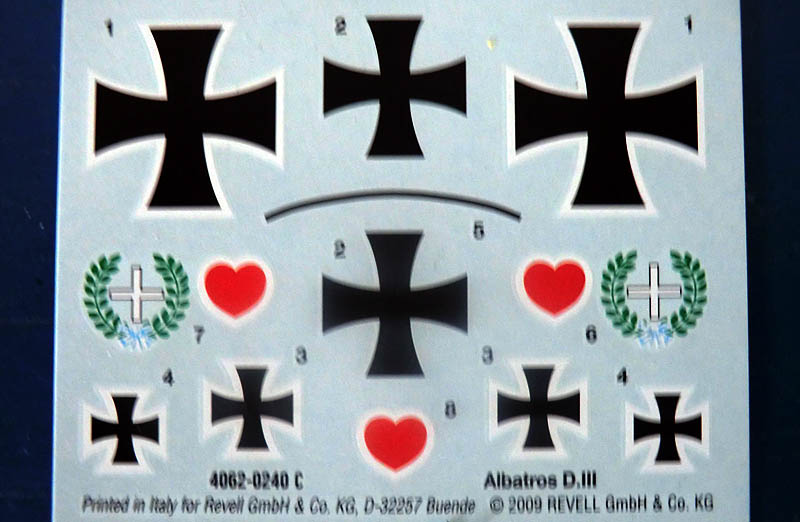
 The decals:
From cuale only going to use the crosses Teutonic.
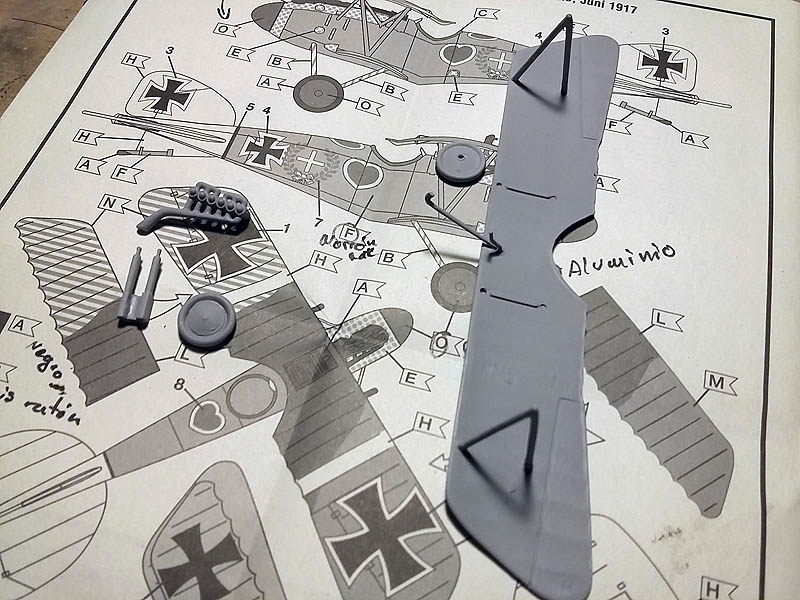
 I start with the assembly, the only highlight as I said with the Albatros del as Werner Voss, It is the union of the sticks to the upper wings which each lower fuselage and wings and not the upper wings to paint more easily. To stay on the right angle hit the bottoms and upper left them without glue and gender although one pressure on them not to move and stay in their correct angle.
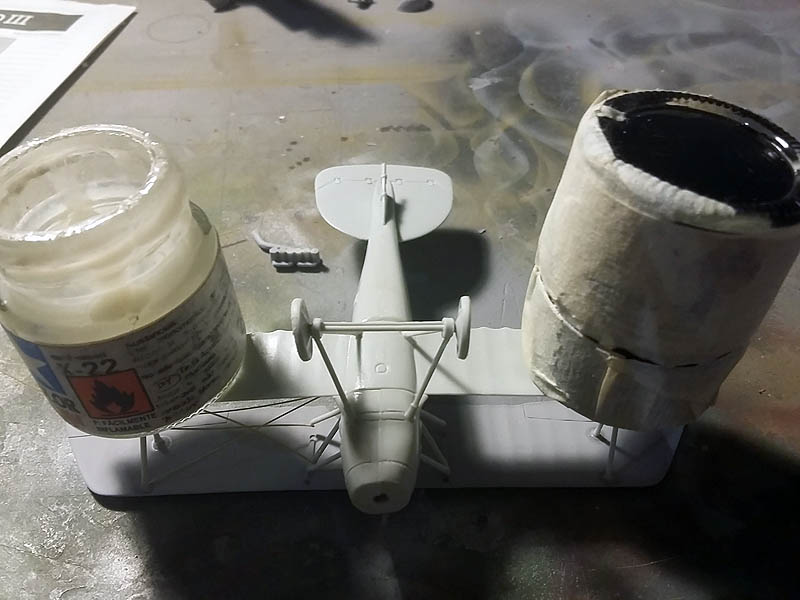
 The next step once interested parts glued and sanded the entire model is the gray primer paint job preparation.
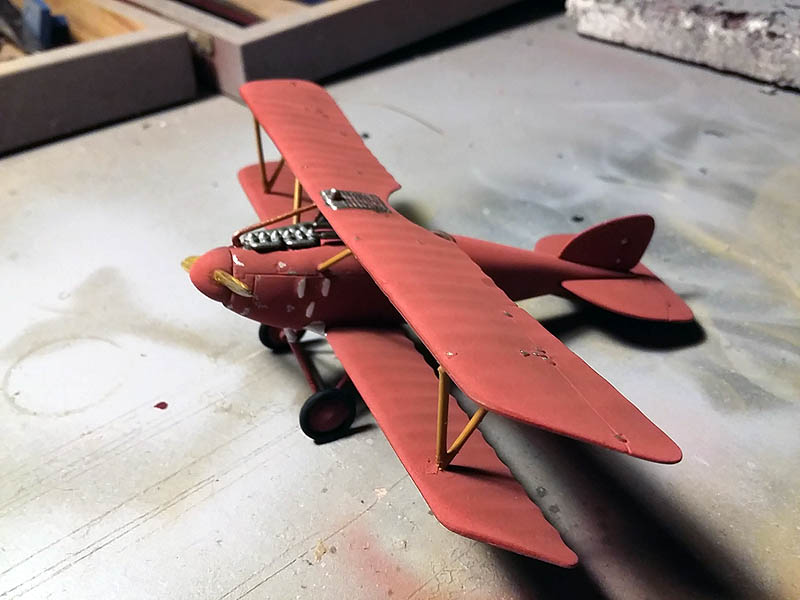
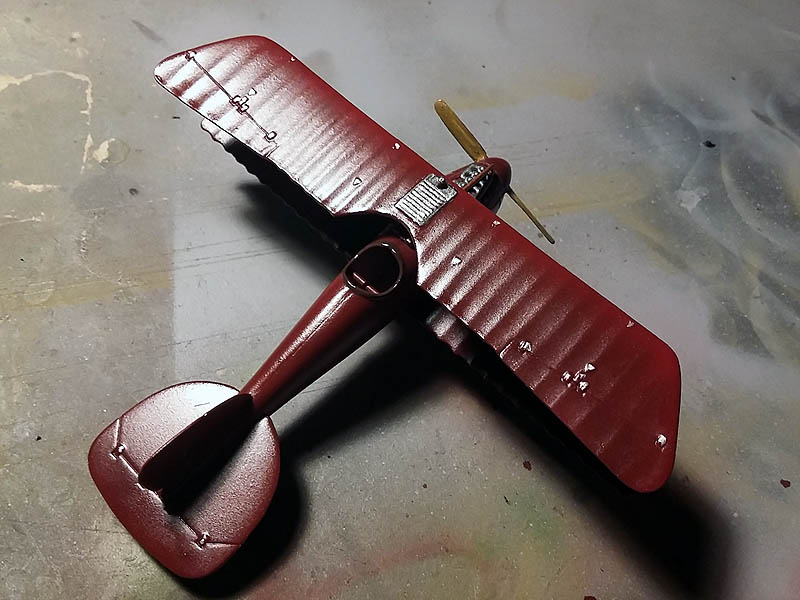
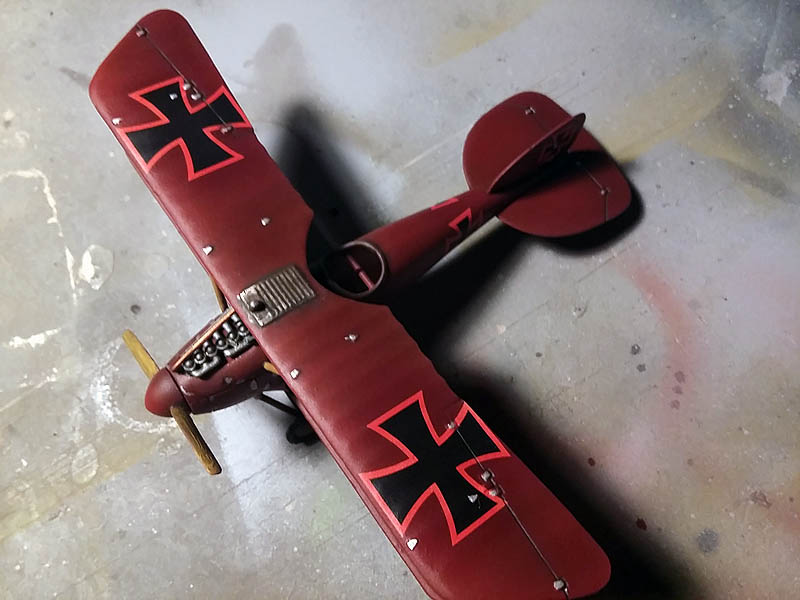
 Once all your dry step primer base colors, red (XF-7 Rojo mate Tamiya) to the tops of the wings and fuselage and light blue (XF-23 Azul claro mate Tamiya) to the lower parts of the wings.
For red basis I make a mixture and obscure in proportion 10 a 1, so when you need to create lights manufacturer has used the tone is already a very bright red, for blue I leave as is.
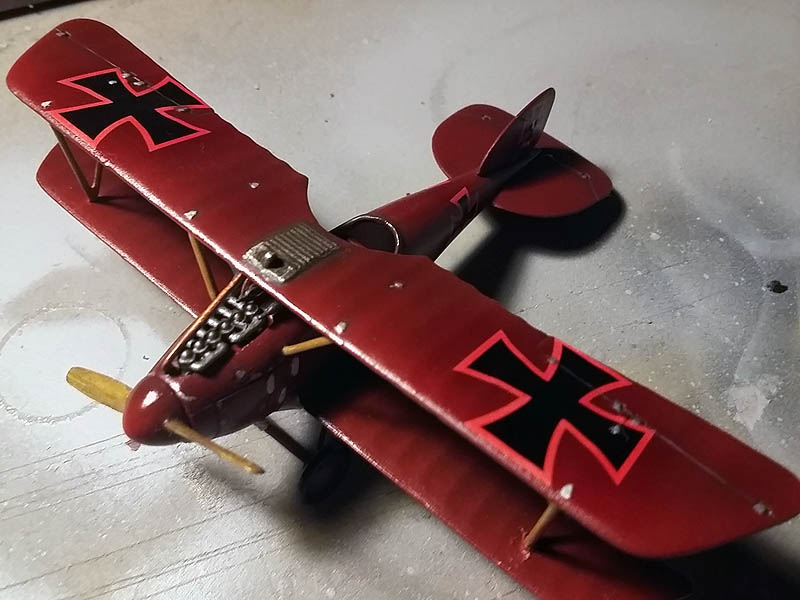
With silver metallic Humbrol (With Humbrol 191), paint the radiator and some details like spoilers anchors, undercarriage anchors and some descorches in painting engine iron etc..
 I also paint protector cockpit brown (XF-10 Marrón mate Tamiya).
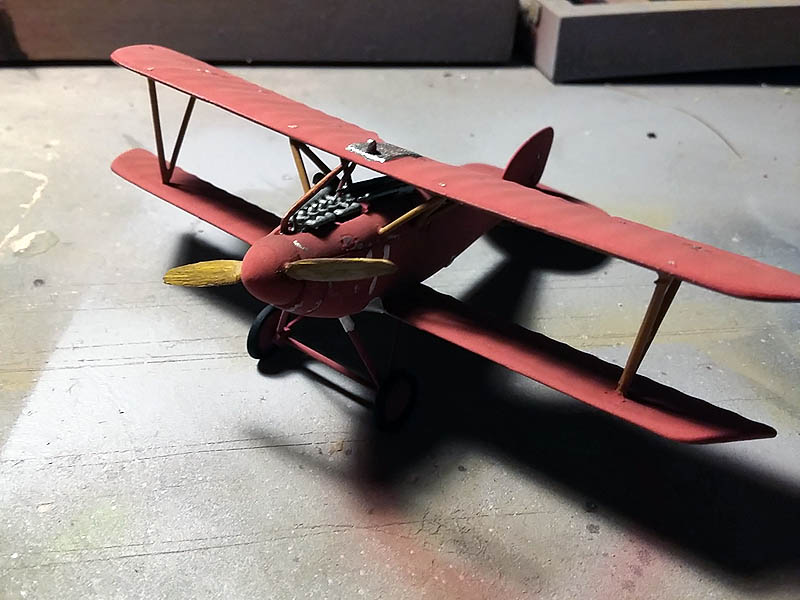
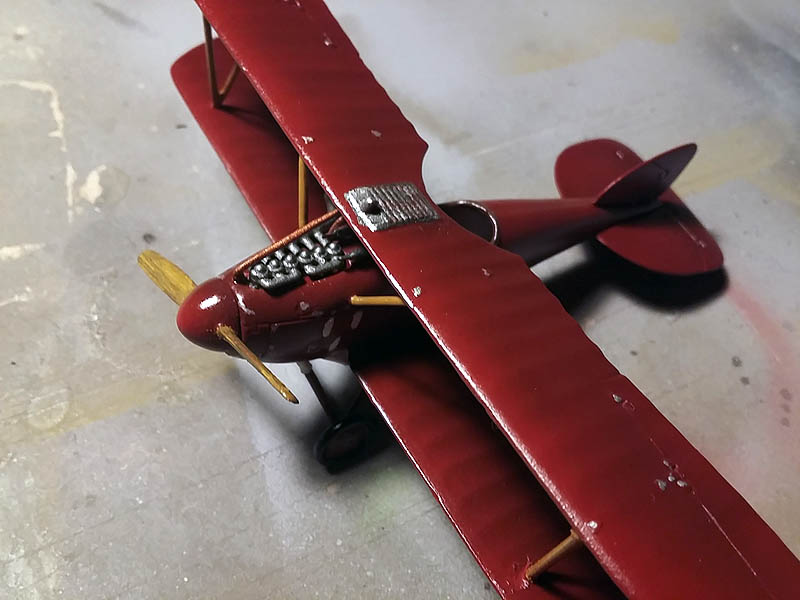
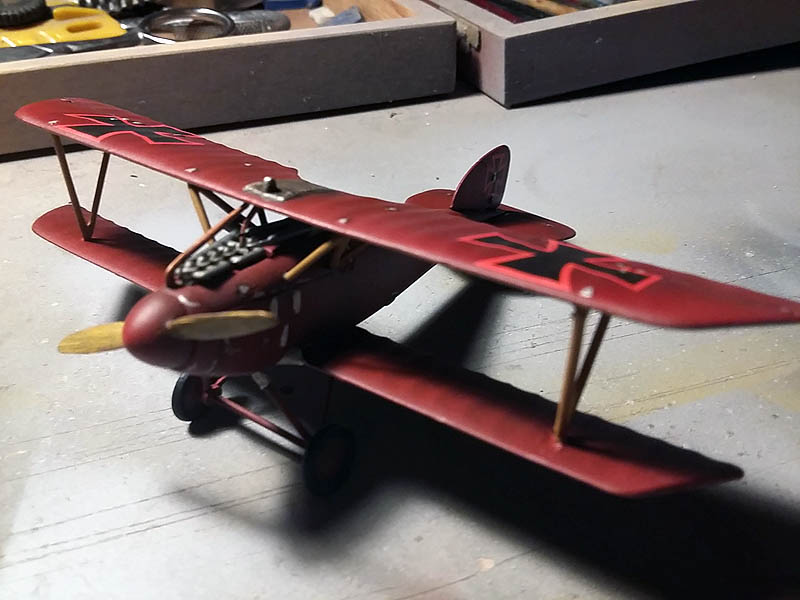
 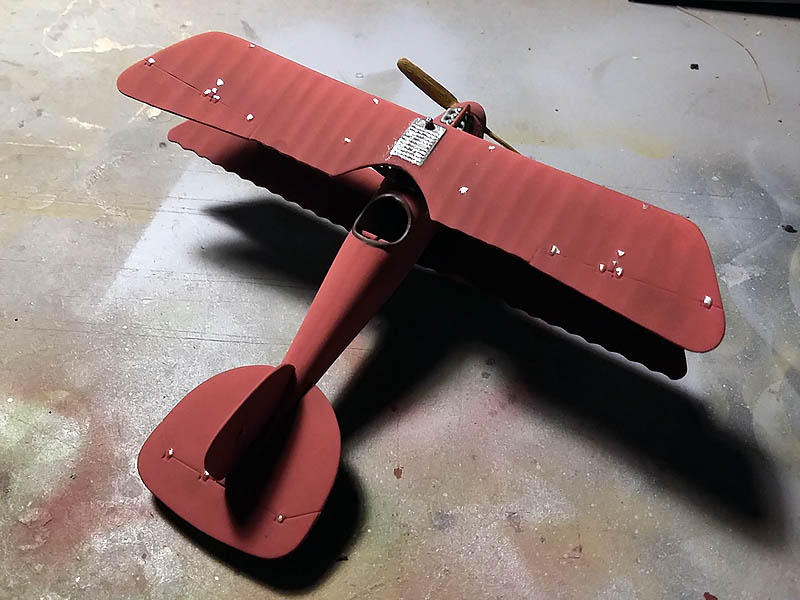 El Wood effect propeller I think with Oleos, siena + dark brown, to base the Siena I apply with a small brush and I will apply the brown gradually, if I go back to apply step Siena until I reach the desired look, Eye layer should be fine!
The tubes leading to the engine radiator with the copper-colored paint (X-6 Cobre Tamiya) and engine metal (XF-56 Gris metal Tamiya).
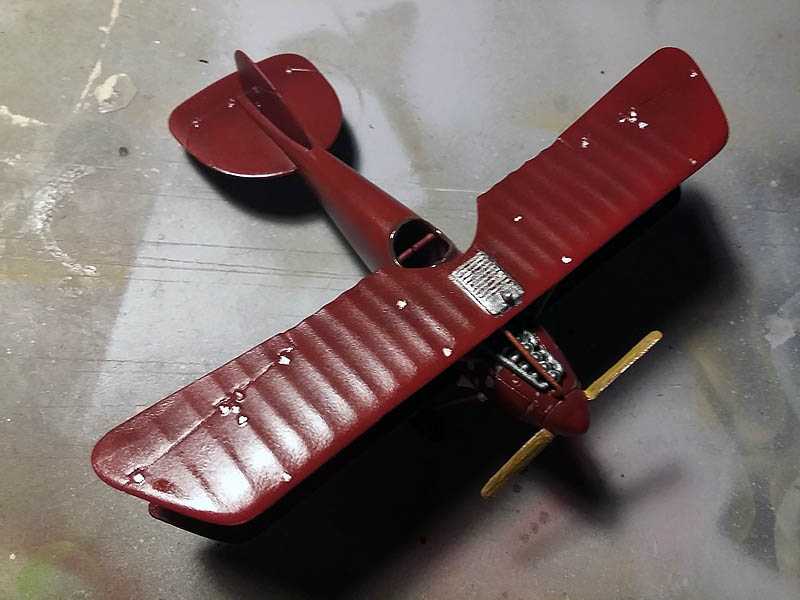
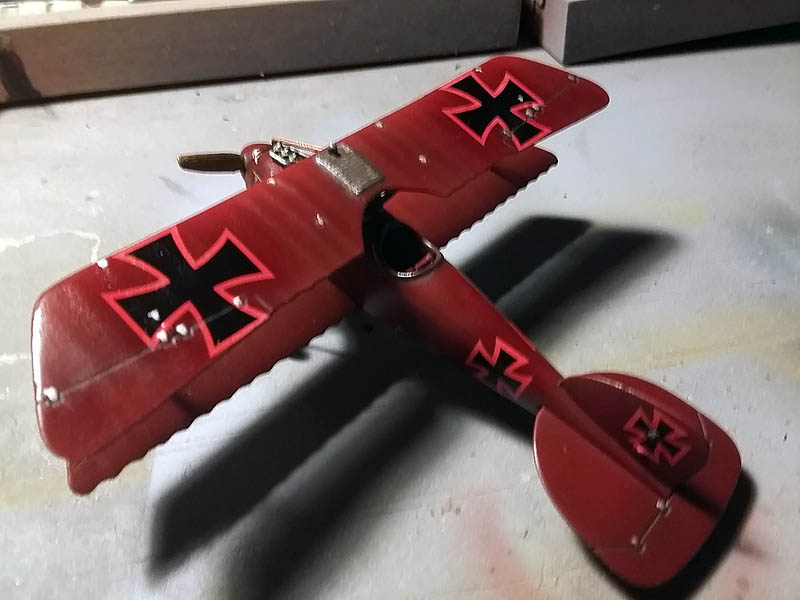
Also apply the red lights on the front end of the wings and their bumps and central parts of the wings and tail and fuselage upper tip of the propeller. Although now is not noticeable once unify the color with varnish see how the light and dark areas appear more pronounced.
 Pinto low wings with matte light blue (XF-23 Azul claro mate Tamiya).
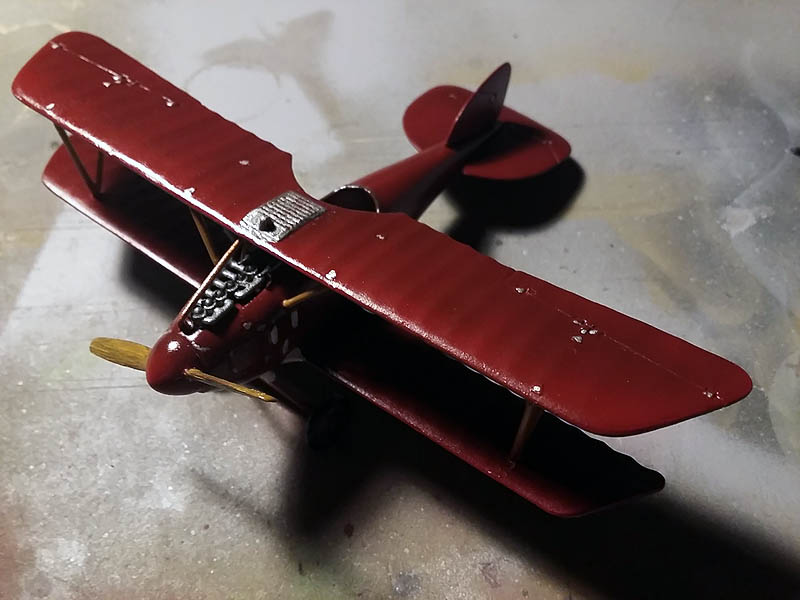
 Once finished the painting process, protect with glossy varnish (Glossy varnish X-22 Tamiya) the whole model.
 Let it dry a few days ...
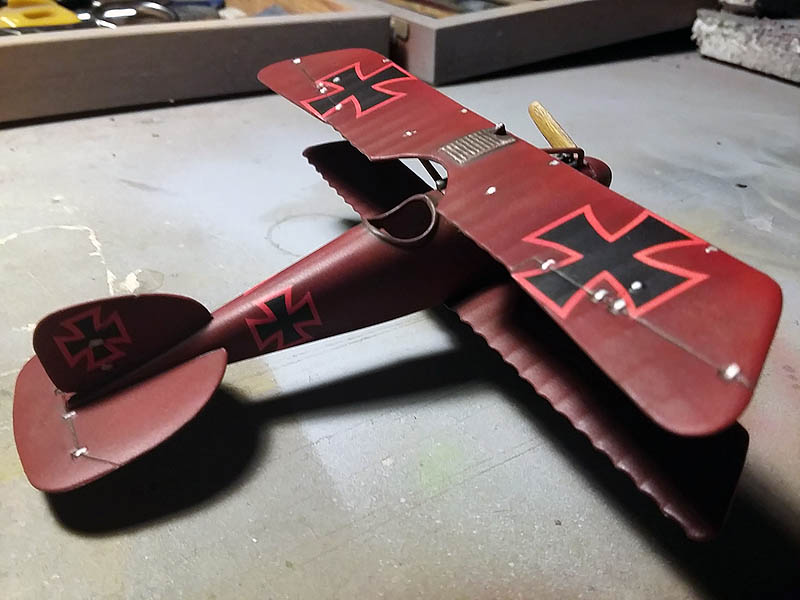
Once dry we posed applying decals, always helped liquids for the task, tweezers and patience.
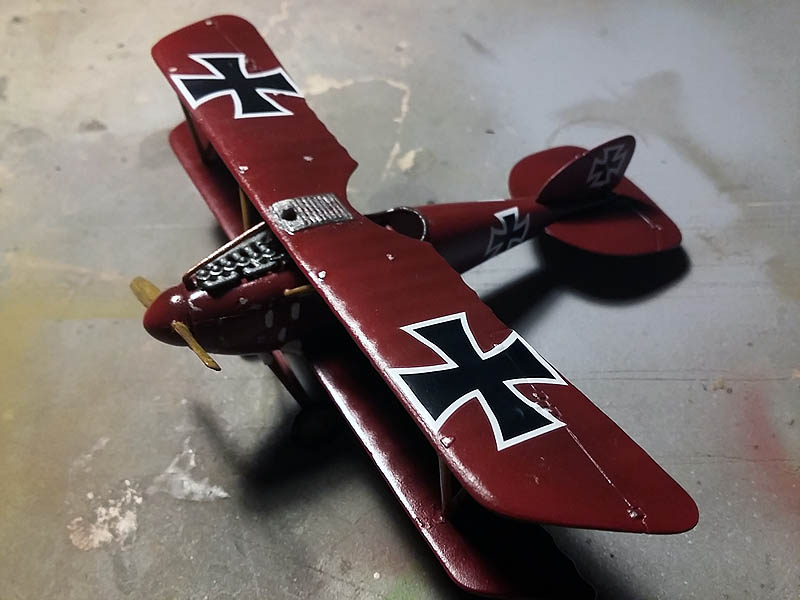
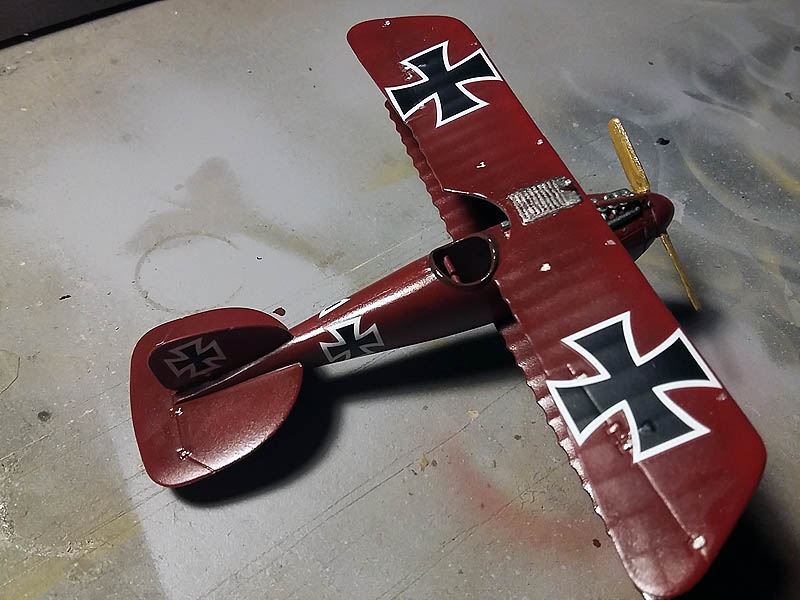
 Apparently and seen the color scheme of the plane Richthofen, Previous camouflage paint on the red so the crosses but also included a small transparency, to mimic this using a translucent Tamiya paint which does not hide the drawing but color stained surface, in this case the color is red translucent or transparent (X-27 Clear Red Tamiya).
 Once dry all previous paint job step paneling as I always say to scales 1:72 and airplanes always opted for me dark brown oil before black but everything to suit the modeler. This oil dilute it with turpentine, aguarrás O "White Spirits", to better flow in all slots and recesses.
 We left a few hours and remove the excess with a piece of cloth soaked if dry oil or with a cotton swab, You can also use a fine brush.
 Apply a coat of matte varnish Vallejo (Ref. 70.520 Matt varnish Vallejo) to protect all the previous work, panelado etc.
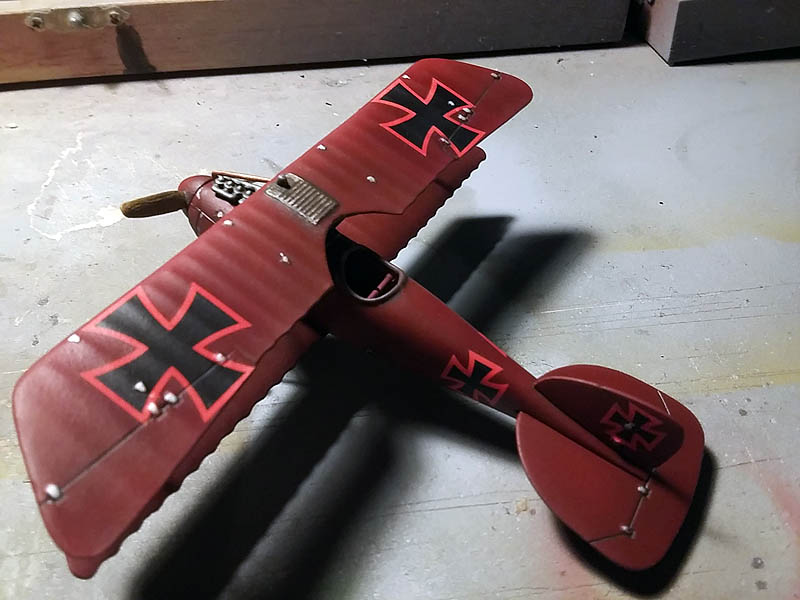
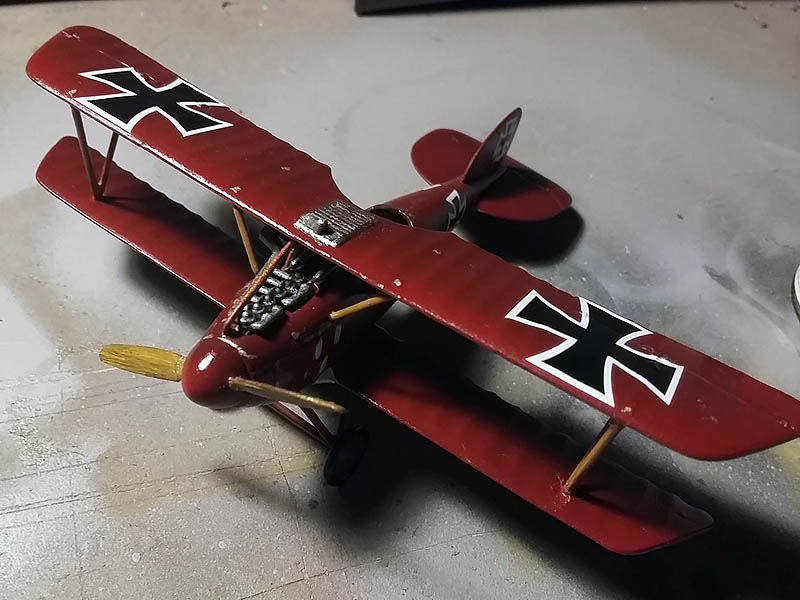
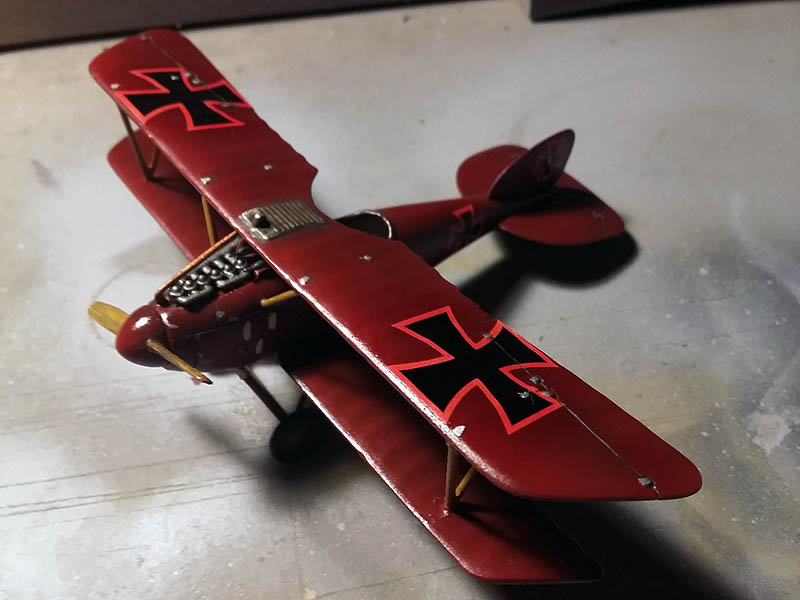
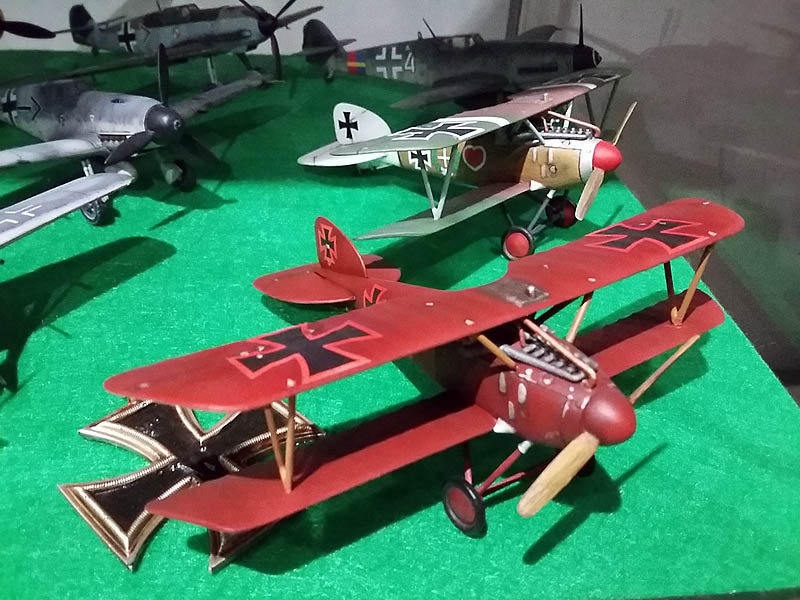
 The end result to a 90% of finish, we just need to add the guy wires of the wings, landing gear and the pilot.
TO BE CONTINUED ...
Autor Armand C.M.