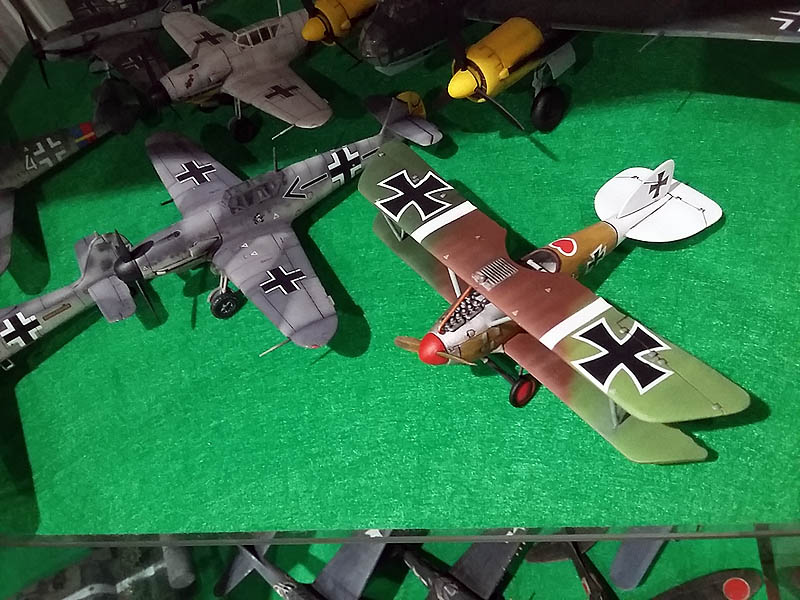
Albatros D.III (Werner Voss) Revell 1:72 – Modeling
This summer (2015) I was lucky enough to speak of a way to find a library in which to showcase their front found a book entitled "Manfred von Ricthofen, the Red Baron"I call some attention and thought about changing a little time and war, so go and buy it and I say lucky because the book is great reading and following my interest in the aircraft World Guerrra, such as the Fokker Dr.I, The Nieuport 28 C1, Sopwith Camel F1 and I will publish on this post on Albatros D.III used by some German aces of the First World War as the protagonist of the book The Red Baron. I looking for toy stores and found this modalism kit de Revell a scale 1:72 of Albatros D.III It is an old mold to a € 5 fantastic place to start with airplanes of the Great War as it had never ridden one.
El kit en cuestión:
A little history about the Albatros D.III :
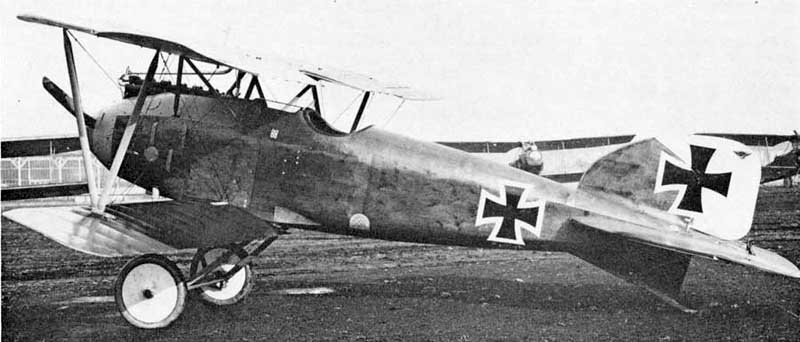
El Albatros D.III was a German biplane fighter manufactured by the firm Albatros Flugzeugwerke and used during World War I by the German Air Service Imperial Army (Air Force) and the Austro-Hungarian Air Service (Luftfahrtruppen).
Work on the prototype D.III started in late July and early August 1916. The date of the initial flight is unknown, but it is believed to be in late August or early September of that year. Following the path of success and models Albatros DI Albatros D.II, the D.III used the same type of fuselage plywood. Sin embargo, at the request of the Idflieg (Inspection of the air force), in D.II wing configuration it was changed in sesquiplane type (i.e., not two whole wings, but a normal wing and other "media" wing), similar al Nieuport 11 French. After the Type examination (Official flight test) el 26 de septiembre de 1916, Albatros Flugzeugwerke firm received an order from 400 model units D.III.
The D.III was flown by many top German aces, including the legendary Manfred von Richthofen, Ernst Udet, Erich Loewenhardt, Kurt Wolff y Karl Emil Schaeffer. It was the prominent fighter during the German air superiority known as Bloody April (1917).
Installation and coloring:
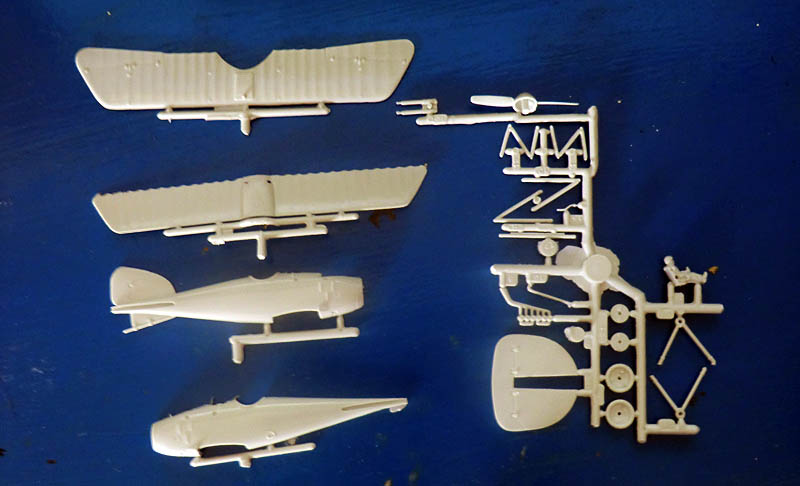
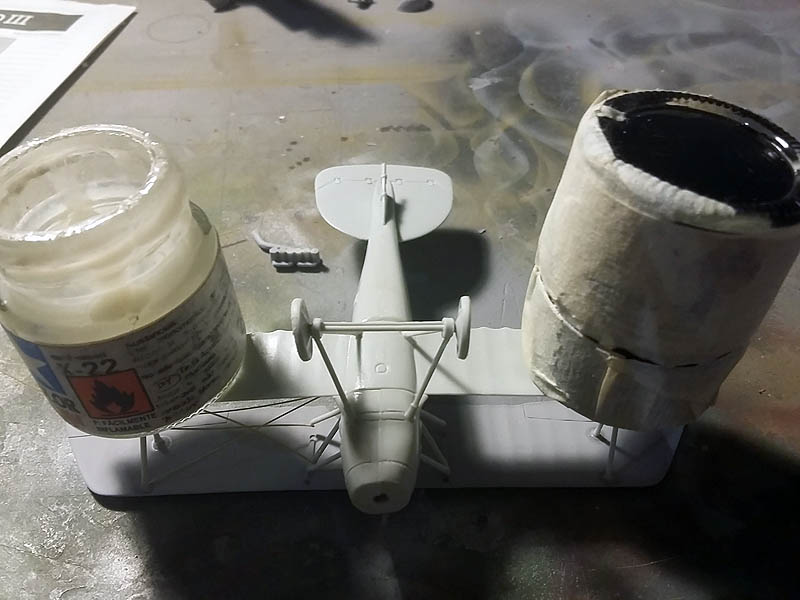
Revell kit is quite easy to install and takes very few pieces pilot takes his cockpit while absent. You have to do some sanding work because the pieces come with some burrs and although his taxed is negative is rather poor.
Staples:
 The decals:
 Instructions:
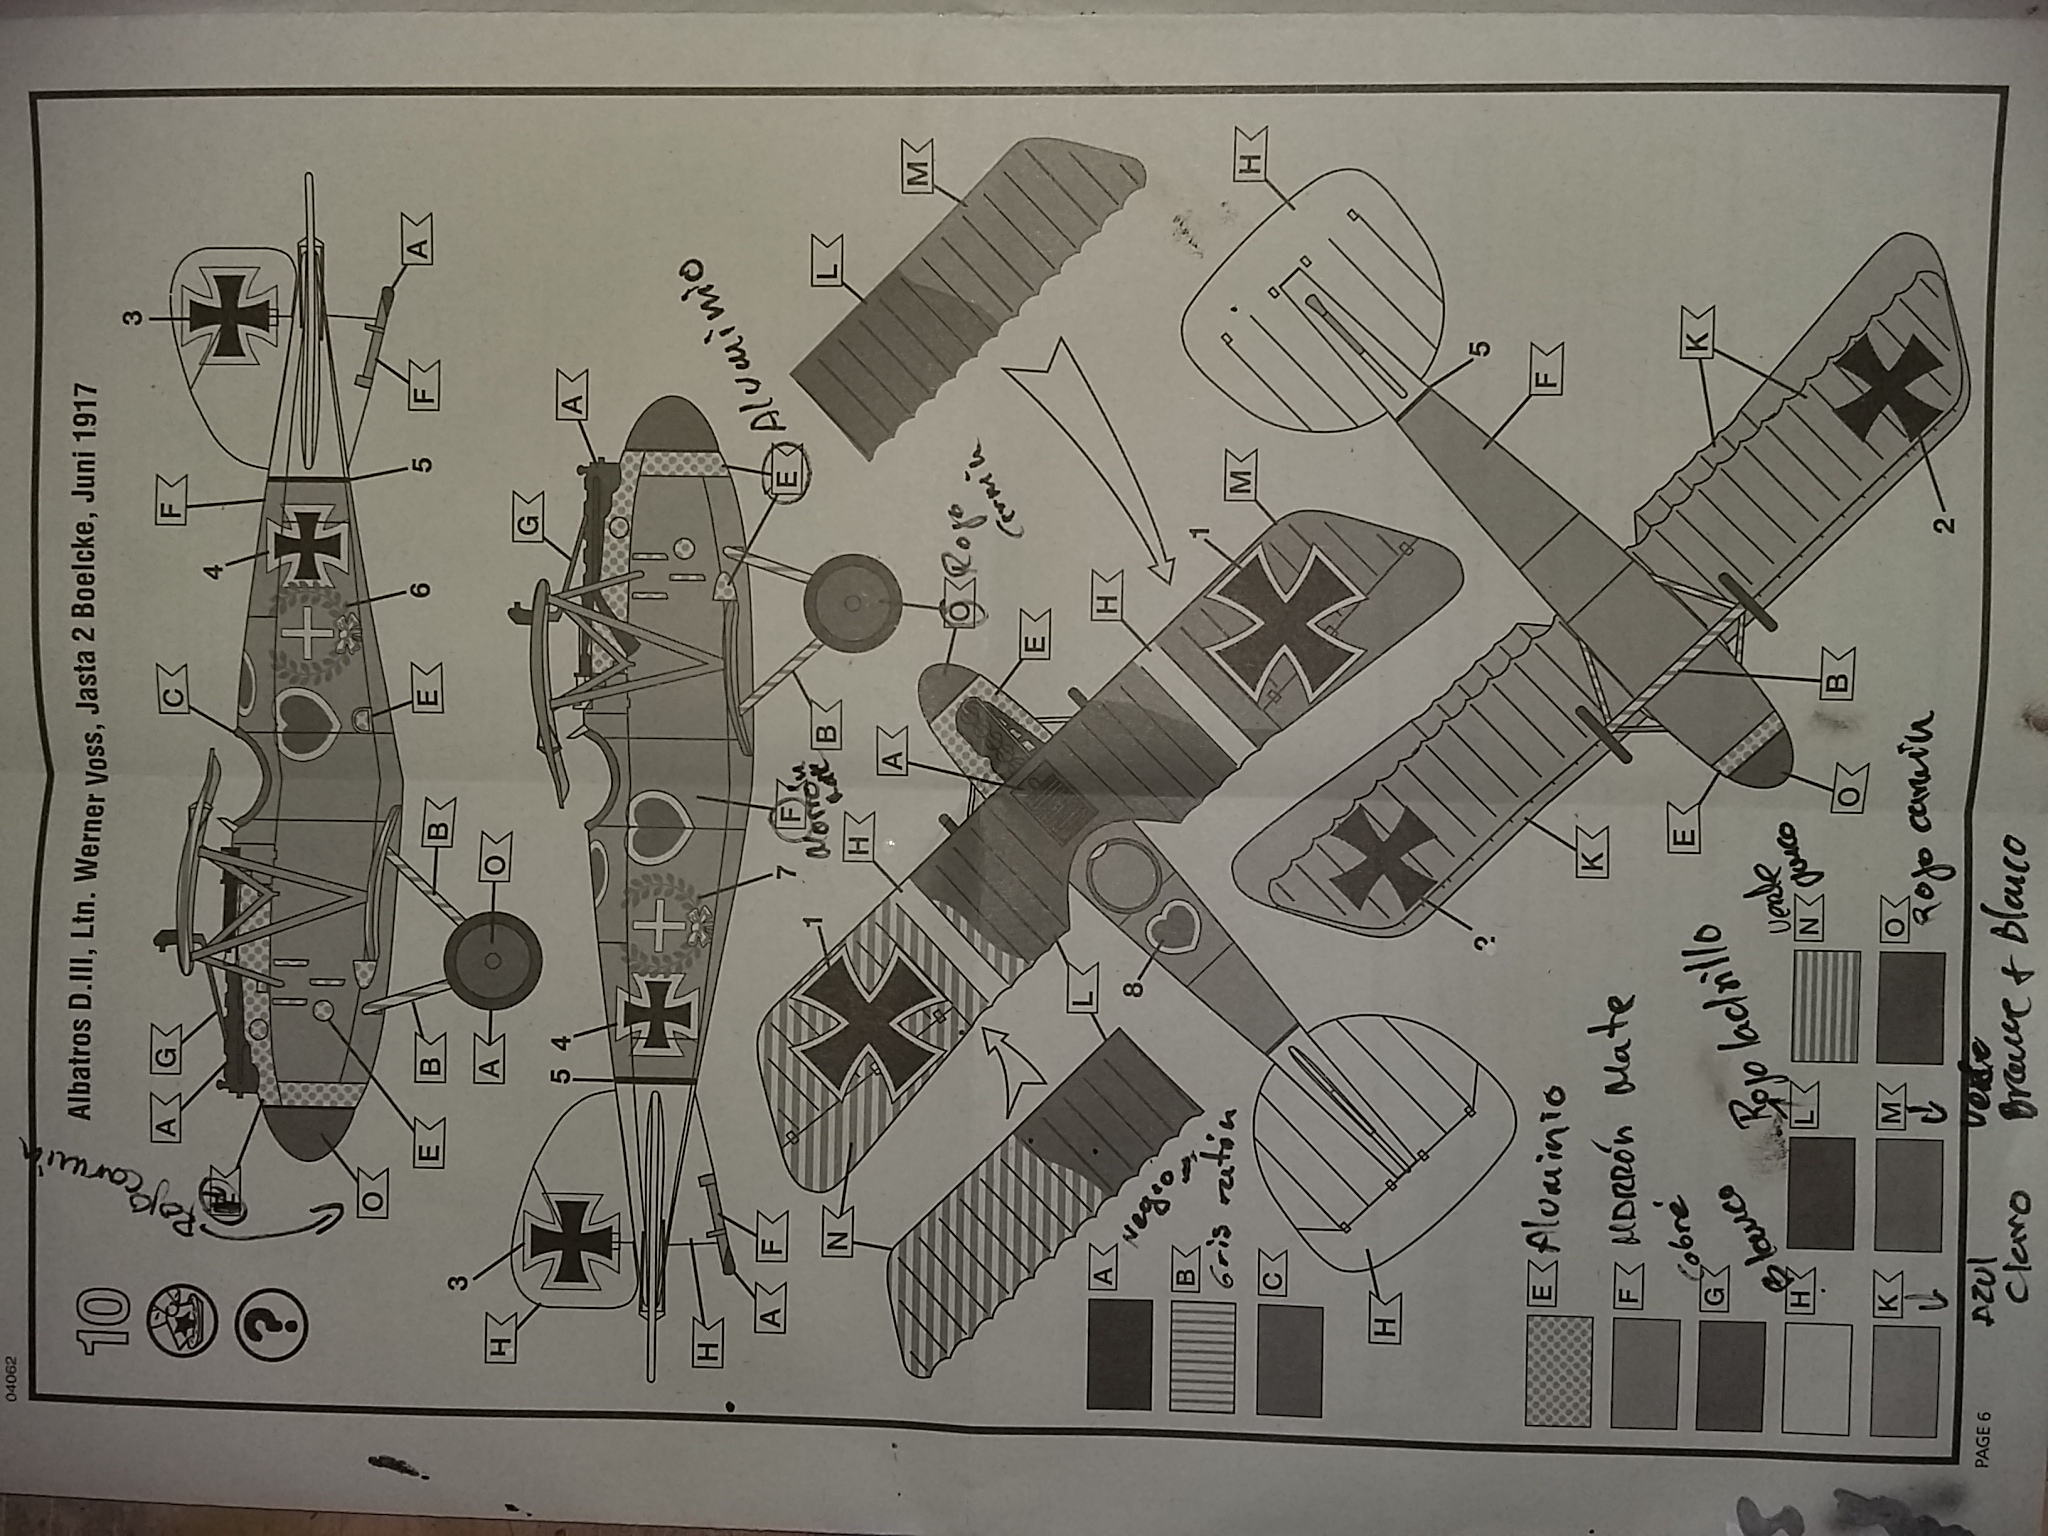
I start with the assembly, the only thing to note is the union of the sticks to the upper wings which each lower fuselage and wings and not the upper wings to paint more easily. To stay on the right angle hit the bottoms and upper left them without glue and gender although one pressure on them not to move and stay in their correct angle.
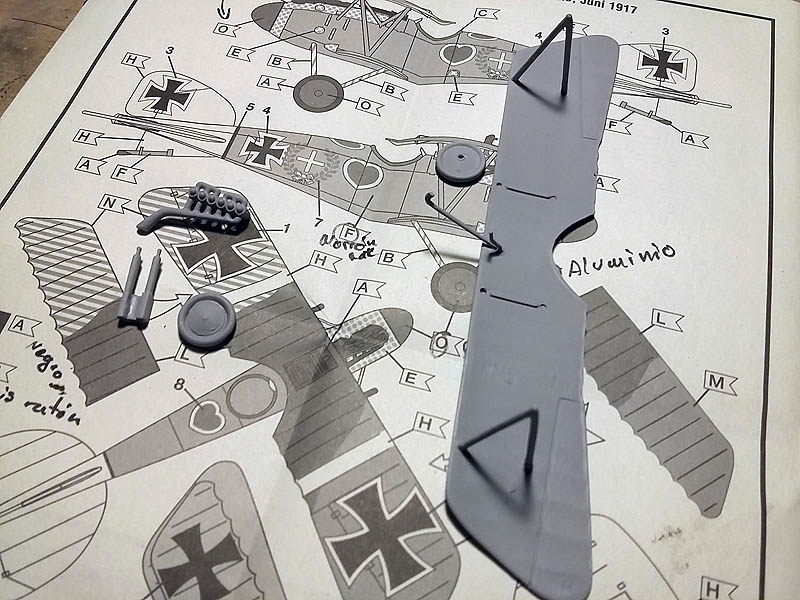
 The next step once interested parts glued and sanded the entire model is the gray primer paint job preparation.
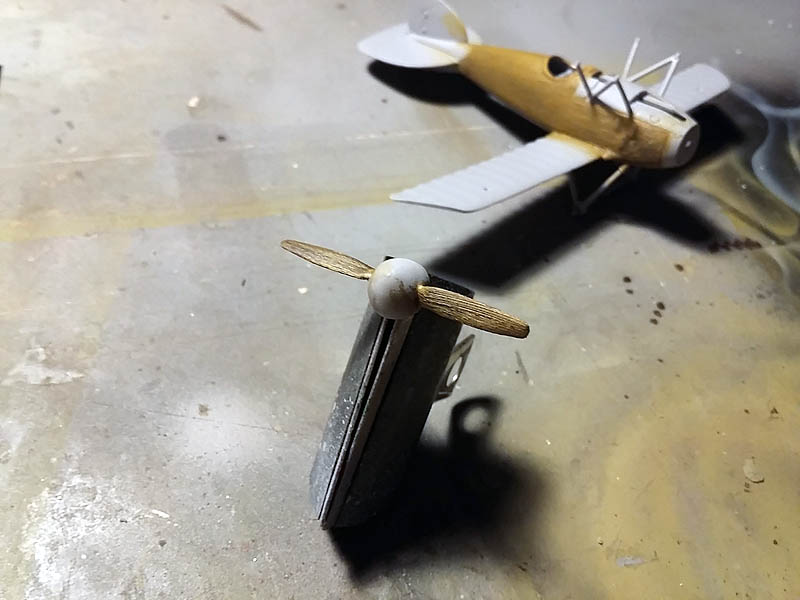
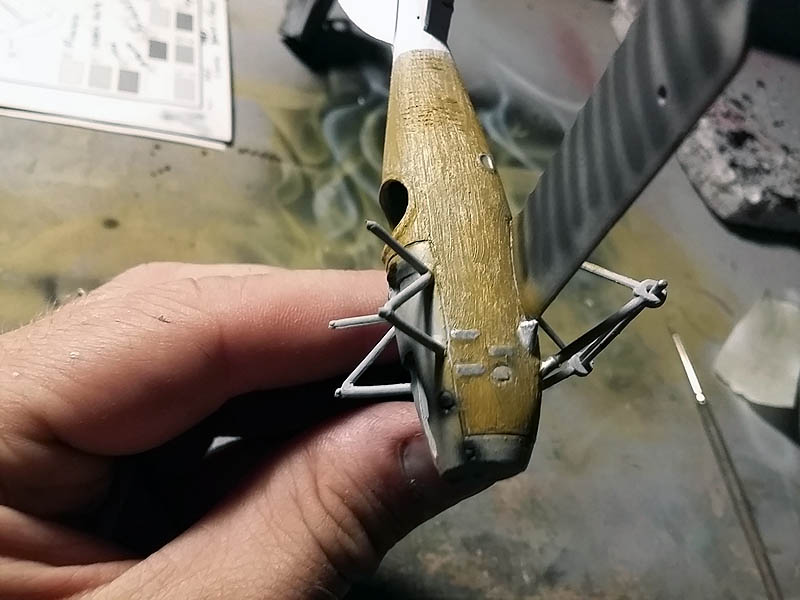
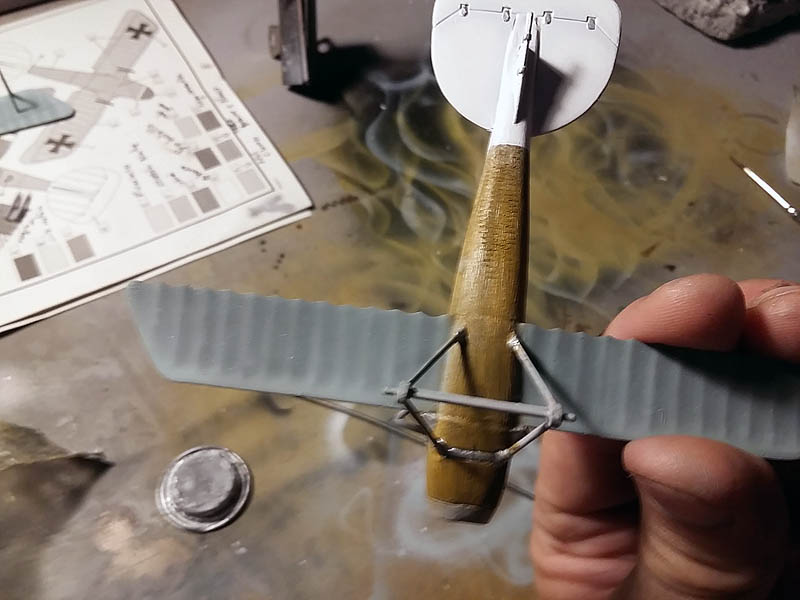
 As this plane has almost everything fuselage wood I am going to imitate con Oleos, the colors used are brown and sienna dark, the first layer to add is the sienna, I apply it with a small brush and covering the entire space of the fuselage.
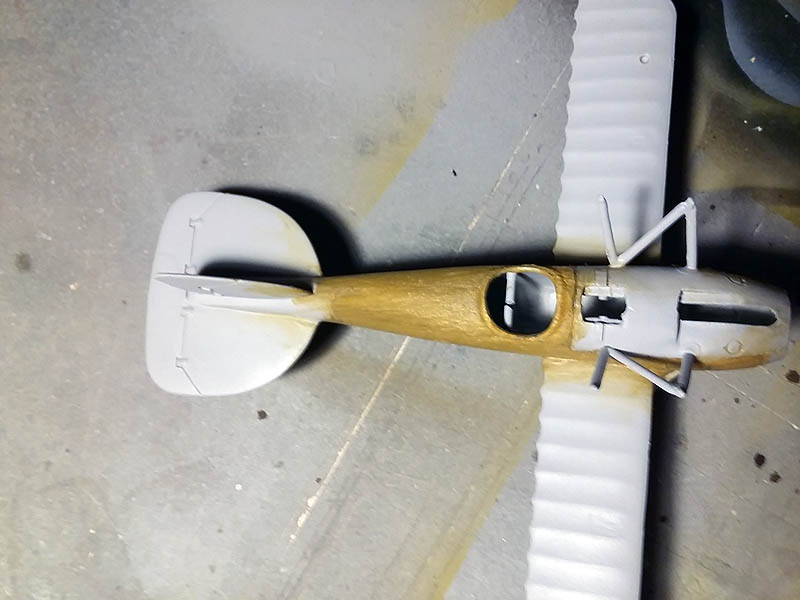 Now with a small brush and some dark brown oil I give some gentle strokes on Siena trying to simulate the darkest woodgrain, This process also apply to the propeller blades.
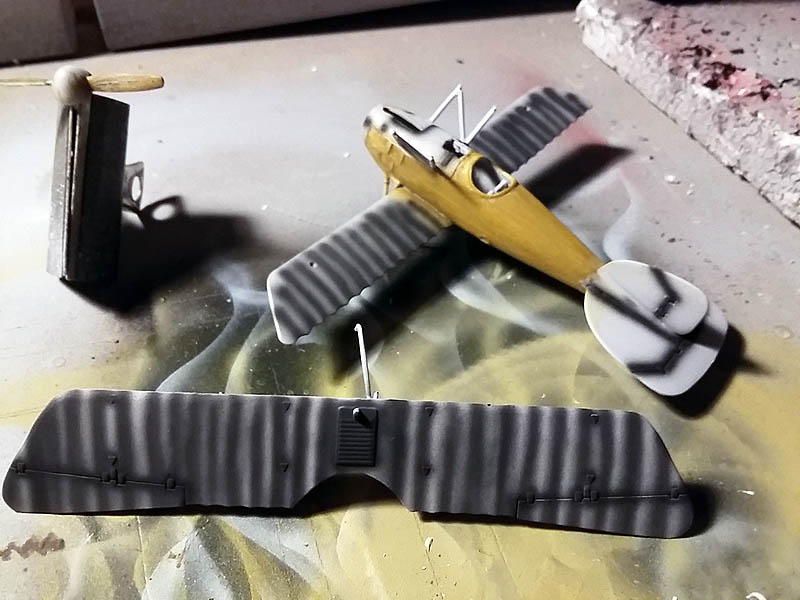
 While the oil dry, paneling or apply shading wings, wheels etc..
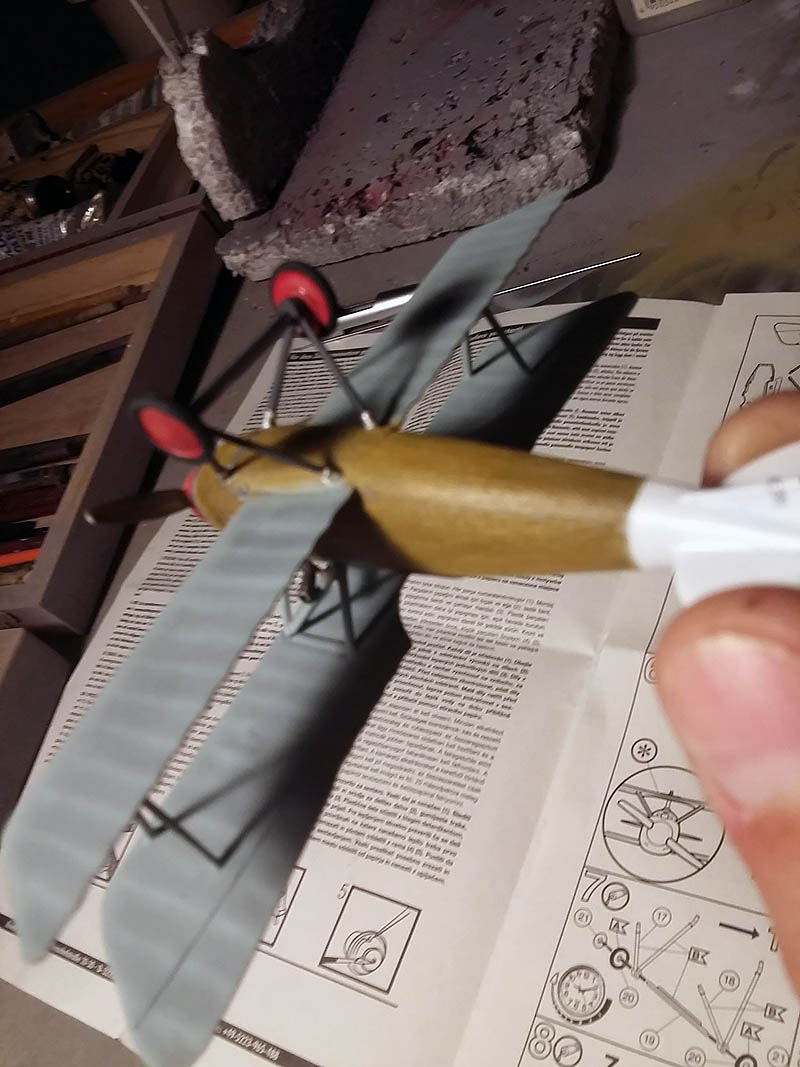
 As the oil takes a while to dry thoroughly I paint some parts of the plane, like tail that is white (XF-2 Blanco mate Tamiya).
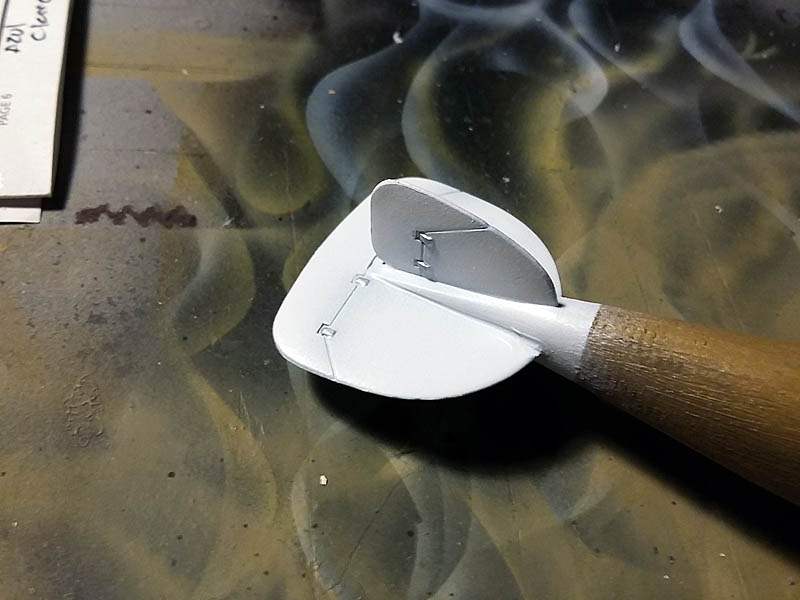 Tail painted silver applied in the parts described in the instructions, in this case I used Humbrol enamel paint (With Humbrol 191)
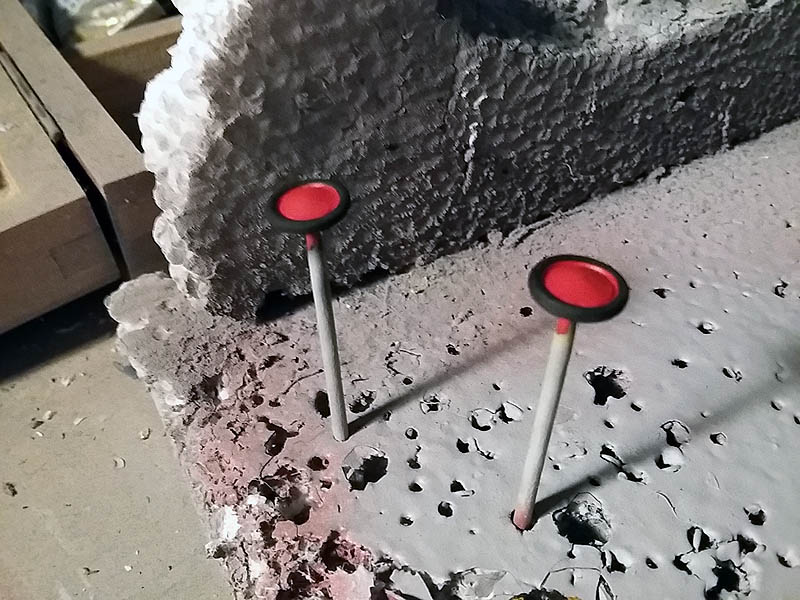
 Add engine parts, machine guns I painted metal (XF-56 Gris metal Tamiya), the tip of the propeller red (XF-7 Rojo mate Tamiya) and circular protection cockpit brown (XF-10 Marrón mate Tamiya).
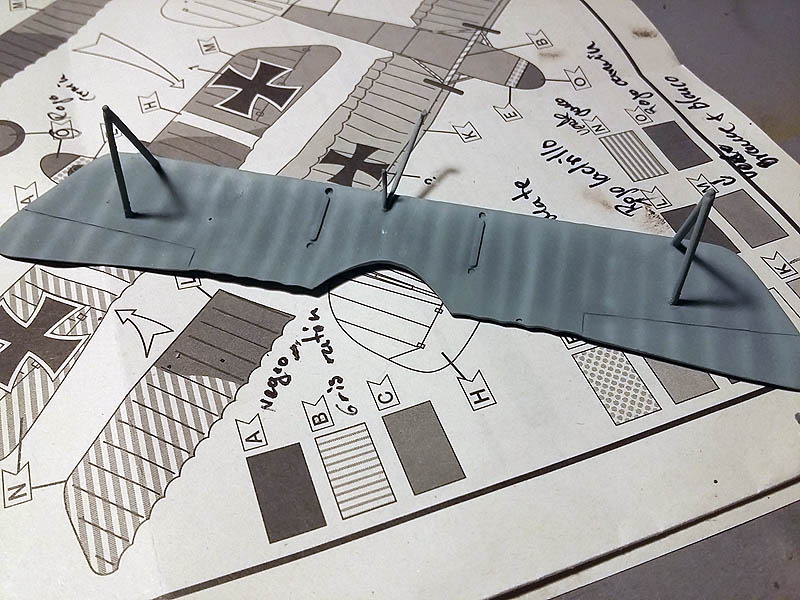
 Pinto the lower parts of the clear blue halas (XF-23 Azul claro Tamiya).
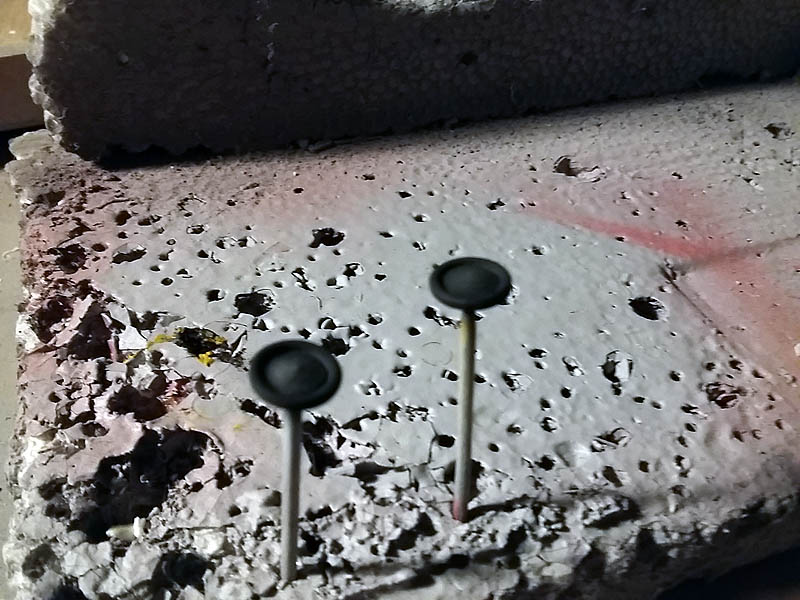
 Pinto also wheels, red (XF-7 Rojo mate Tamiya) Black and tires (XF-1 Negro mate Tamiya).
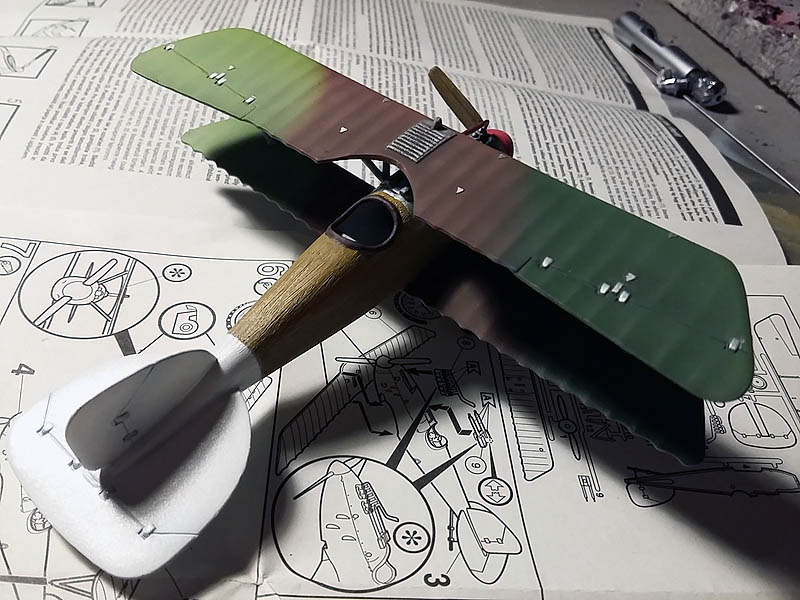
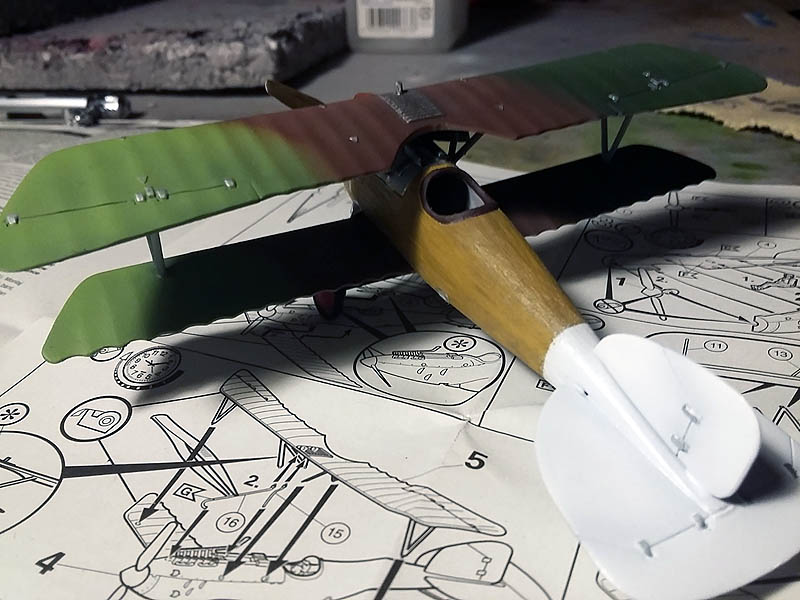
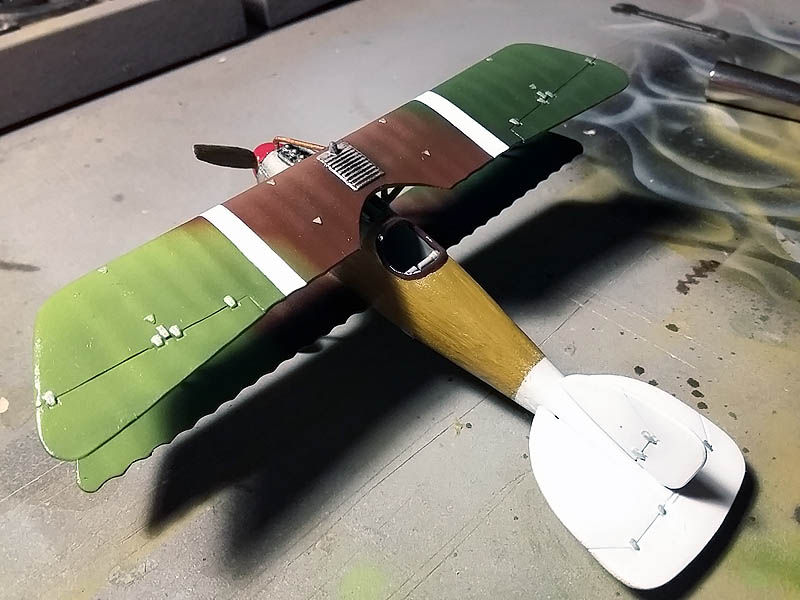
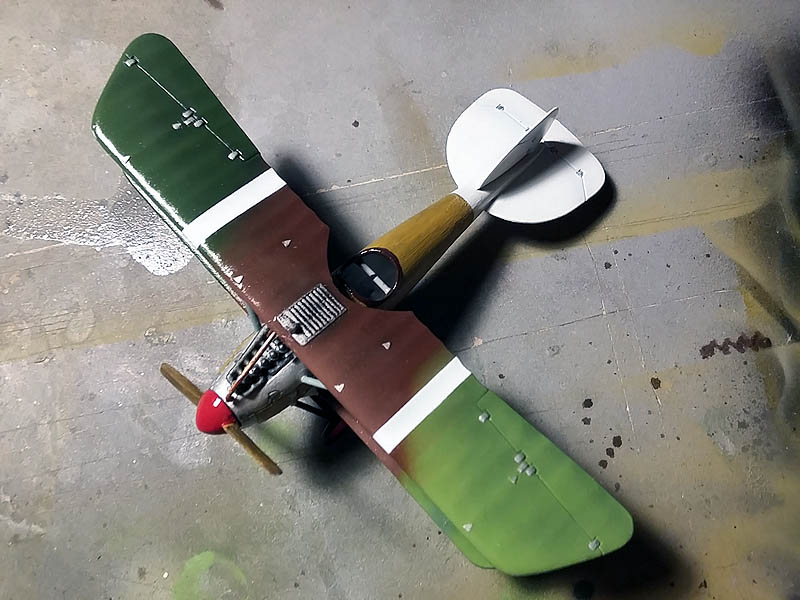
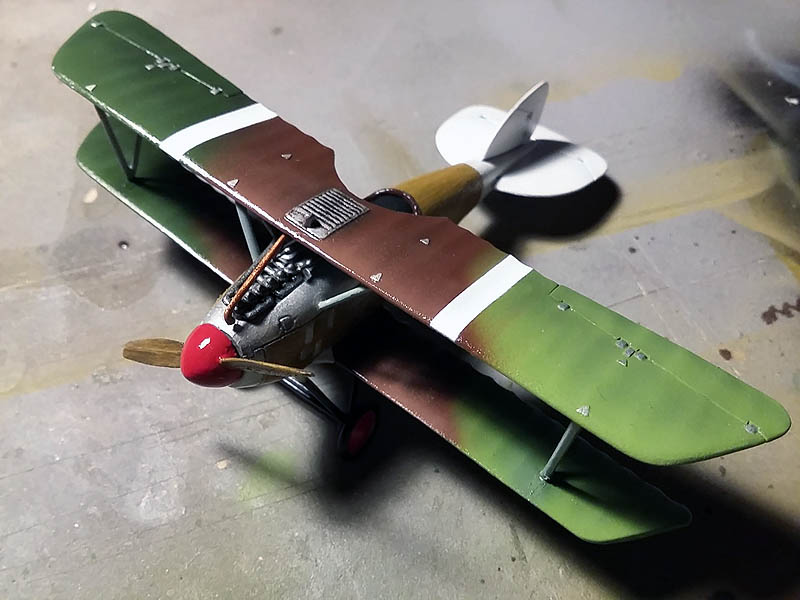
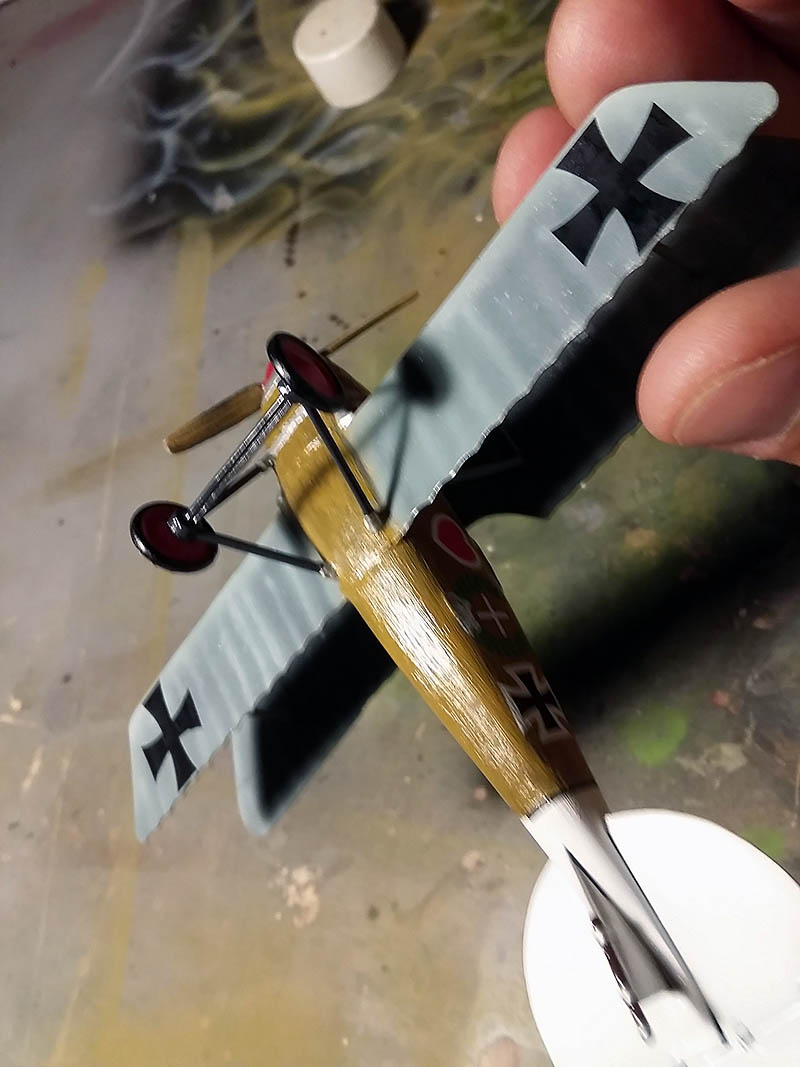
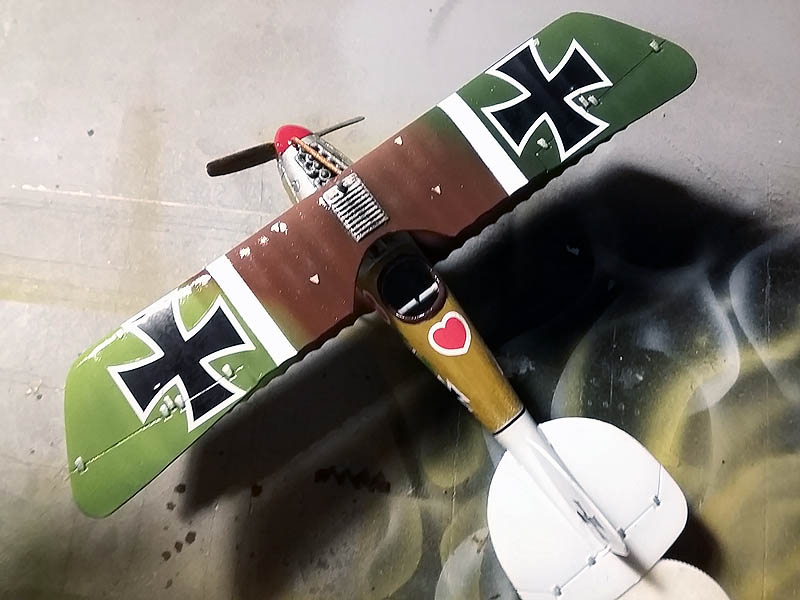
 Once the task of painting small parts finished, step painting wings, This scheme Albatros D.III It is a mixture of green and brown, I have used colors are green (X-28 Green Park Tamiya), olive green (XF-58 Verde Oliva Tamiya) and Brown (XF-68 Nato Bronw Tamiya) accompanied by some lights adding to a base colors 5% de blanco (XF-2 Blanco mate Tamiya). Once the outline painted with a paint brush and silver have colored parts like the radiator and some frames and hinges of the ailerons.
 In the absence of any detail I paint some tubes leading from the engine to the radiator copper color (XF-6 Cobre Tamiya).
 Pego wheel landing gear to complete throughout the plane and prepare for your first pass bright for the protection of all the work of paint and varnish prior to placement of the decals.
 Once painted and dry, step to the side which performed painted with glossy clearcoat (XF-22 Tamiya Glossy varnish).
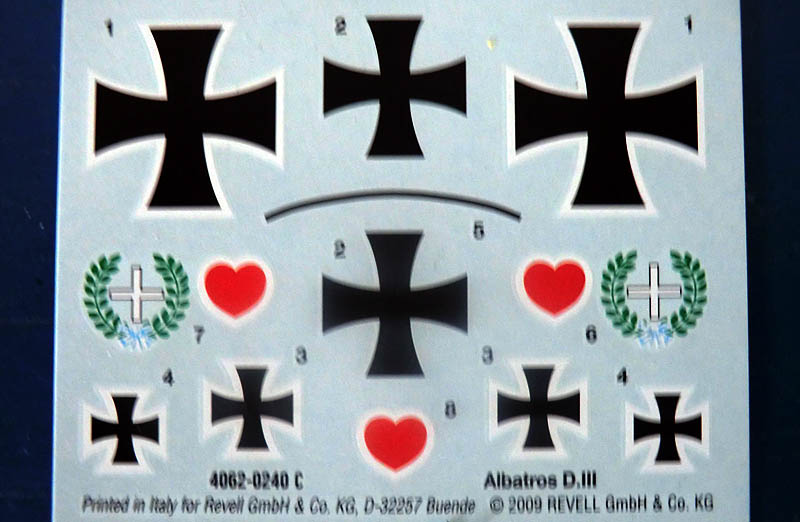
I left something in the pipeline and that this aircraft carries up on the wings of two vertical stripes on either side of the Teutonic cross, which are blank and those added using masking tape to create a perfect line.
 Once dry, apply a clear varnish decals helped tweezers and liquid special for them, Microsol y Microset.
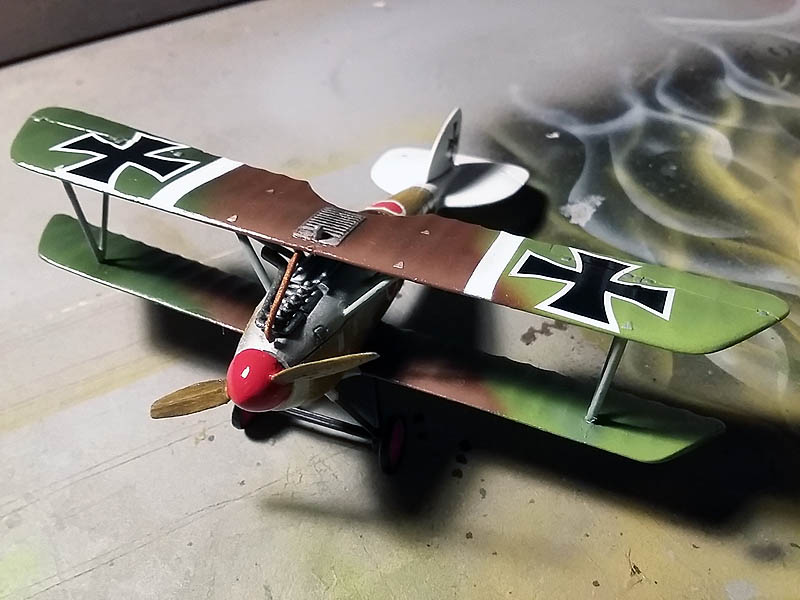

 I leave some time for the decals perfectly fixed to the surface and back to varnish the entire model with shiny varnish prior to protecting the decals.
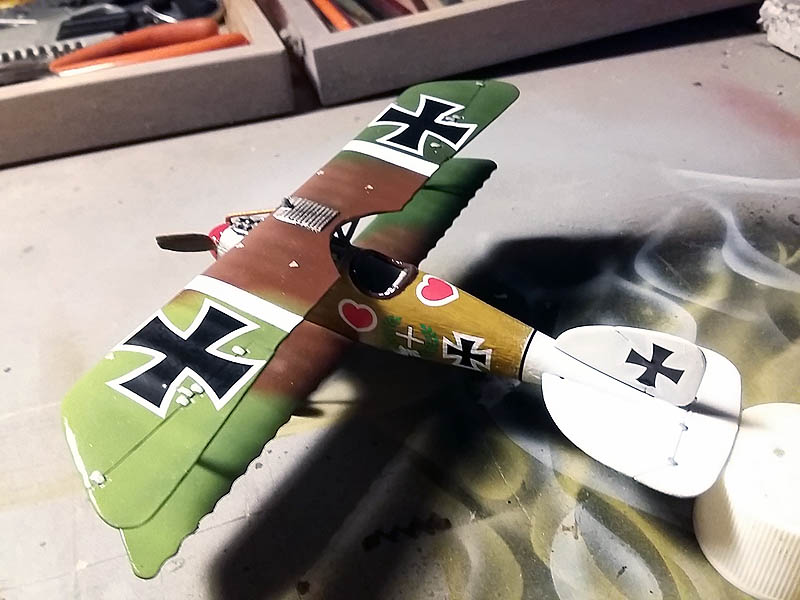
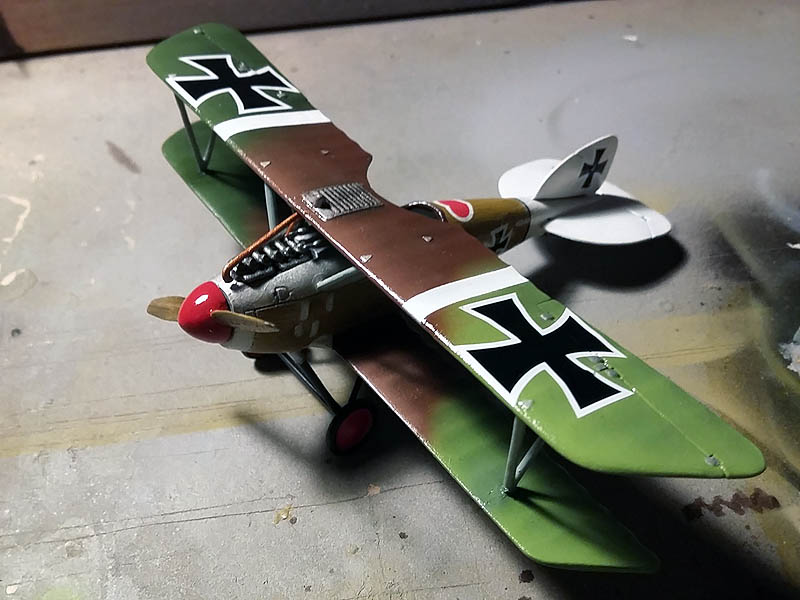
 And again I let stand a paint job 48 hours to be dry. The next step is the plane paneling oils, for my taste on small scales the best choice is a dark brown or black, diluted in Turpentine O "White Spirits"Helped with a fine brush and flushing liquid through the chambers, then remove excess.
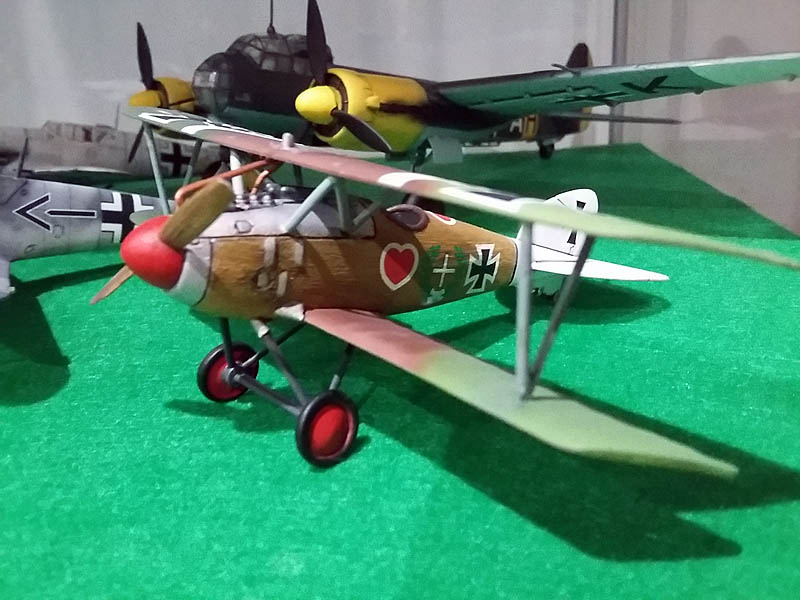
Once the paneling I varnish matte varnish finished all the Albatros D.III varnish that I use is to Vallejo (Ref. 70.520 Matt varnish Vallejo).
The result and the 90%, add the pending thread lift and the pilot.
TO BE CONTINUED ...
Autor Armand C.M.