Hanomag SdKfz 251/1 Tamiya 1:35 – Modeling
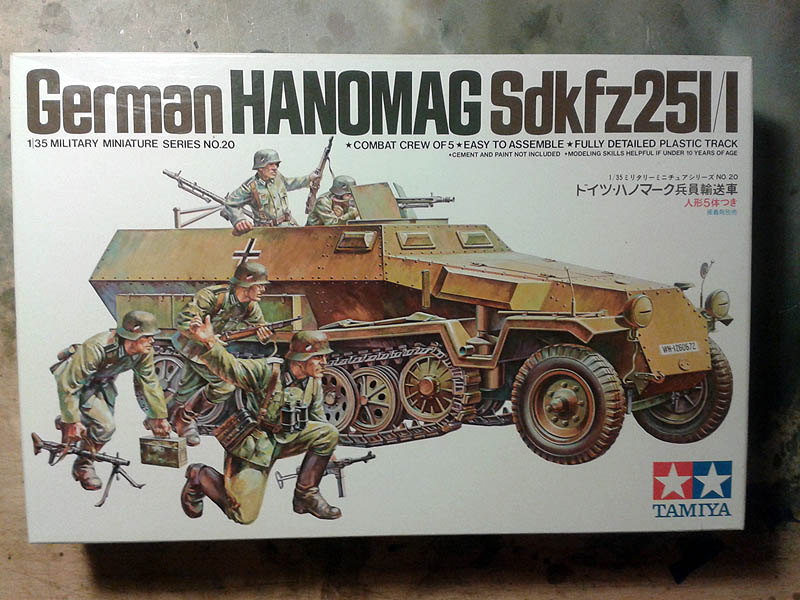
After several jobs at scale 1:72, I'll go to do something on a larger scale com 1:35, and for that I have selected a semioruga the Tamiya brand, el "Hanomag" SdKfz 251/1 a lovely screened widely used in the contest of the WWII.
Este es el kit en cuestión:
Some history on the Sd.Kfz 251:
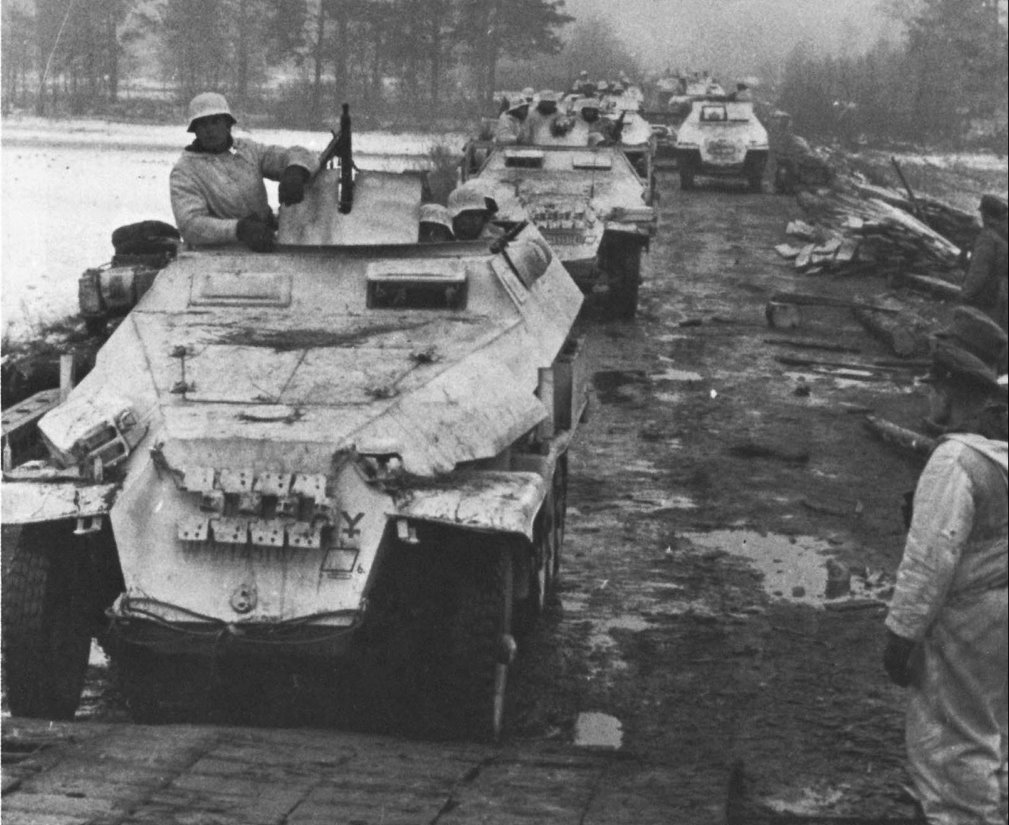
El Special motor vehicle 251 the SdKfz 251, also known as Hanomag, It was an armored half-track German WWII. It was produced throughout the war and is one of the most famous military vehicles in history. Its name means Special motor vehicle (Sonder Kraftfahrzeug in German). The first models of this vehicle were assigned to the 1st Panzer Division 1939. These vehicles allowed them to follow Panzer Grenadiers tanks and offer support when needed. There was 4 principal models (A-D), with many variants. The initial idea was a vehicle that could transport a squad of soldiers to the battlefield, protecting them from enemy weapons fire with some protection against artillery fire.
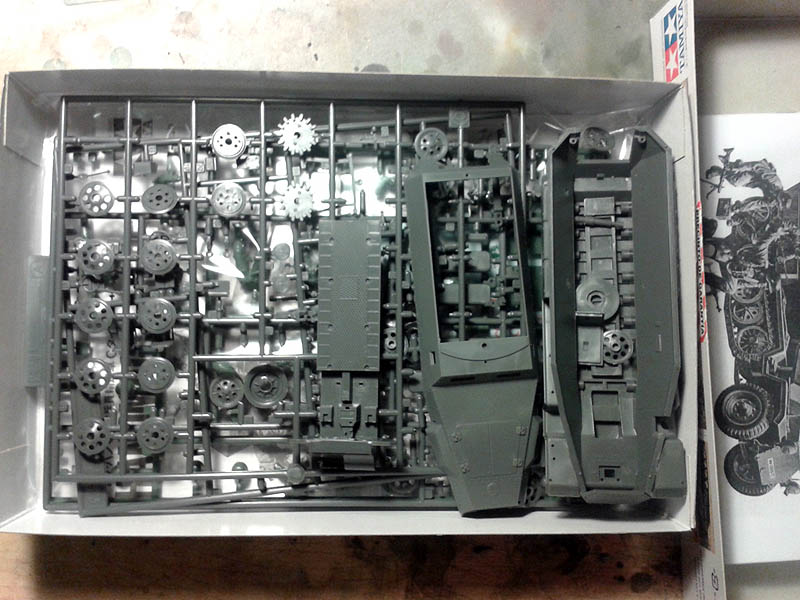
The contents of the kit consists of two parts, one on semioruga and other soldiers, leads 3 instruction booklets 3 languages, Spanish, English and Japanese.
I start riding the lower body with fender, part front etc. A part, start with the train running back and front and inside.
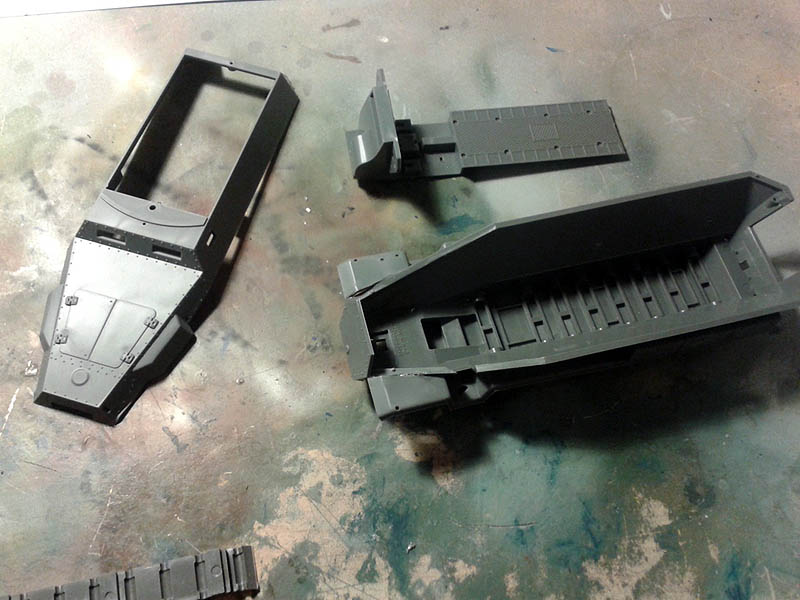
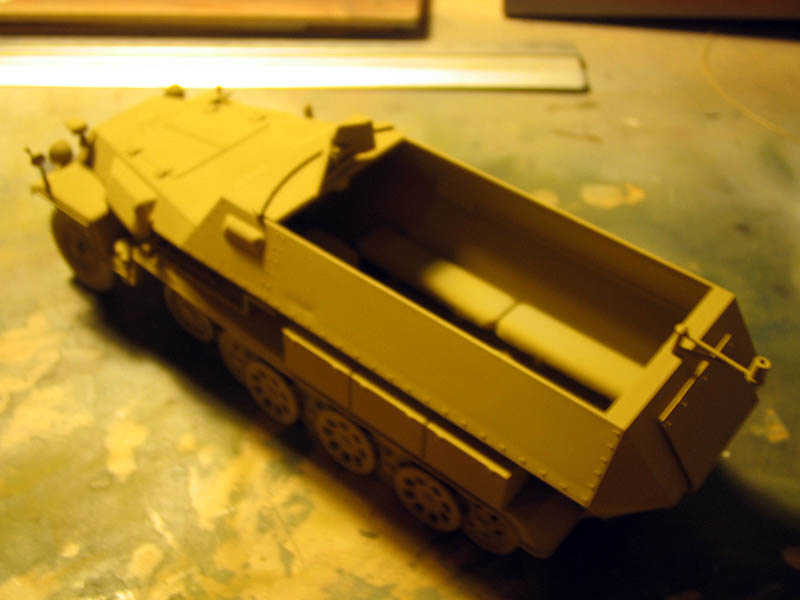
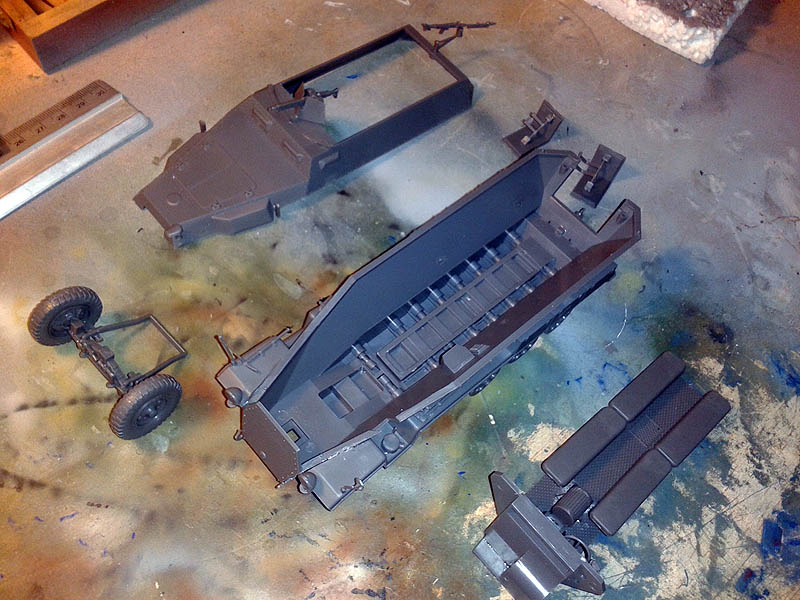 Once all well glued and dry I assemble the model to see how it is and make sure everything fits perfectly.
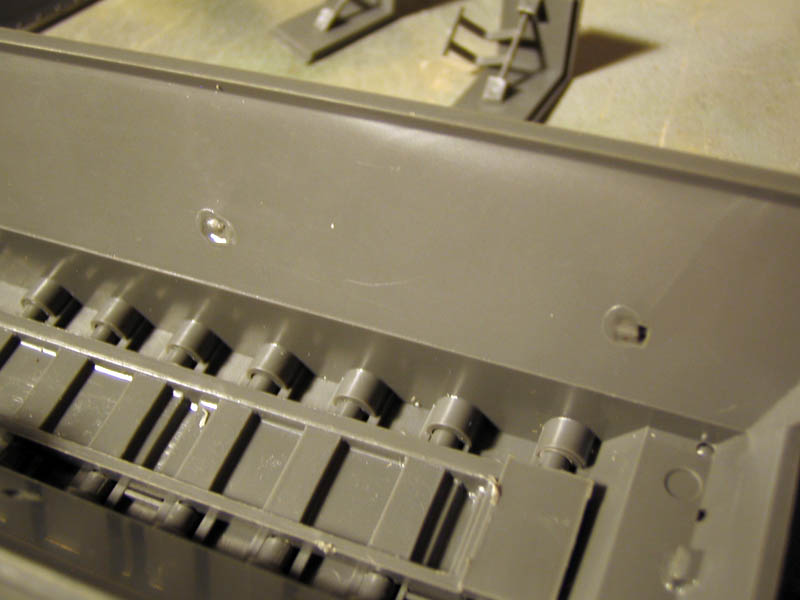
 The next step is to caulk the gaps in the mold and other parts anchors sight.
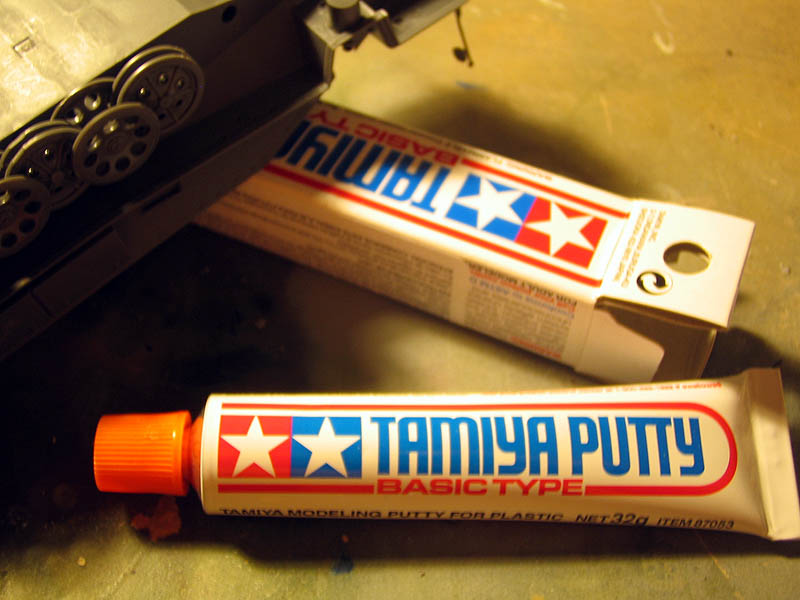
 For this I use Tamiya Putty and a small spatula to apply to the holes and let it dry a few hours and then sanded with a fixed grain.
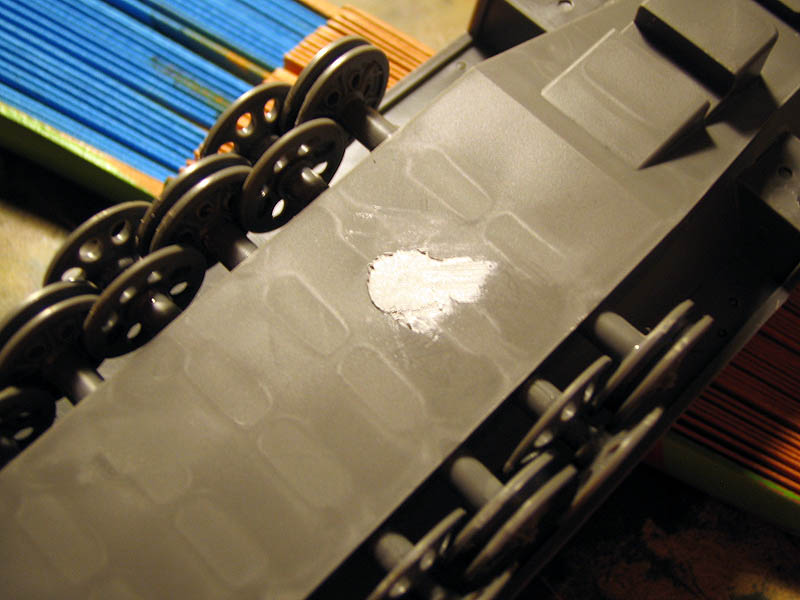
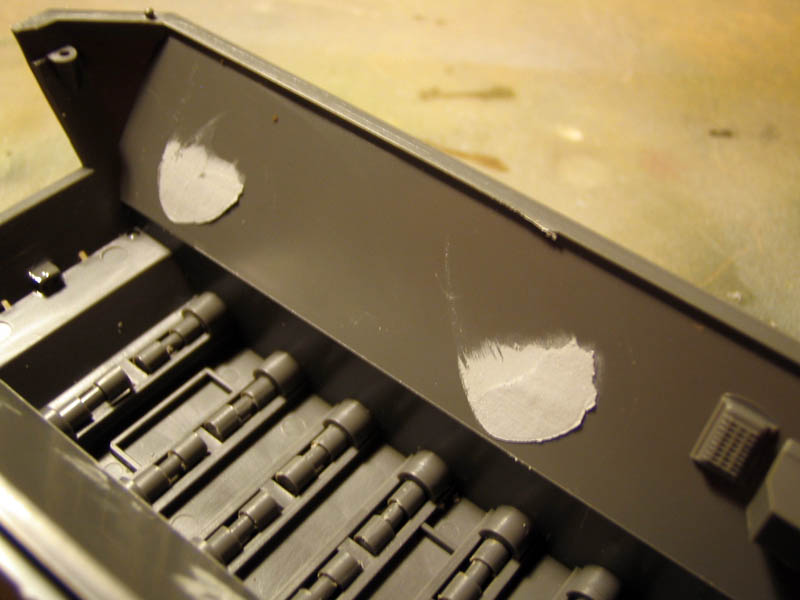 After drying putty, I proceed to sand first with a slightly more coarse and once the thicker side step removed to a very fine grain and water that are the results:
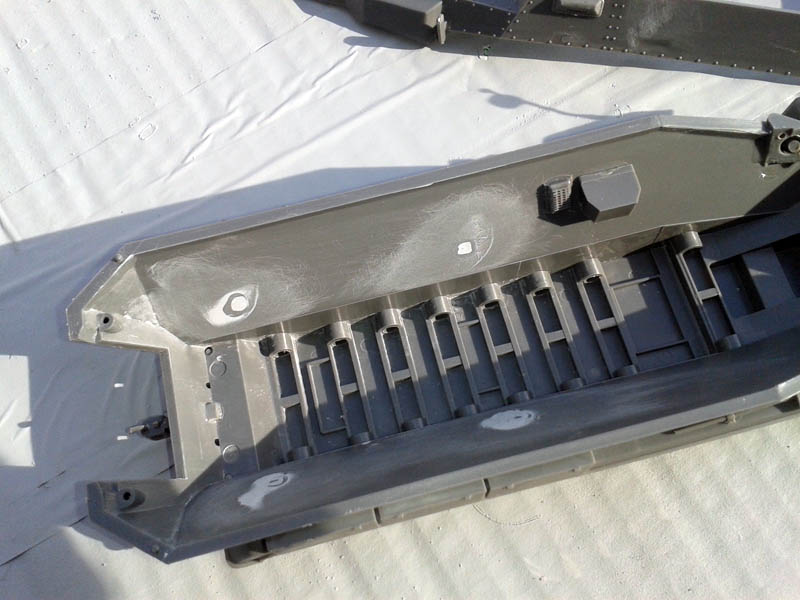
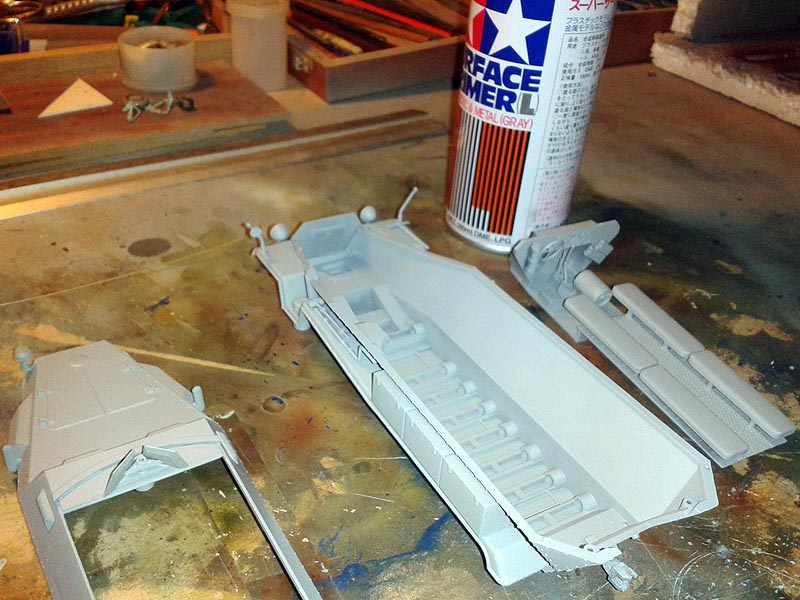
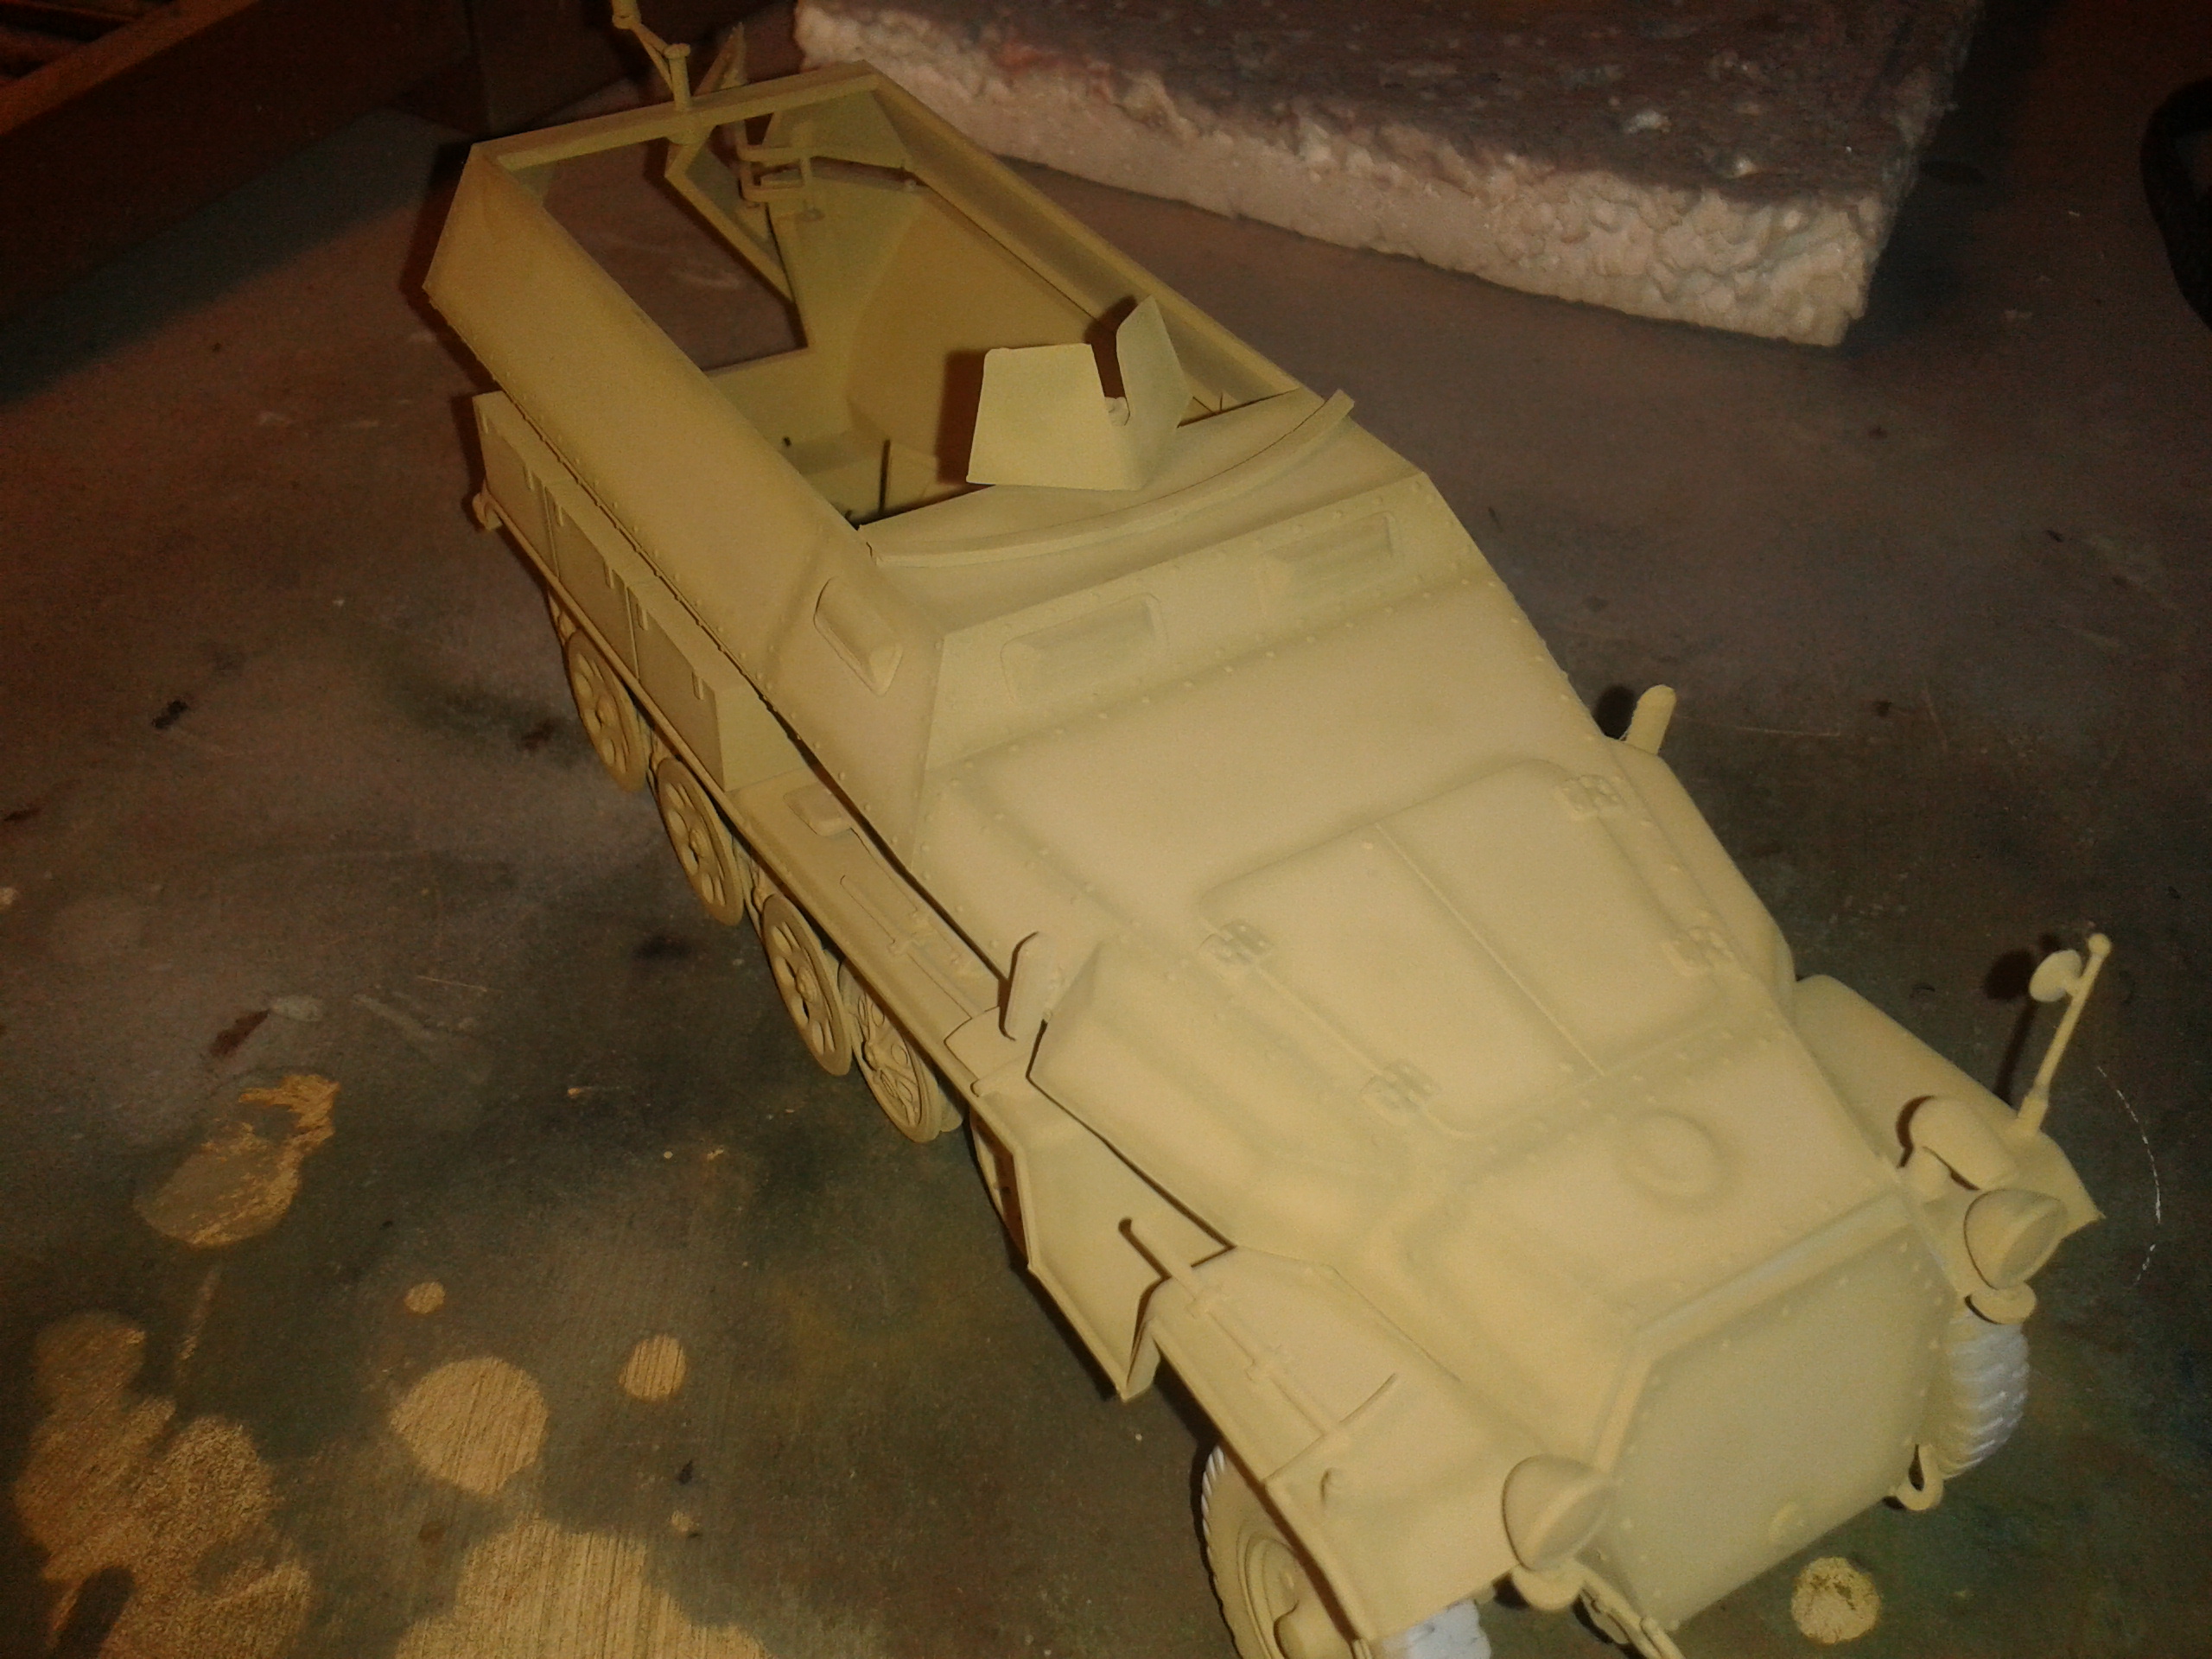
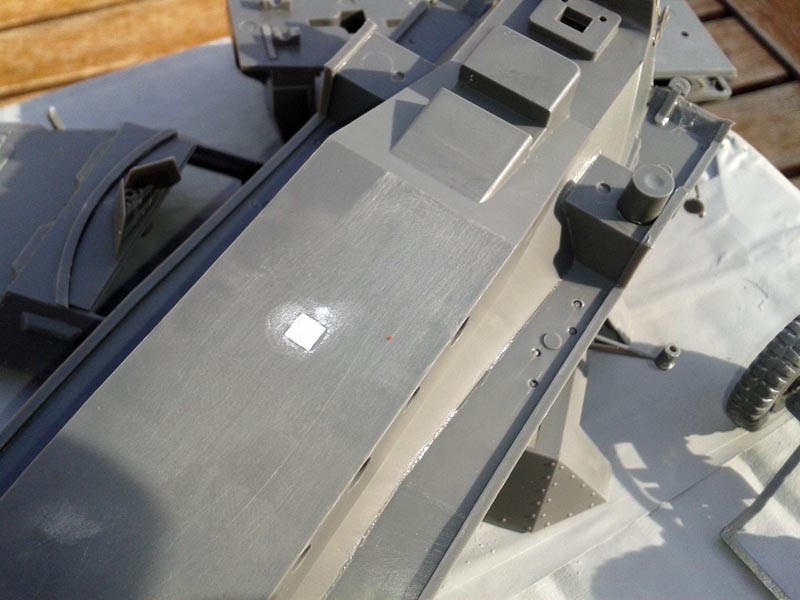 The next step once smooth surface after sanding with fine grain and water is cleaning the surface with a little water and make it dry and clean surface to proceed the primer, I use several brands of primer, Tamiya and Vallejo gray spray, This time I chose the Tamiya and here is the result.

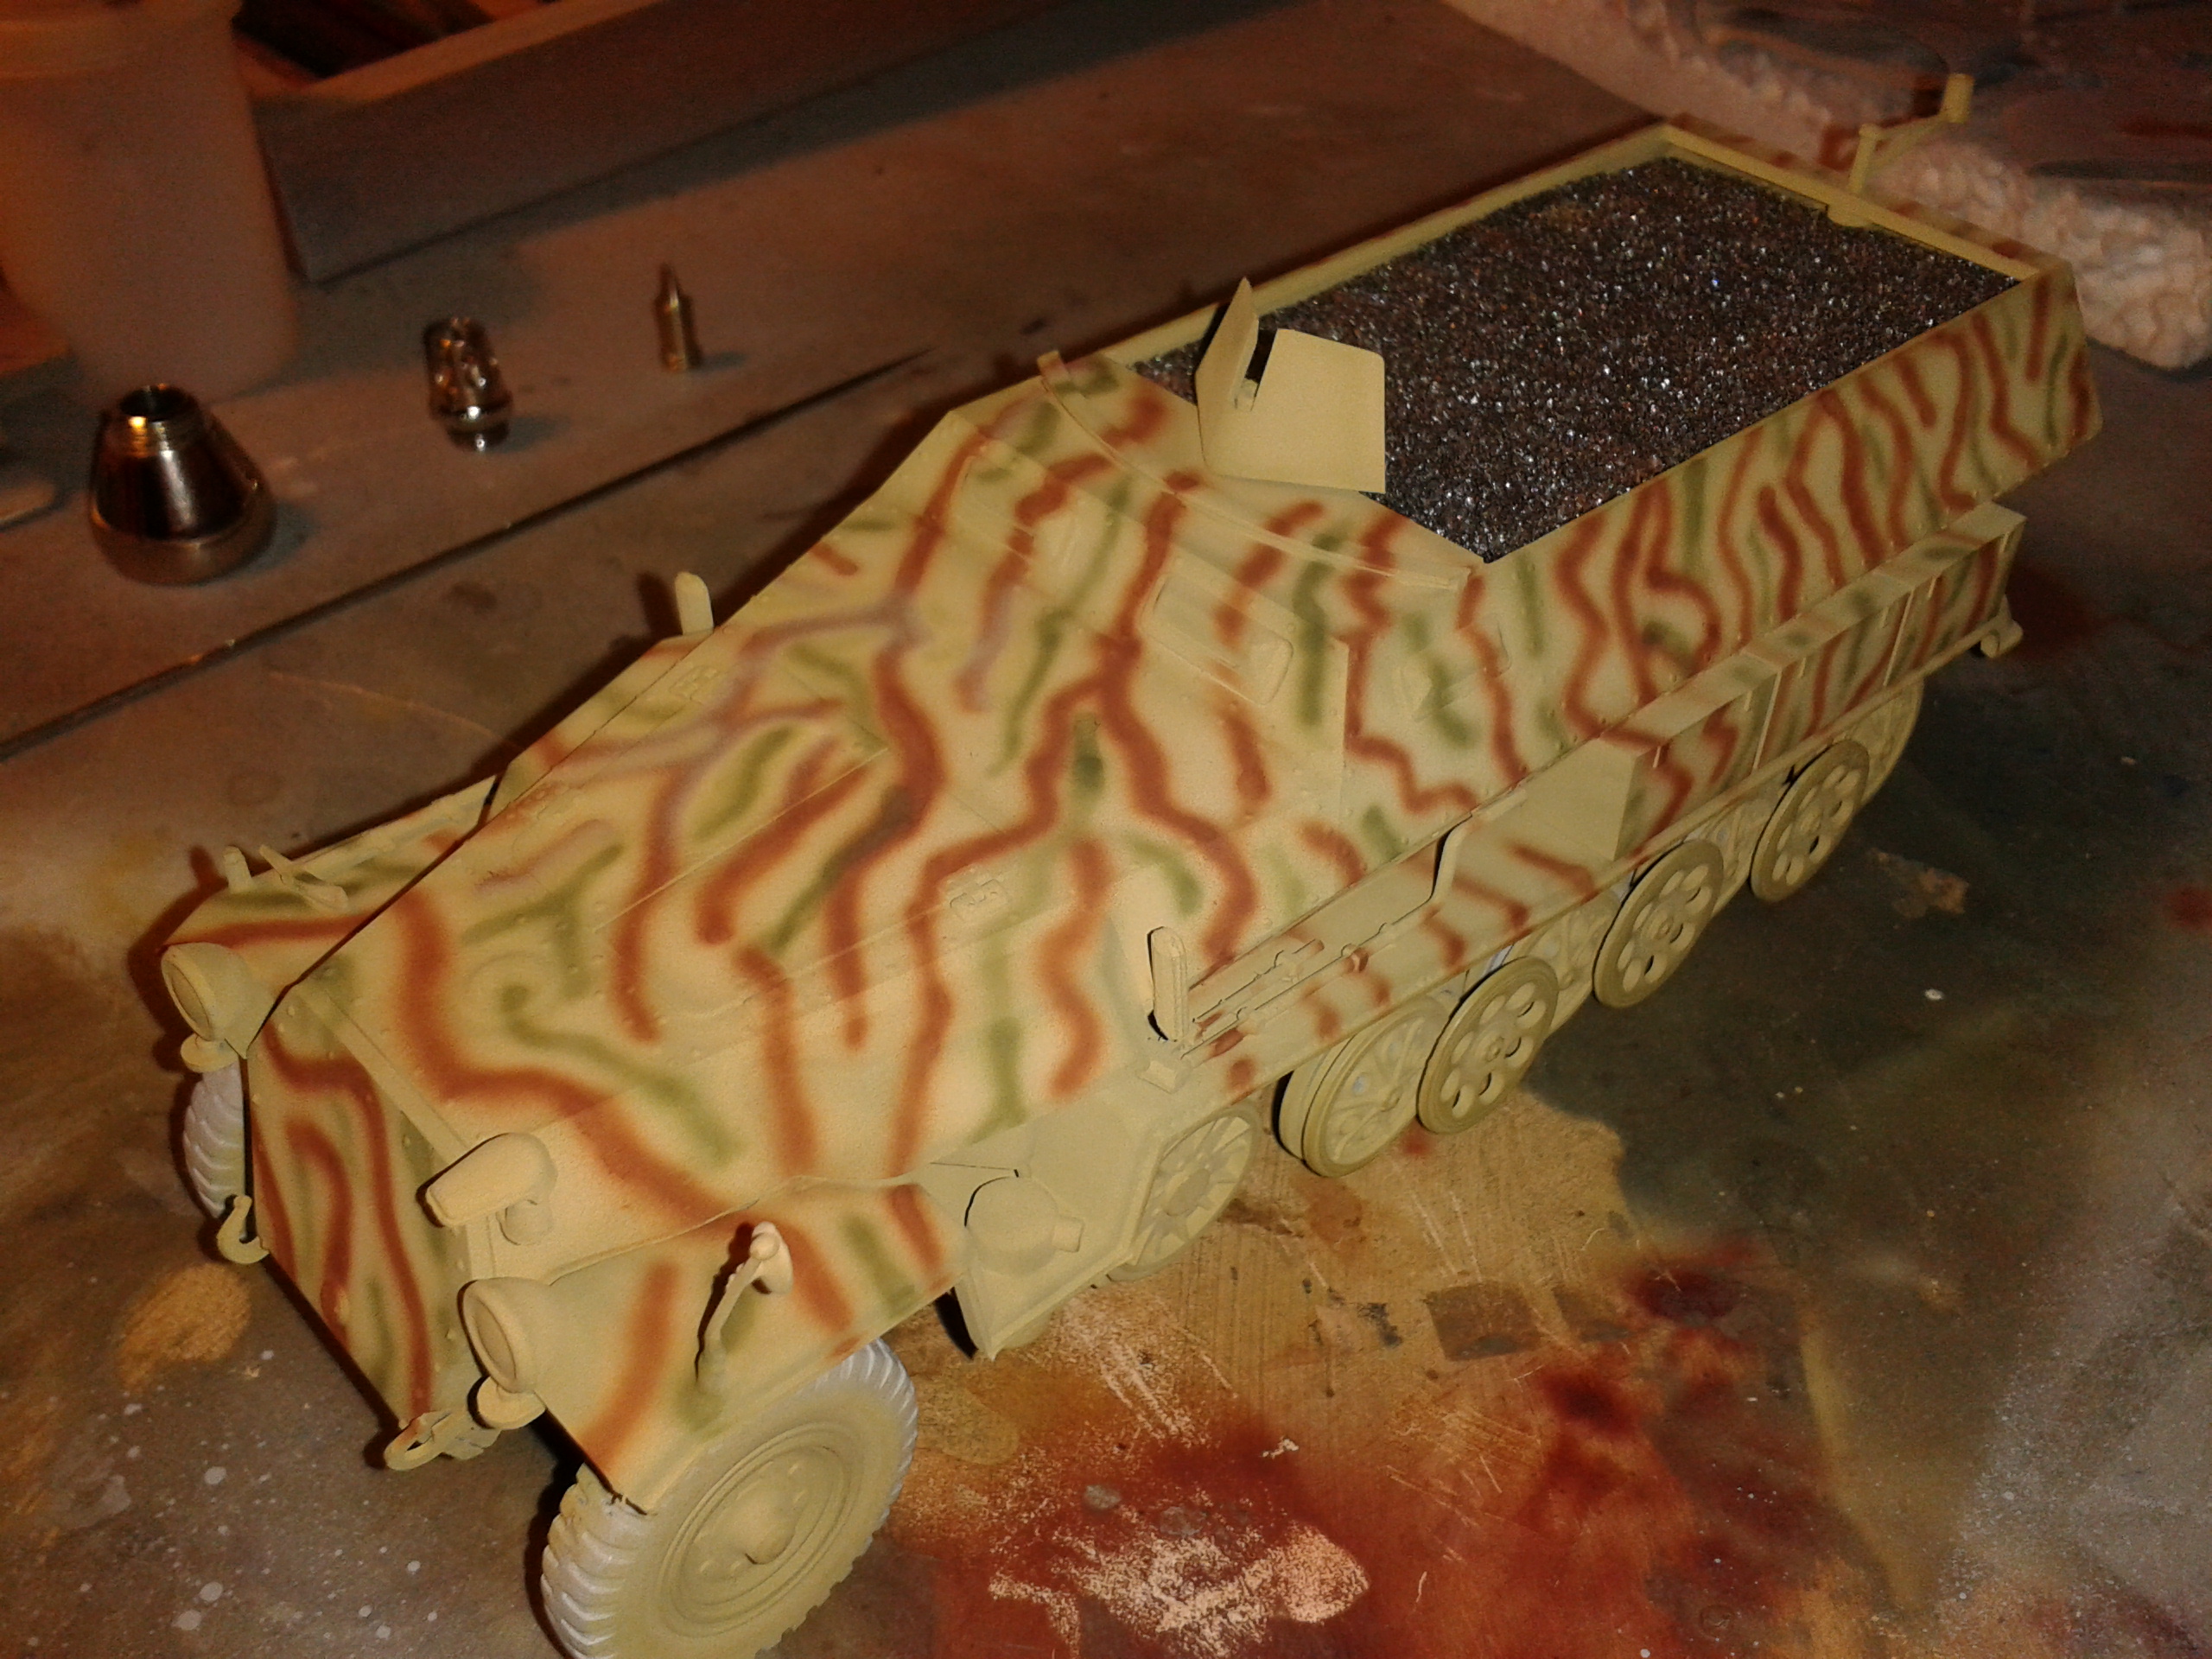
We started the process of painting with the base color and for this kit I decided to create a camouflage scheme and then implement a winter camouflage, for the first scheme I will use the dark yellow XF-60, Olive XF-74 and a reddish brown XF-64.
We first rows of dark yellow basis Tamiya XF-60.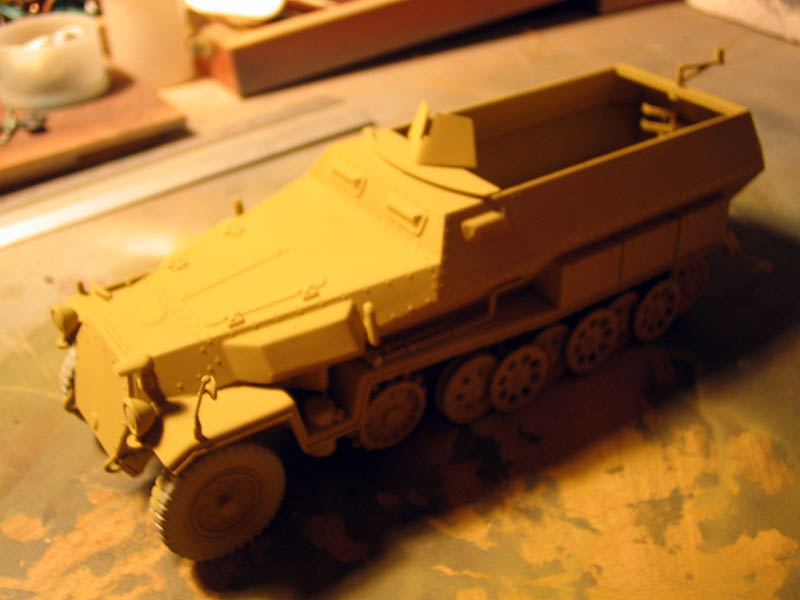
Let it dry a 24 hours and started with lights and darken the corners, I what I do is mix the base color with some white or black as required but is also a choice of base color hues like yellow desert yellow lights or highly diluted etc.
 Created the lights and step left to dry camouflage scheme.
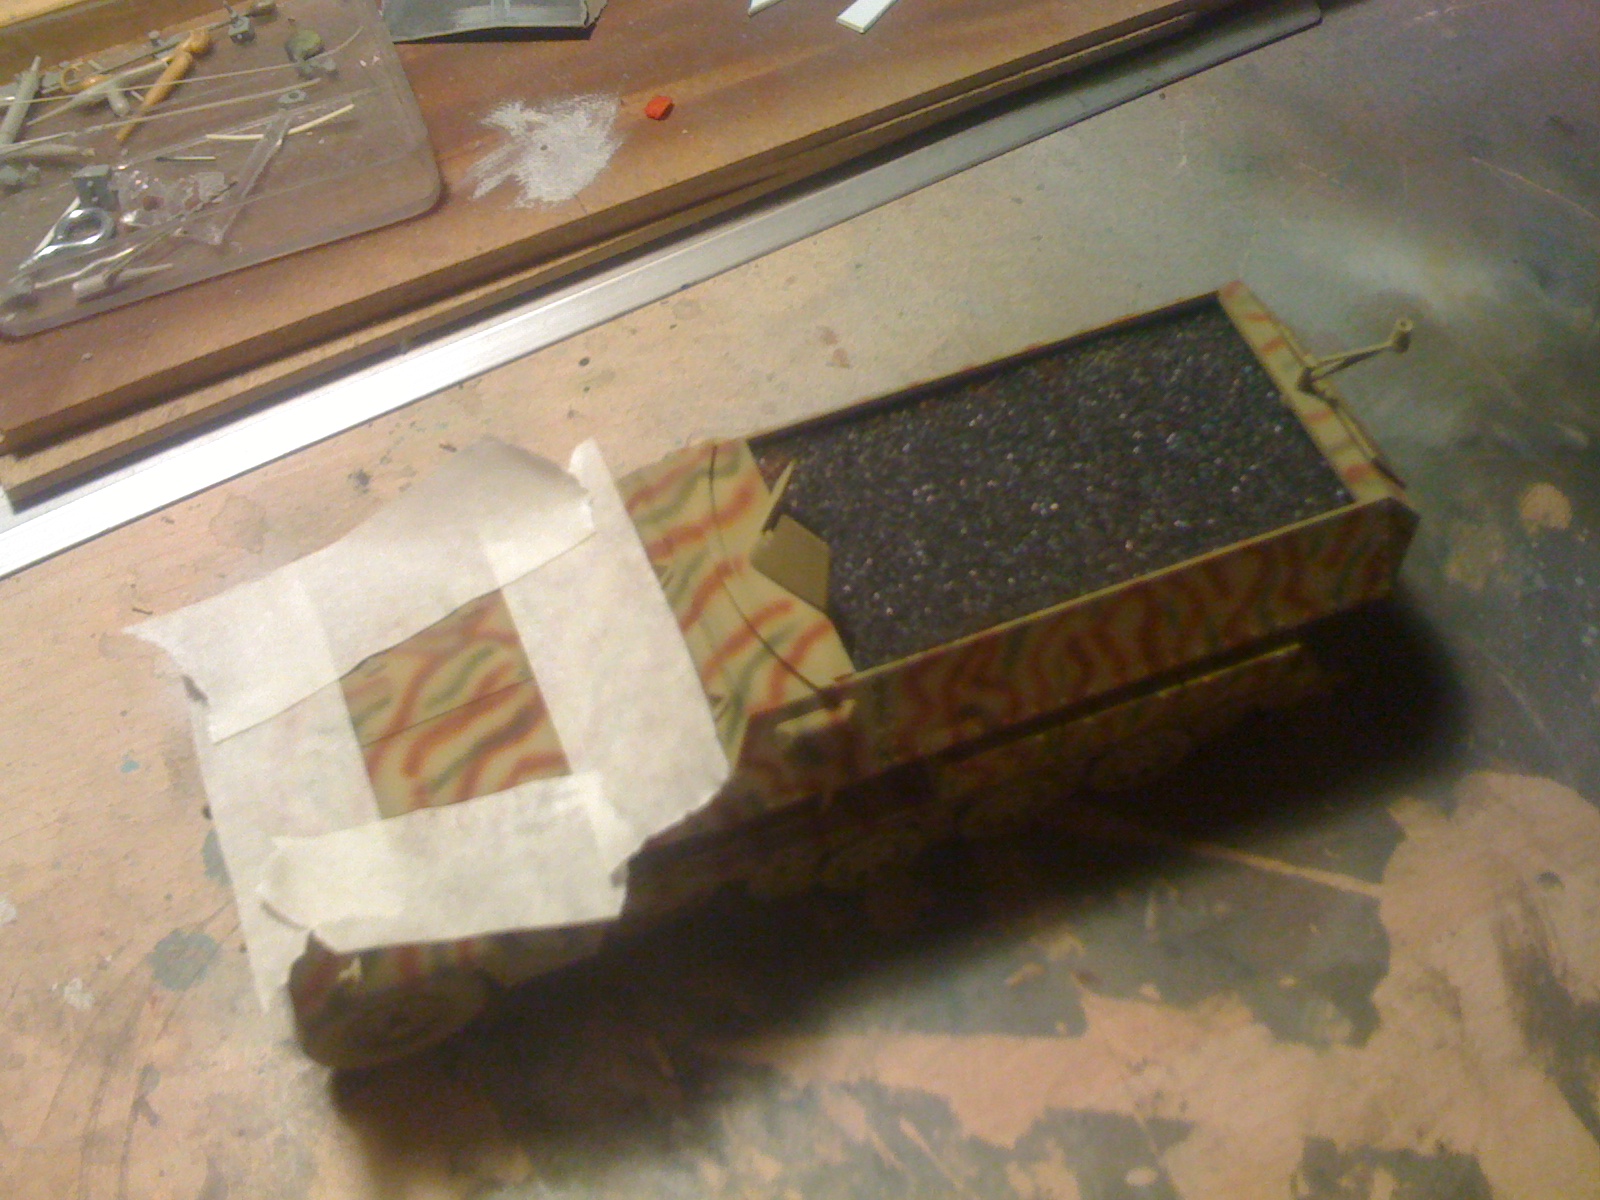
 To create a difference in tone by wear to be more exposed to the sun use and I cover with masking tape across the surface of the engine and leave the open doors of access to it to give it passes with base color very highly diluted.
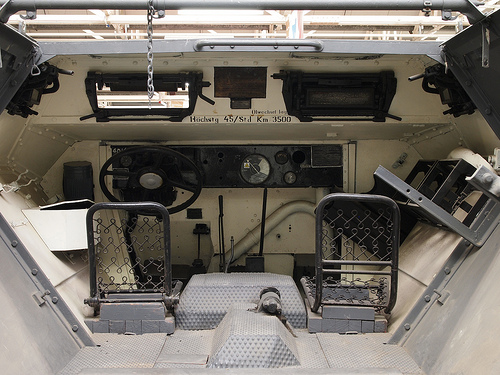
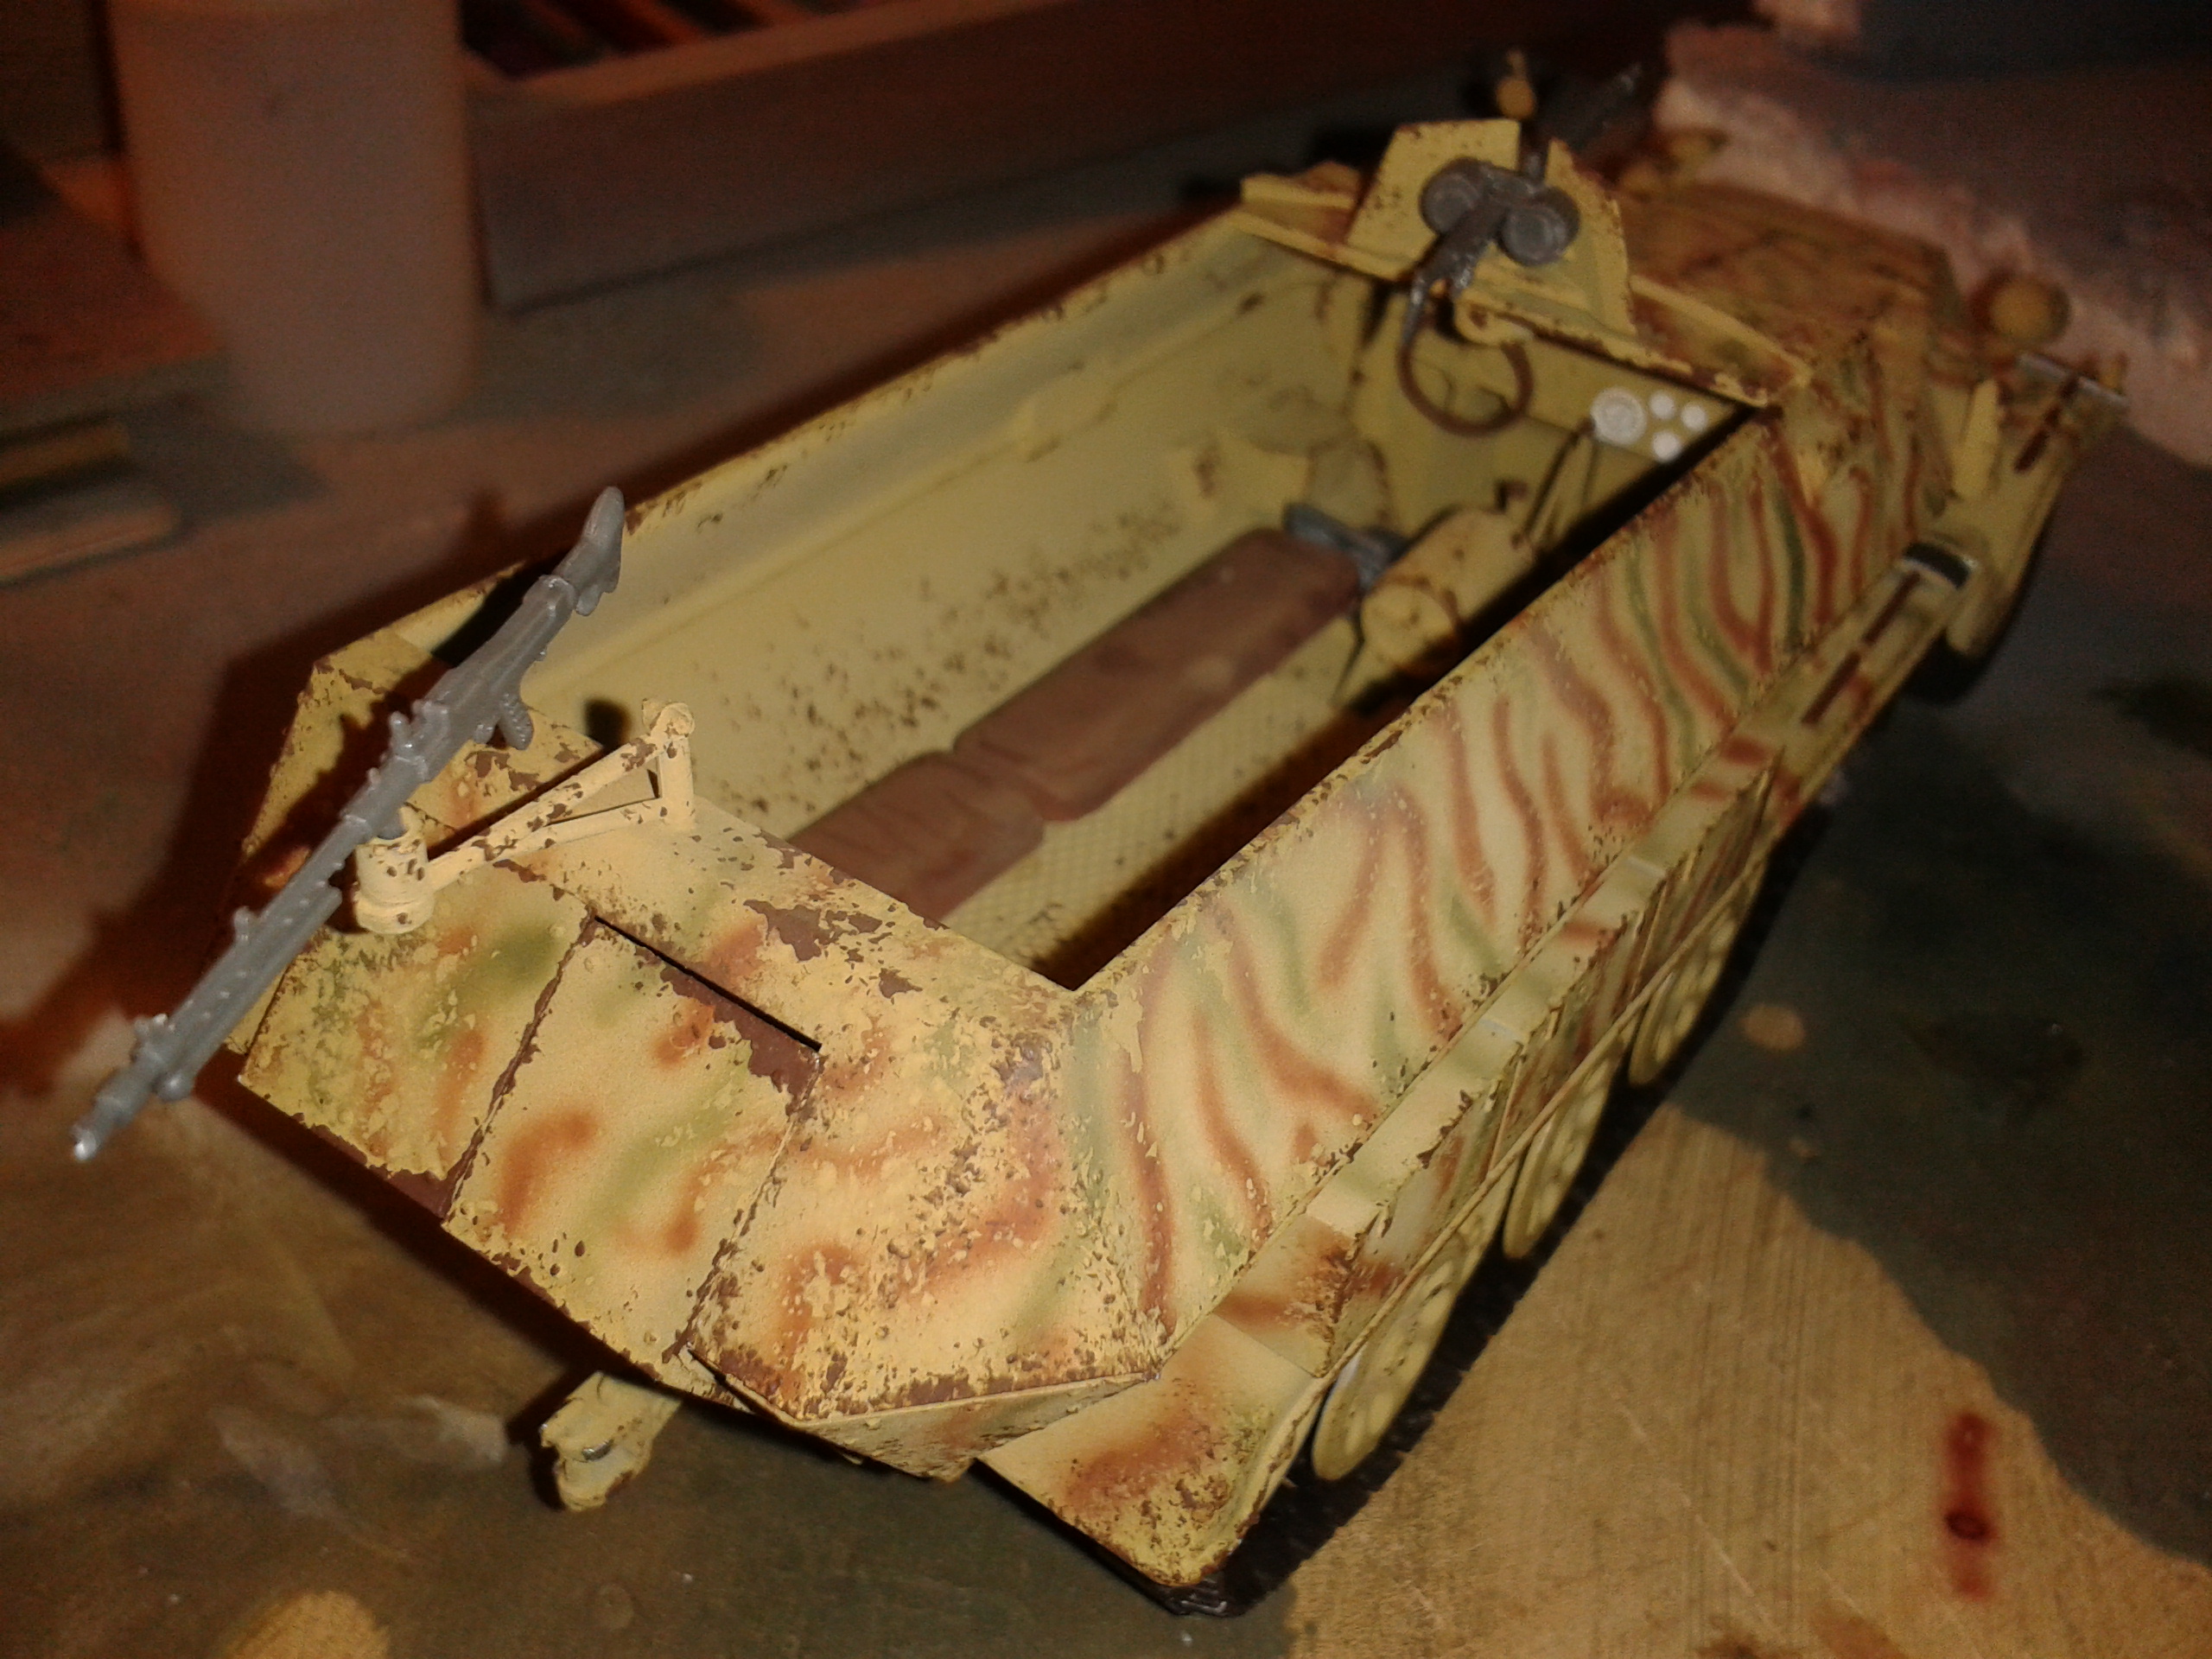
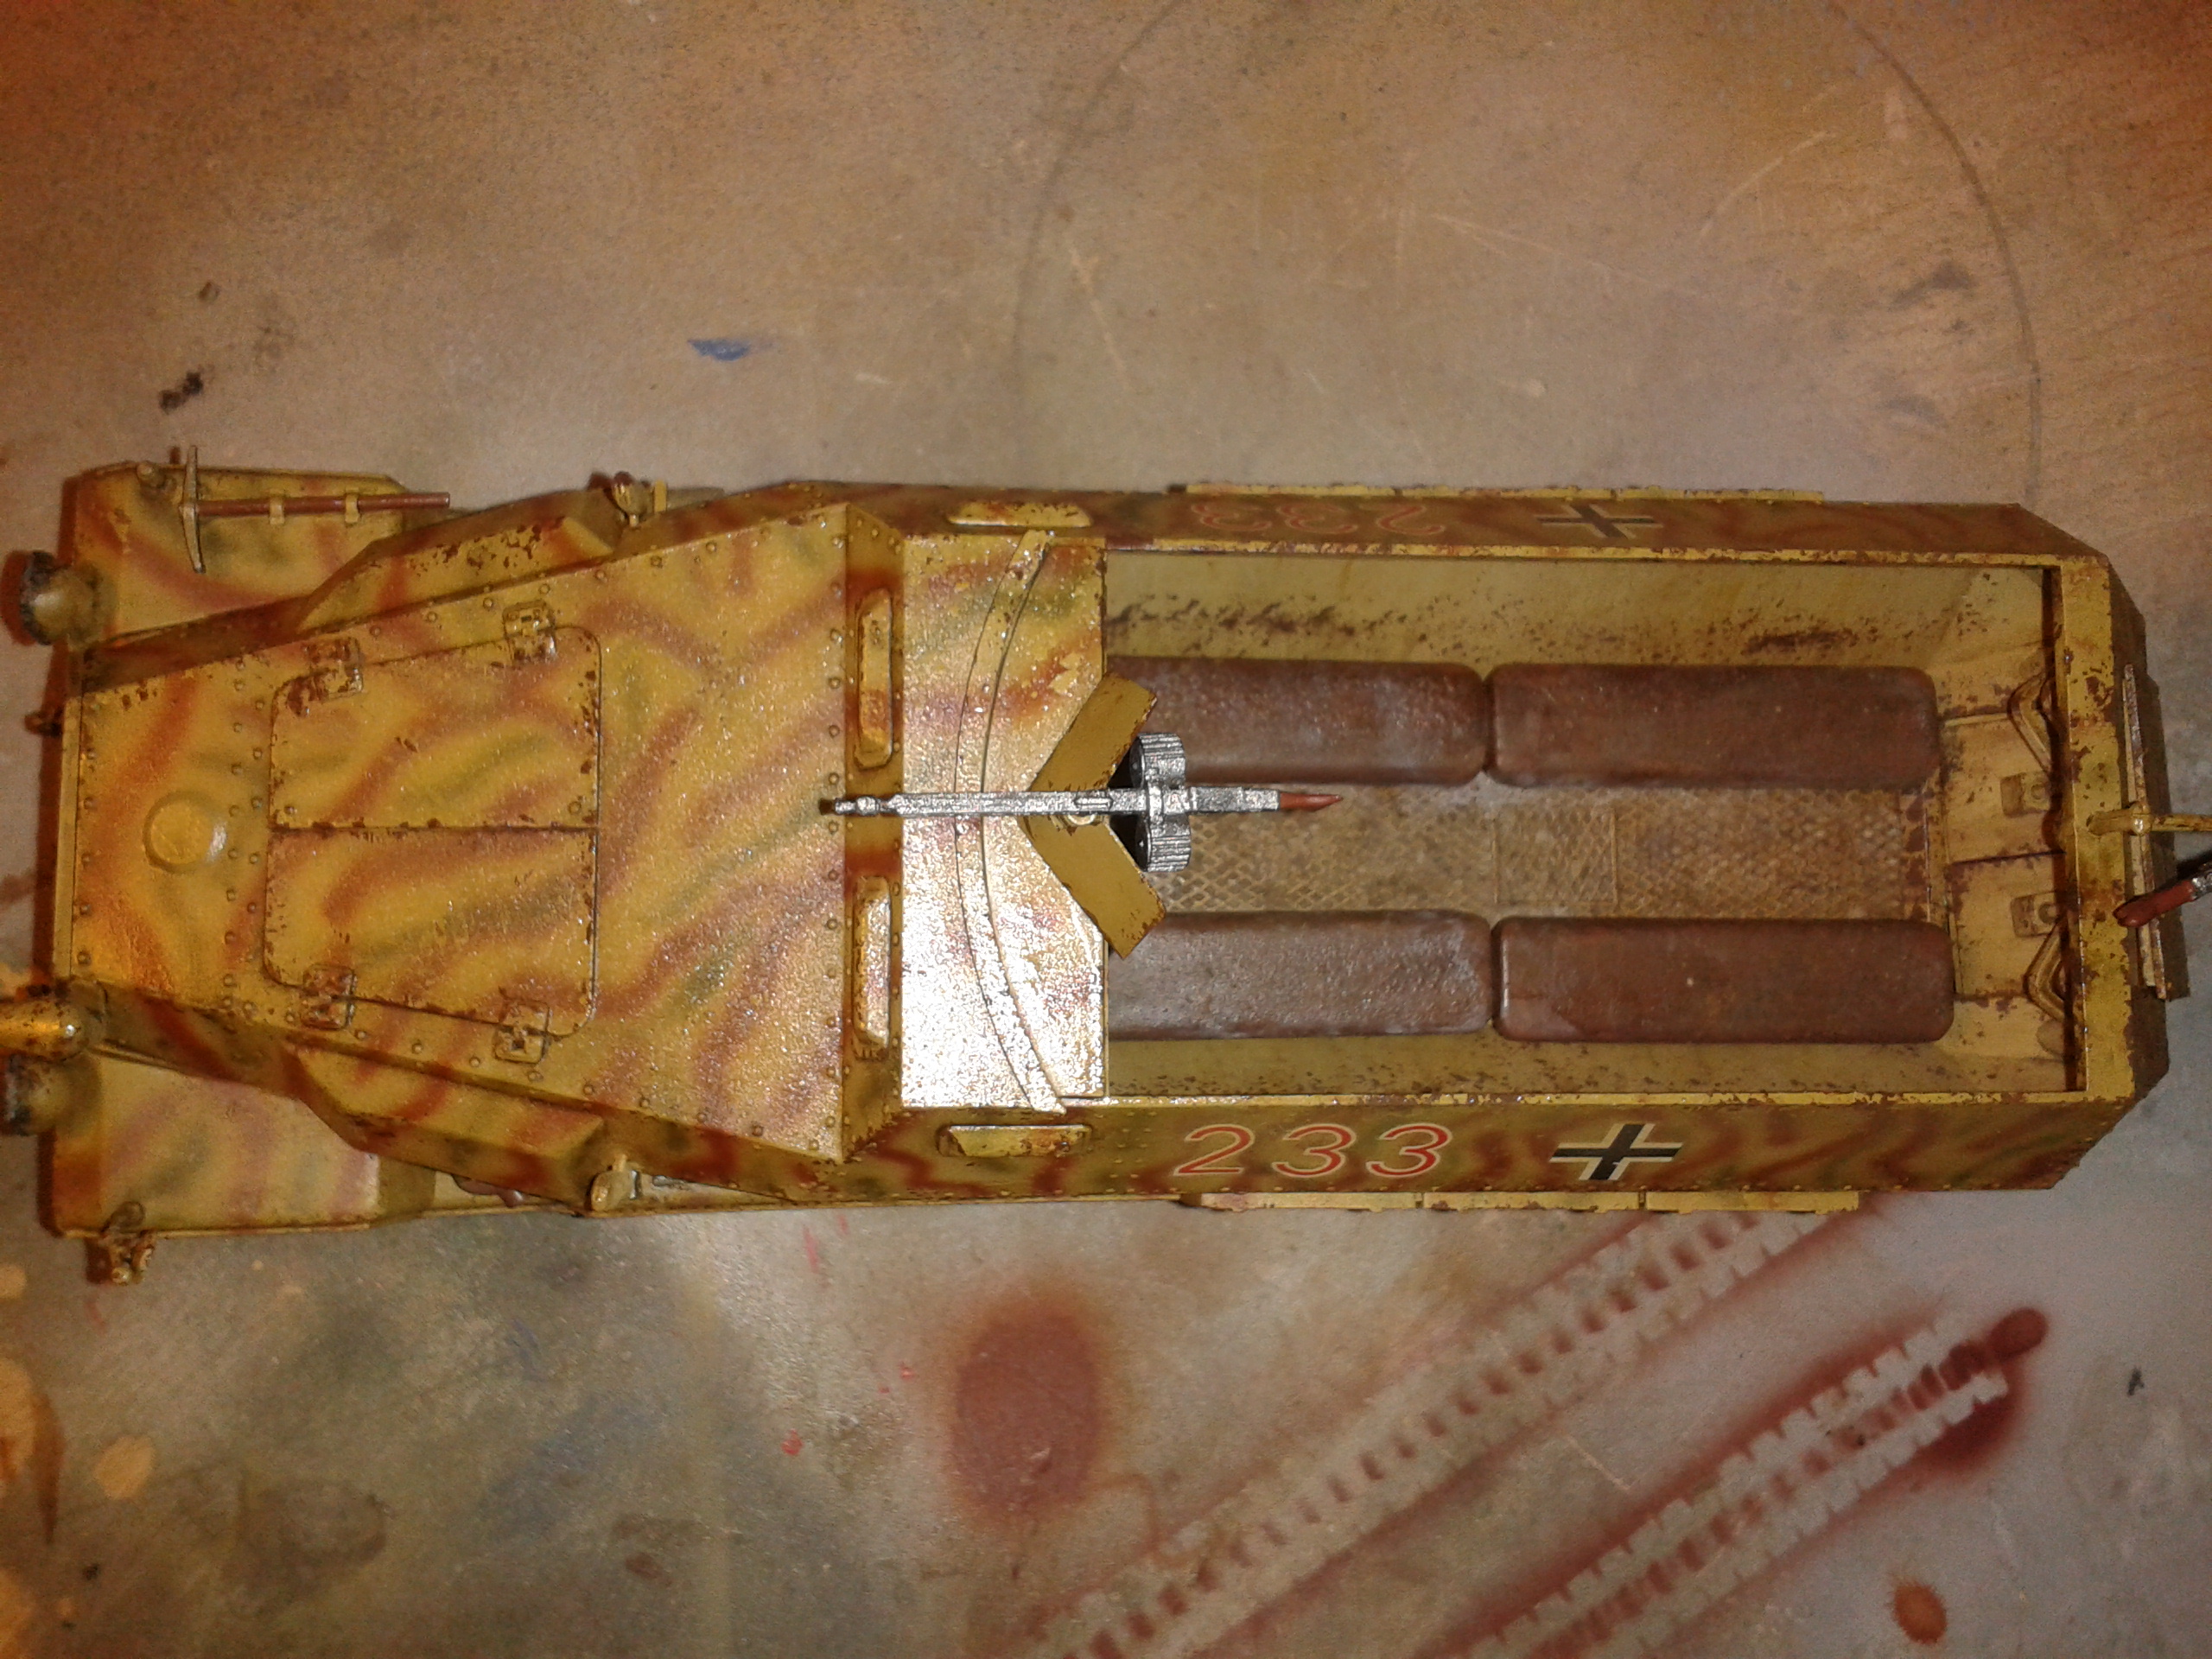
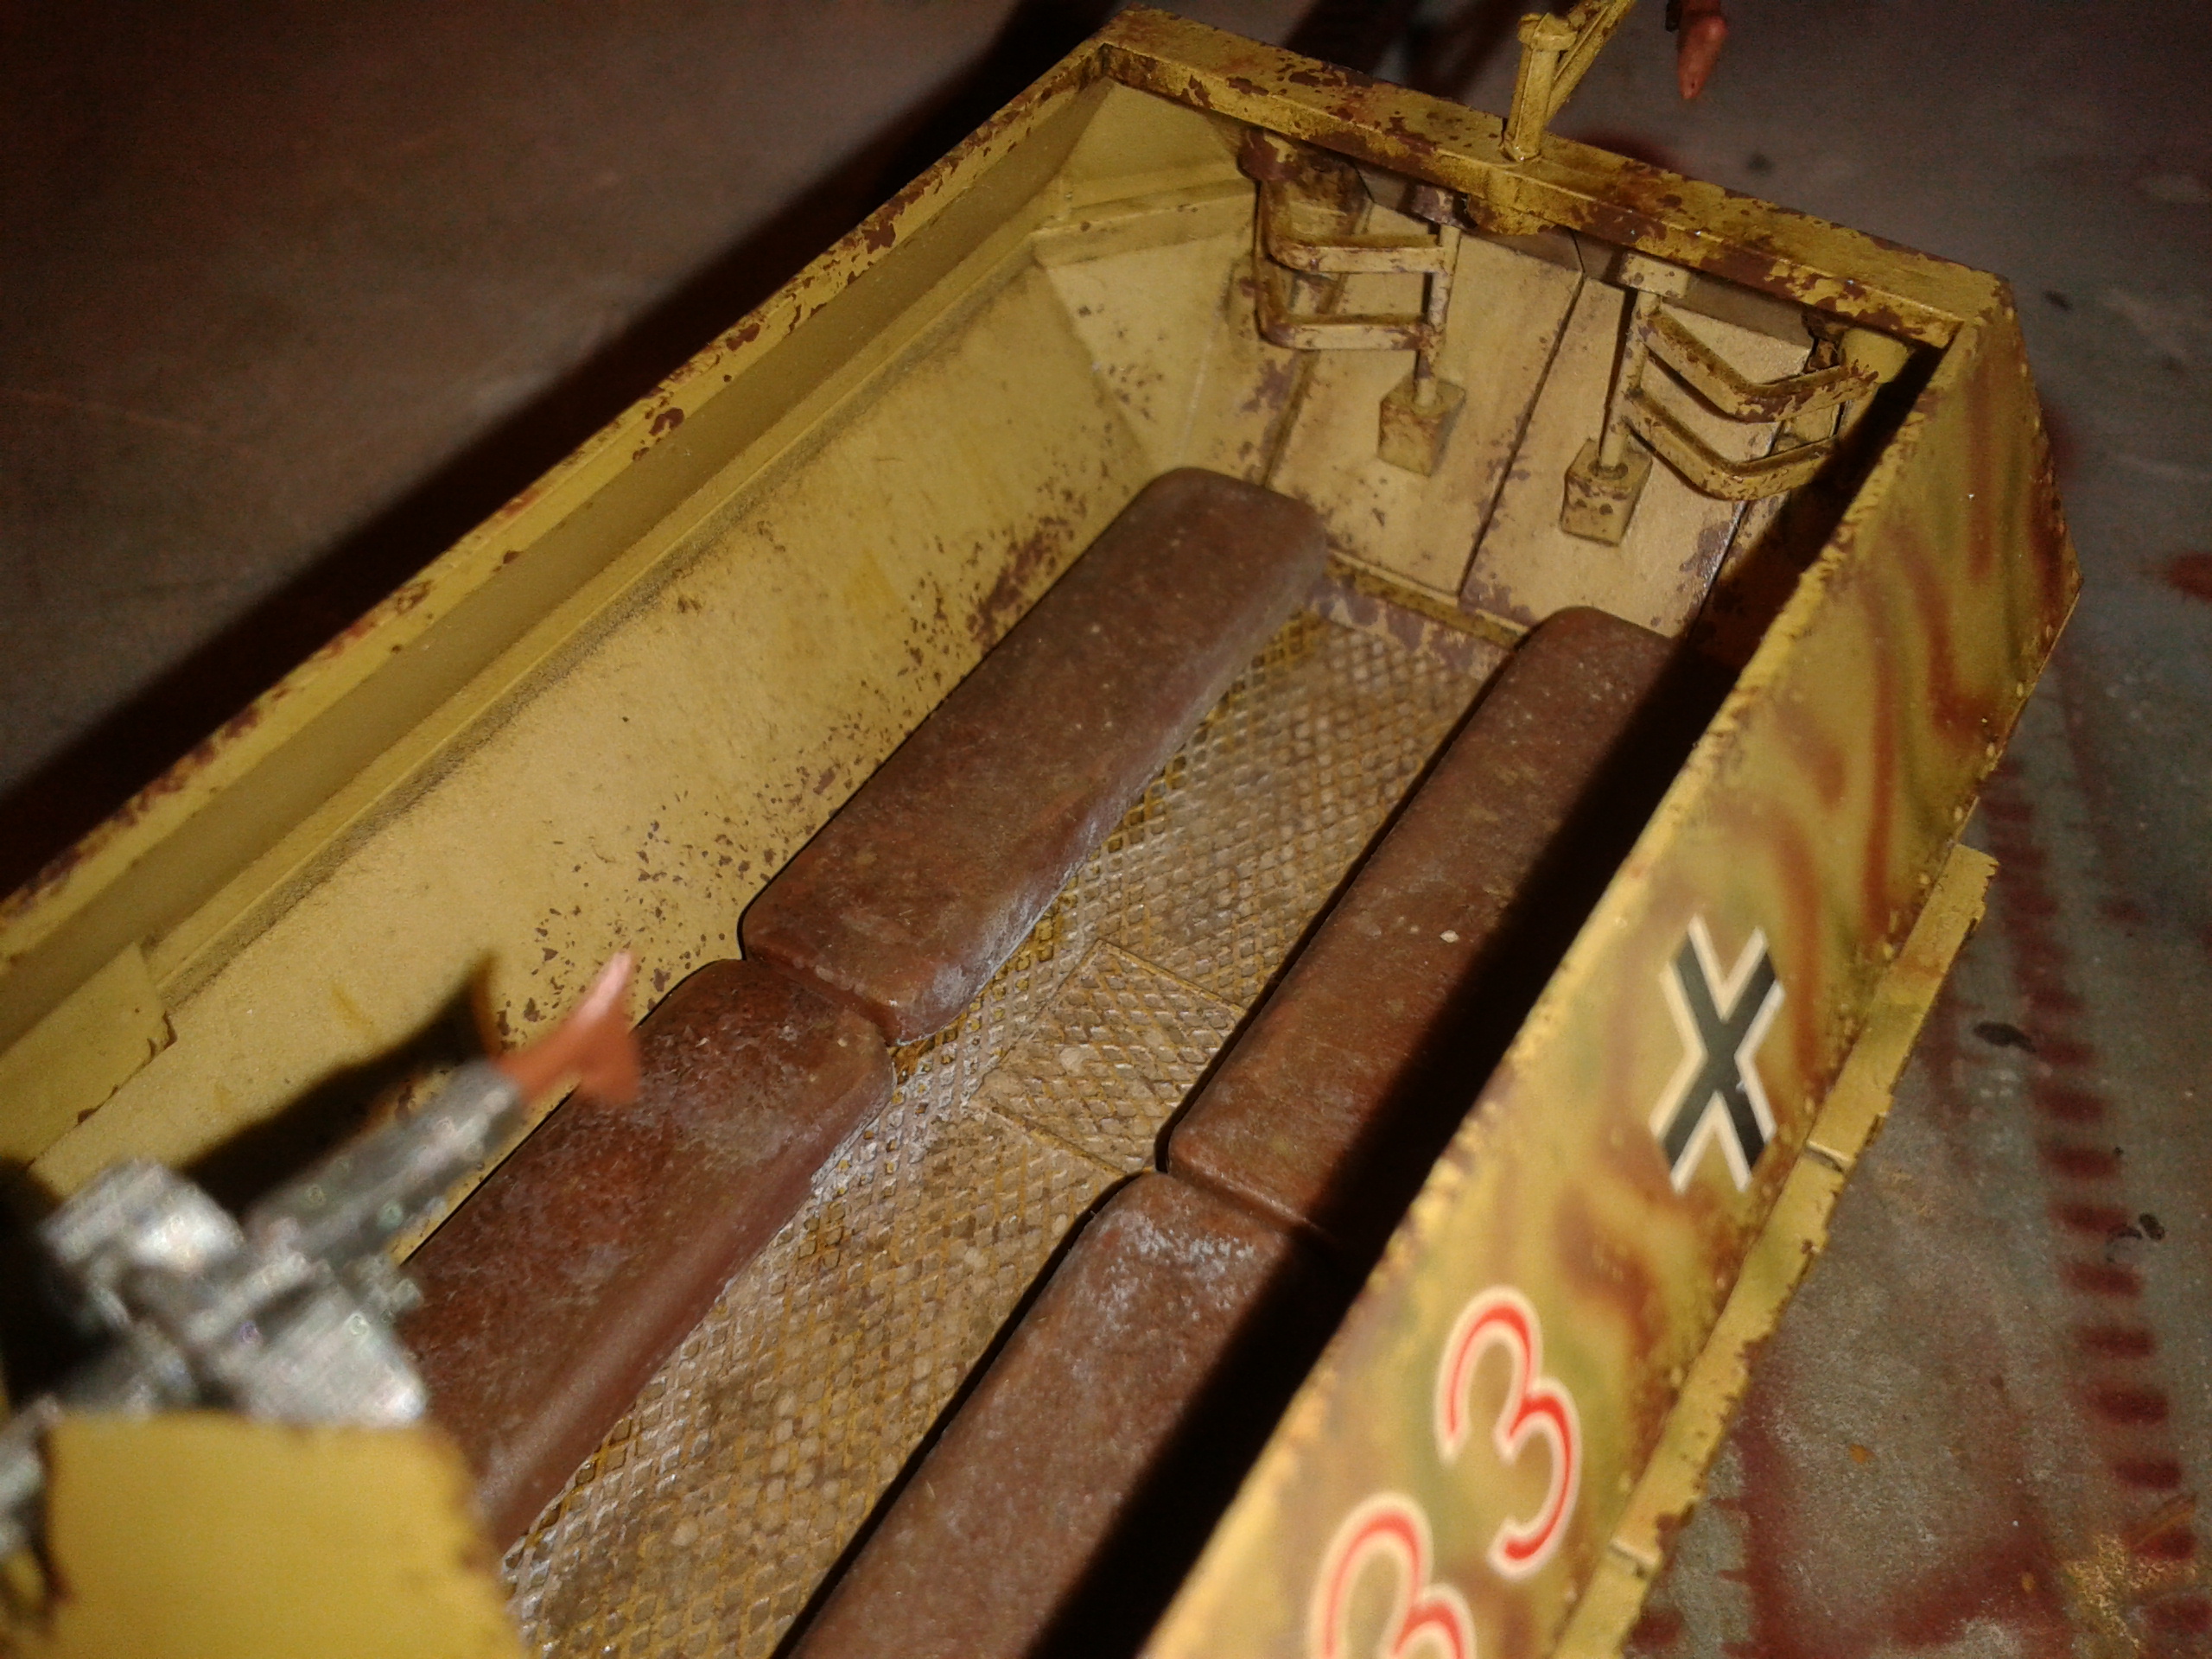
As I leave dry all bodywork I get to work with interior, this is about is color scheme and interior parts of a SdKfz 251 say that there are many variants of this half-track and we find many modifications and changes restoration.
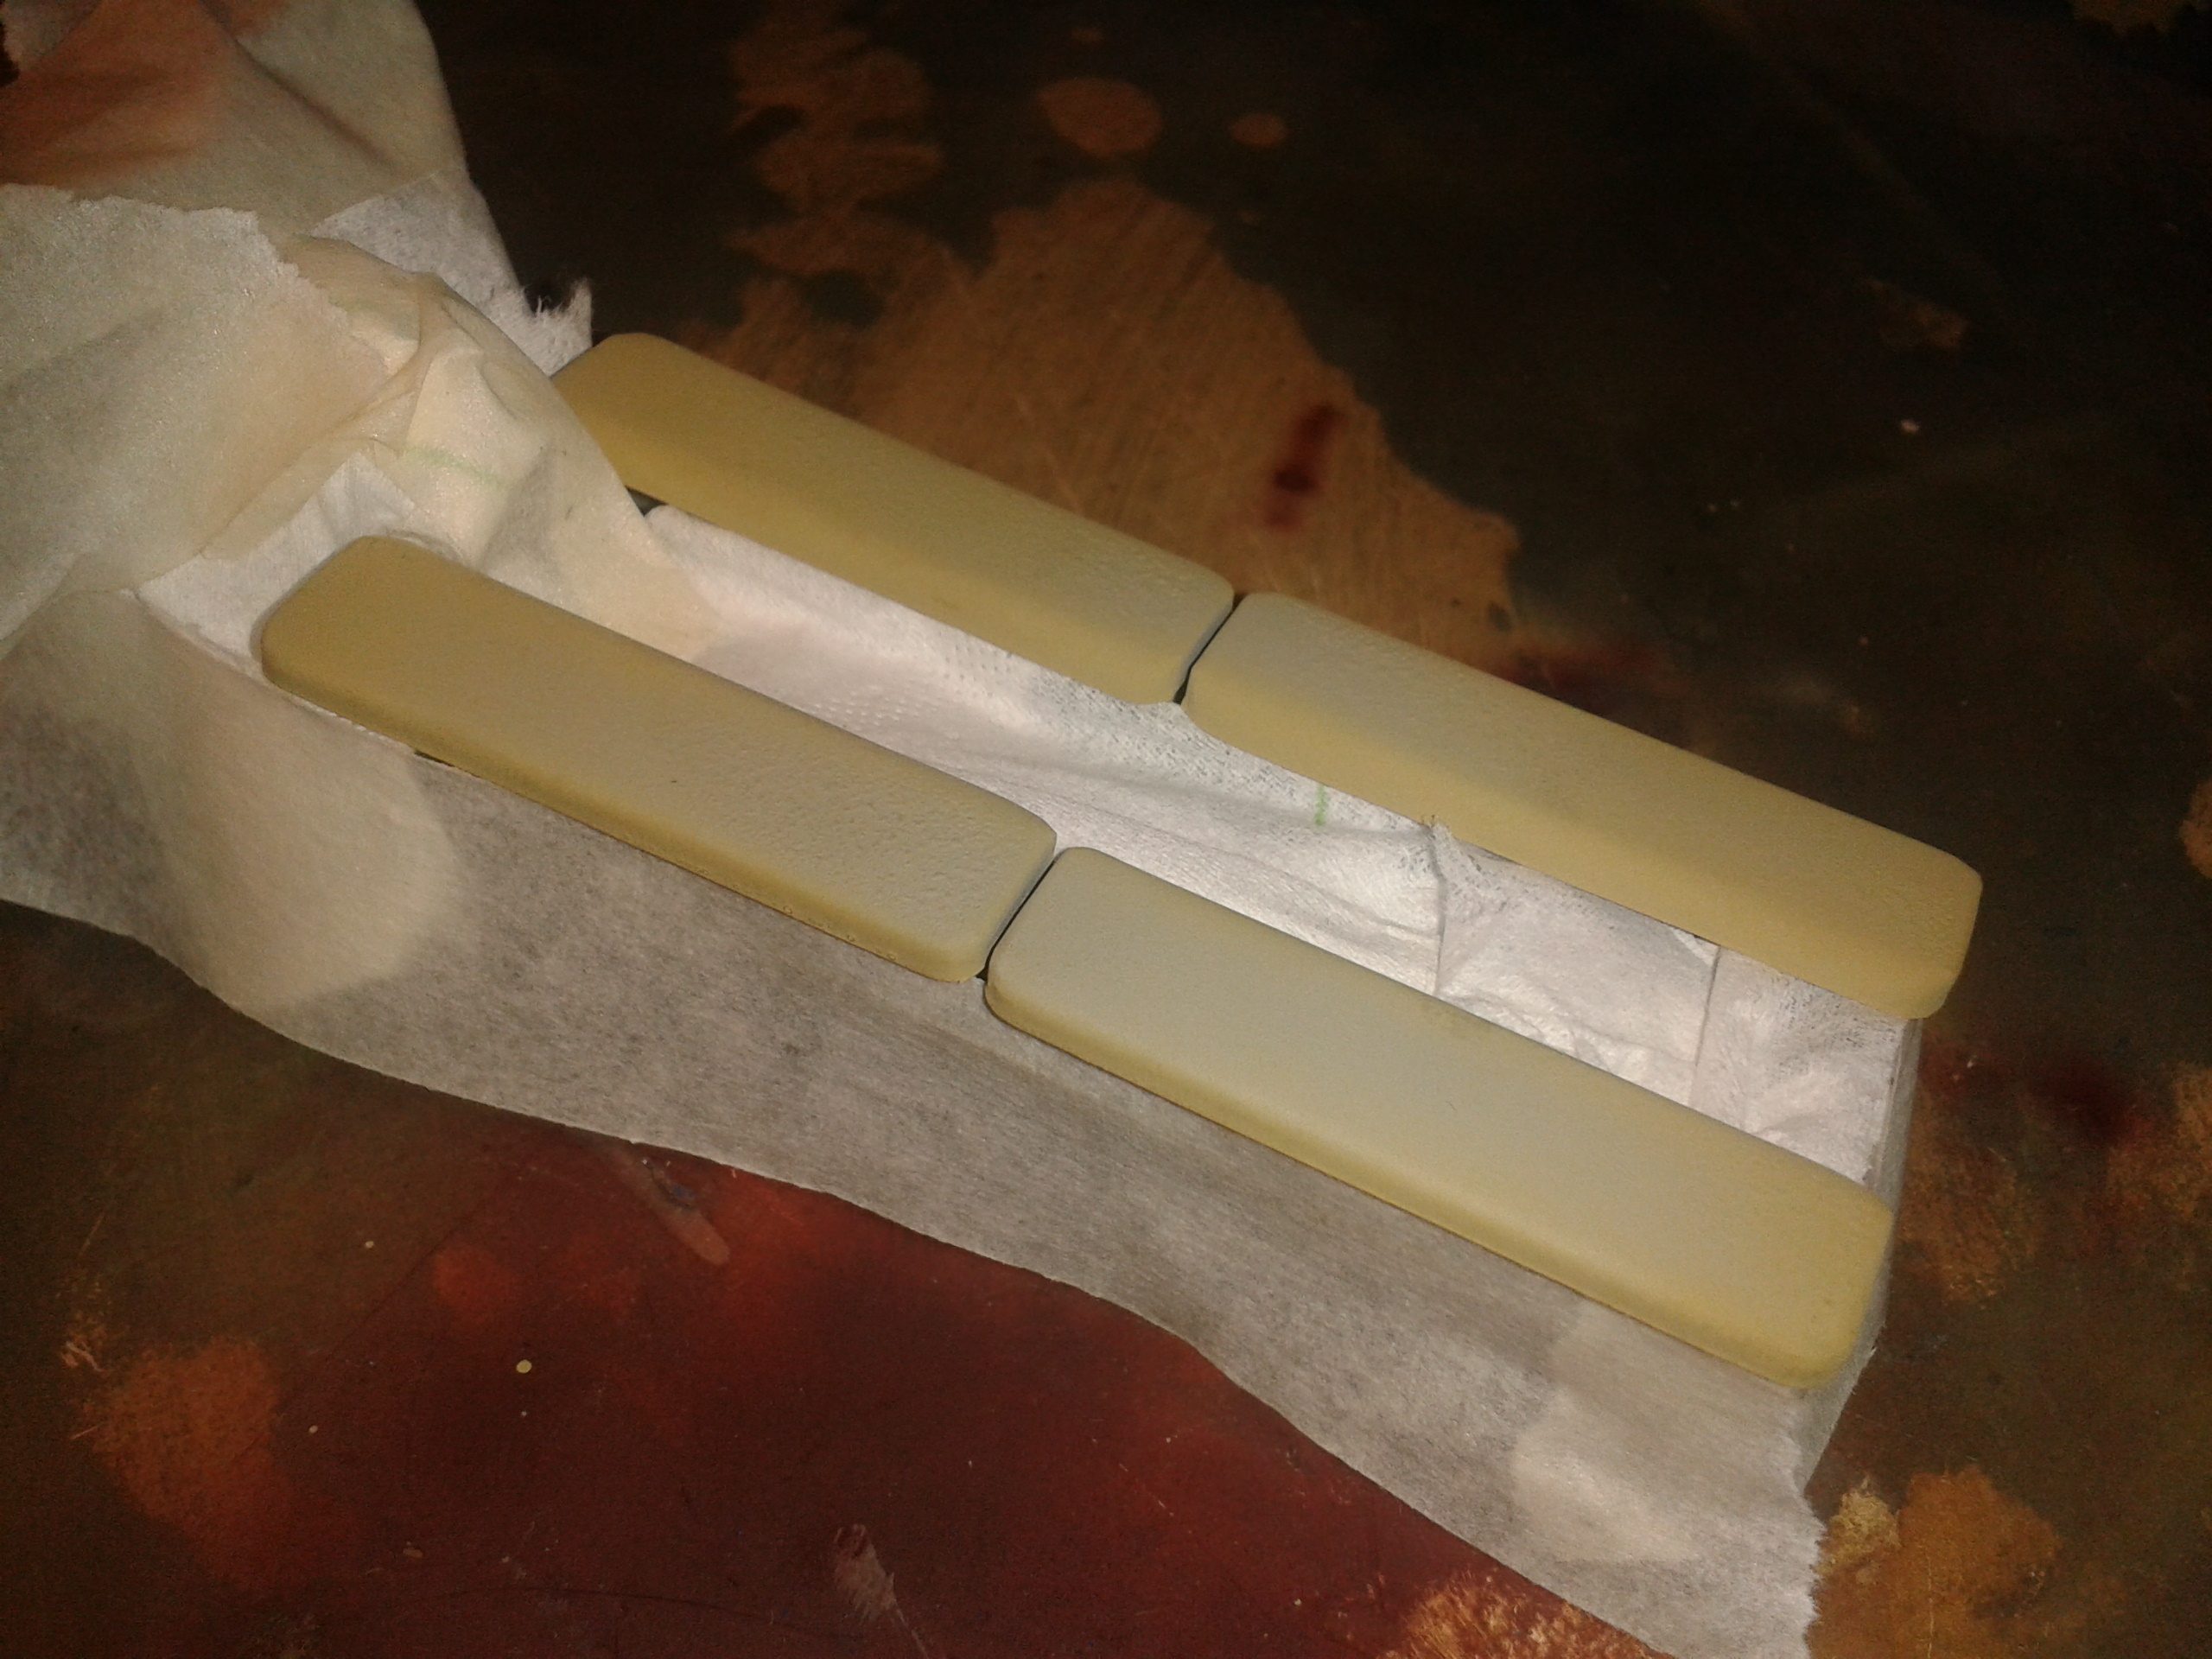
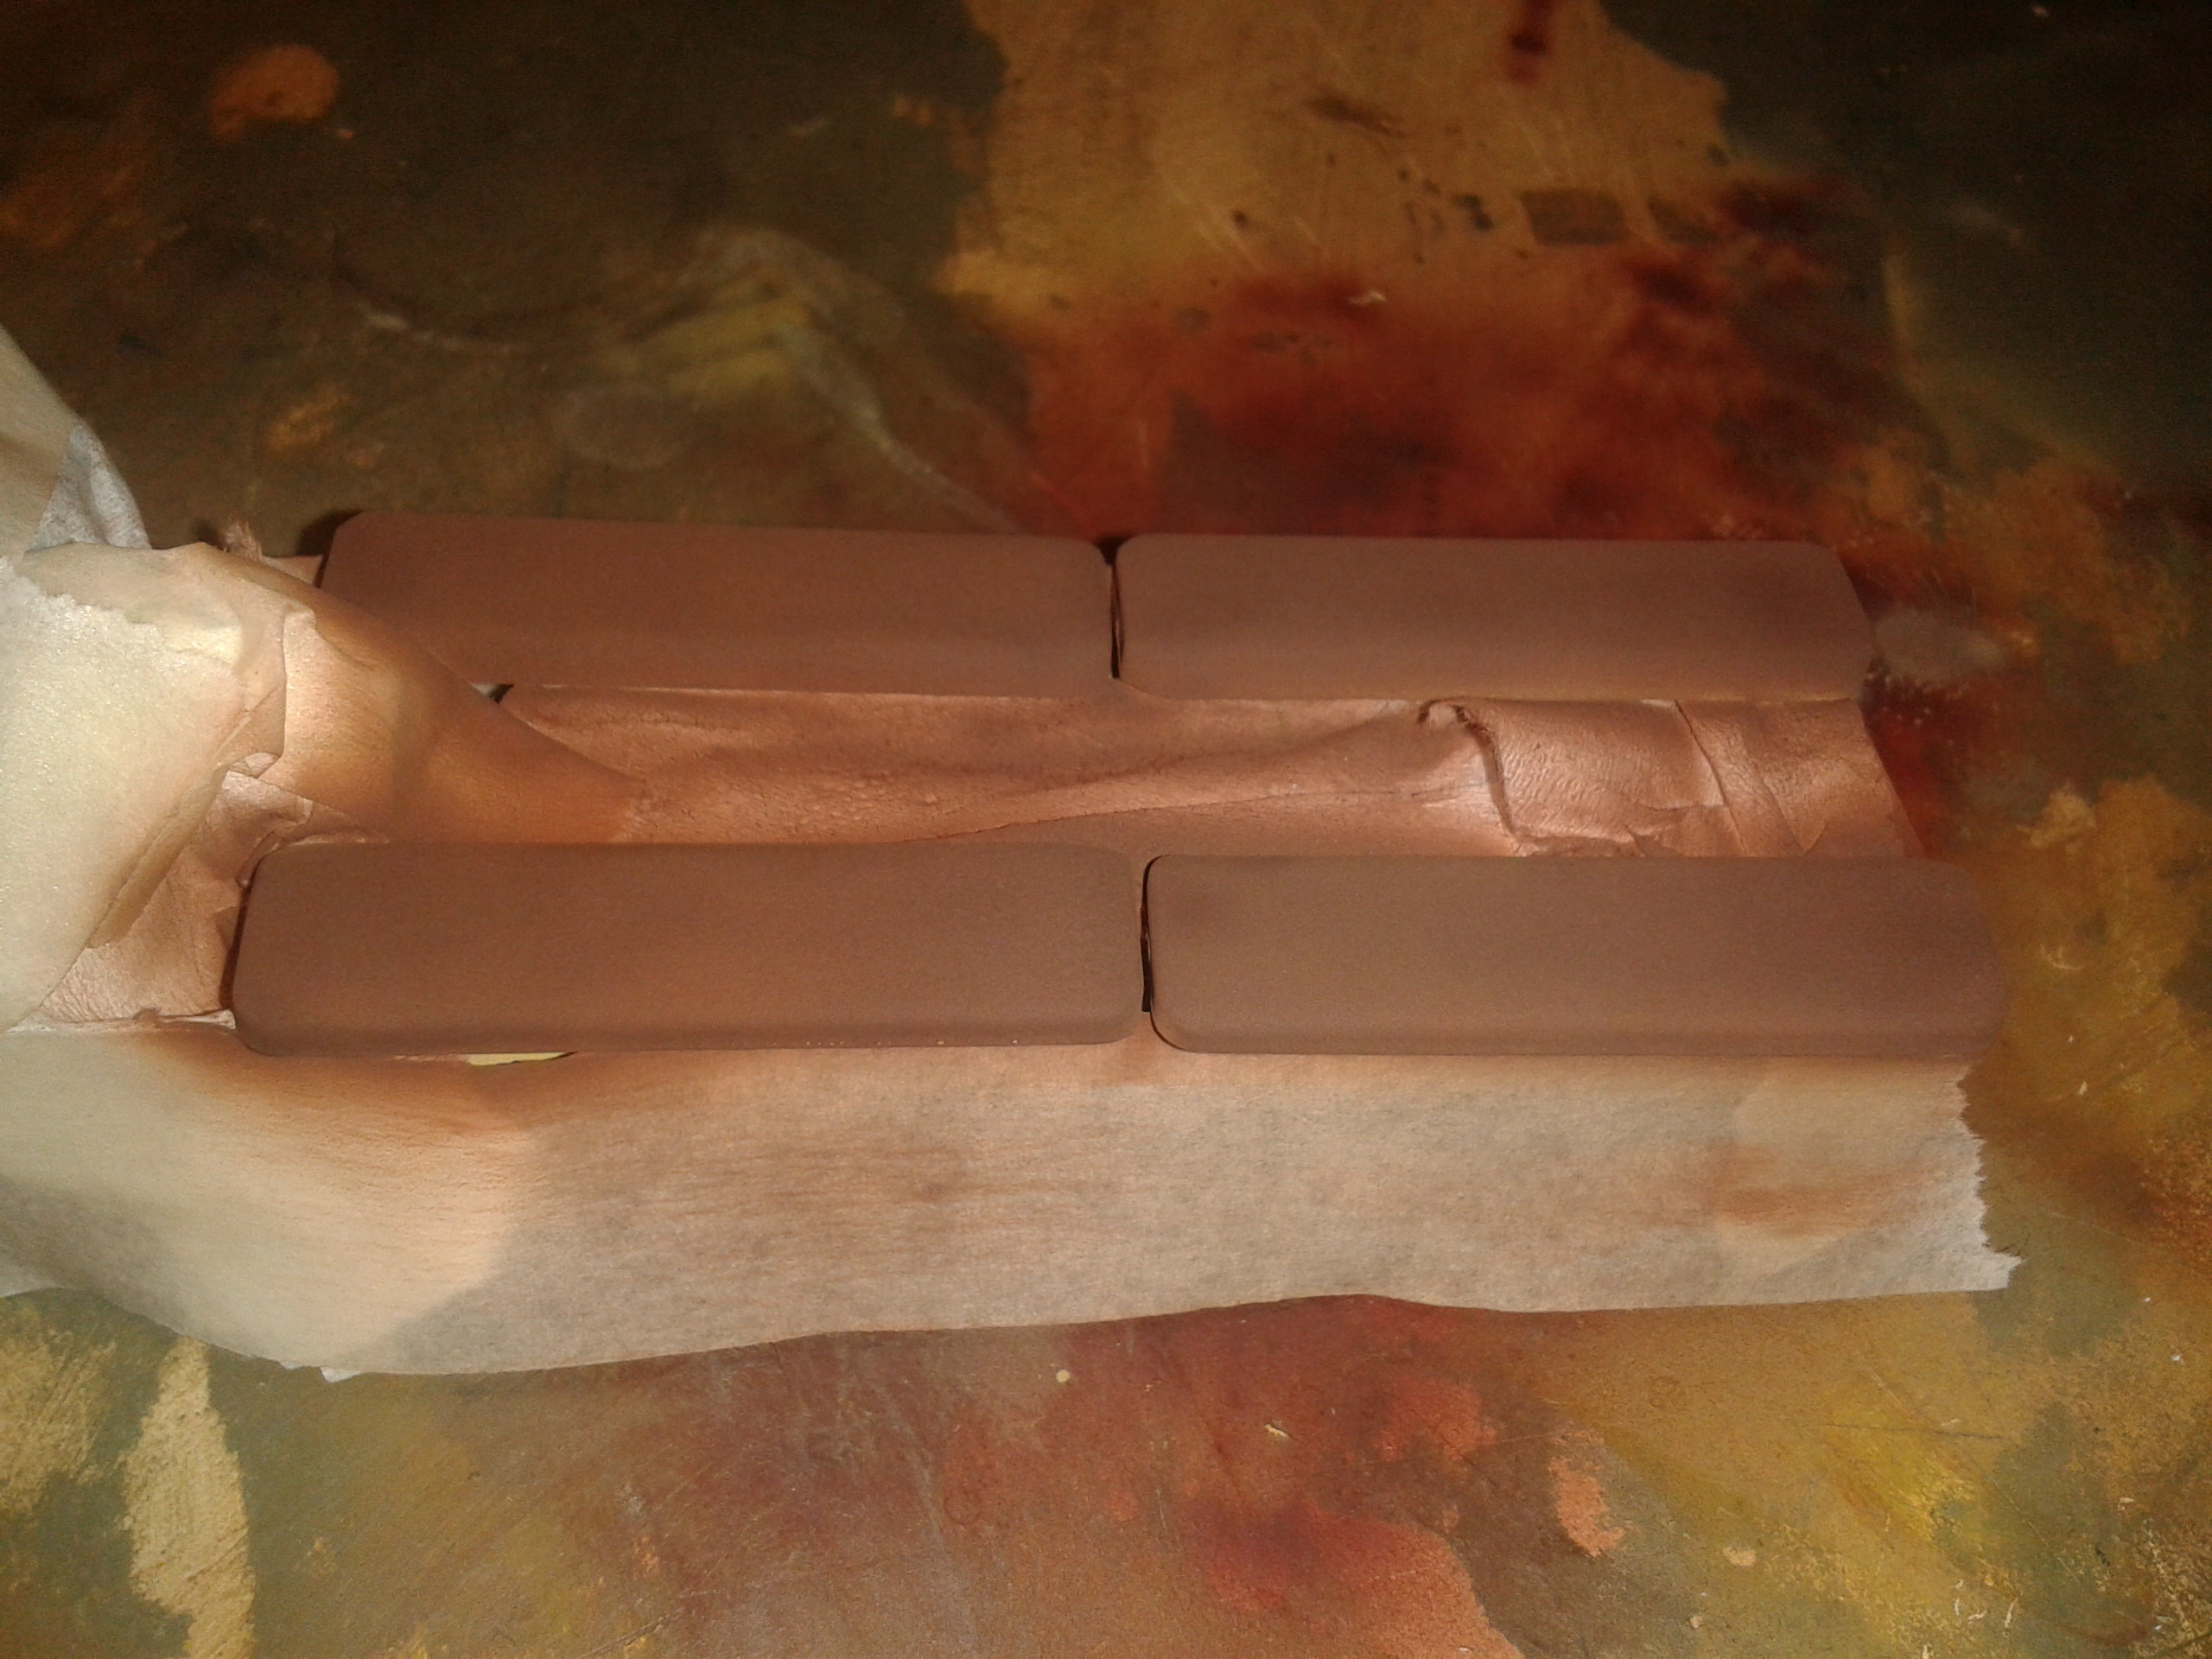
For the chairs I use various shades of brown, but before the other parties to protect not paint with airbrush.
 Now while we dry the inside, let's get down to work with the outside and paint some details the semioruga, as tires, exhaust, tools etc.
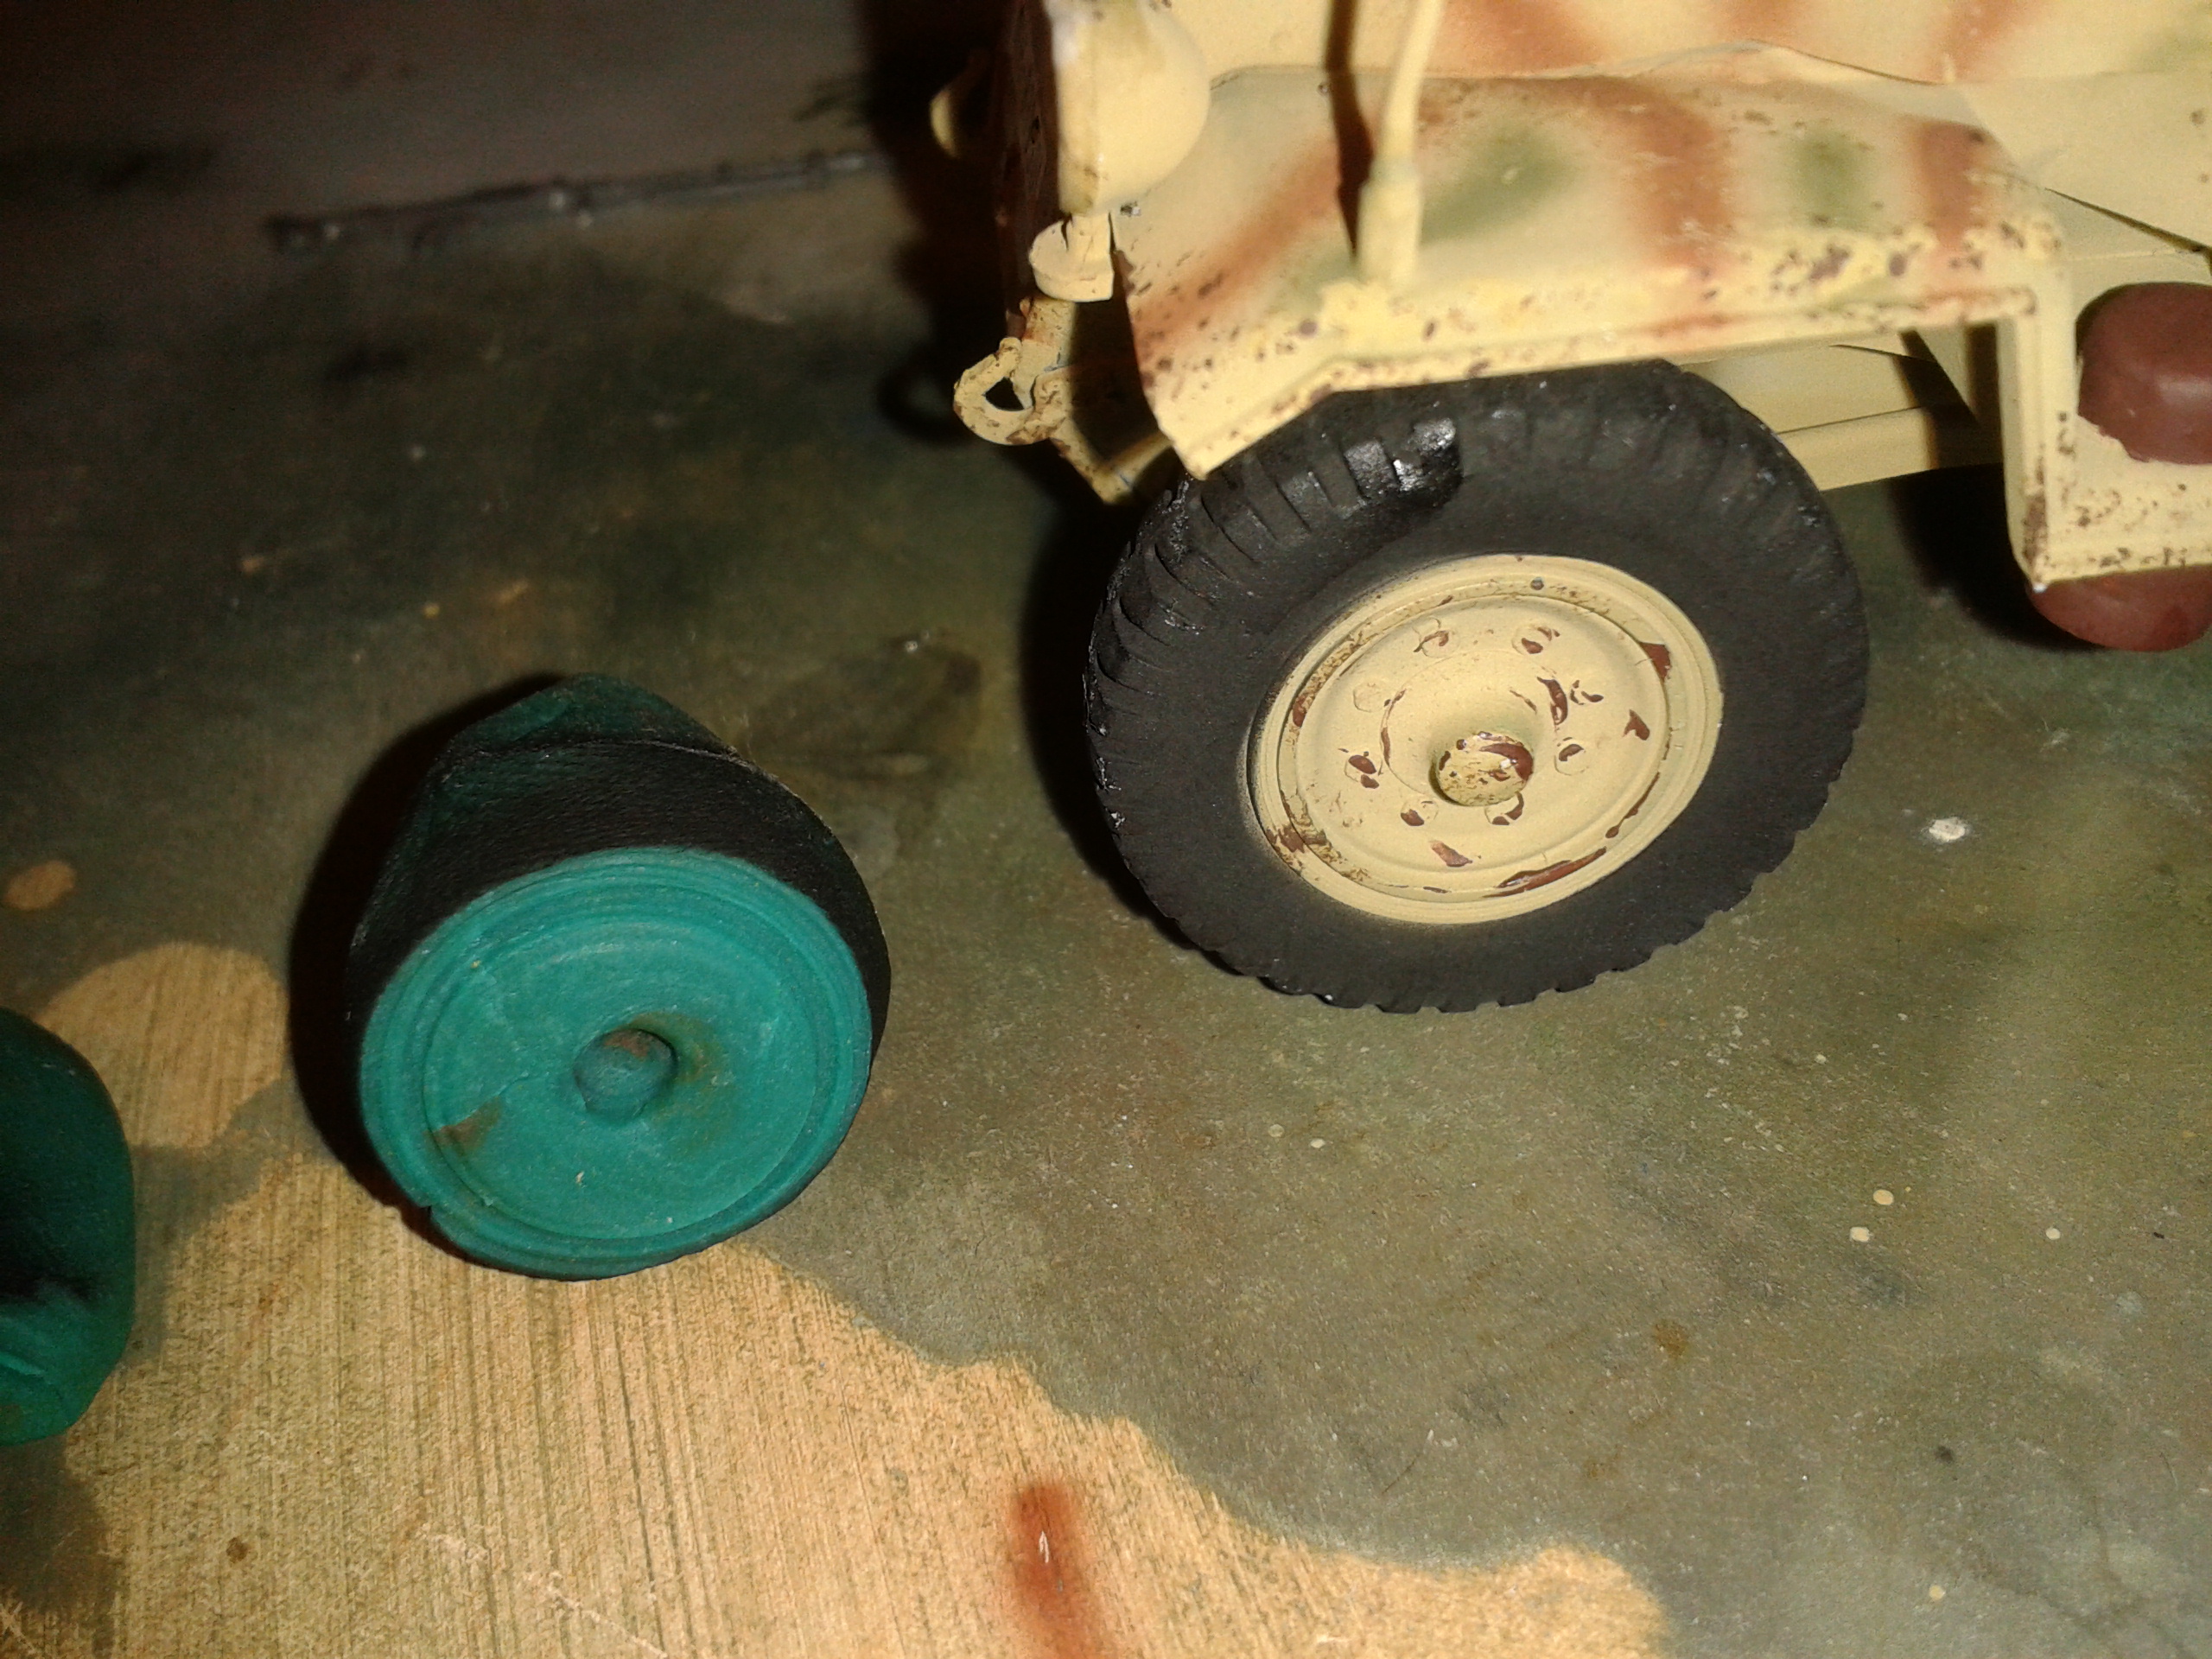
For tires I use the color XF-1, Tamiya matt black and I think a template with clay to not paint the inside of the rim, the result is pretty good.
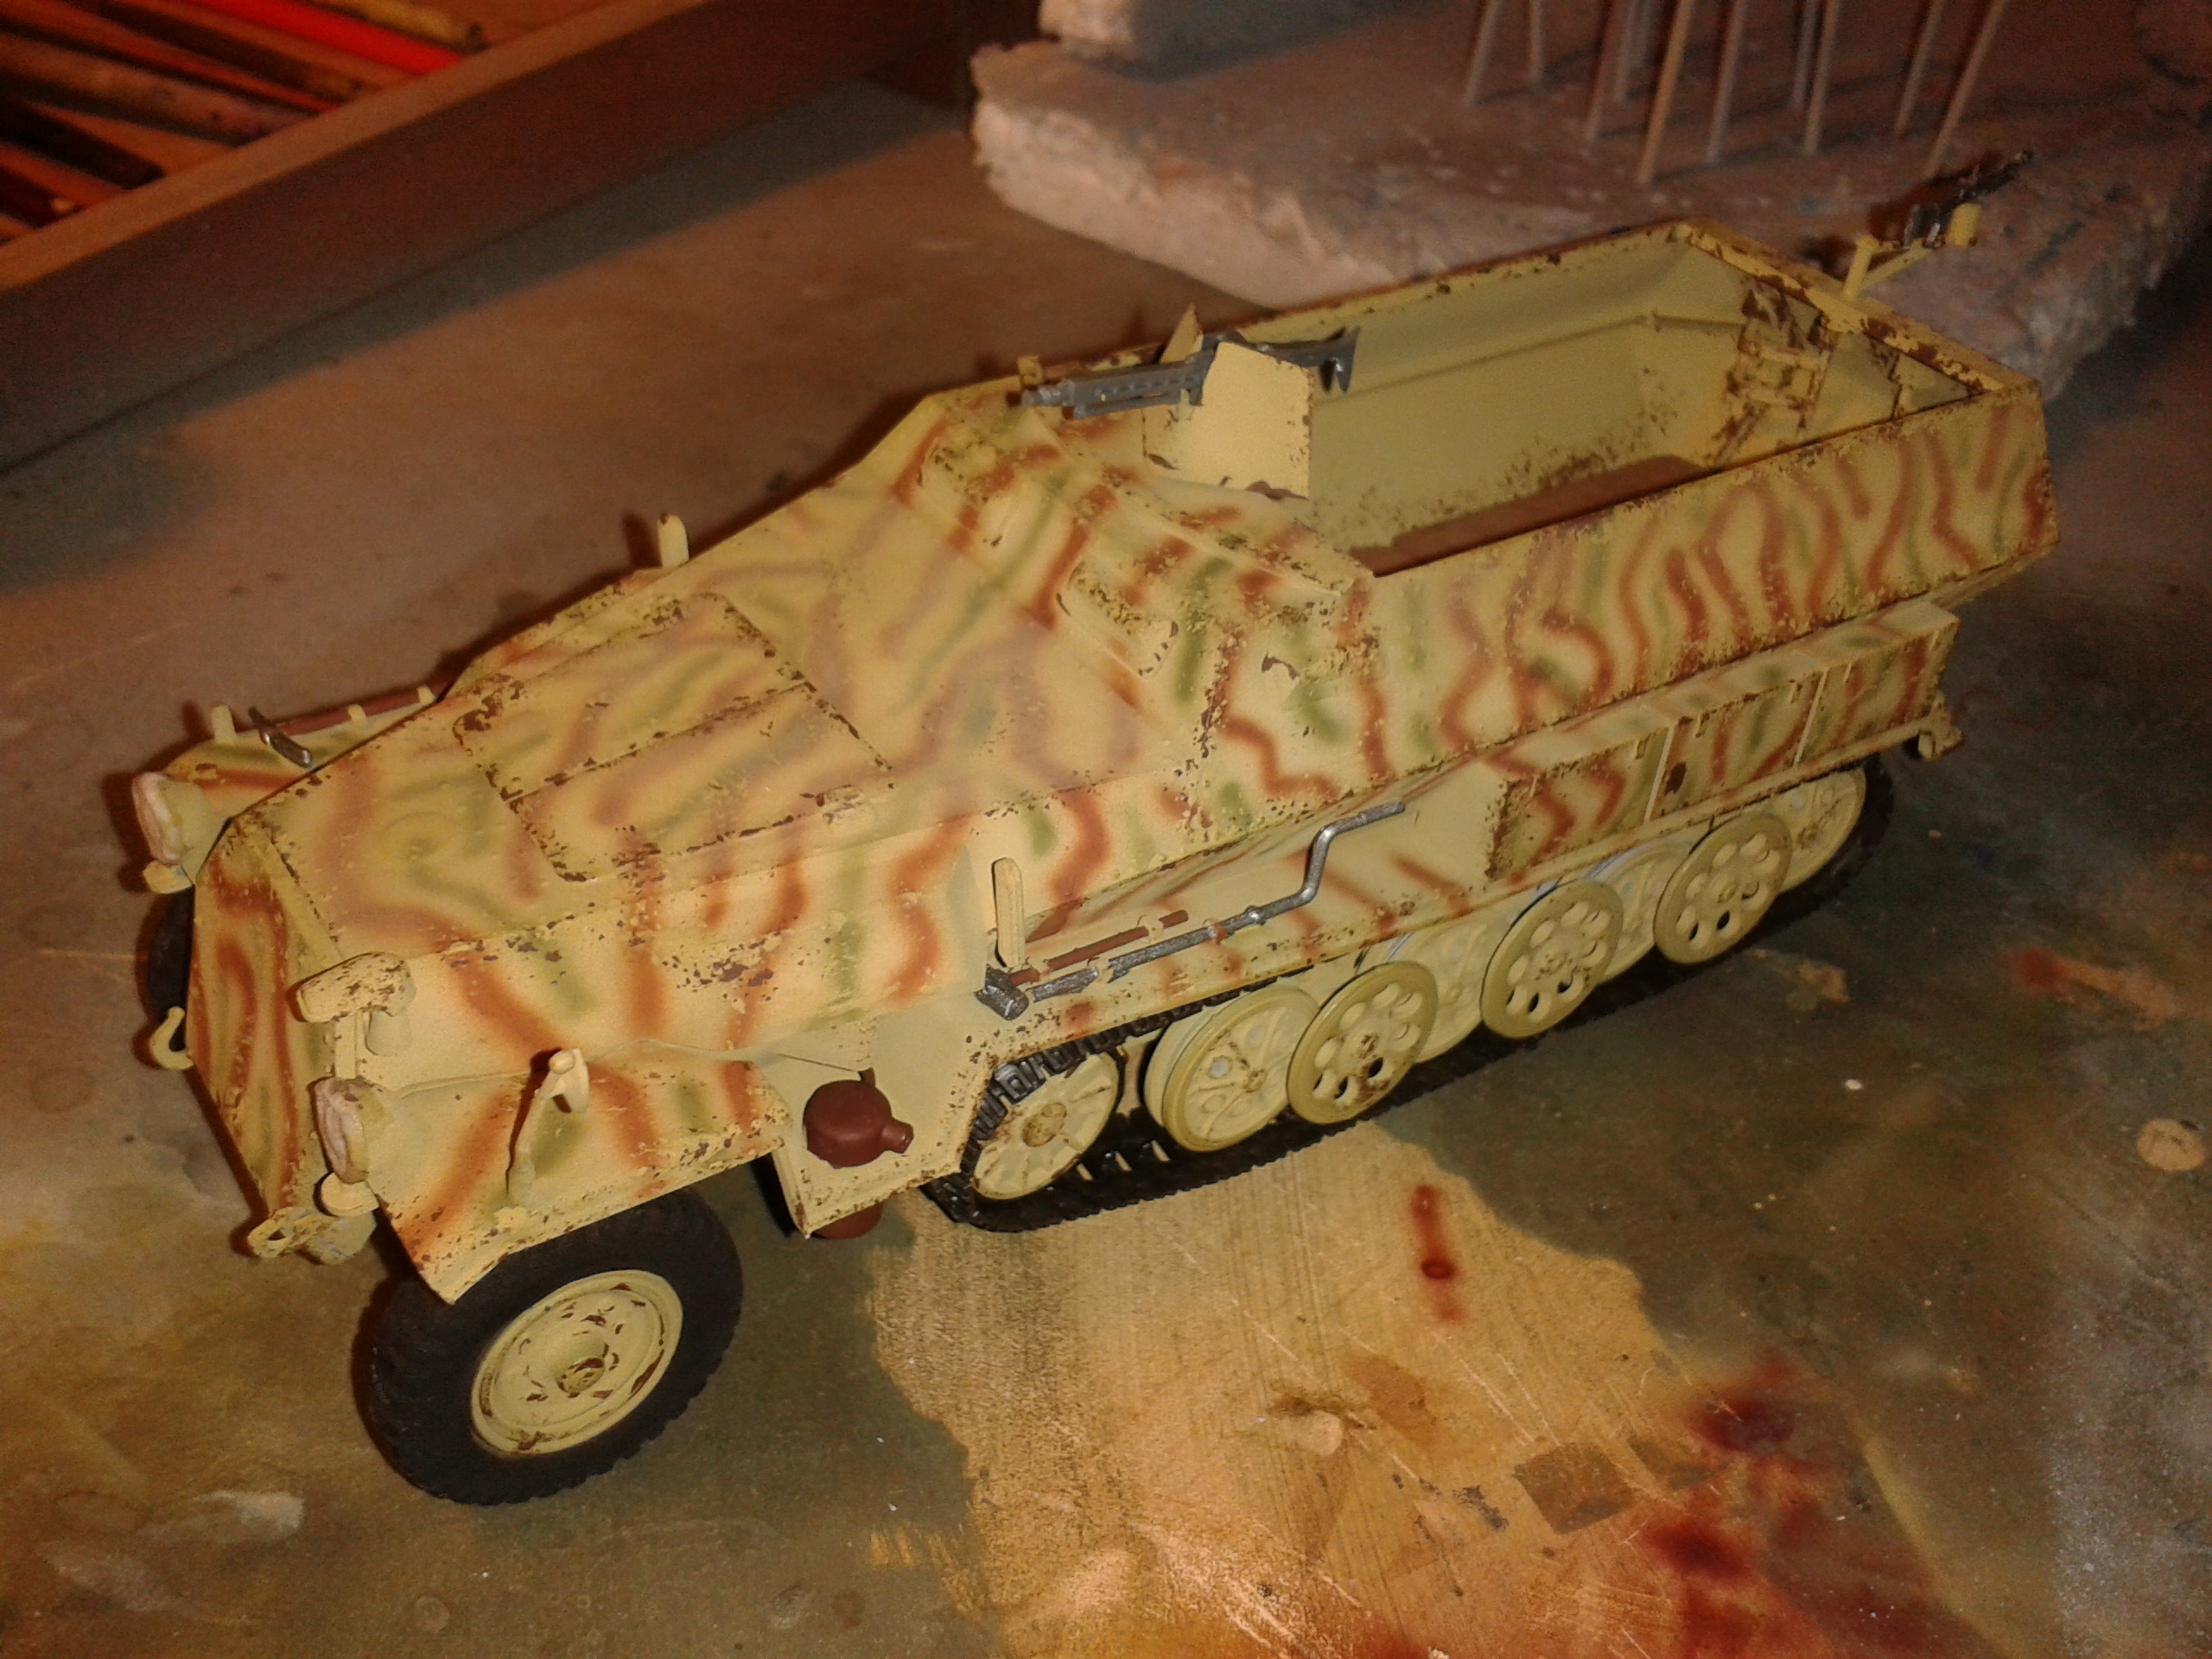
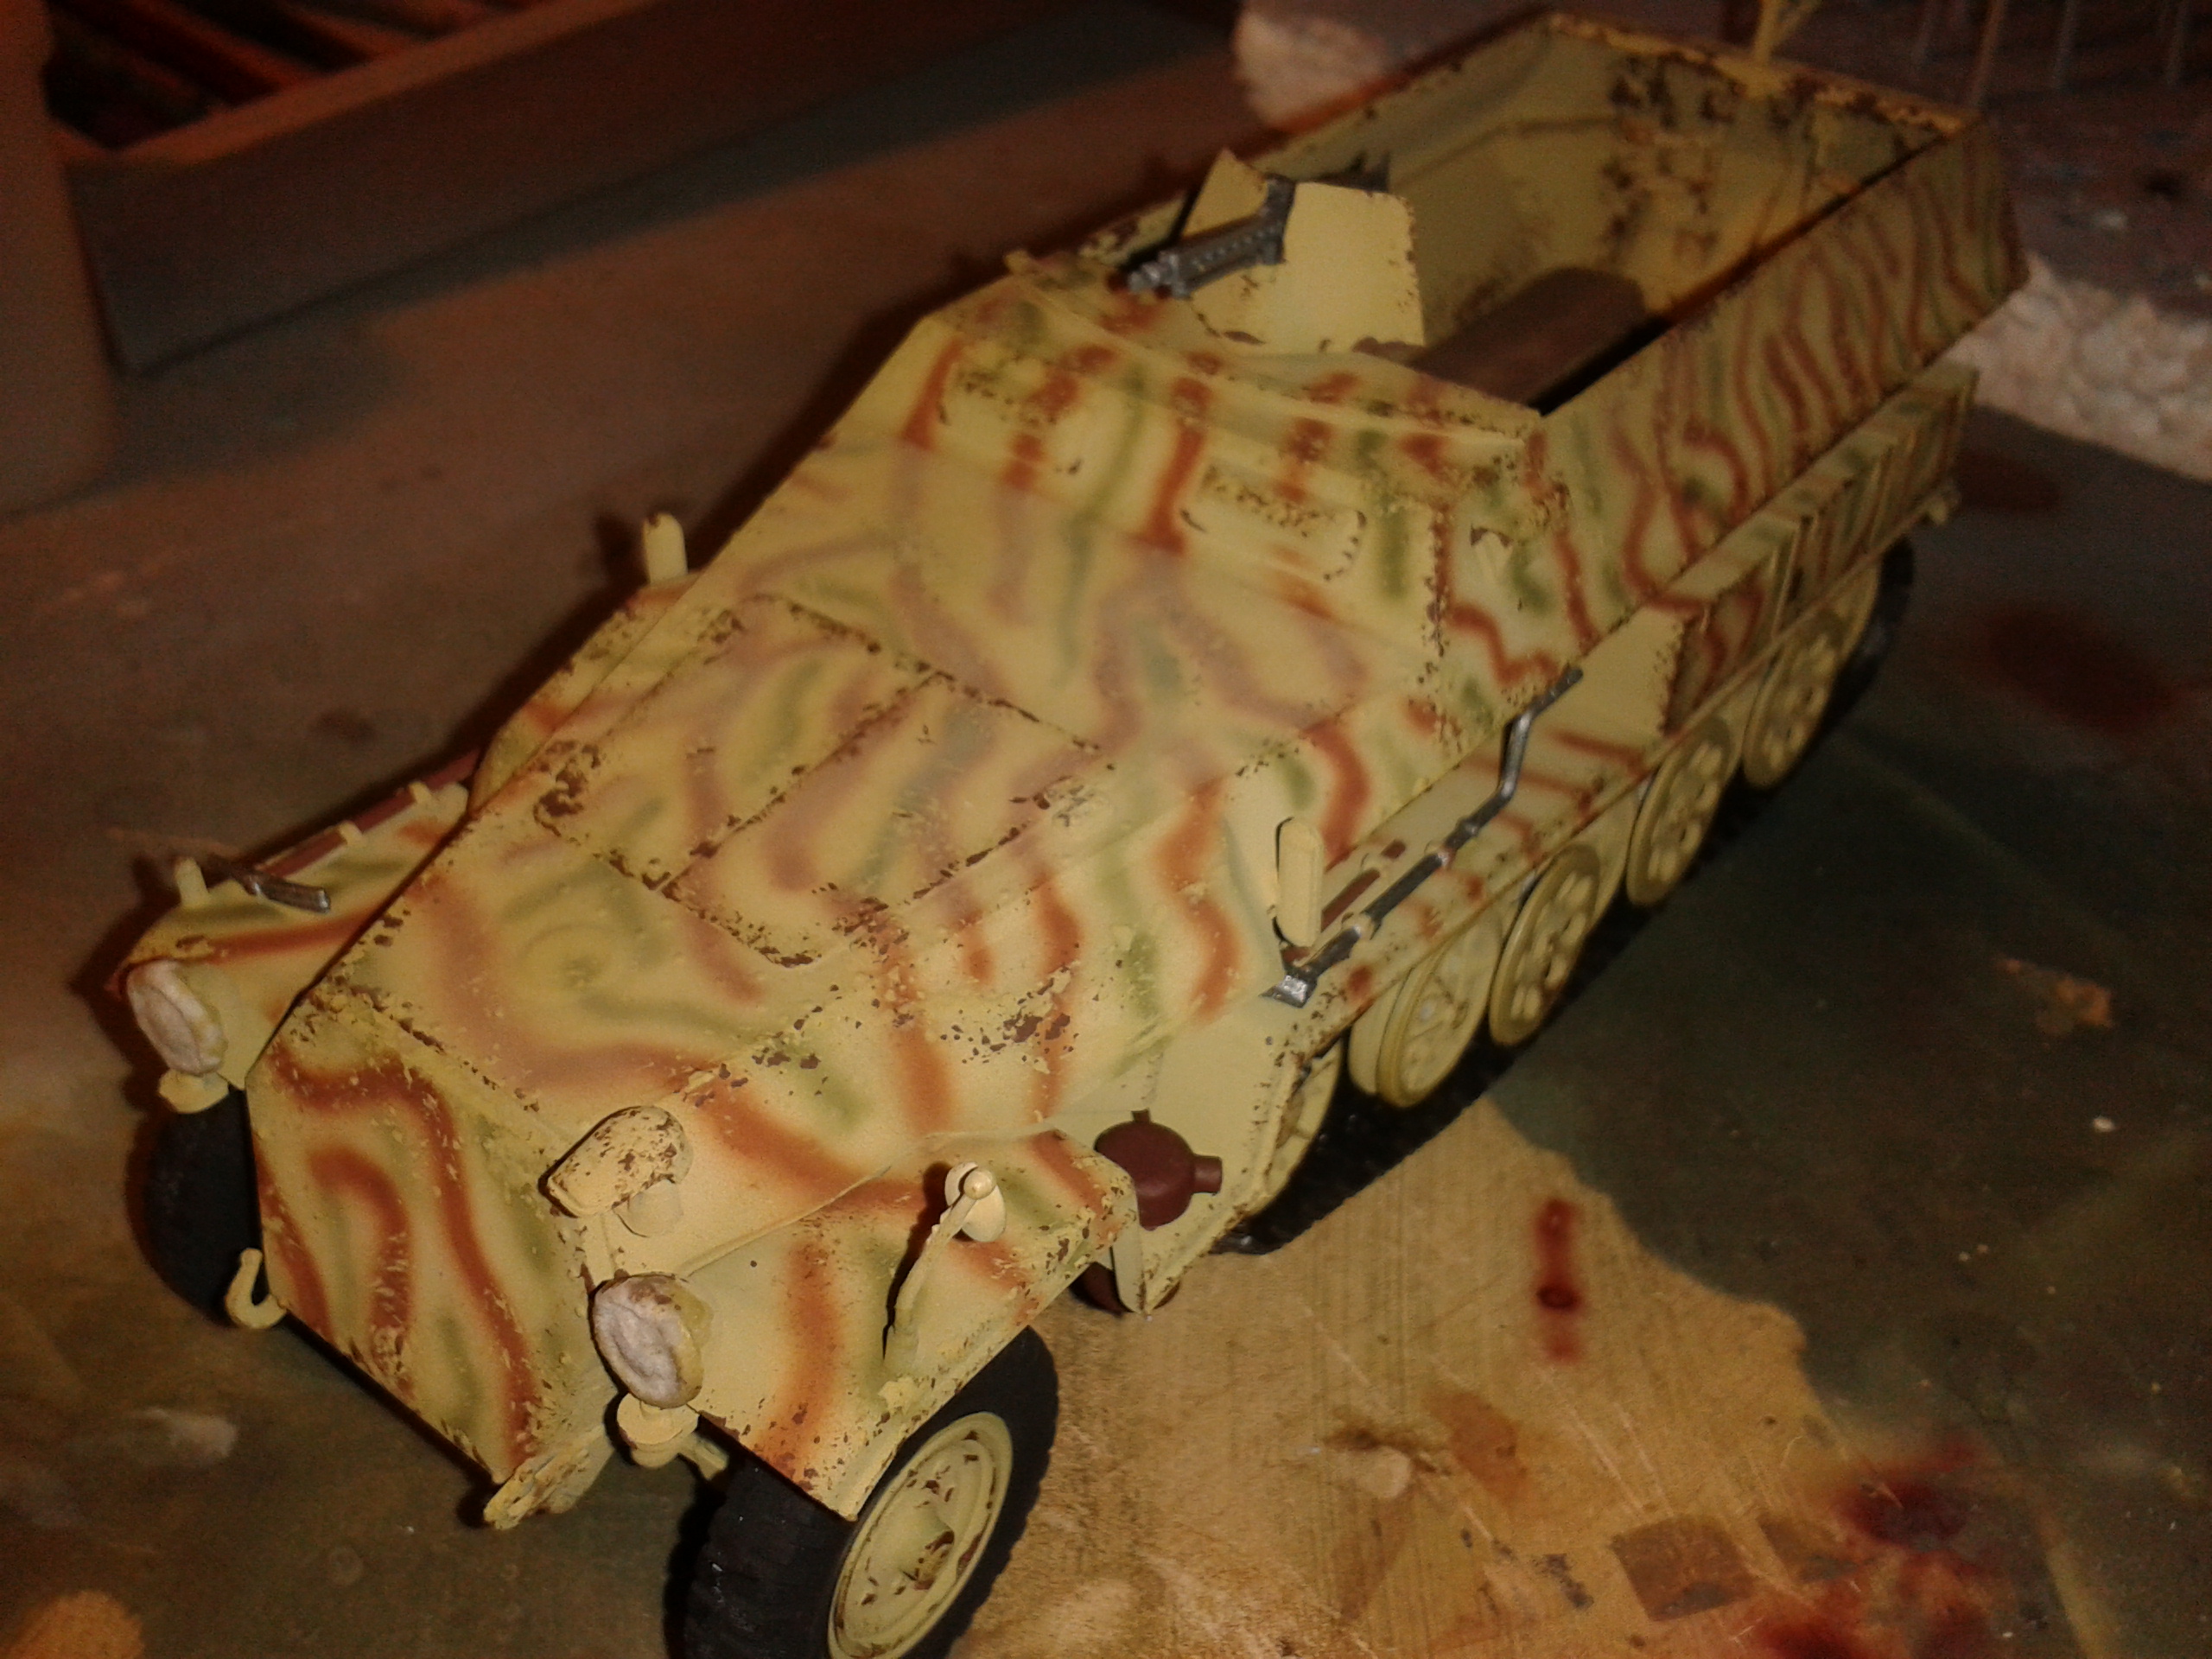
 I have also begun to create descorches colored reddish brown XF-64 and the help of a small sponge.
 Inside the car I do the same process with the sponge on the parts with more wear and friction, shocks etc.
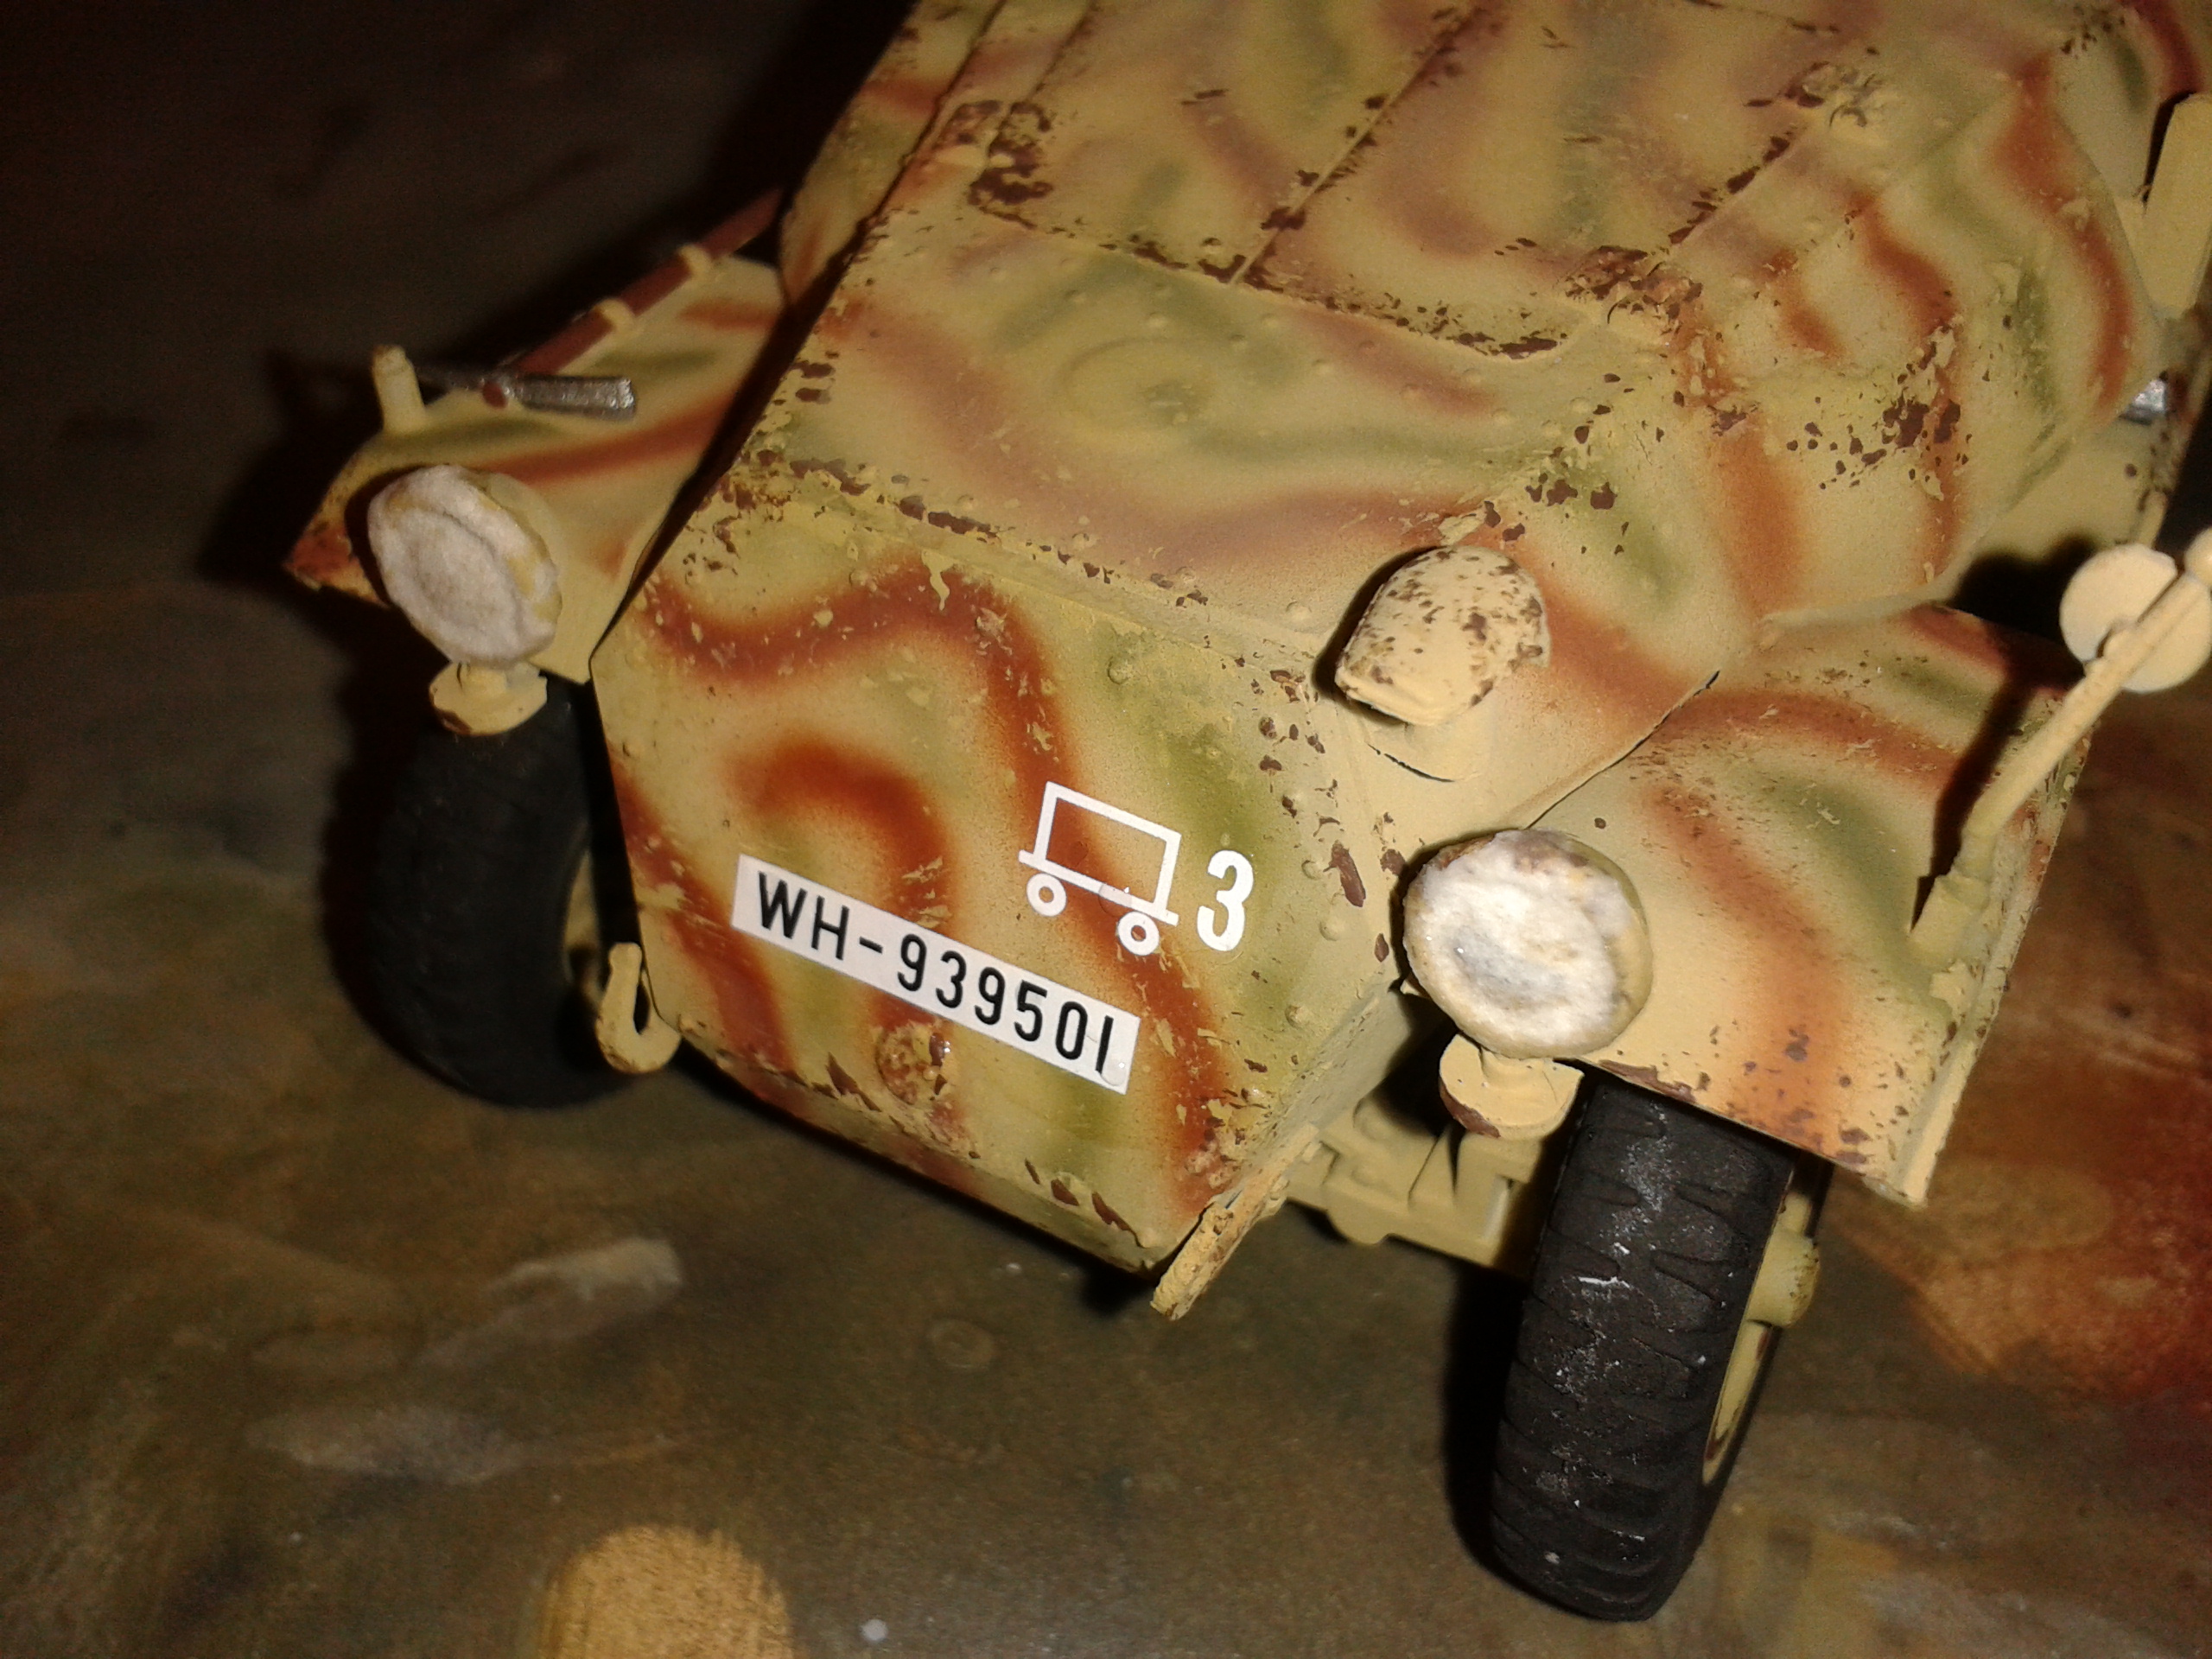
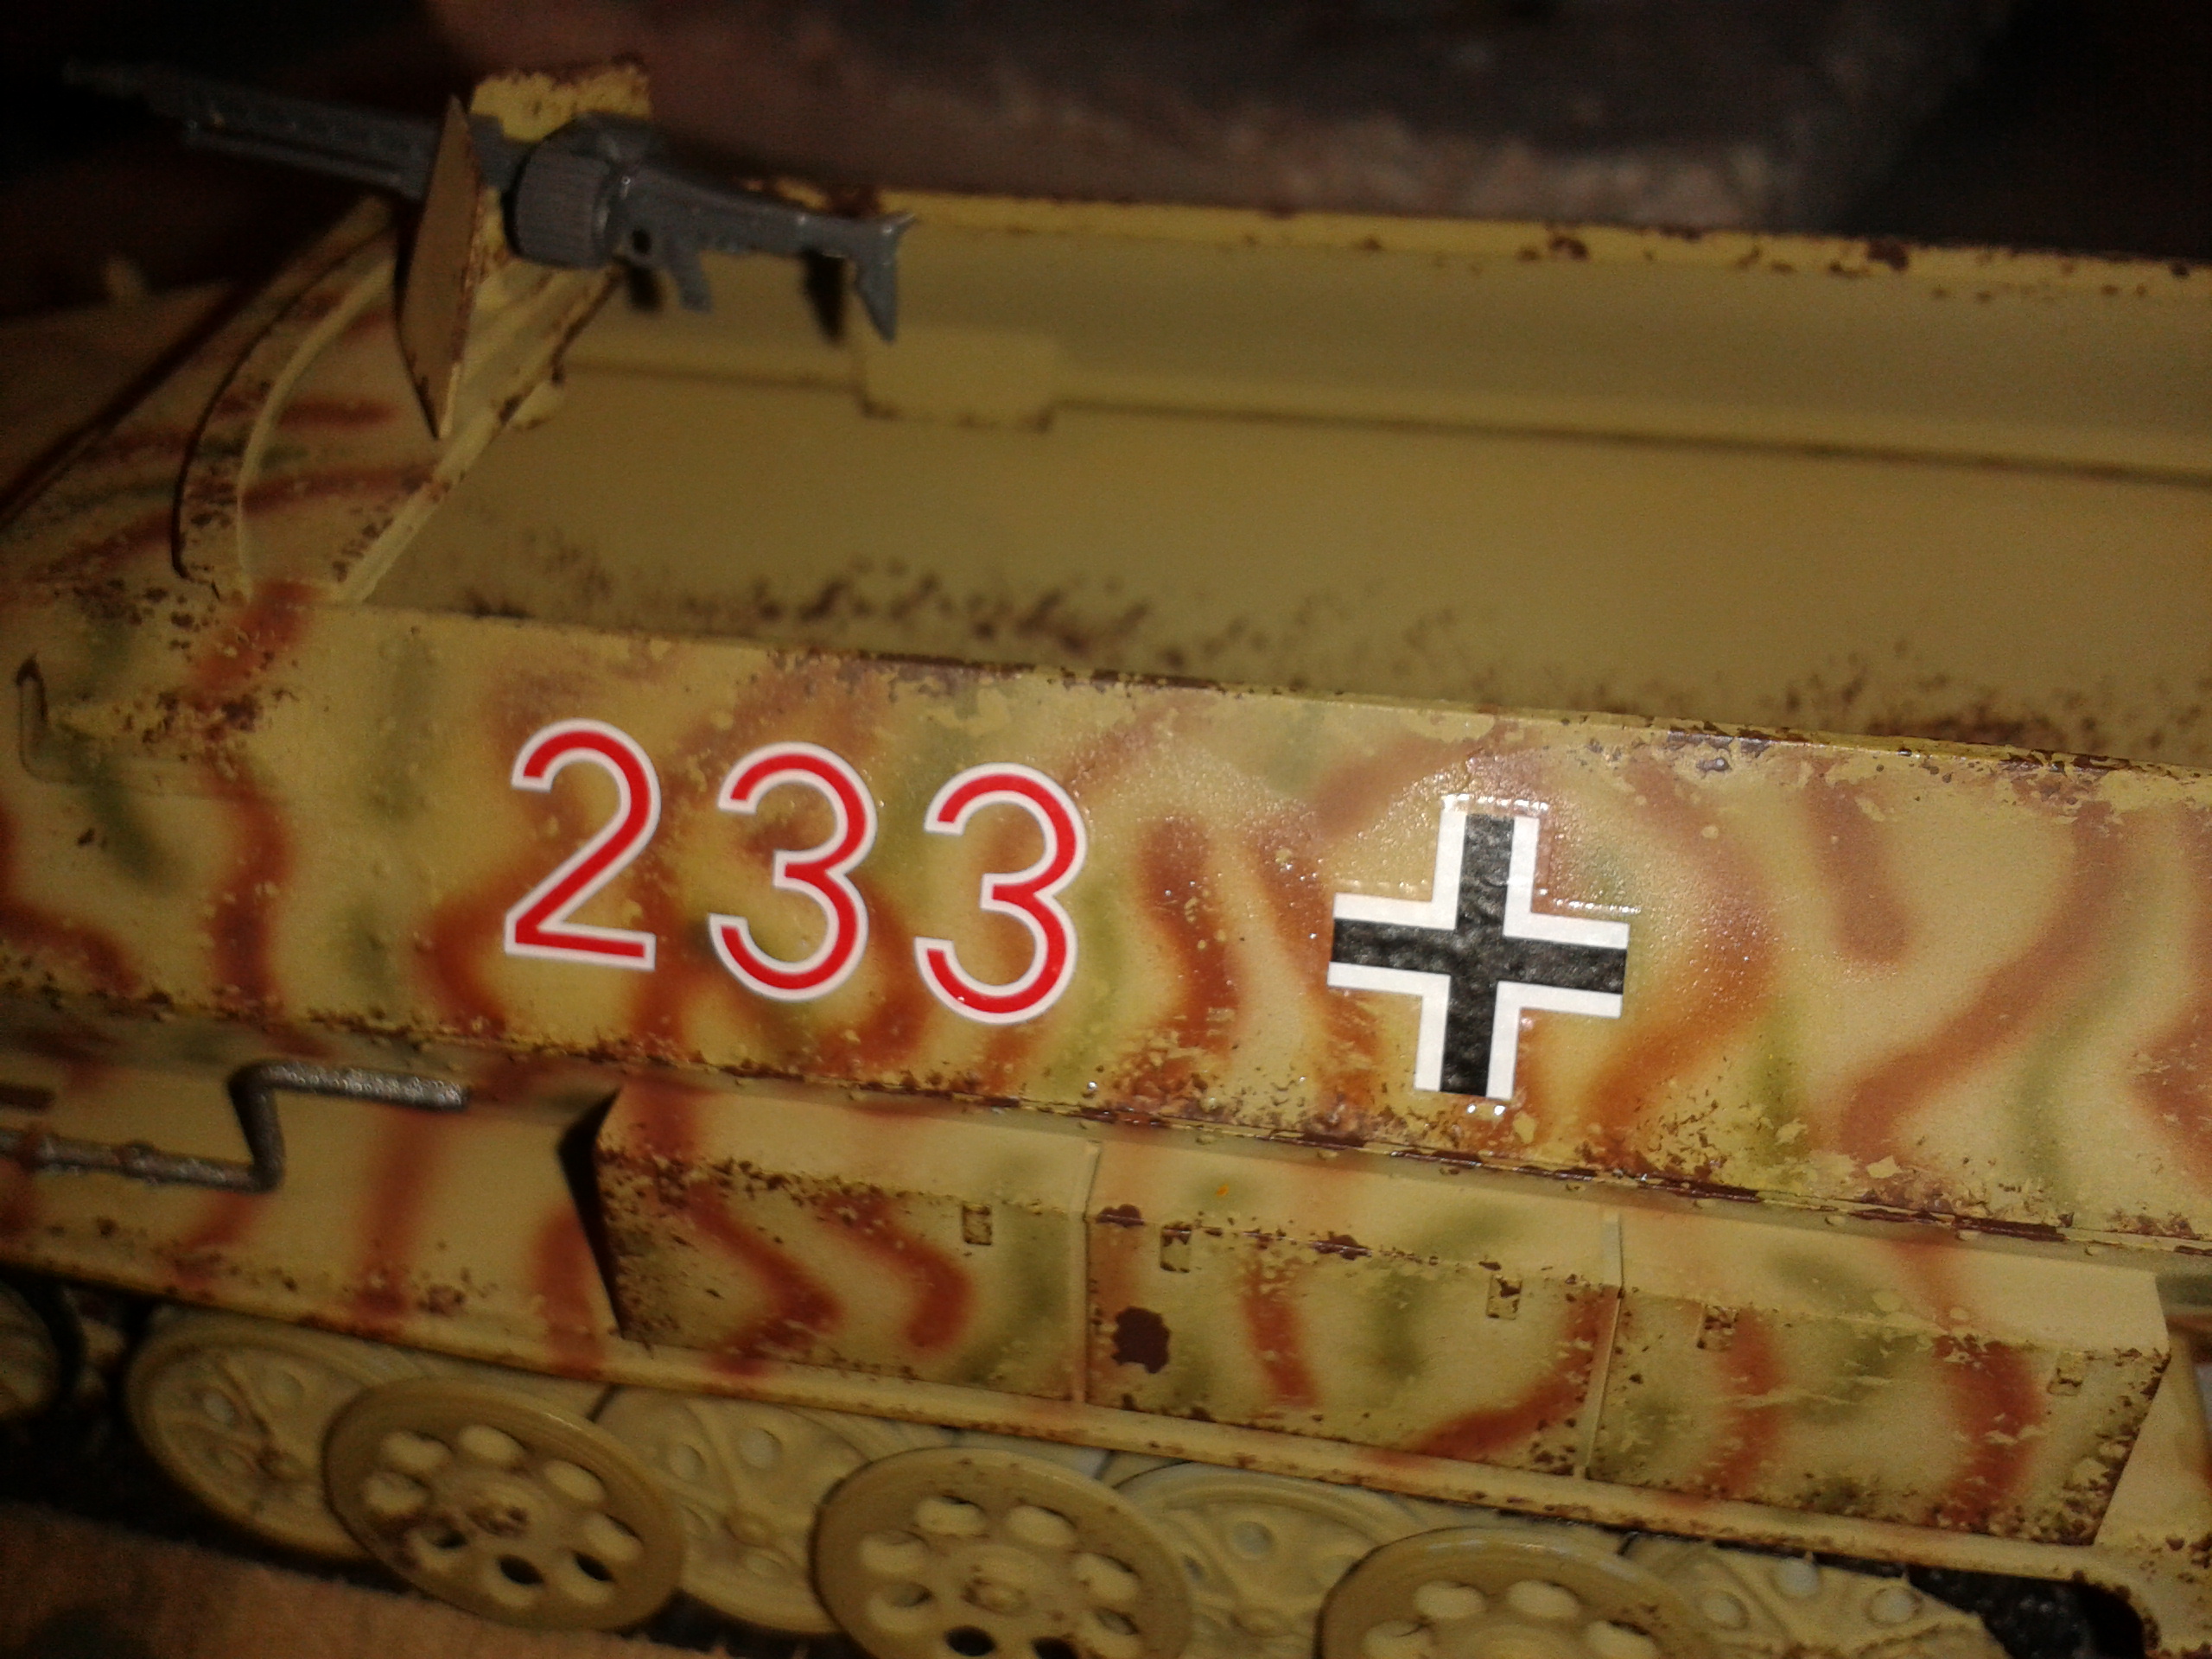
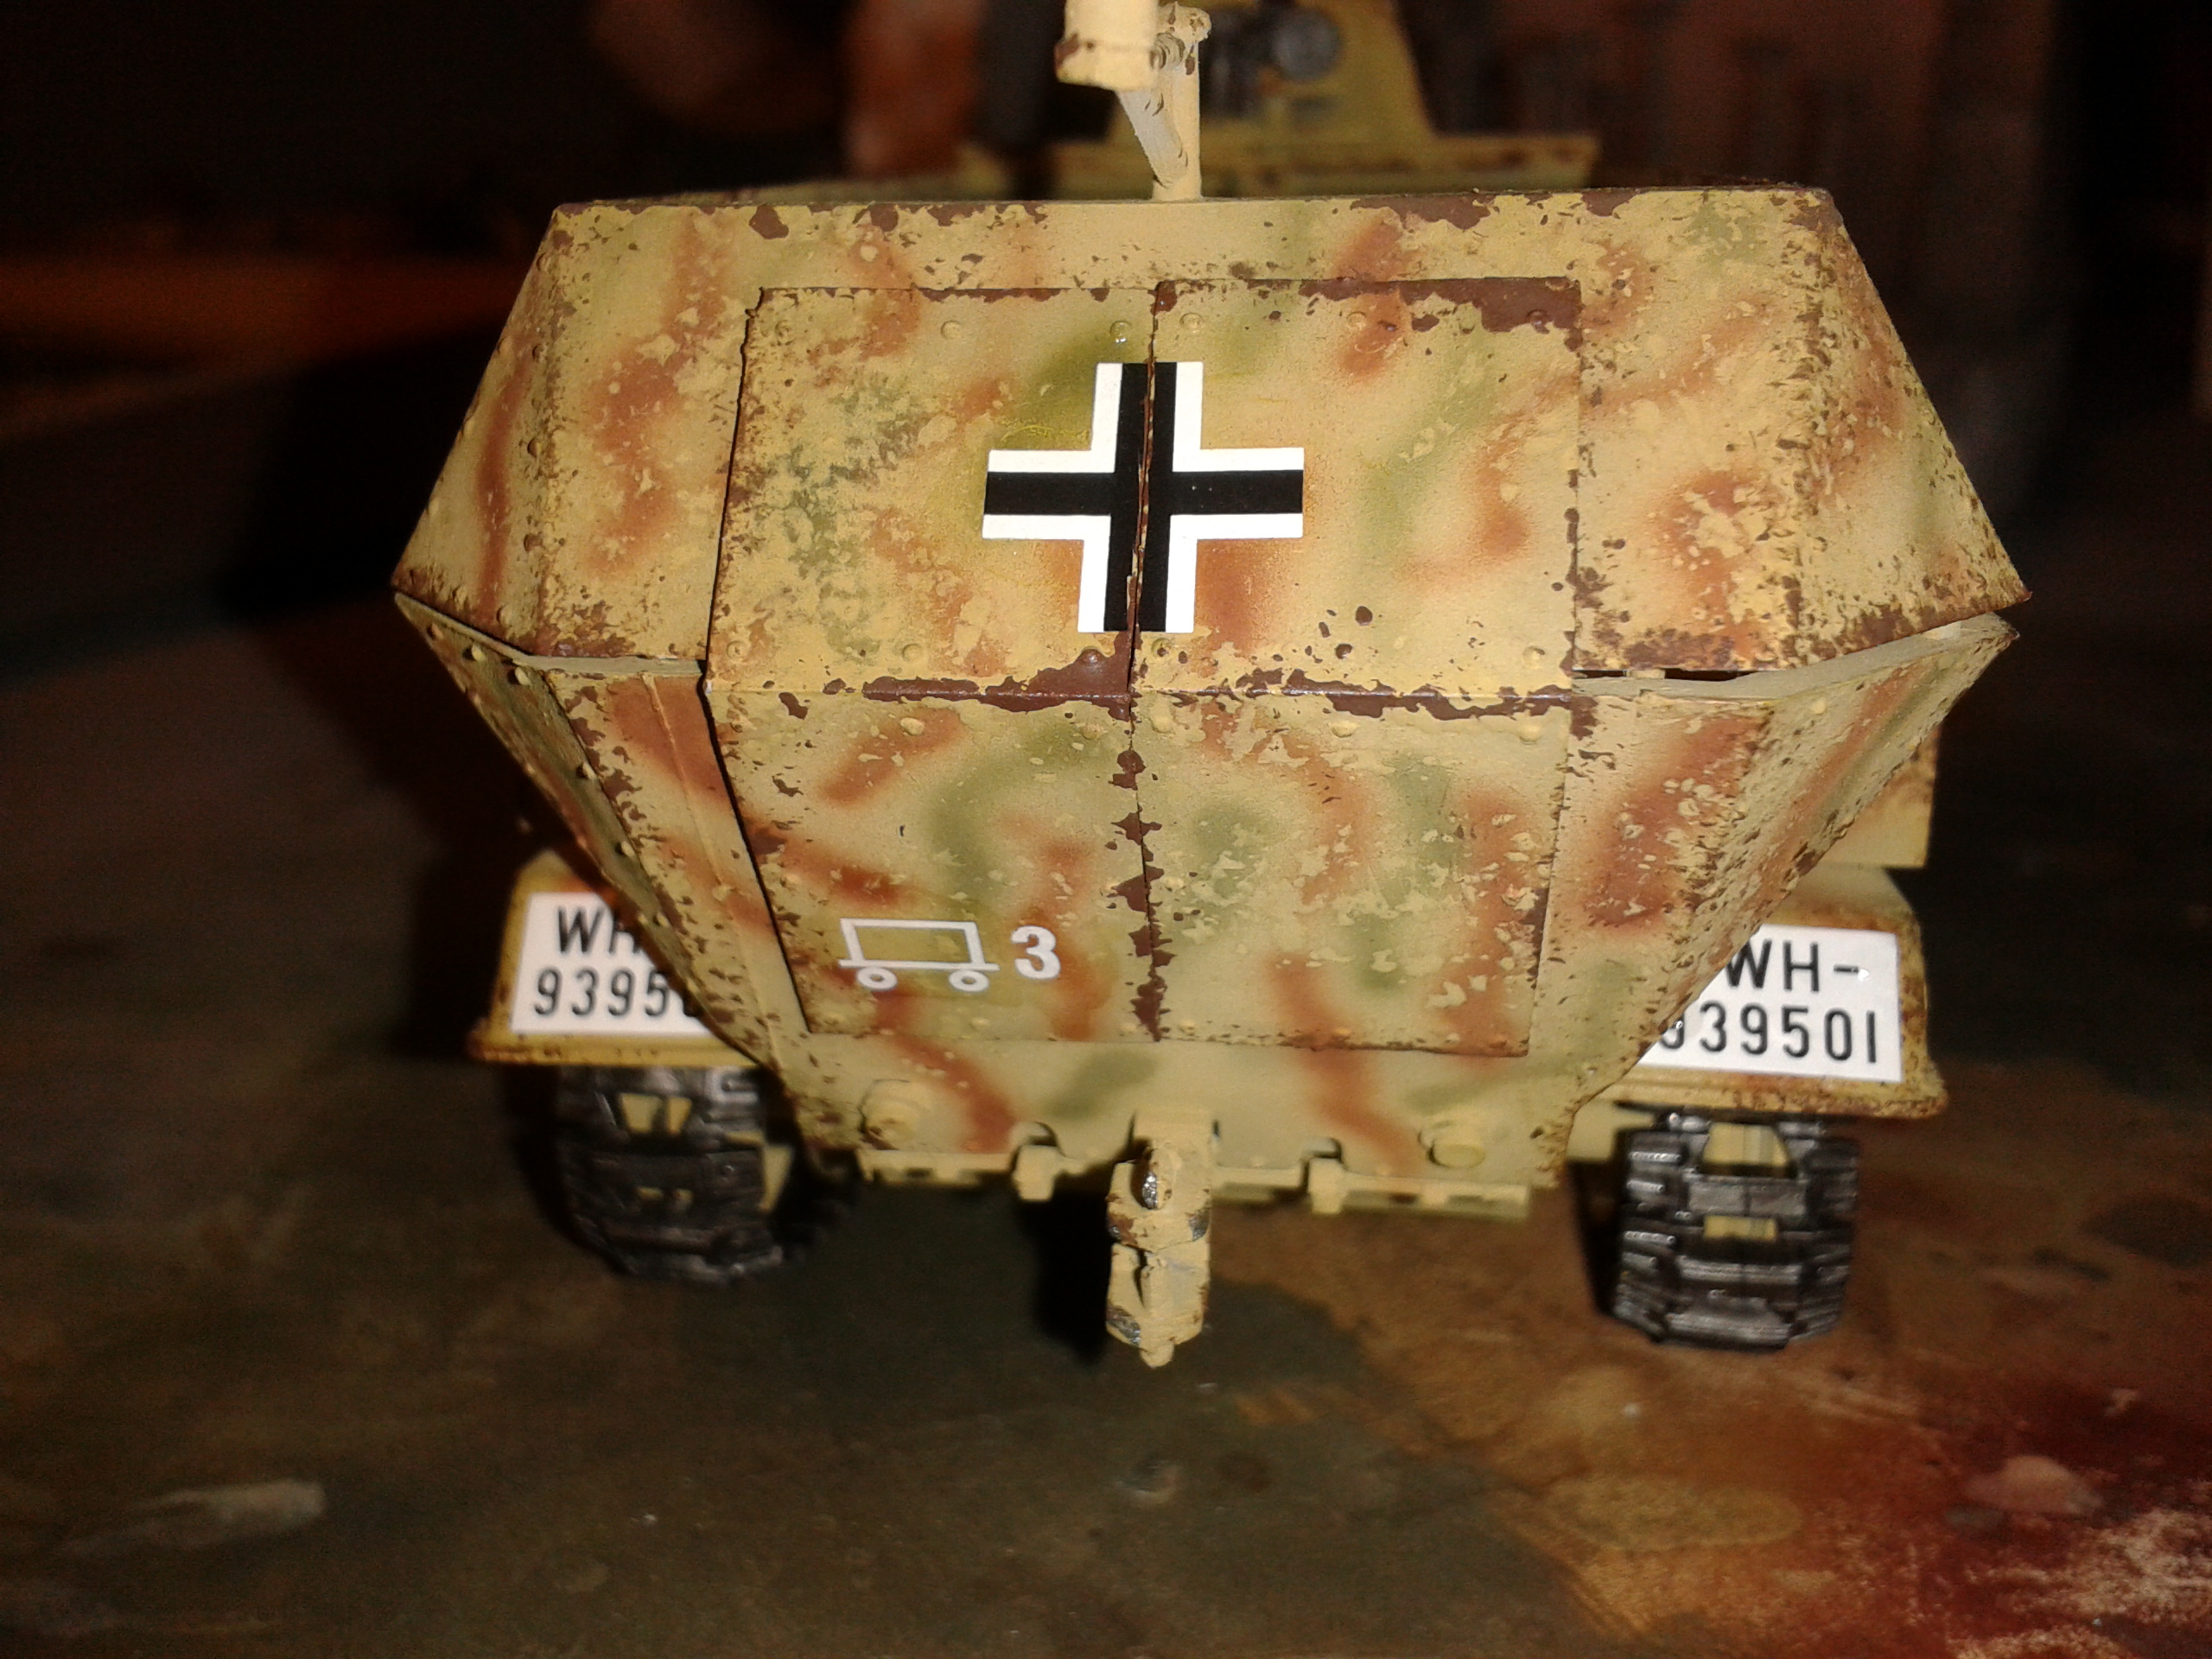
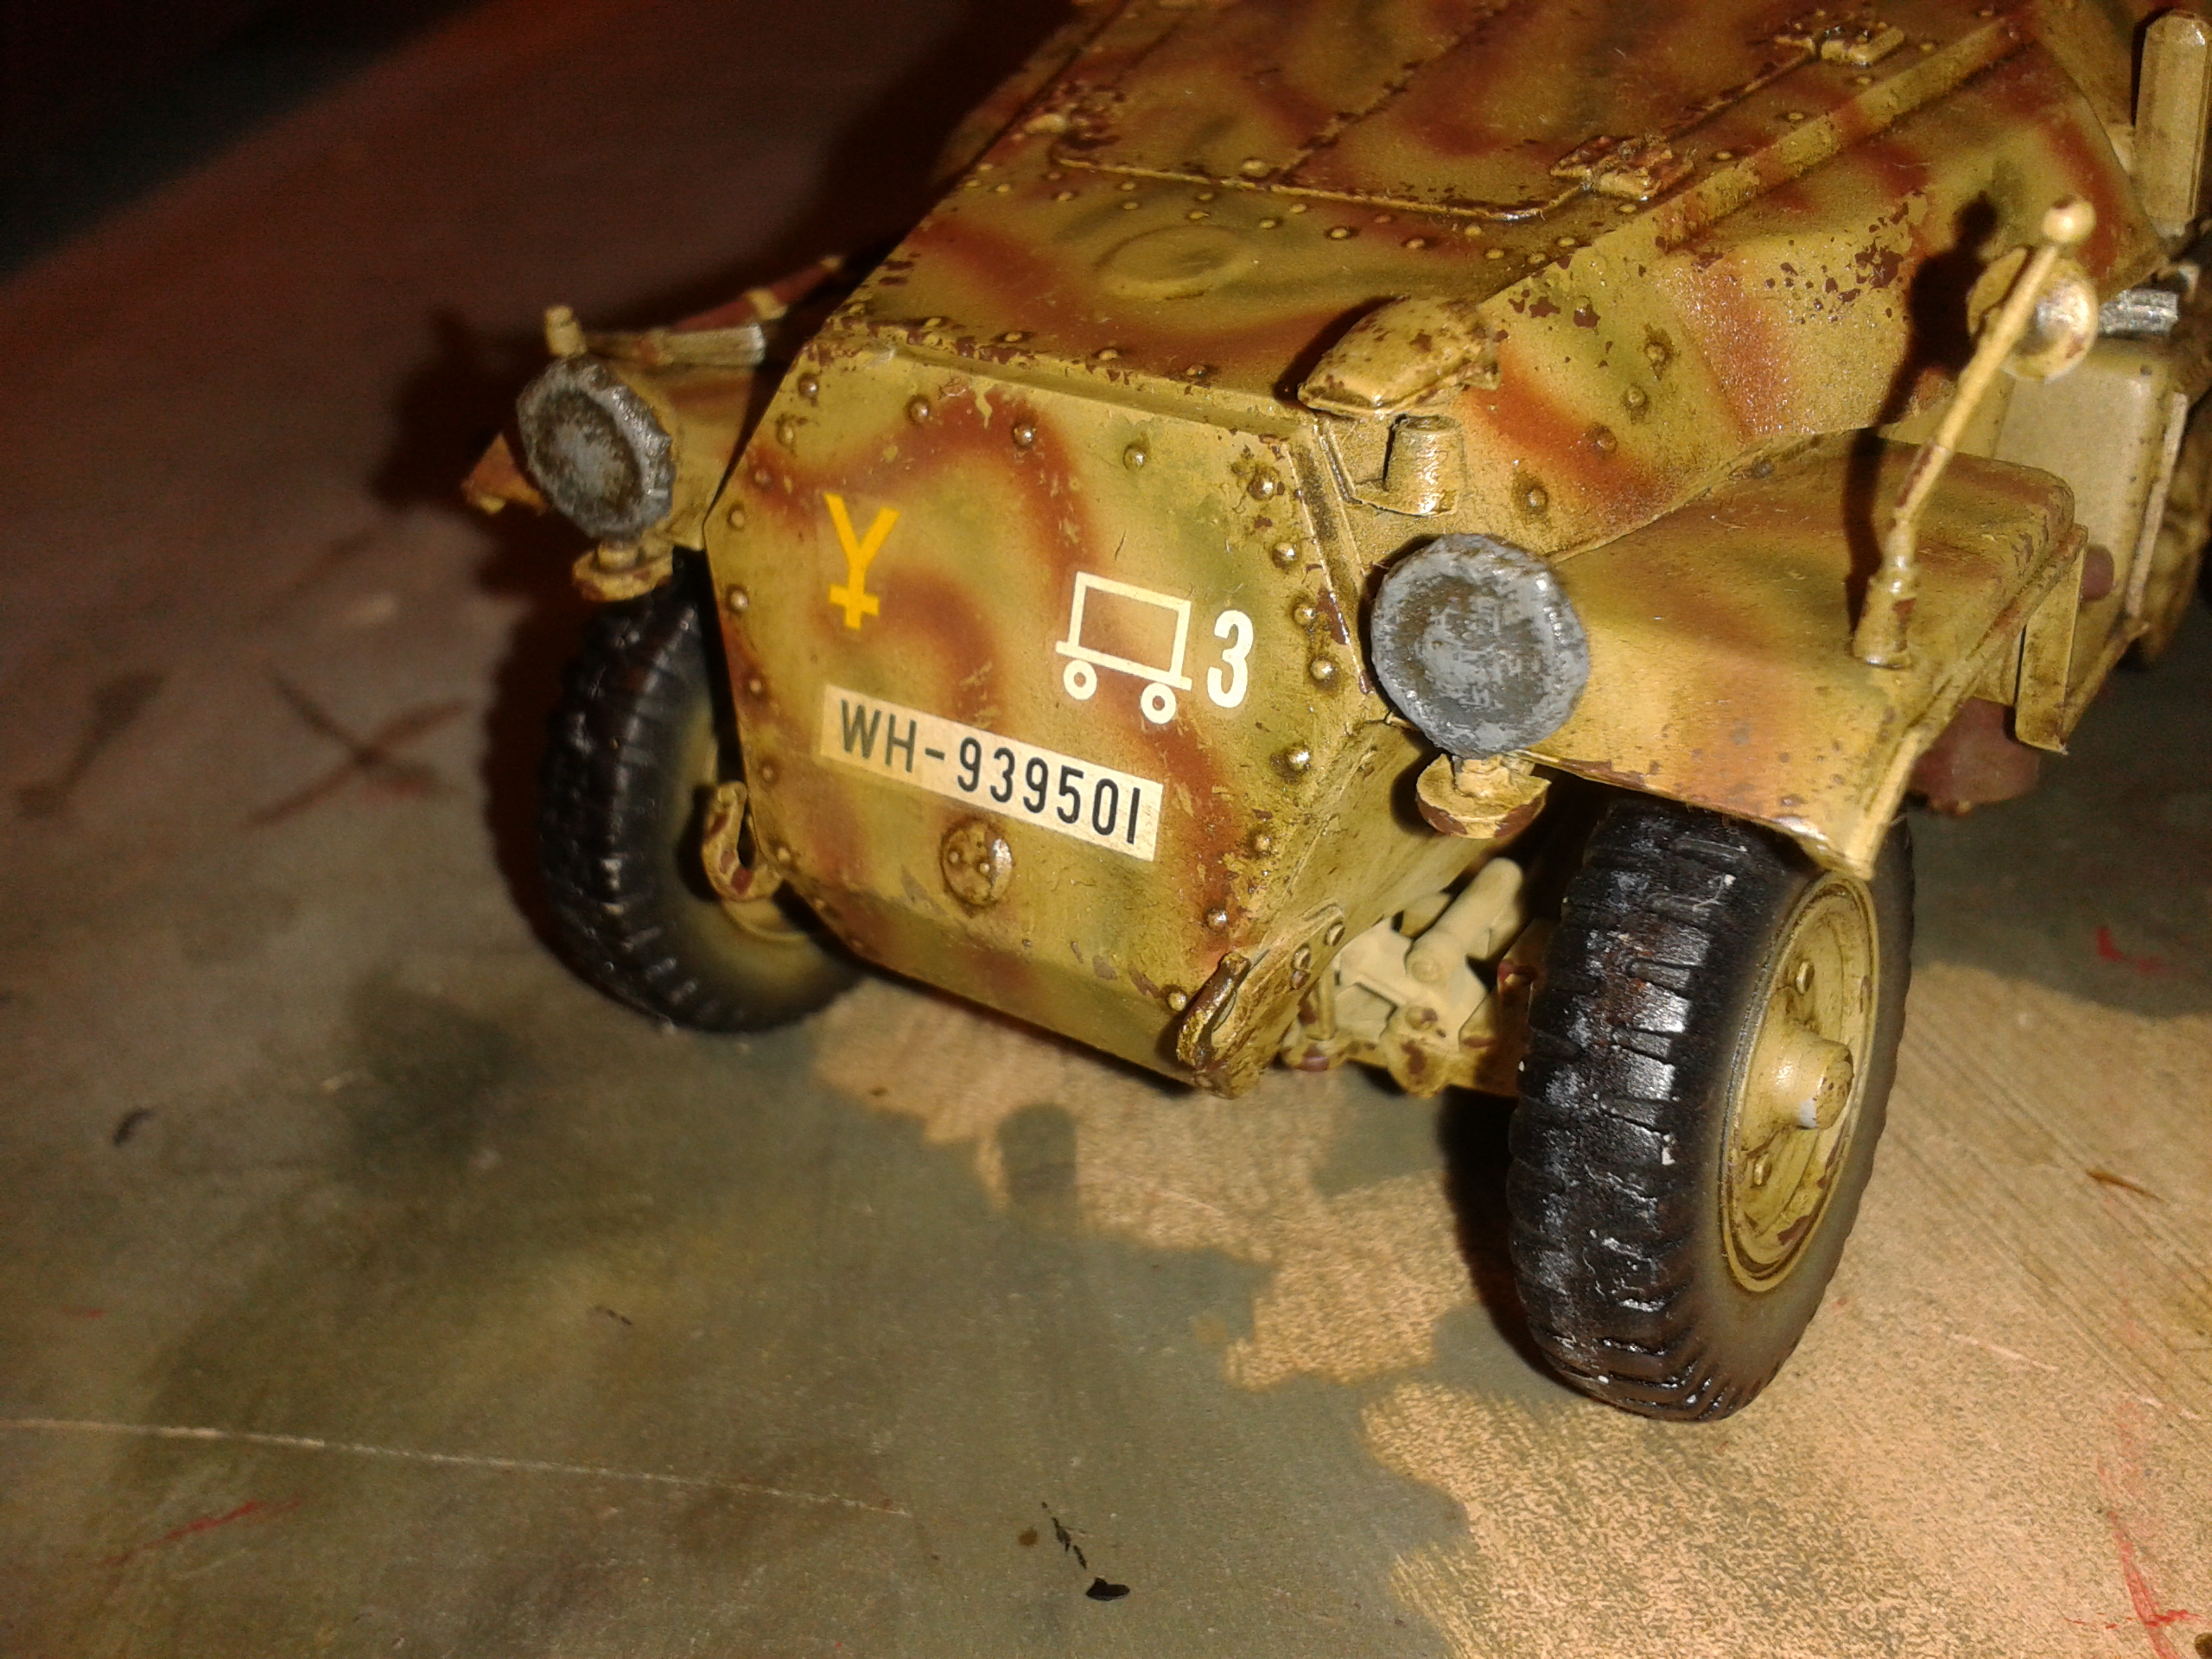
 Let it dry throughout the process and the next step are the decals, as always using the set for the corresponding decals we adhere to the relevant parts, before all this we clean to avoid a collision with dirt once implemented.
If you look at the headlights I used toilet paper mixed with a little white glue diluted with water to create a kind of protector for headlamps which then paint it gray German.
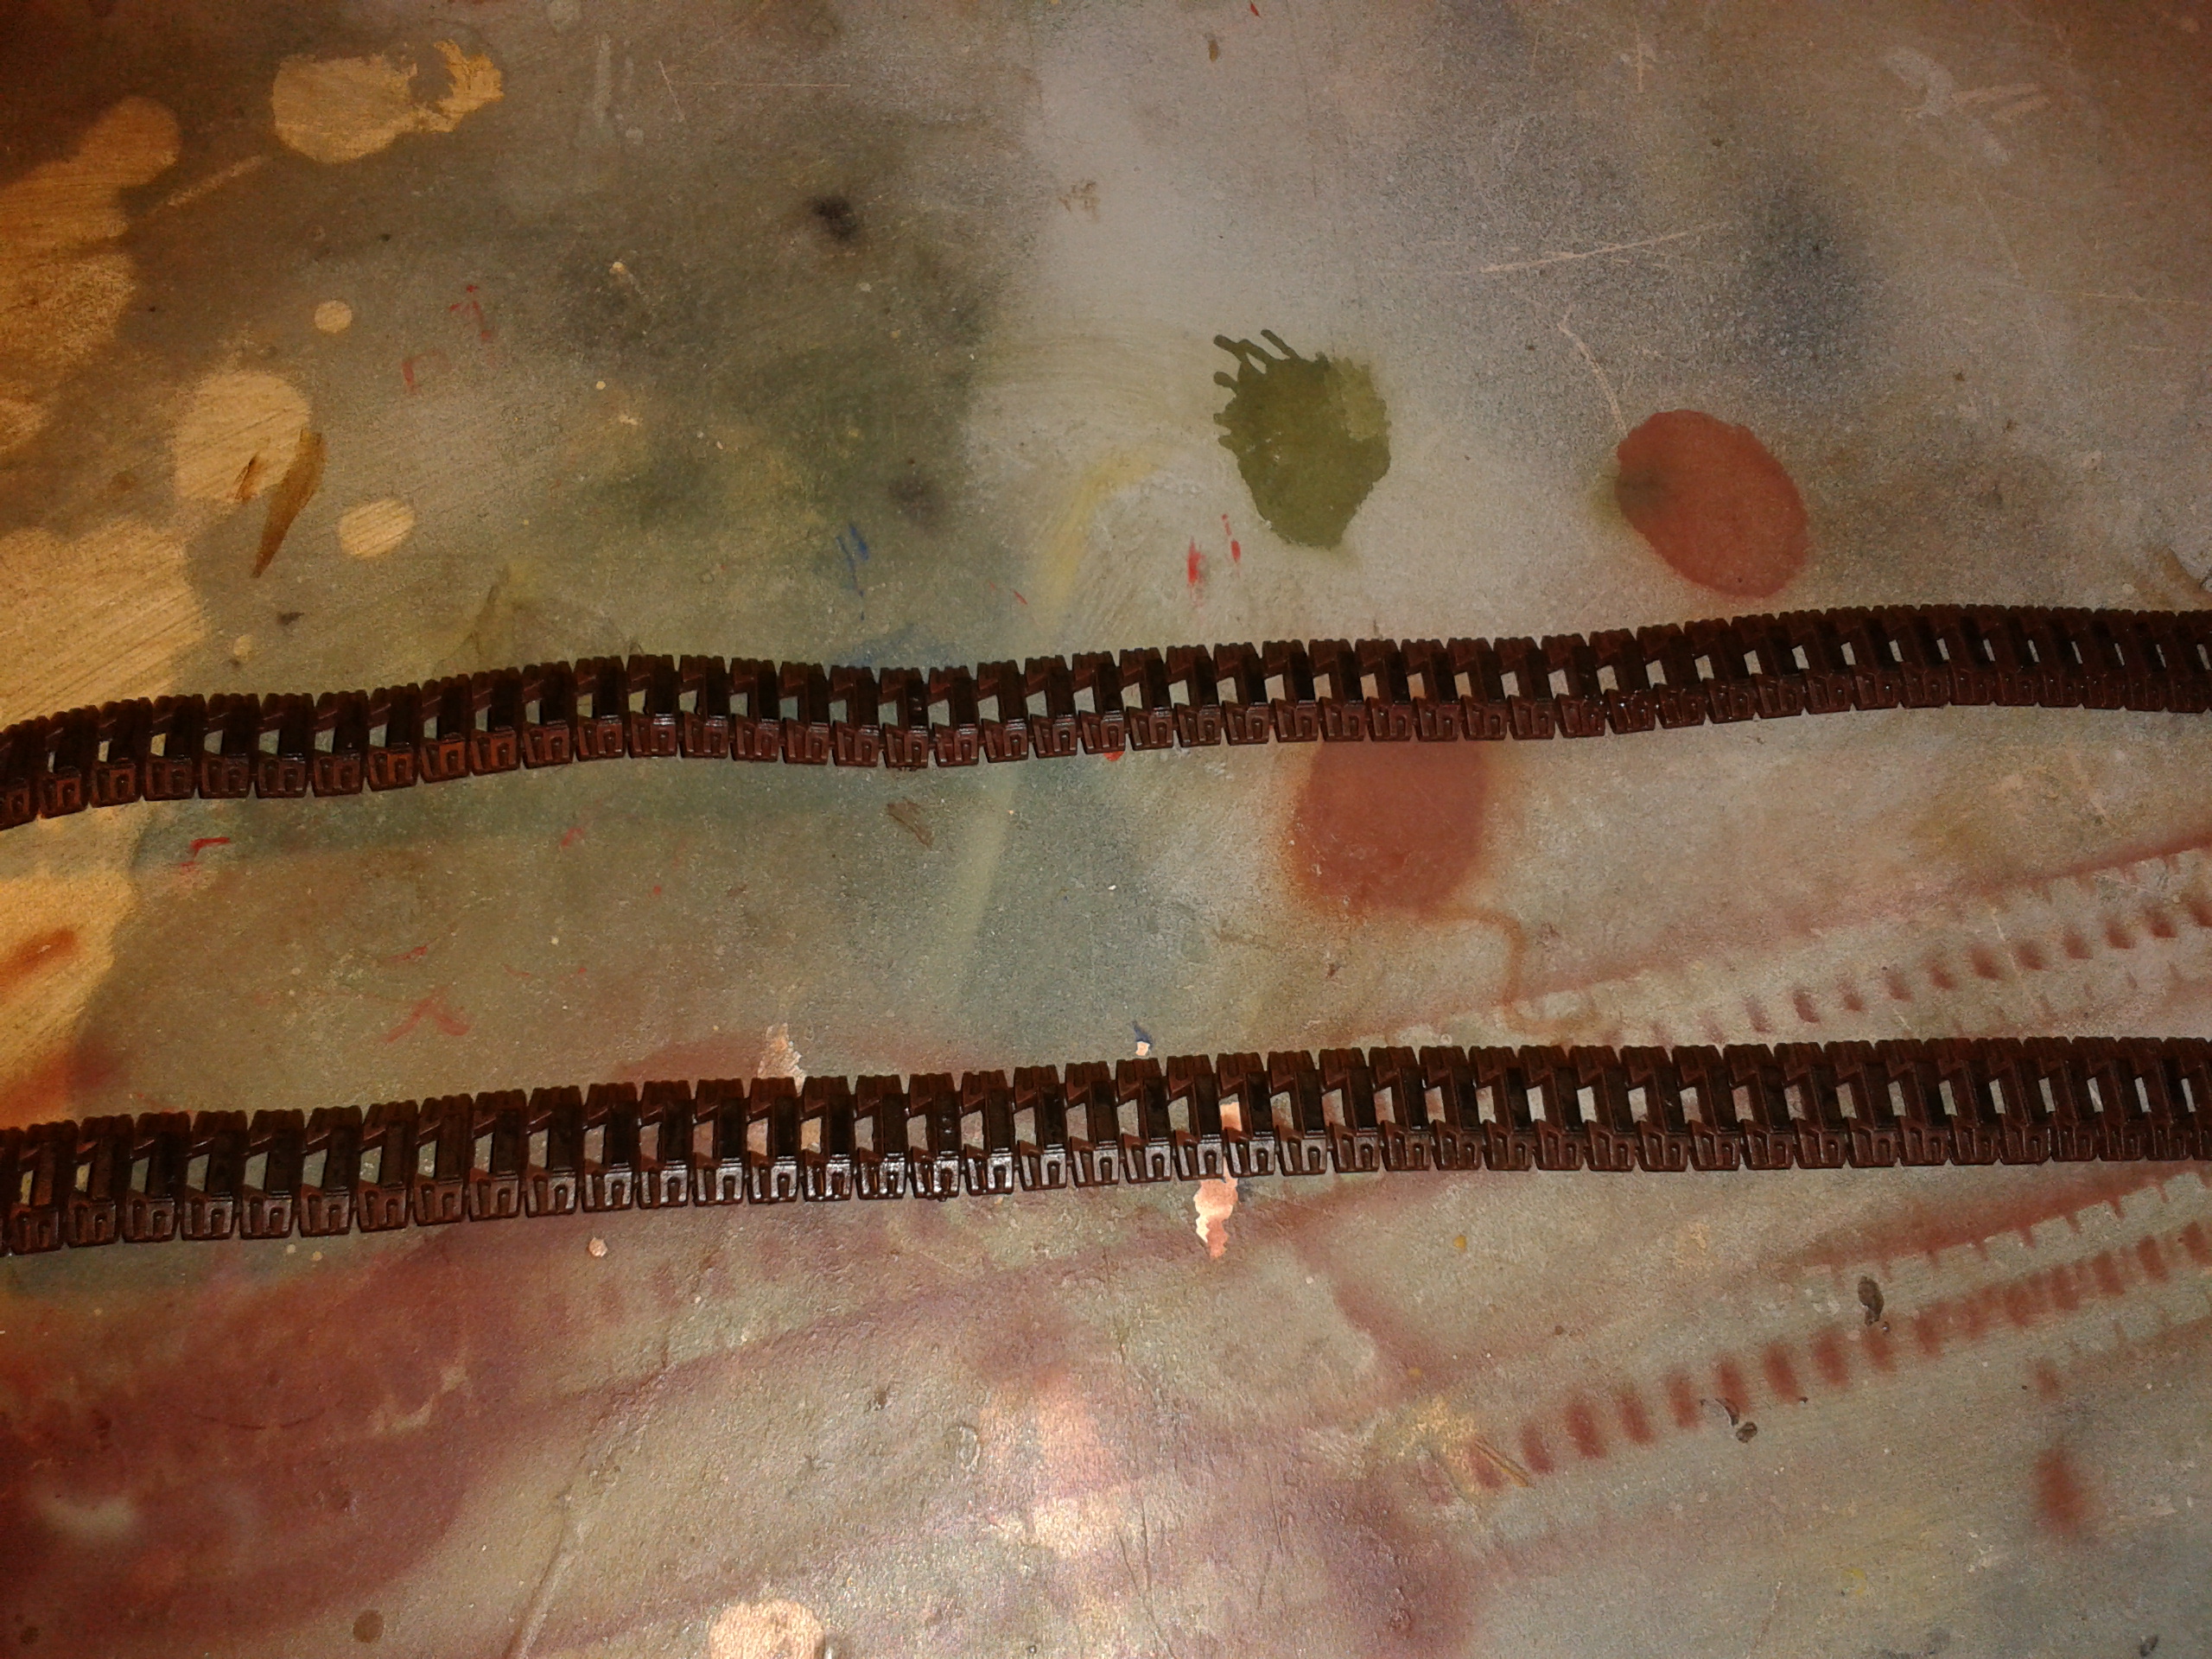
 While I let the liquid to take effect on the decals I start with the base layer for the rear drive chains of semioruga SdKfz 251, for this I use the reddish brown which seems to me a good color for rust.
 After a few hours and the work of dried paint all proceed to paint other details such as the tires of the rear wheels, guns etc. Then after a few hours I protect all work with a coat of gloss varnish Tamiya XF-22.
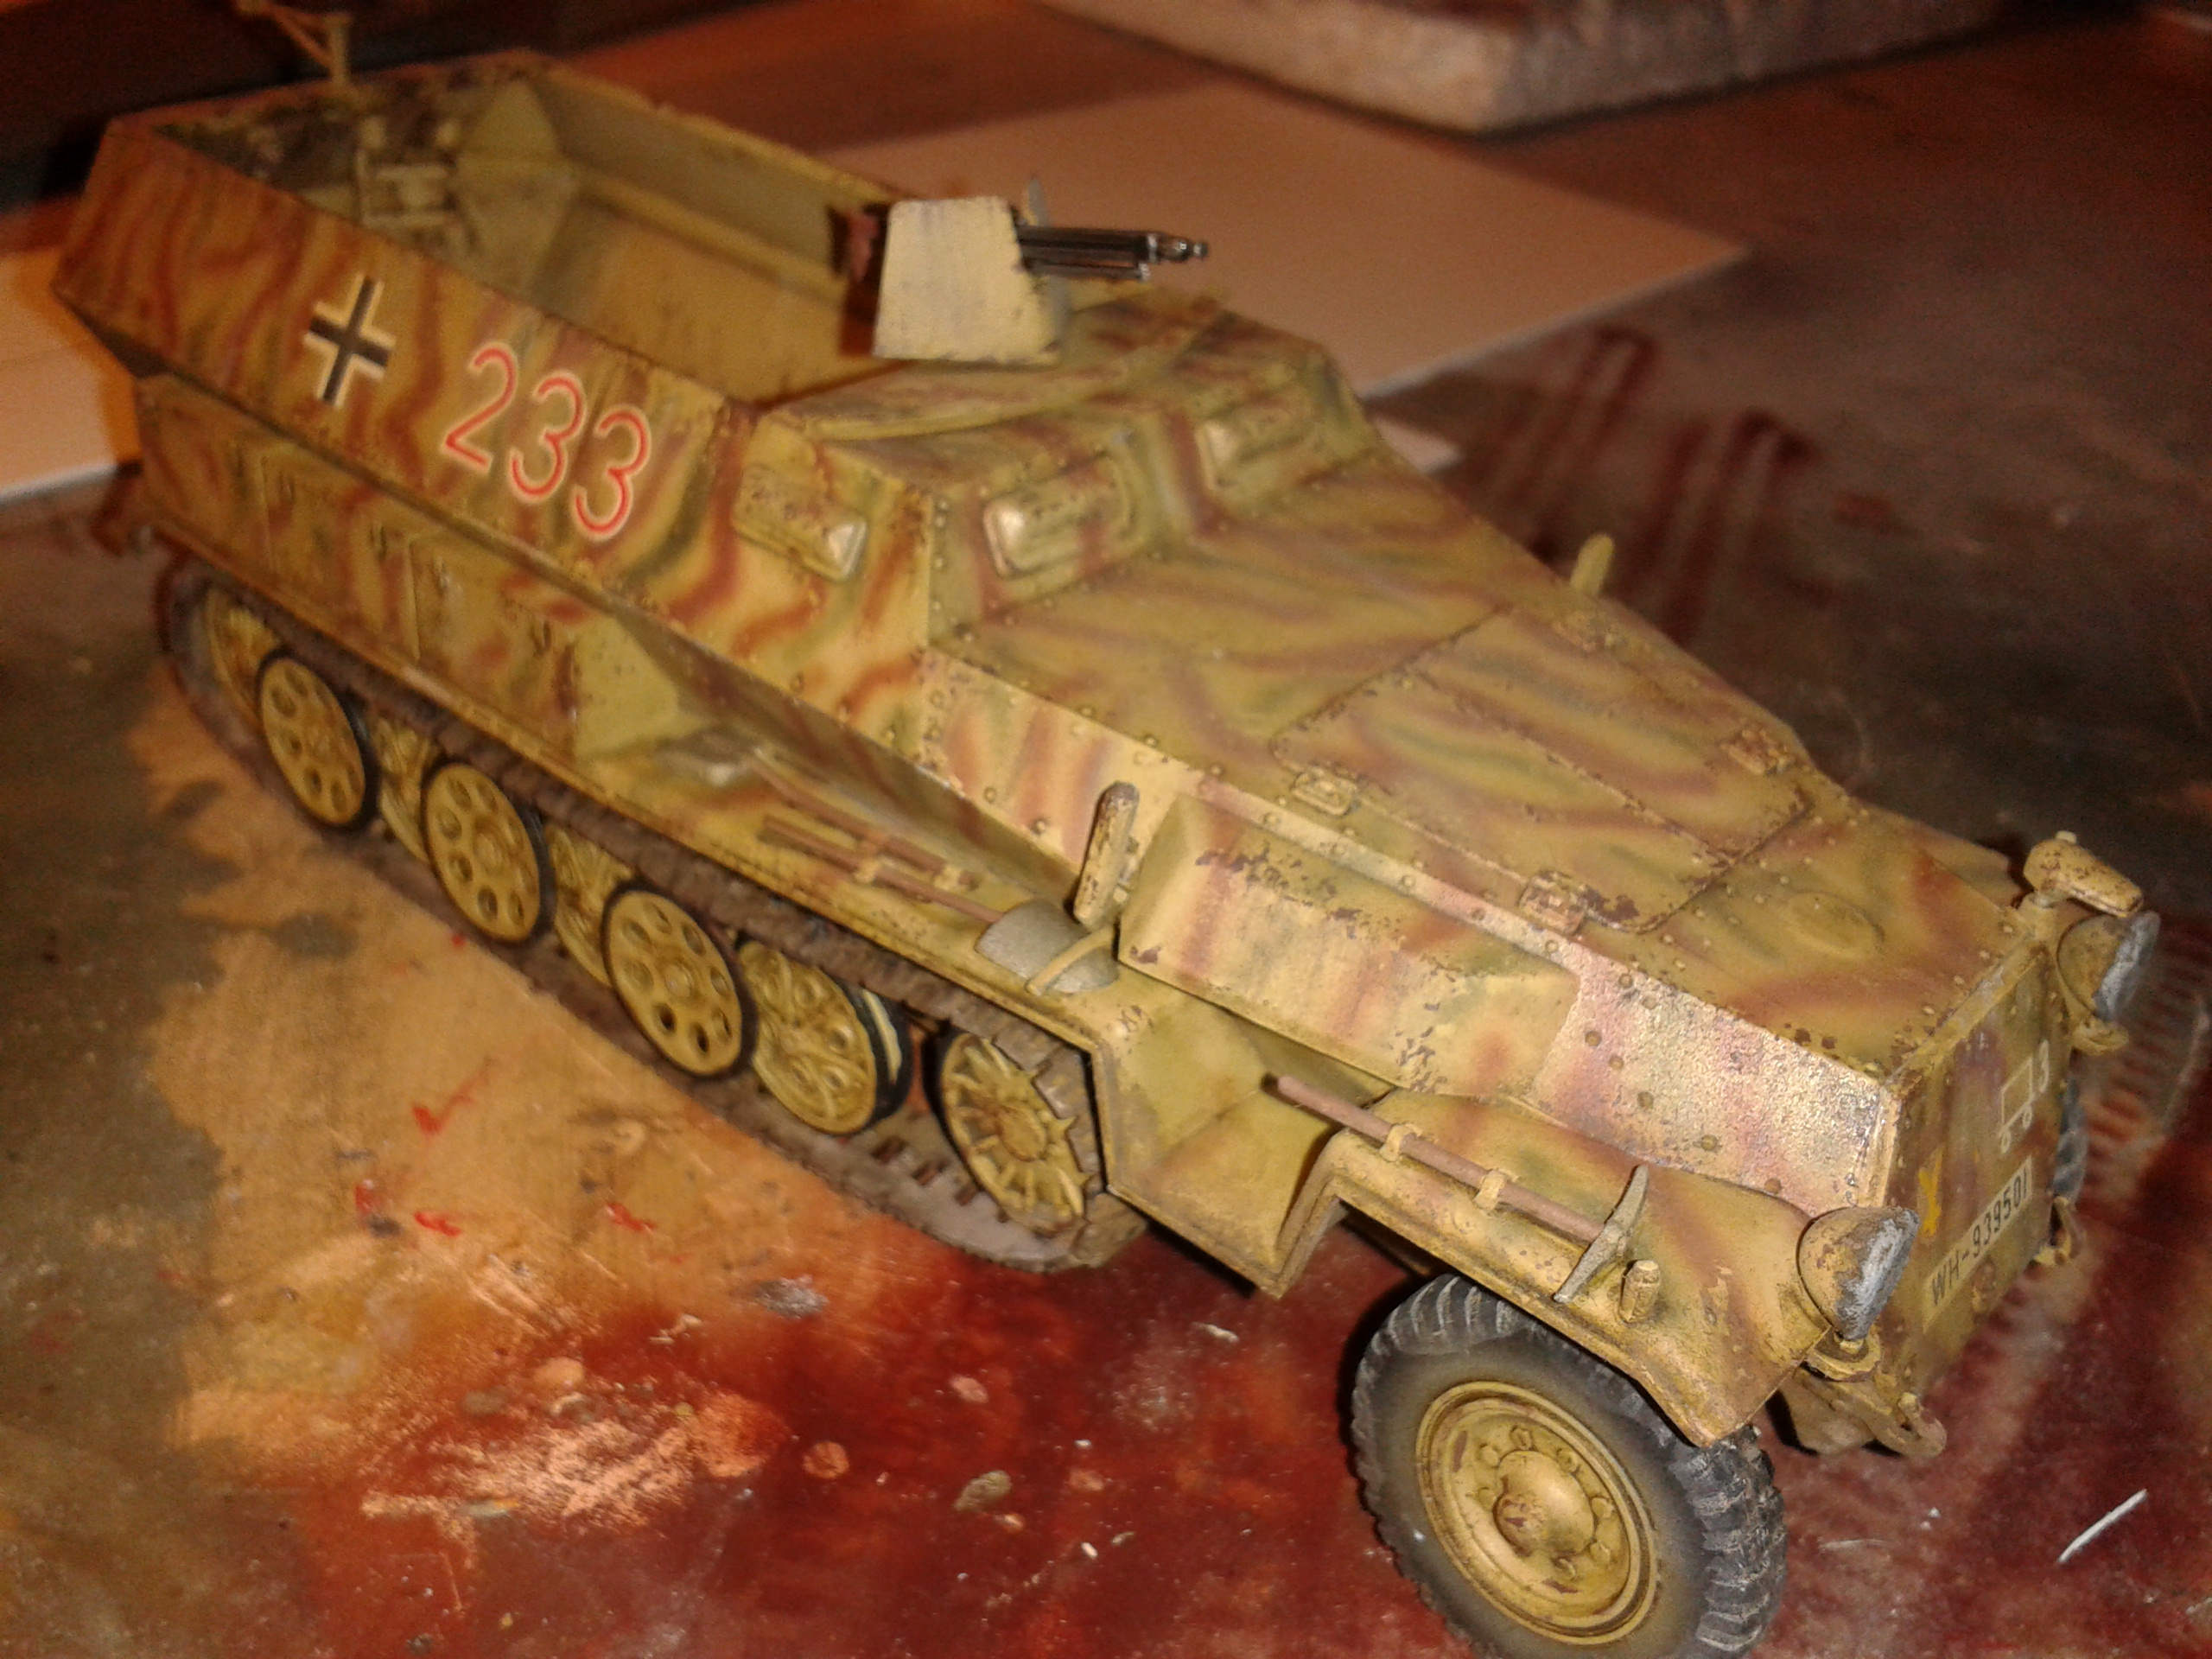
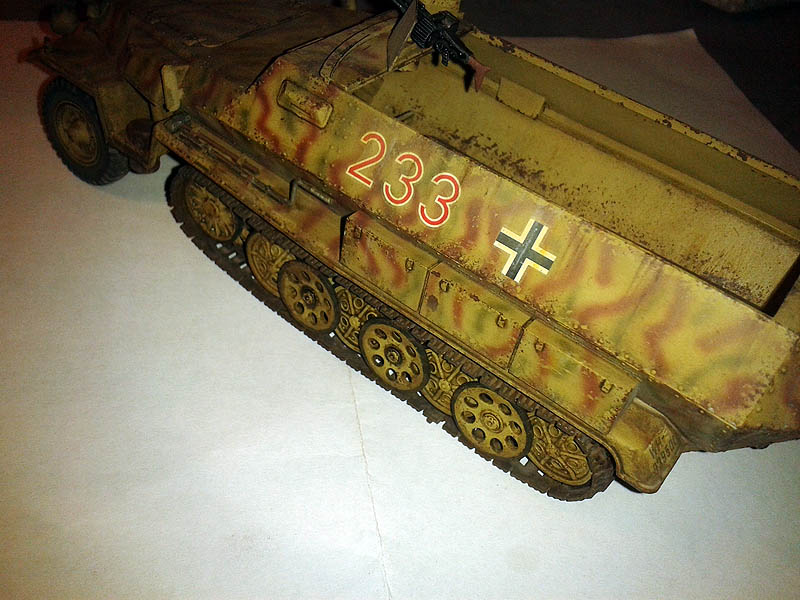
 Once past 24 hours of applied coat of gloss varnish I start with the washings, for this vehicle I will use a wash of AK Interactive For vehicles with yellow and clear colors desert camouflage.
This is the result after washing applied to the vehicle.
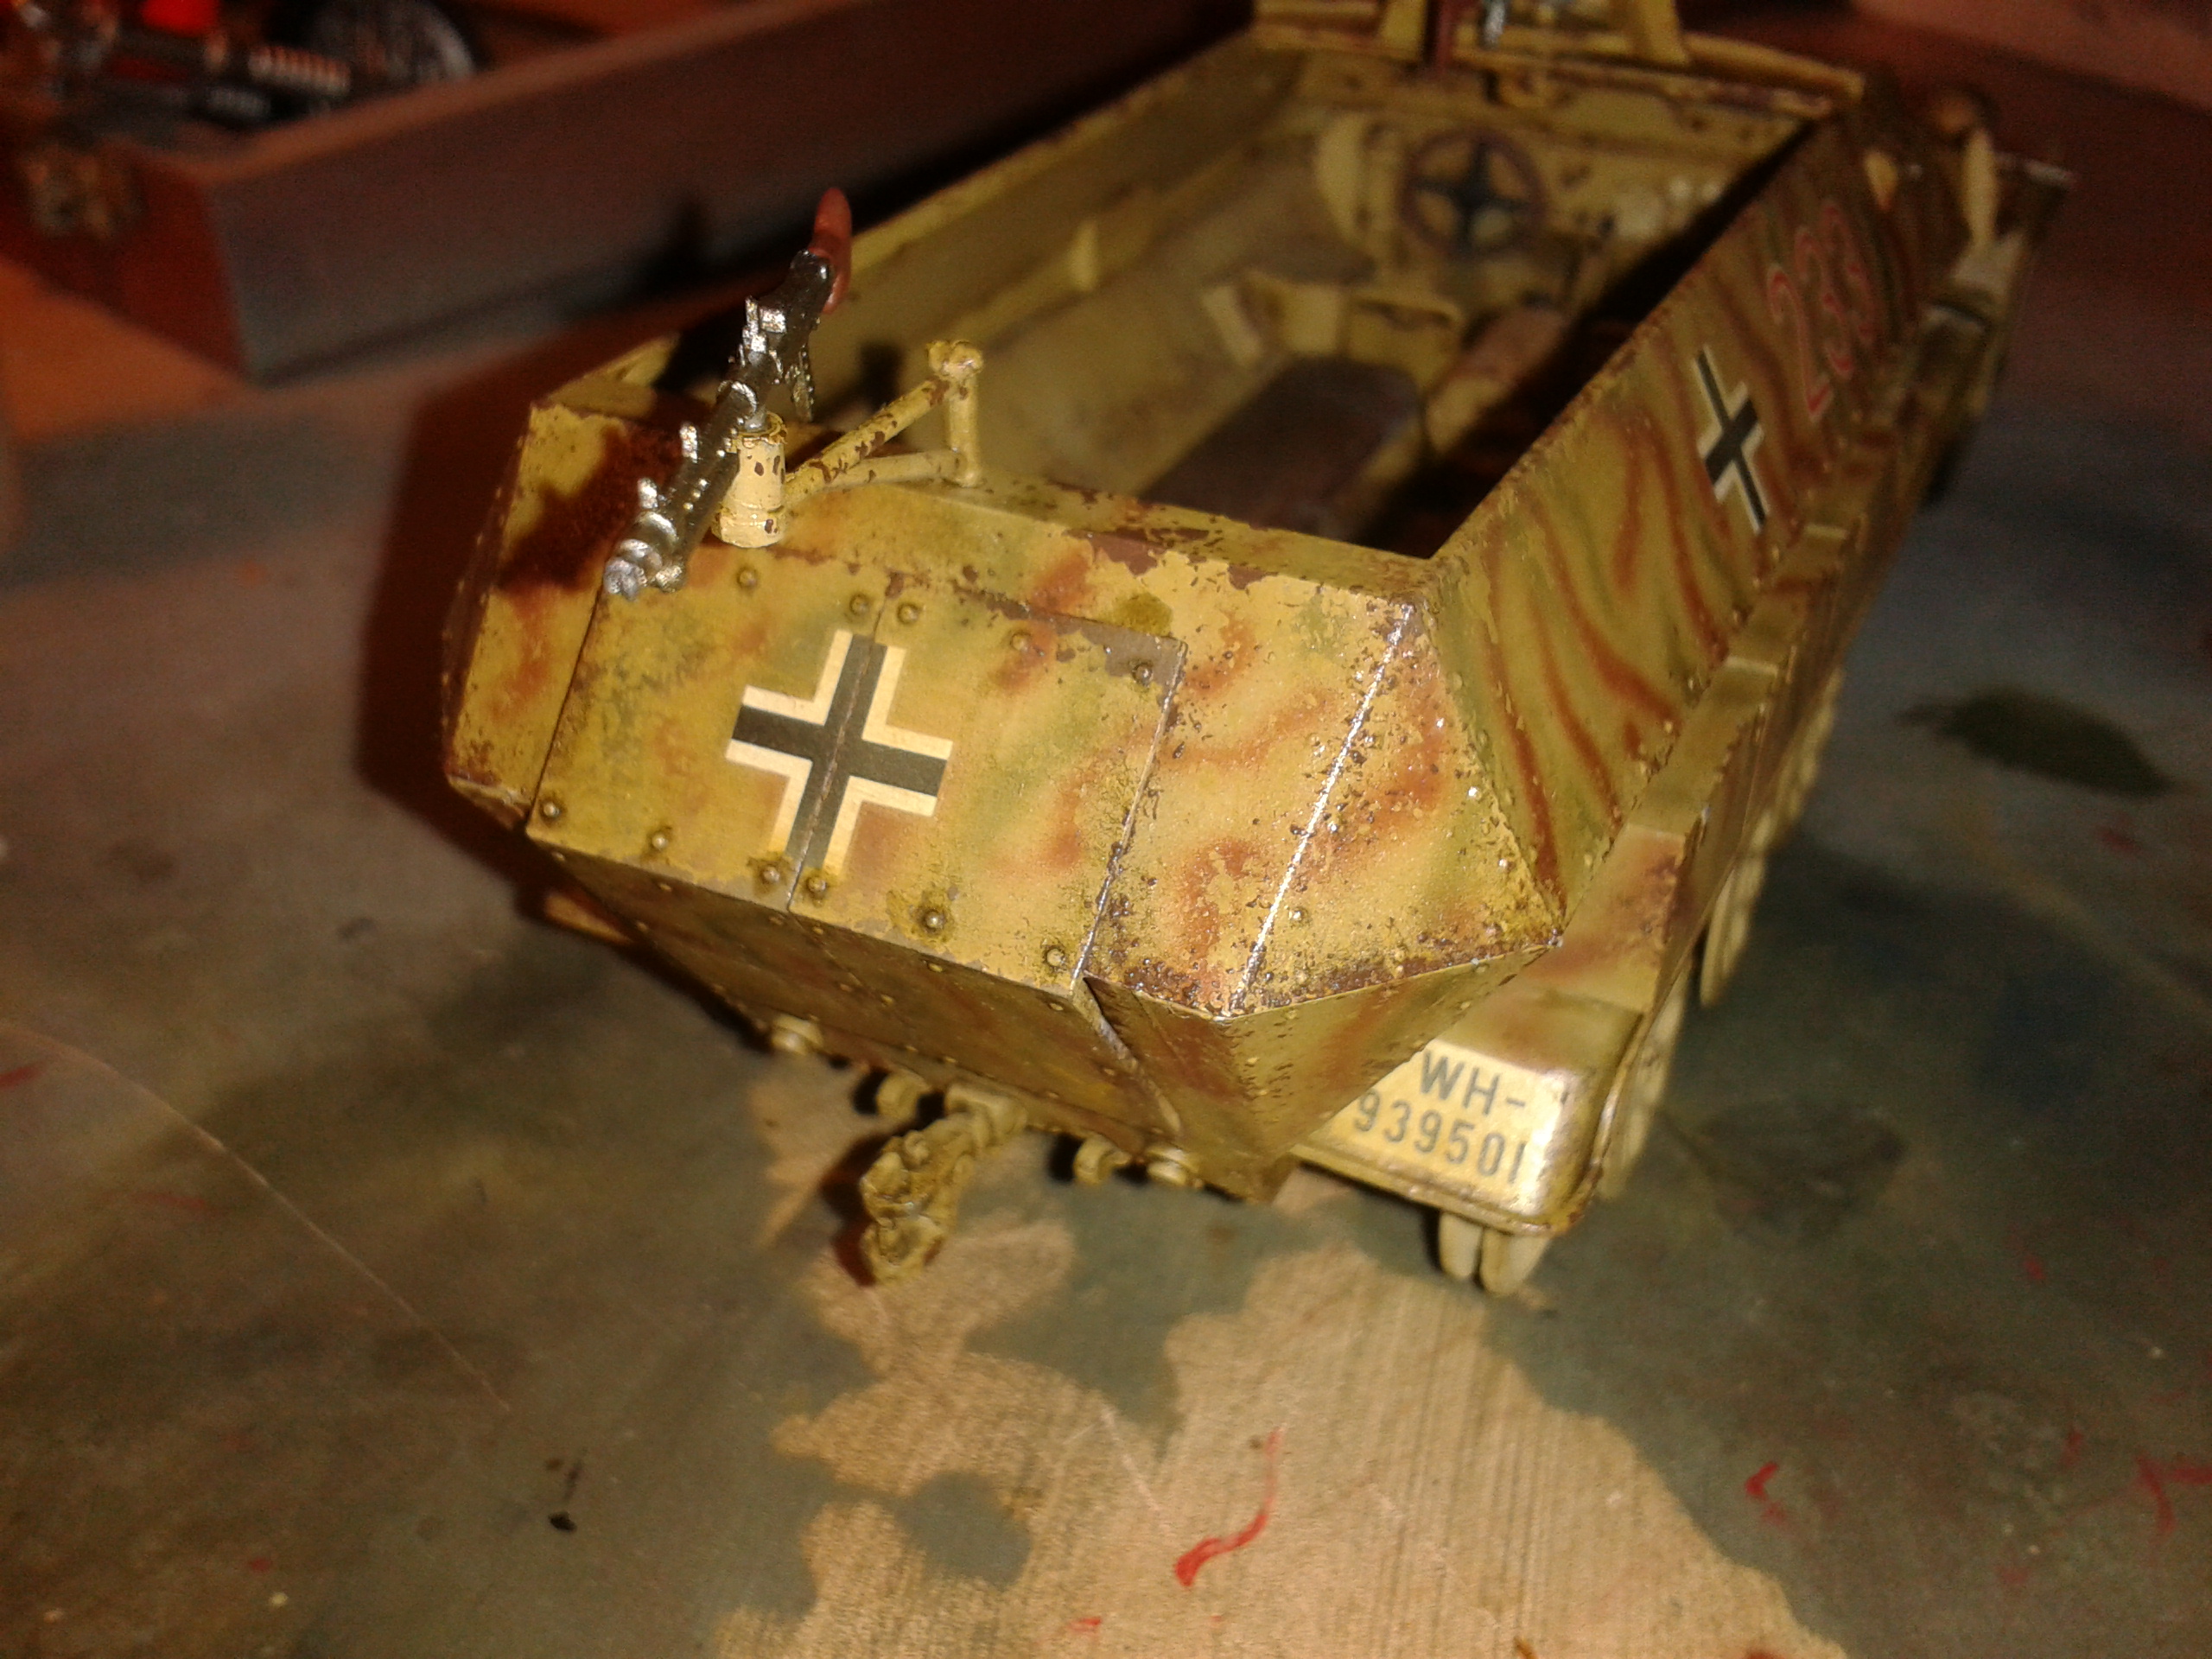
Once dry washing I apply another coat of gloss varnish to the entire vehicle to protect the work and once dried varnish, start with detailed and shaded from the recesses of the vehicle and the implement of oils and pigments to age even more the semioruga SdKfz 251/1.
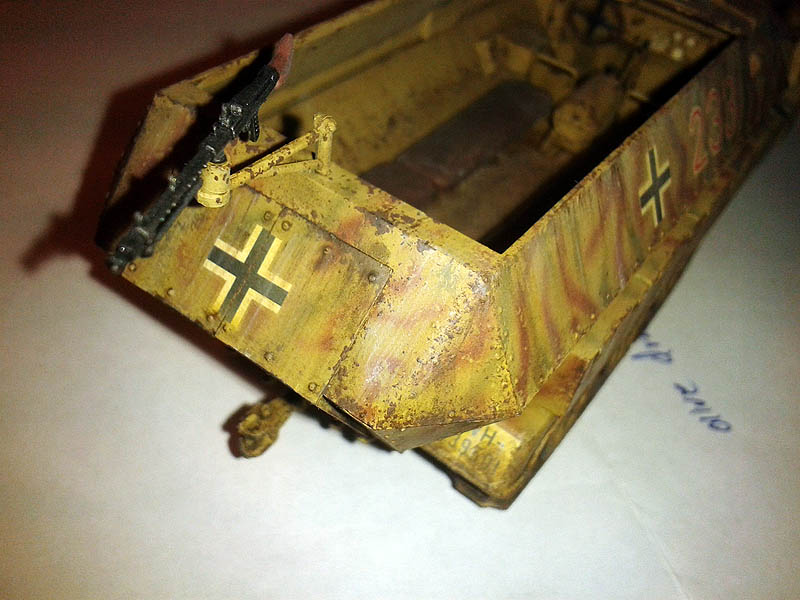
After the process in the interior this is the result.
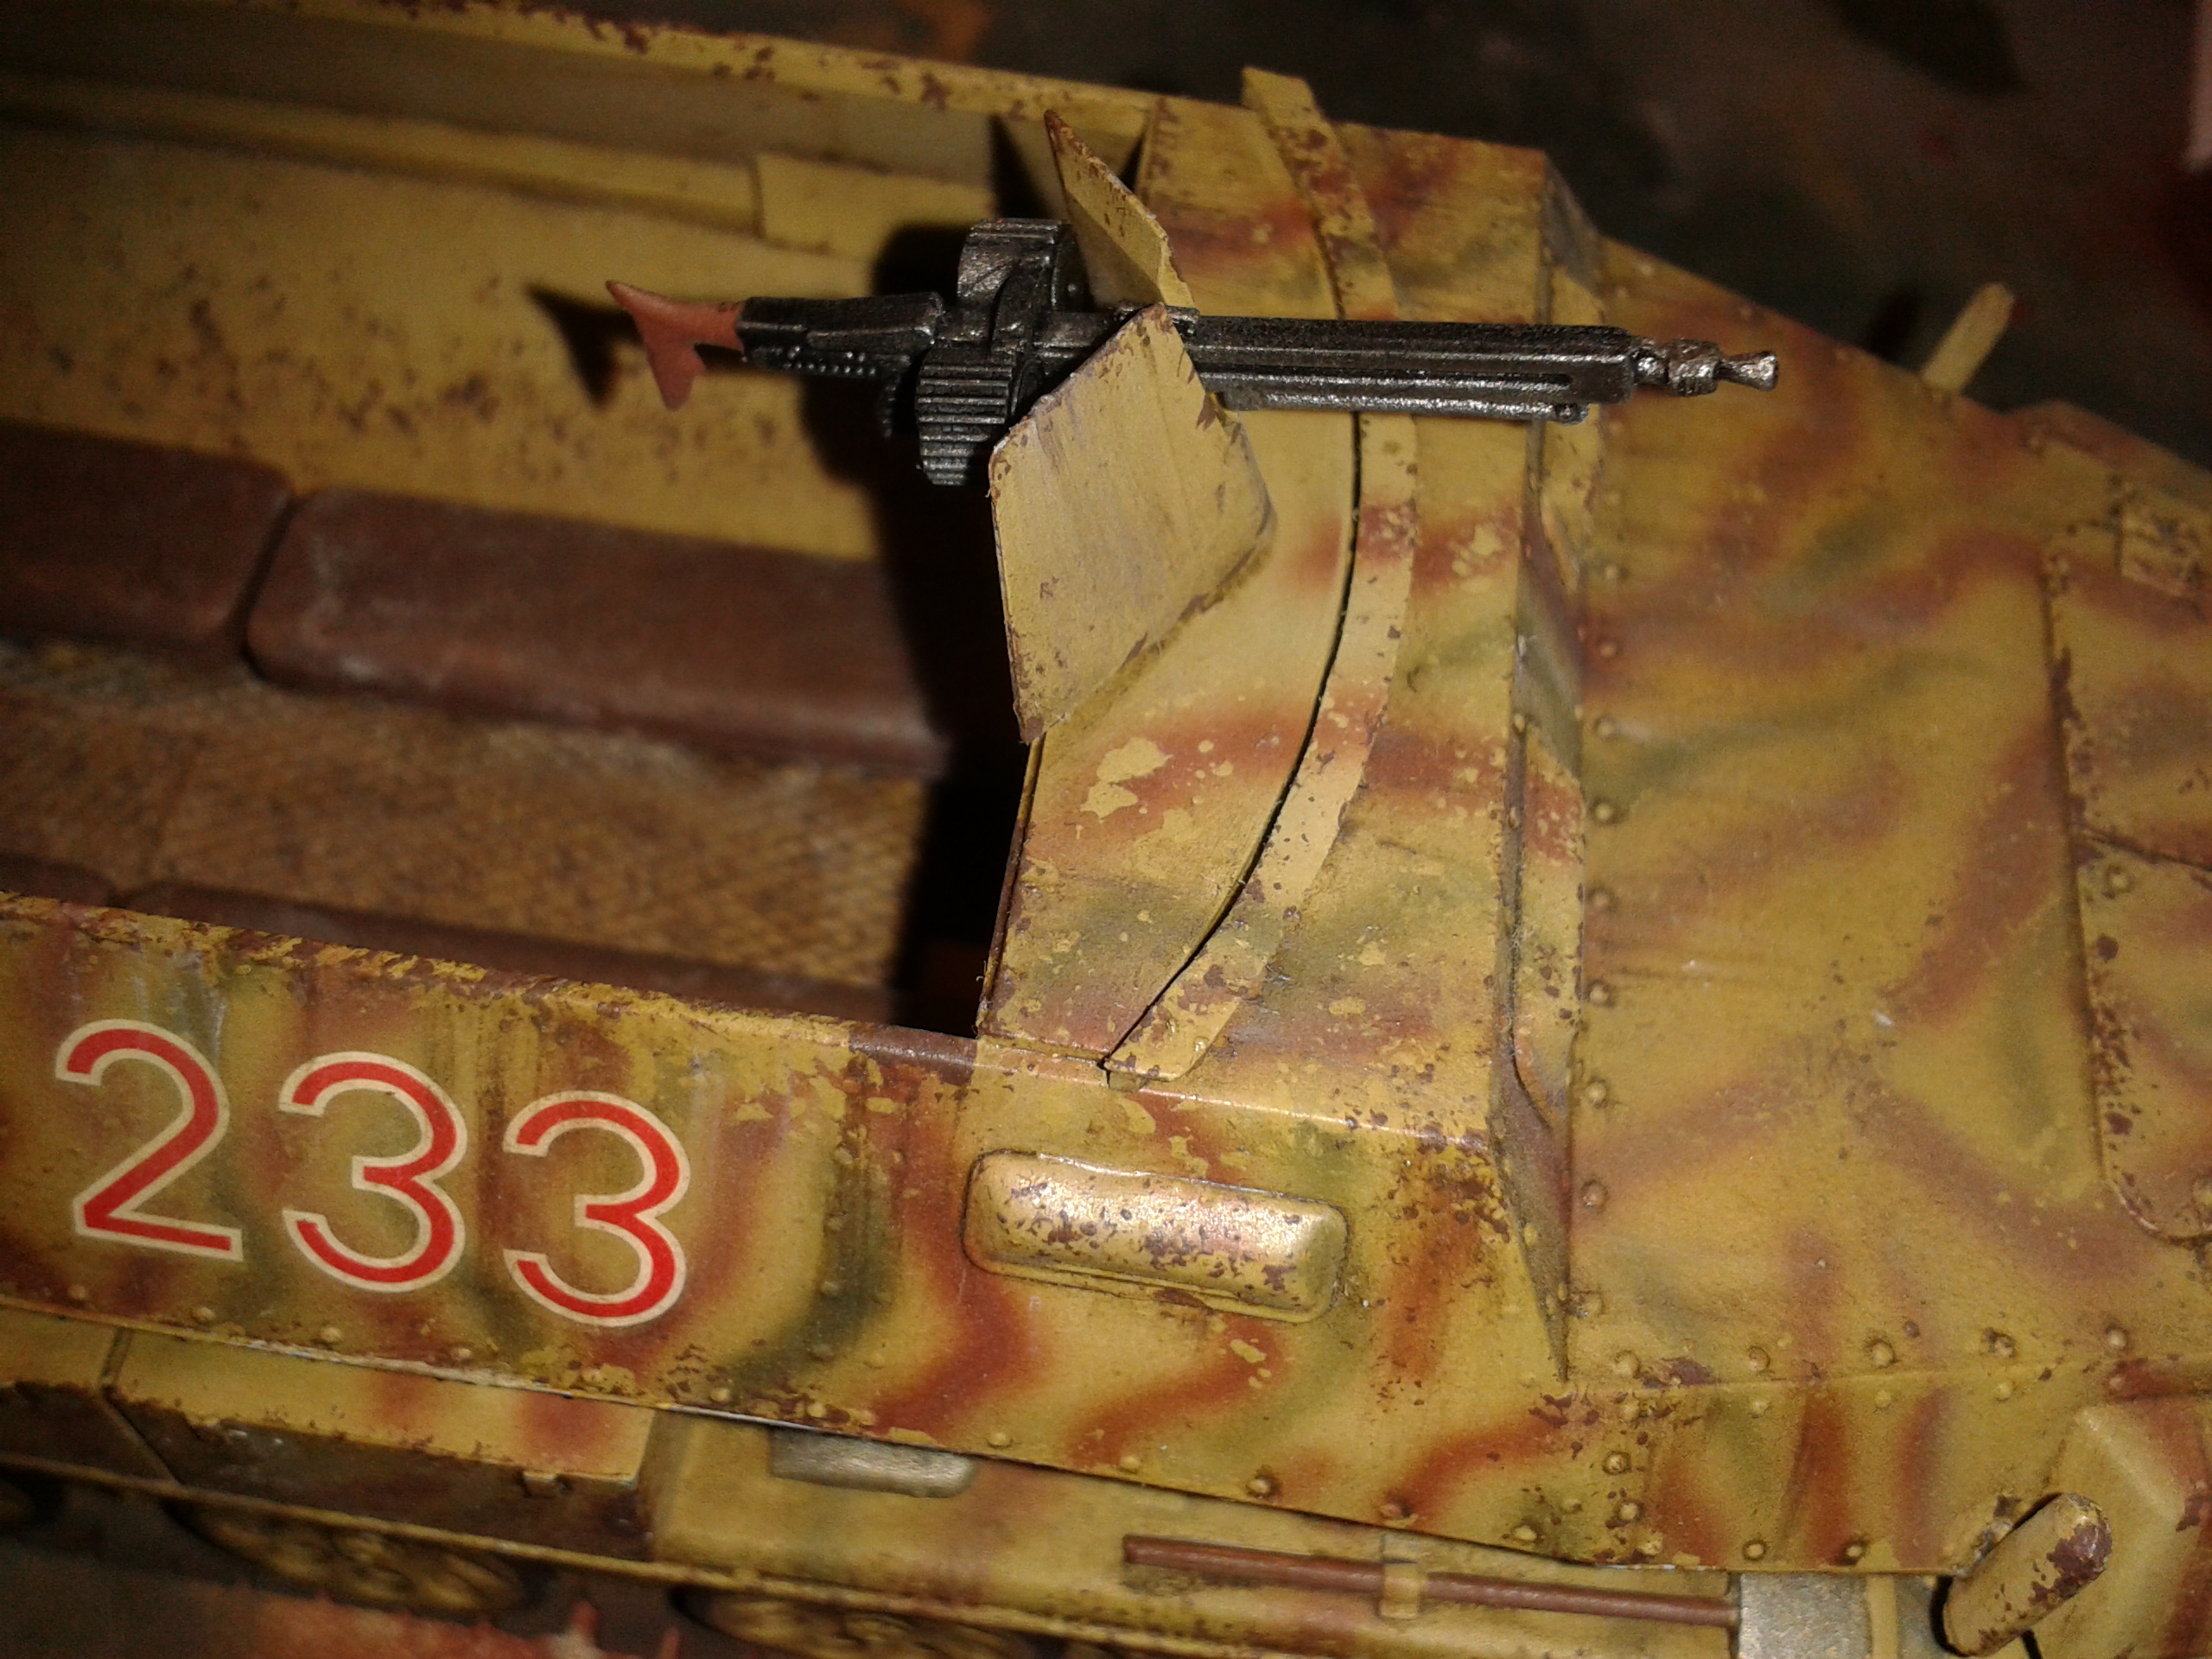
For weapons, MG42 and MG34 after base coat with gray metallized I have given a wash with black oil somewhat diluted in turpentine, final process is a layer of matt varnish to eliminate glare.
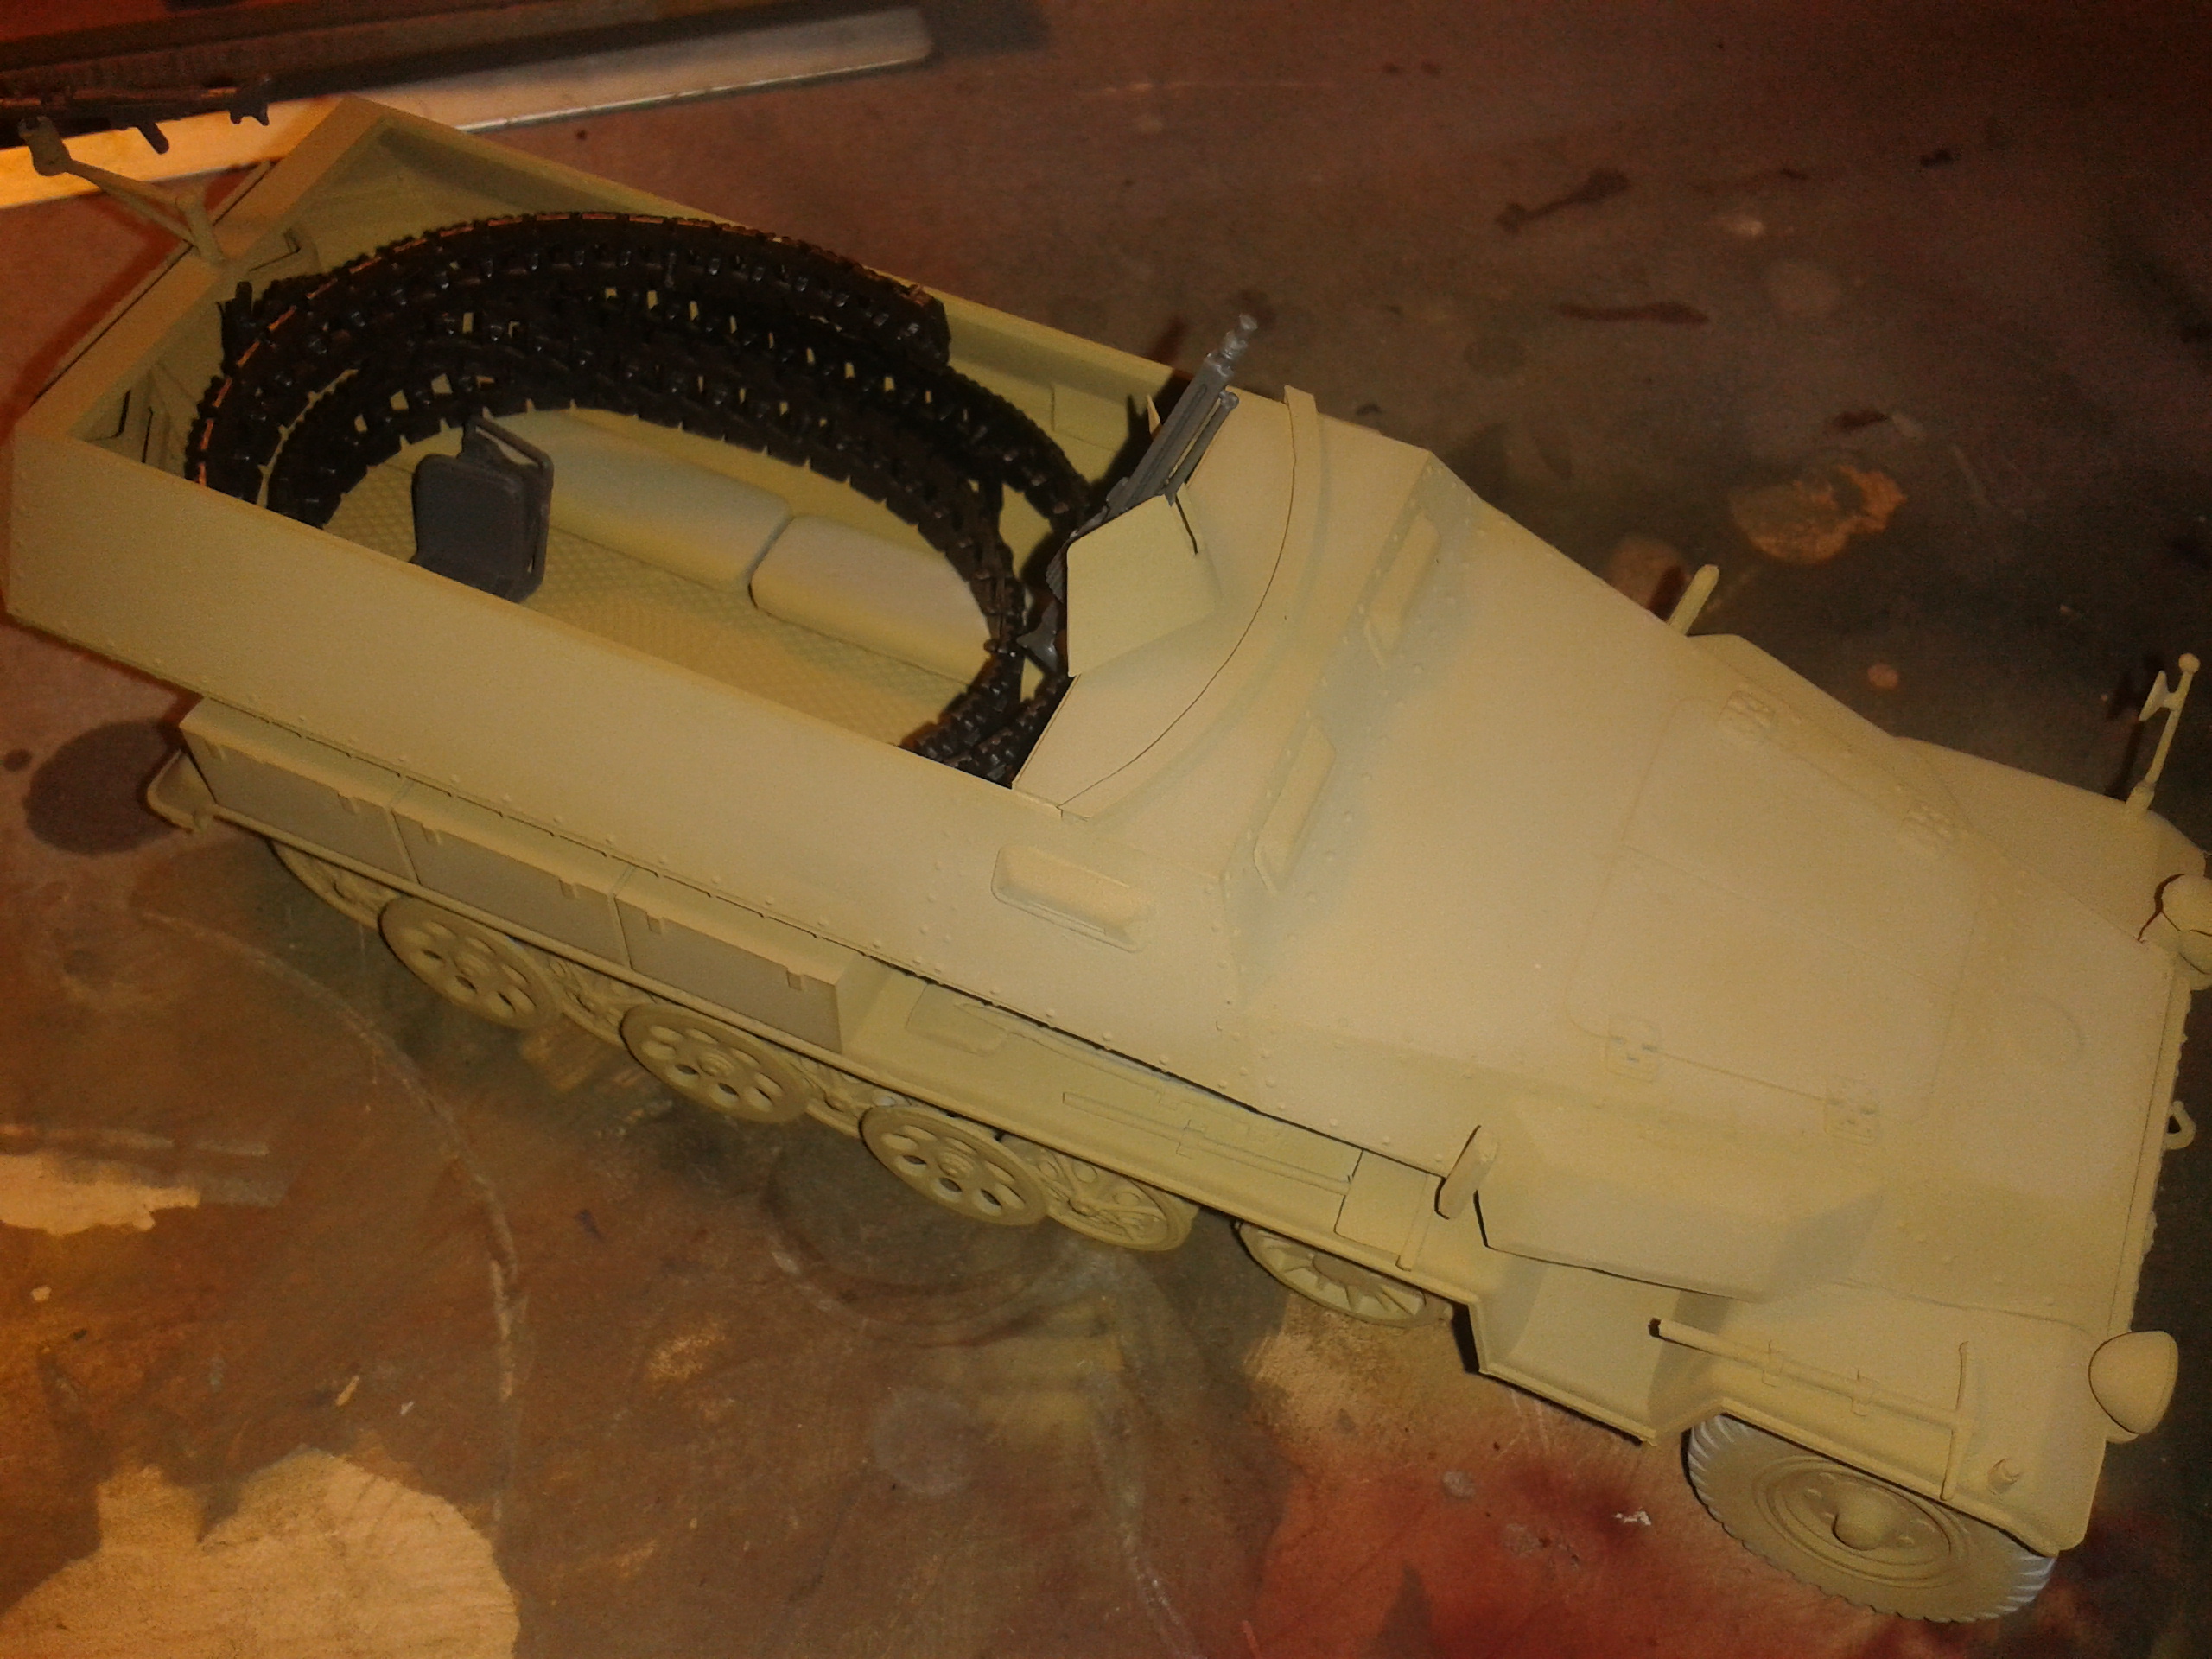
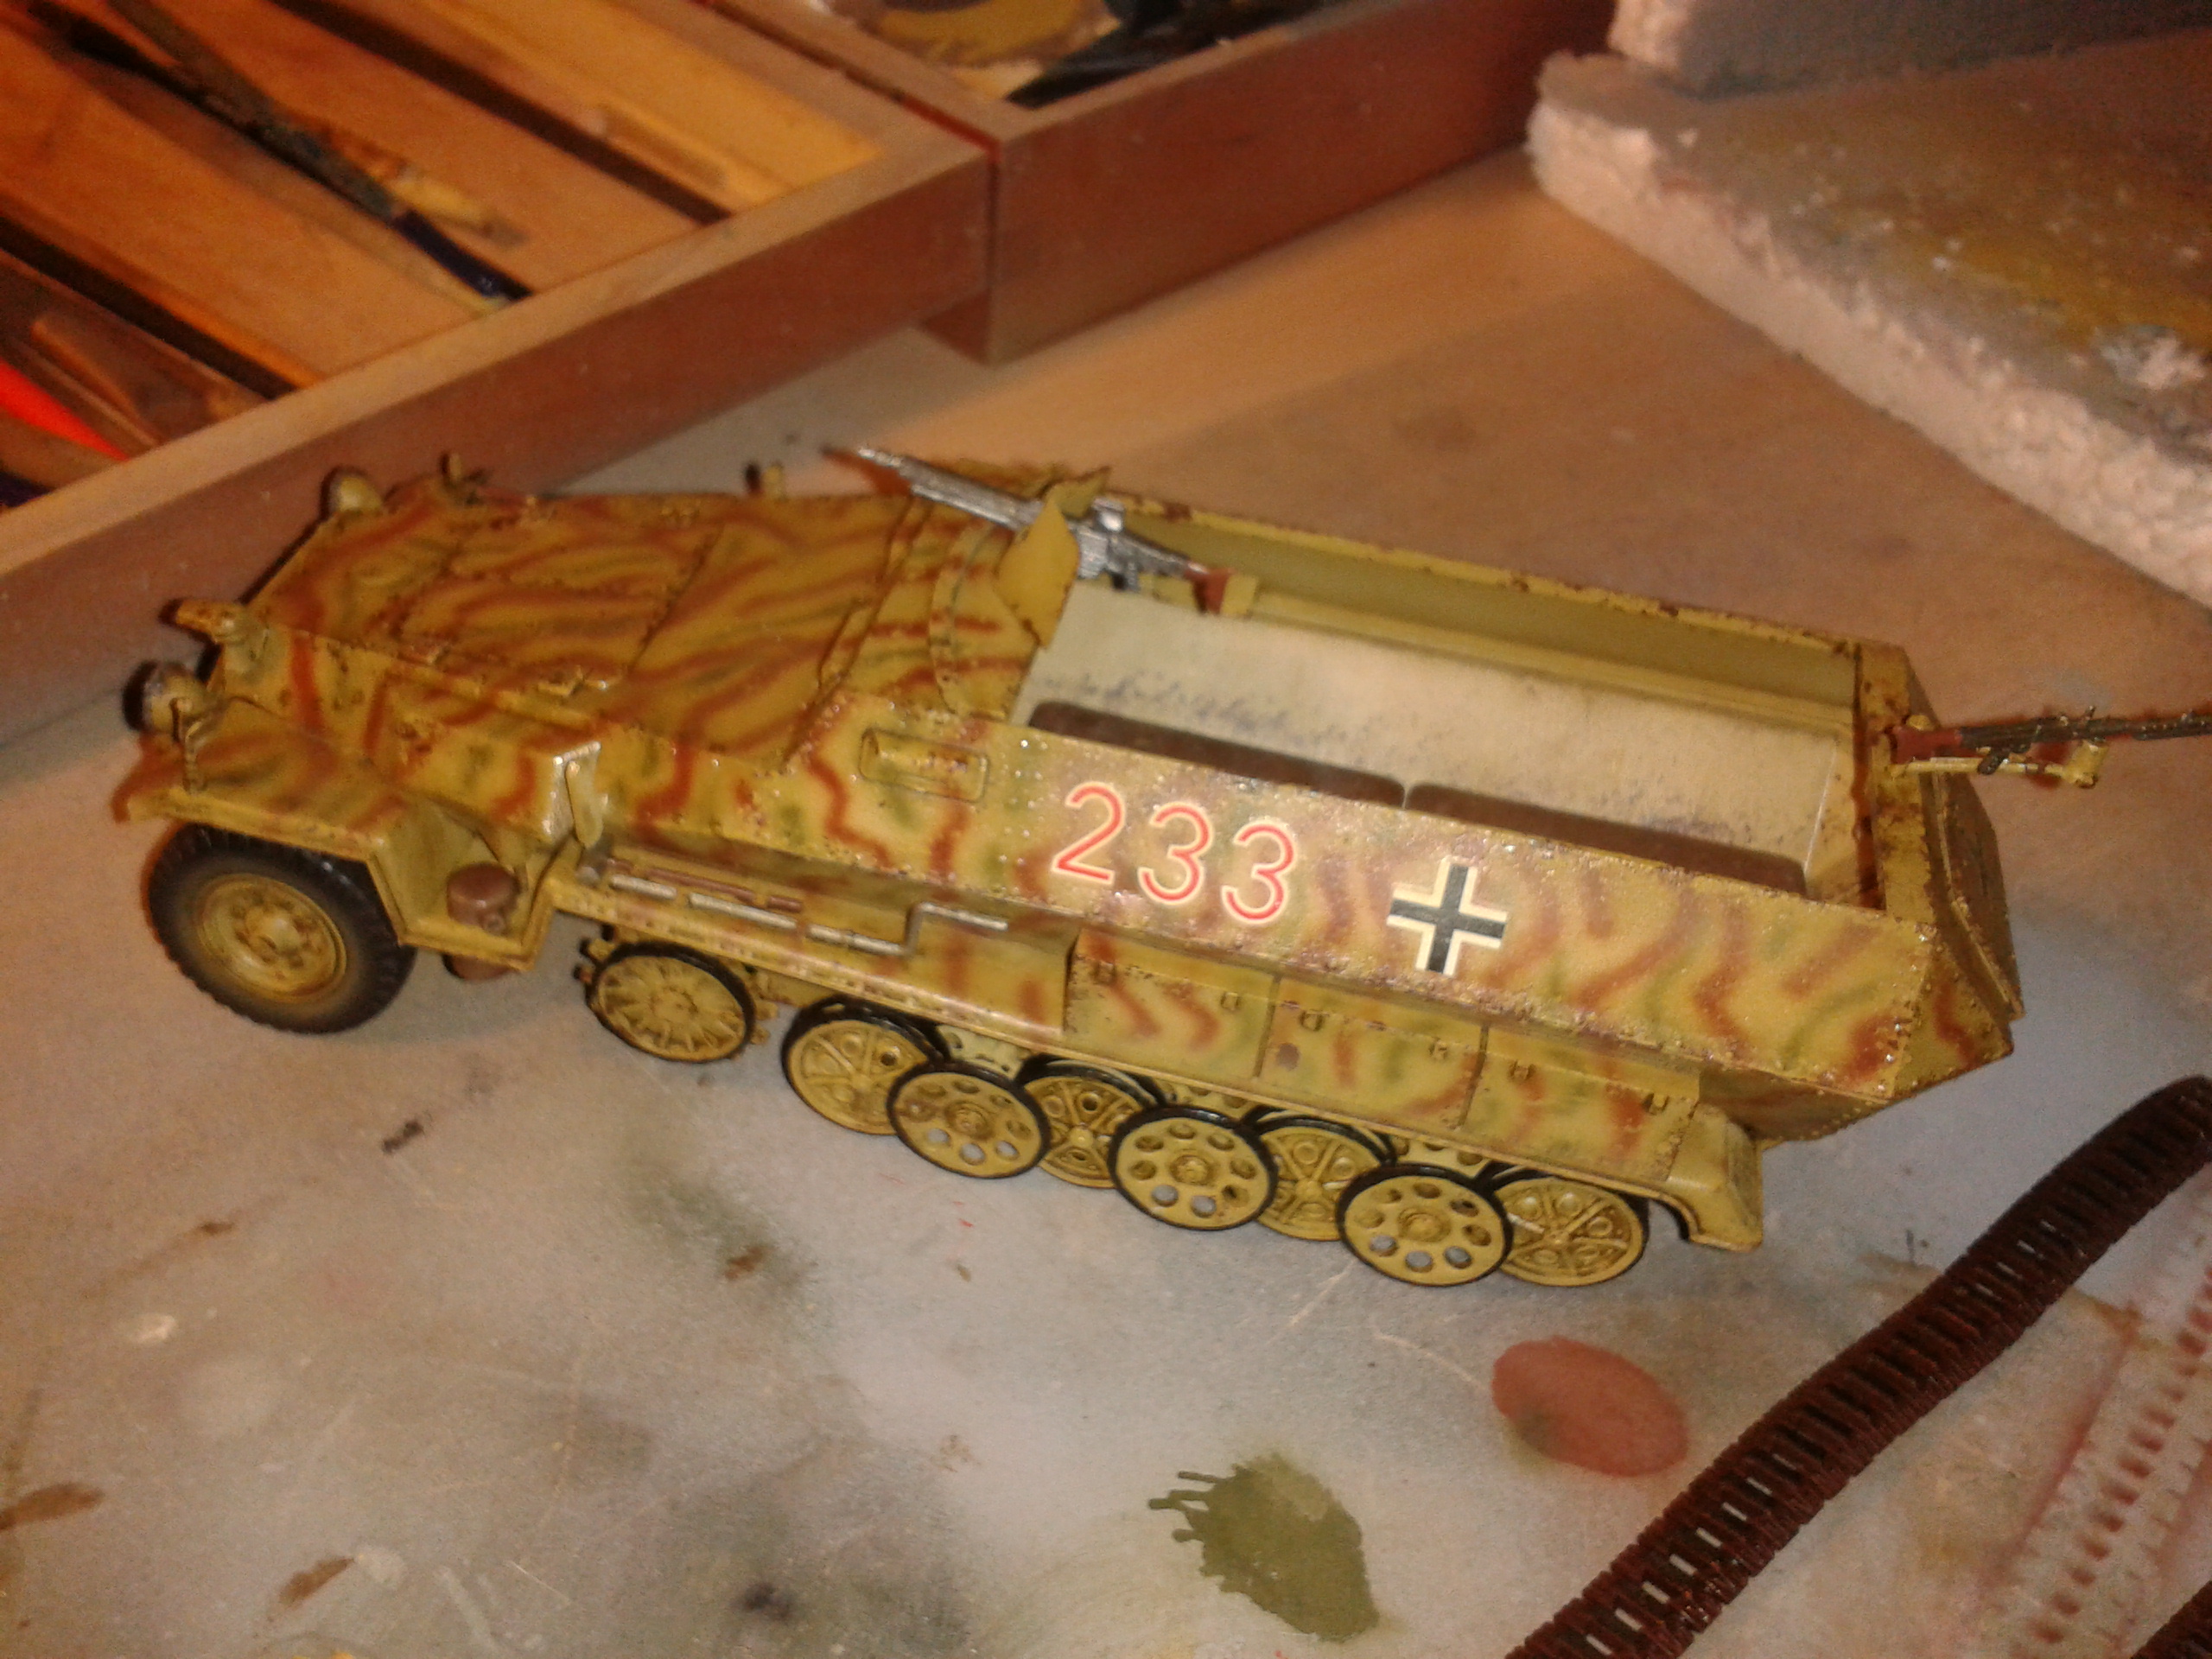
 Now to complete the chains and attach them properly to the wheels. To simulate the weight thereof and remain in good standing I stuck with "Super Glue" in their right spots and using small pieces of cardboard that they should pressure I have placed between the fender and the drive system to the waiting for the "Super Glue" to take effect.

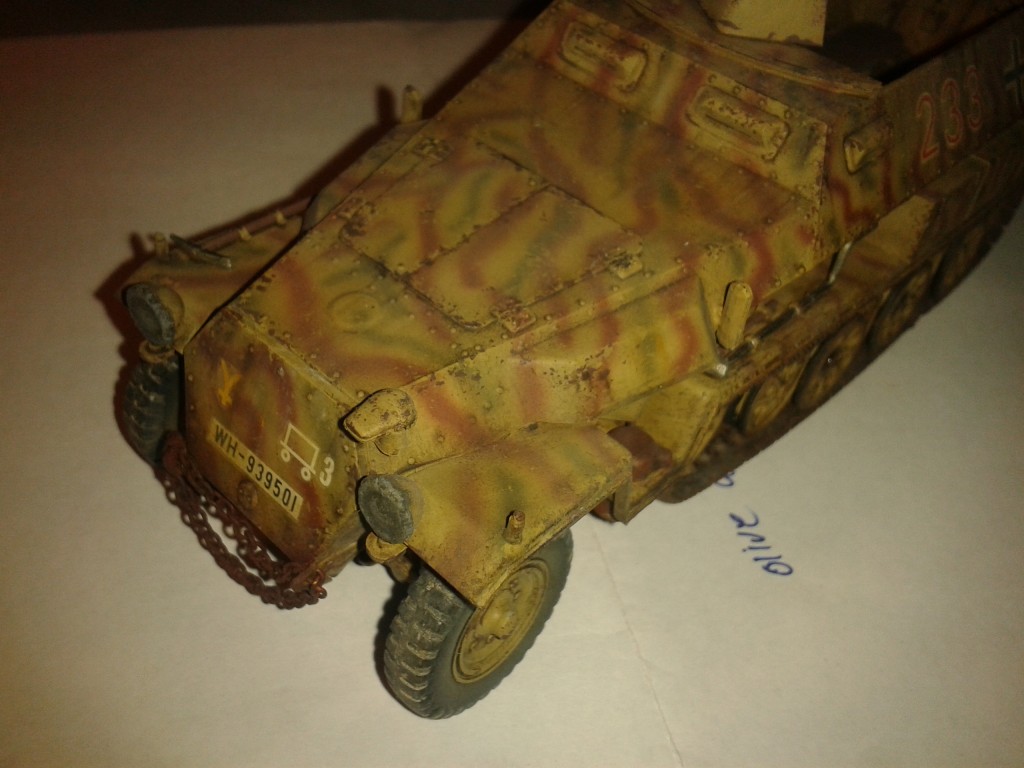
The chorretones dirt and rust oils I created with dark brown, sienna and white, using a stiff bristle flat brush soaked in turpentine.
 For all work is properly dry aging several days must leave.
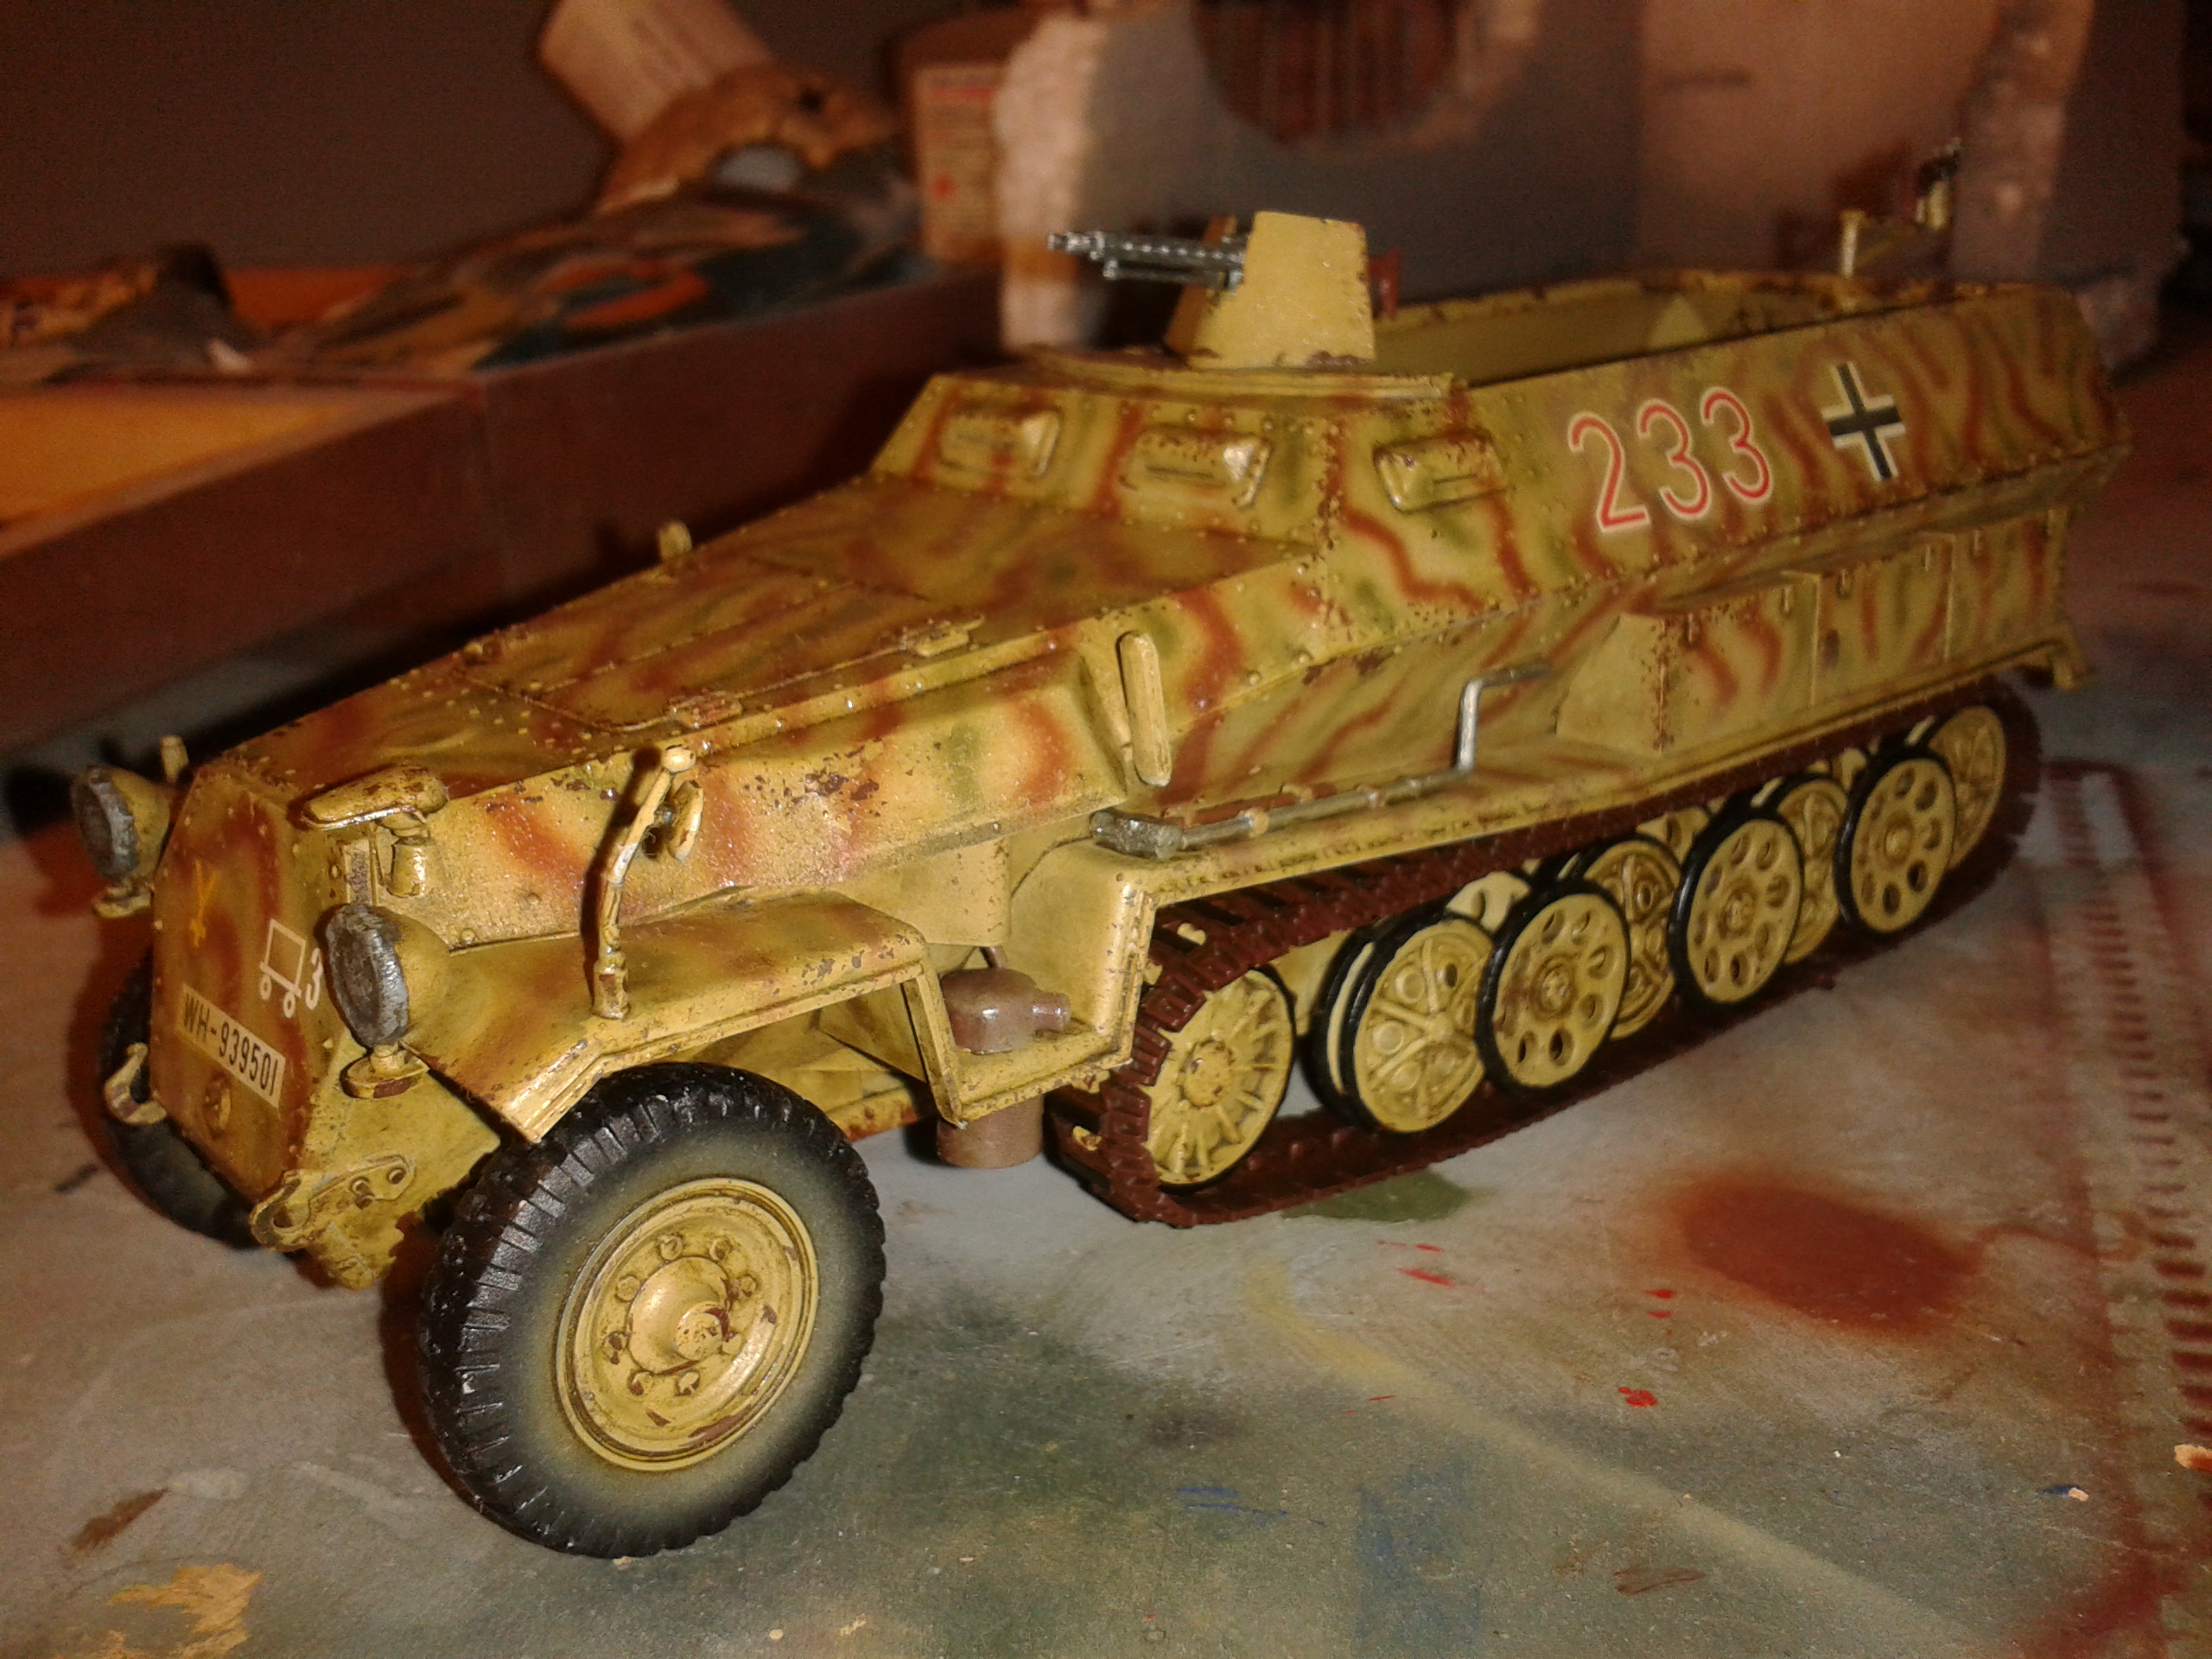
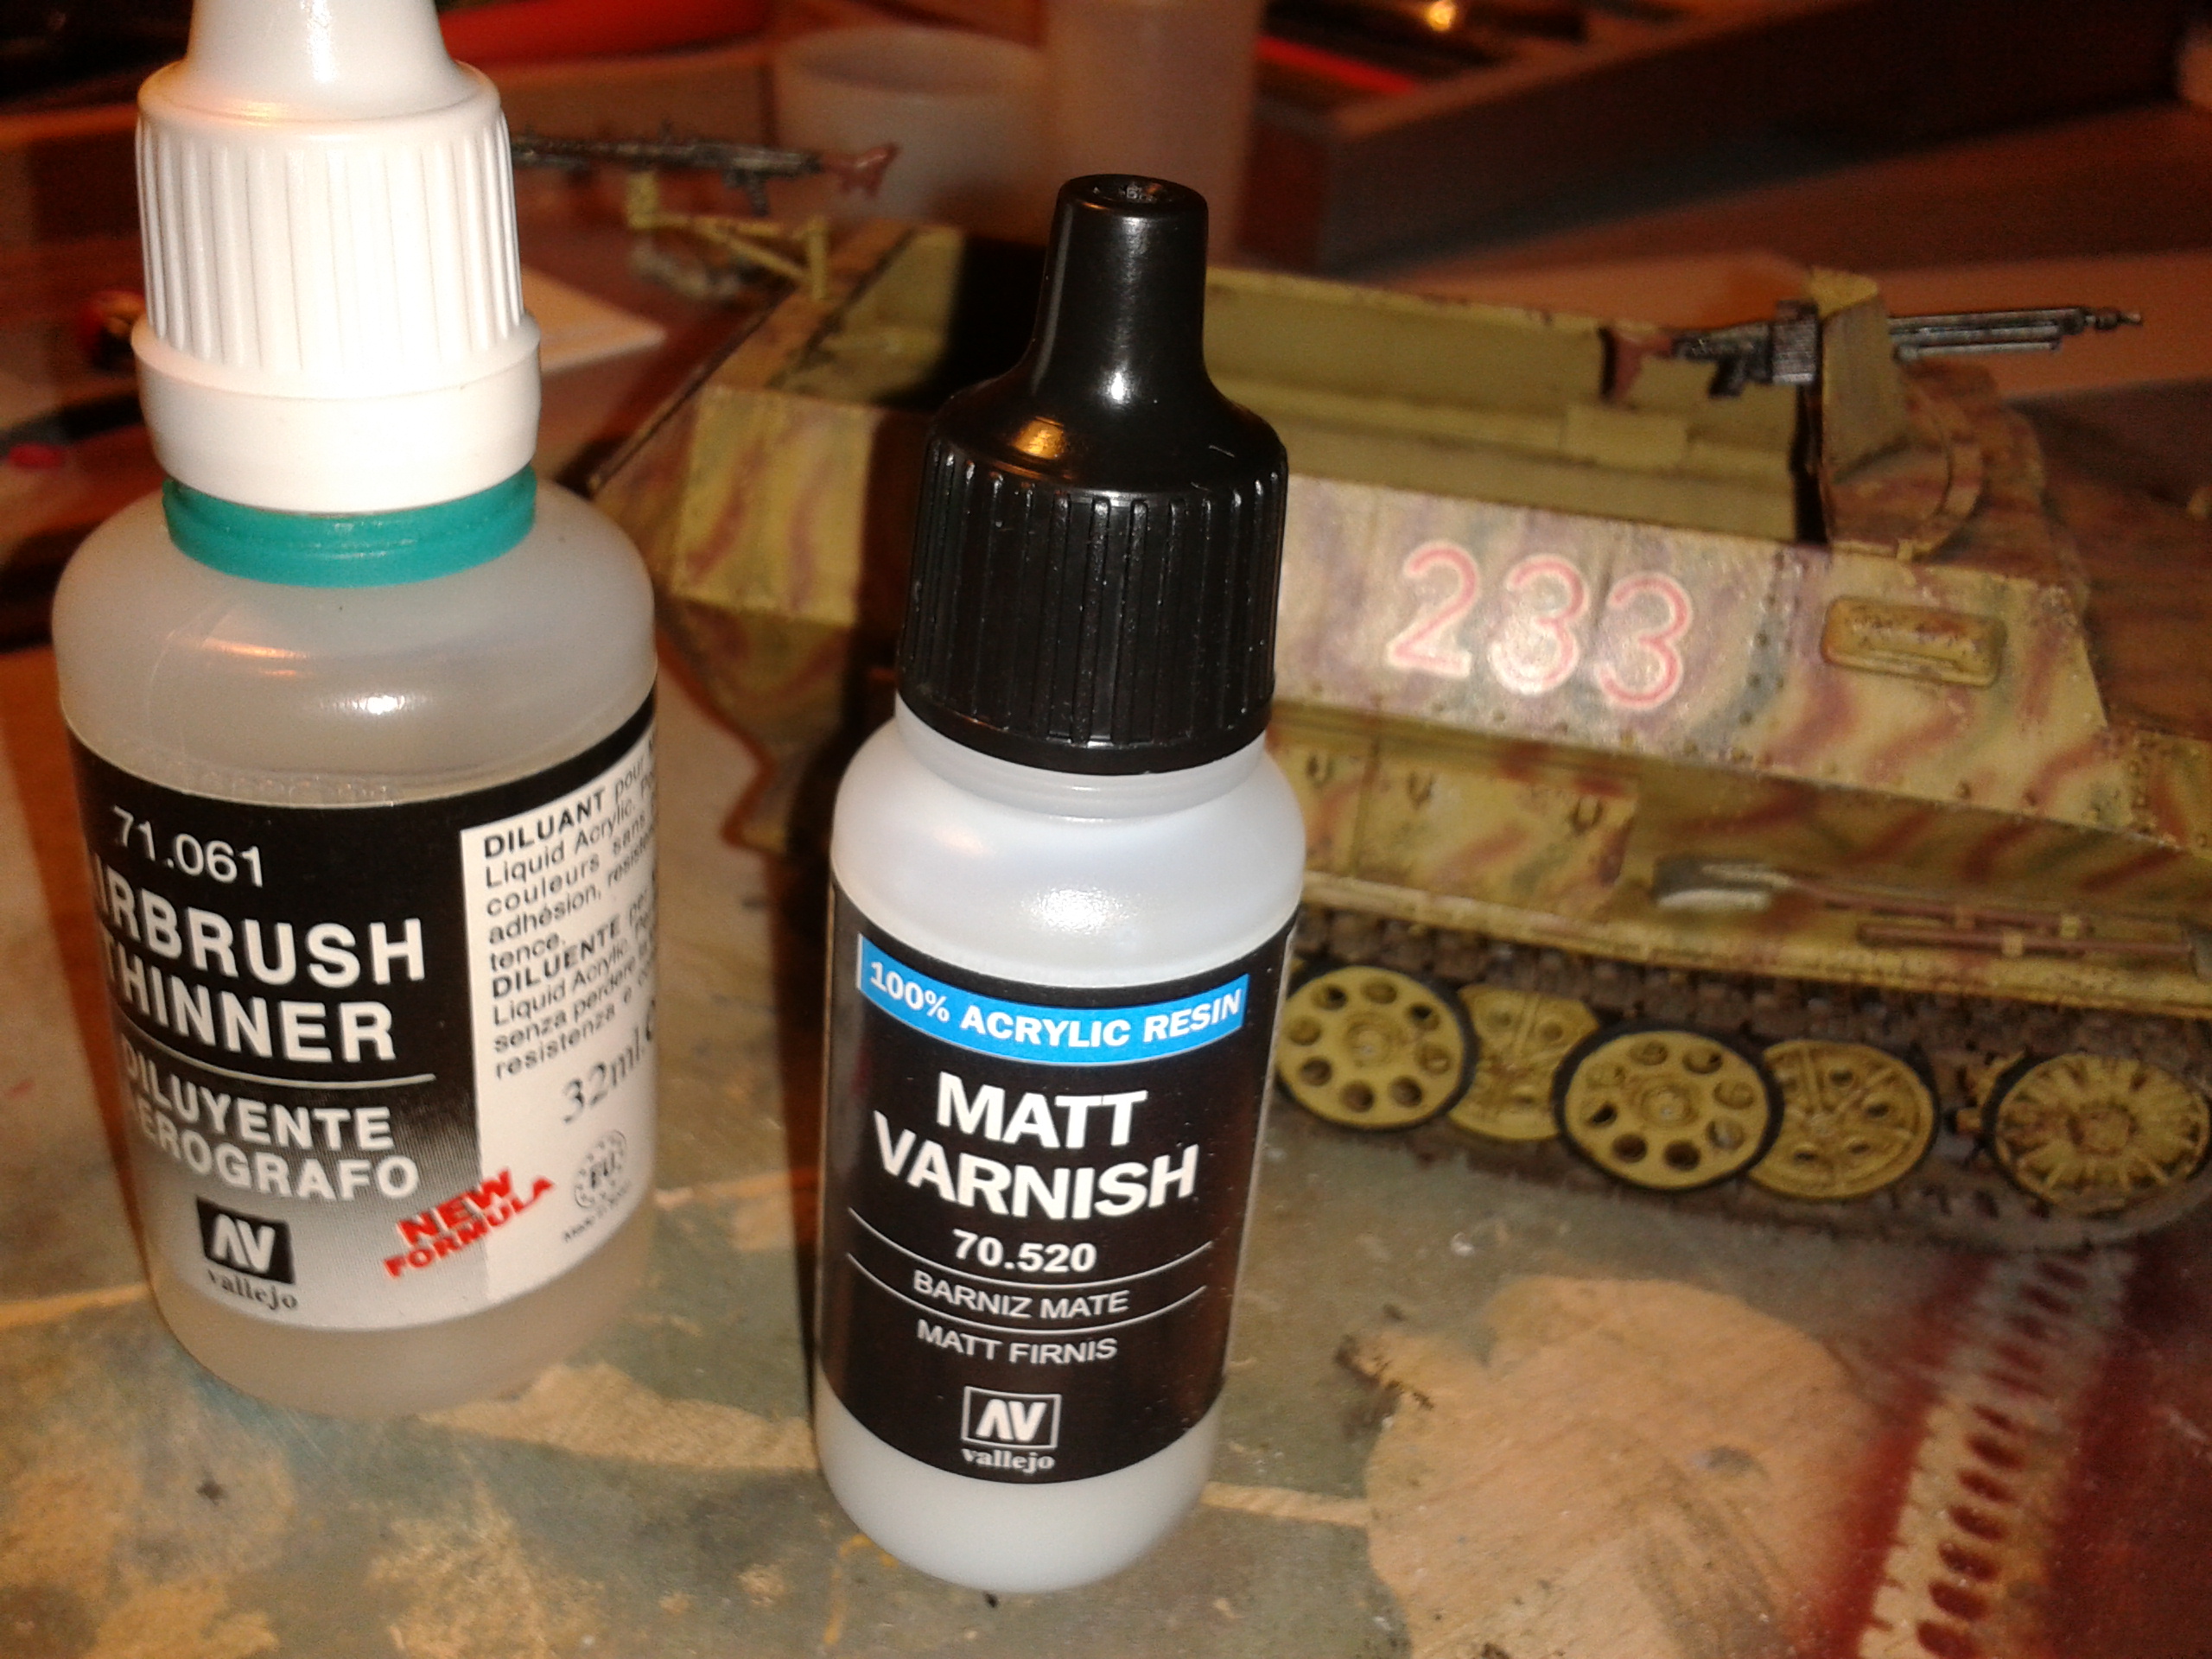
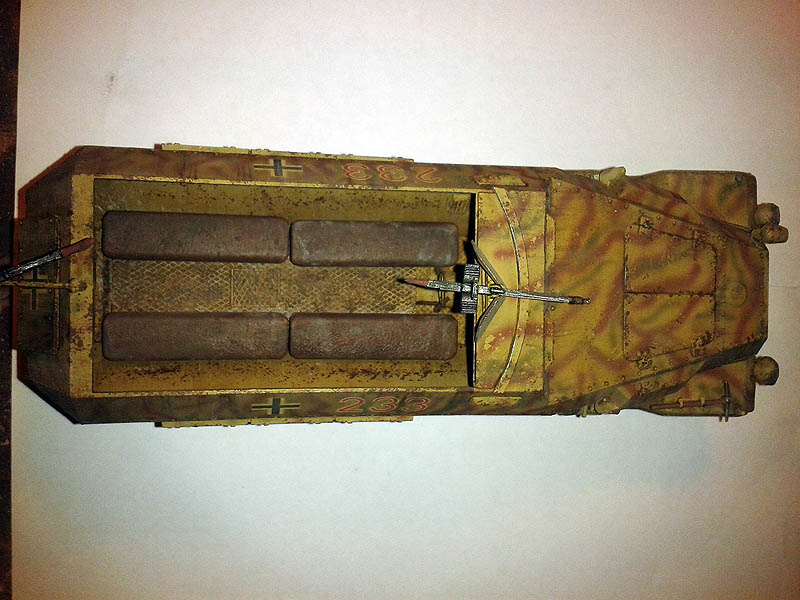
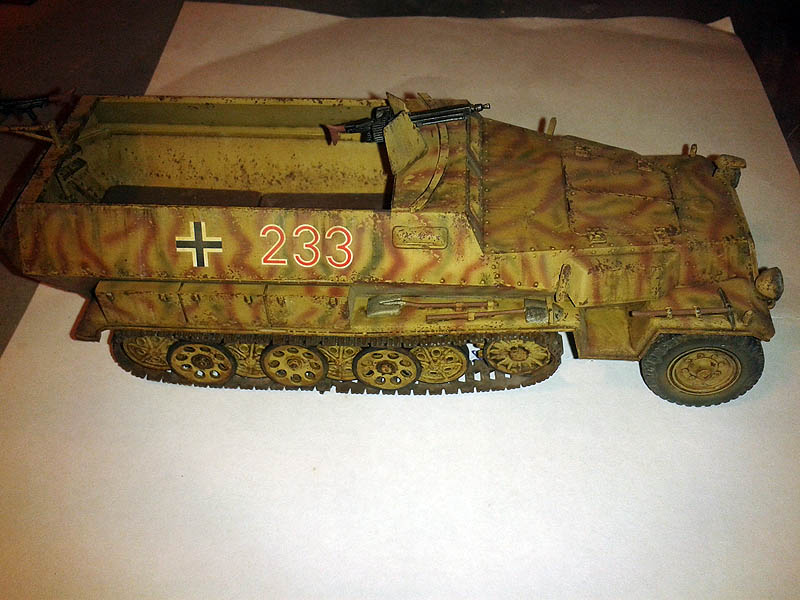
To finish and remove all glare and protect the last paintwork, apply layers of matte varnish Vallejo airbrush the whole vehicle and let it dry and apply the paint back in areas where you can still perceive some brightness.
Result:

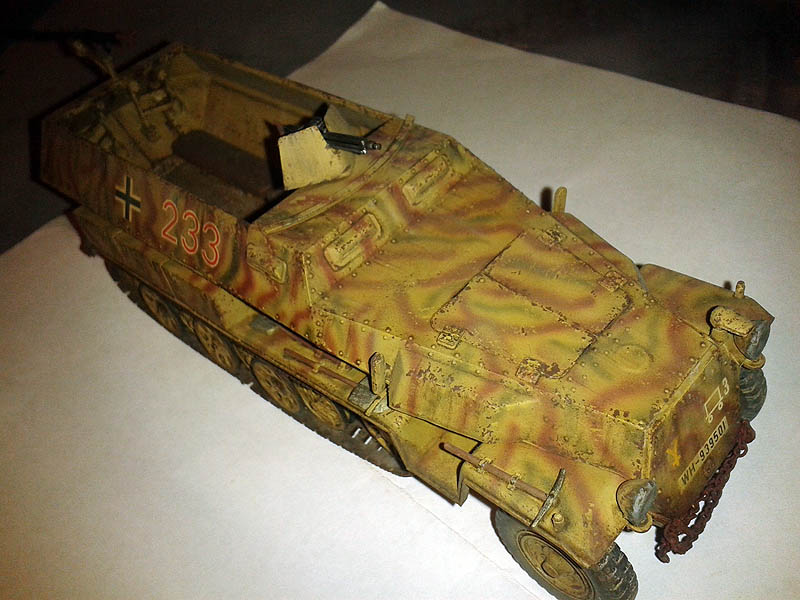
 PROYECTO TERMINADO

Continuara…
Autor Armand C.M.