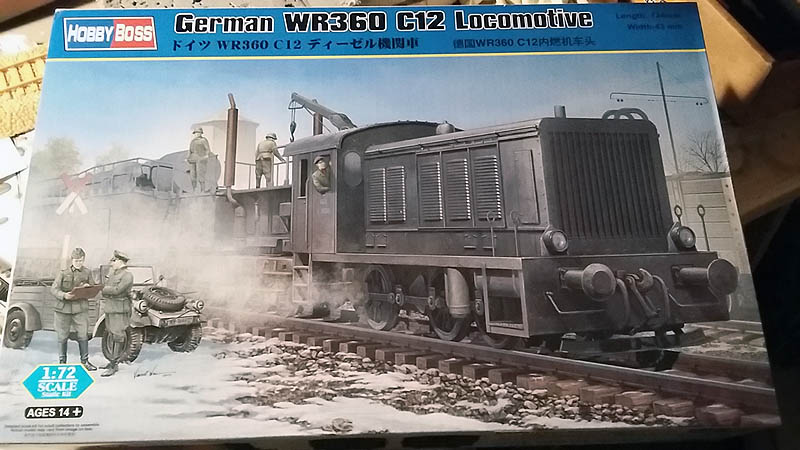
Wr Locomotive 360 c12 Hobby Boss 1:72 – Modeling
In order to make a diorama, I have awarded a nice German locomotive model WR360 C12 of World War brand Hobby Boss a scale 1:72, is my first locomotive which will be accompanied by a boxcar high tonnage. This kit consists of the locomotive and a nice base that simulates a mound of gravel with rails and wooden cross which fits another vehicle, It is a very good and very detailed kit to date is around € 26 at any store modalism.
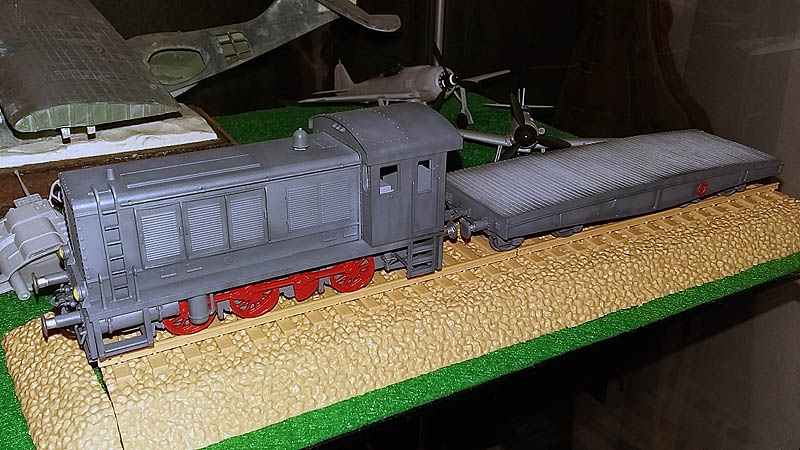
El kit en cuestión:
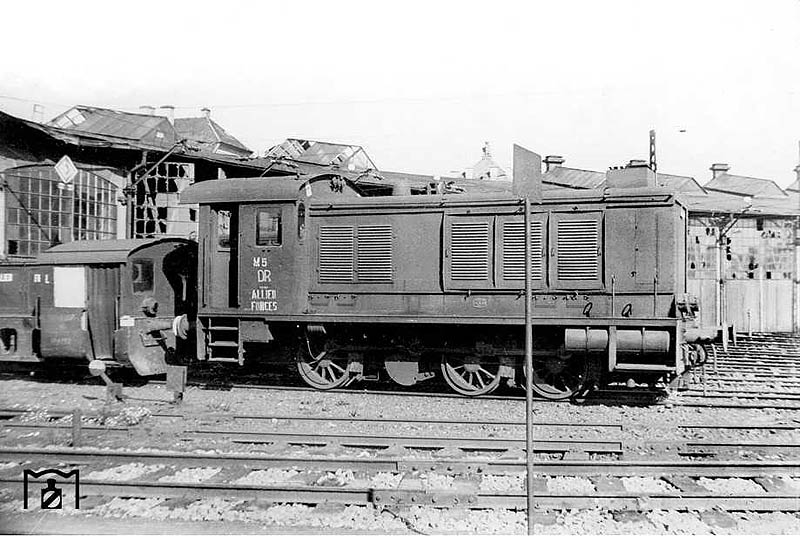
A little history on locomotor WR360 C12:

German war locomotives (KRIEGSLOCOMOTIVEN) were built in large numbers due to the high demands of military logistics during World War II.
It sought to avoid in its construction, imported materials such as copper, but achieving durable and economical production of locomotives. The locomotives of the Wehrmacht were classified with the letters WR (ARMED FORCES LOCOMOTIVE).
The WR 360 C12 it was a diesel locomotive shunting whose power was 360 CV, with axis configuration type C (3 axes) and axle load 12 tons. The wheelbase was 3,5 meters.
Built by BMG (BERLINER ENGINEERING AG) y The & K, Total weight was 36 tons and its length 8,75 meters. The power plant consisted of a diesel engine DEUTZ de 360 CV that gave him a top speed of 45 km/h.
The motor drive to the wheels multi-speed transmission is performed by Voith a hydraulic system, a blind shaft and connecting rods. The WR 360 C12 was used in ports, airports, refineries, stores and ammunition depots.
And assembling content: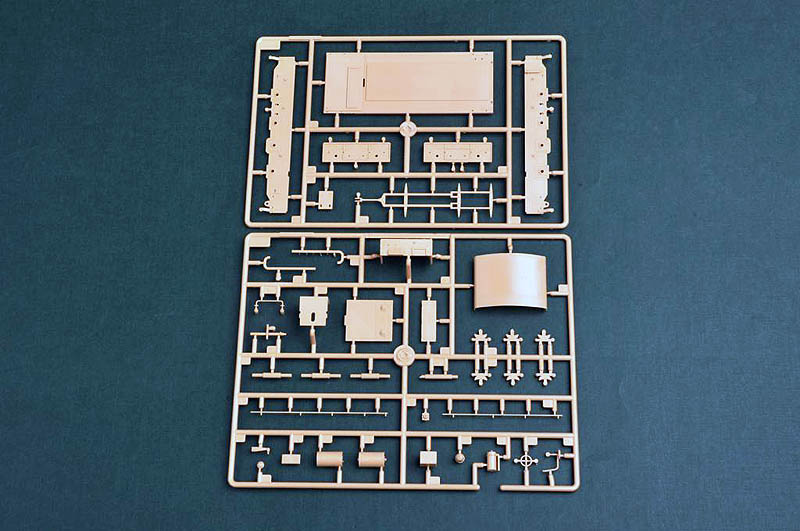
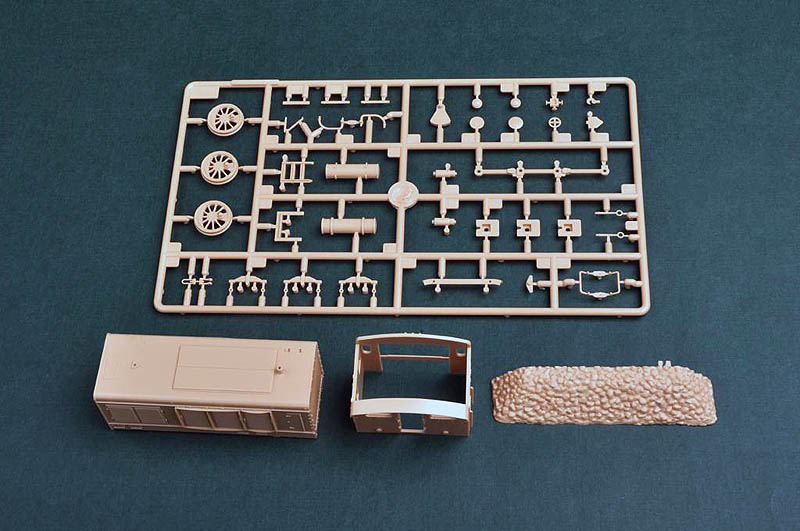
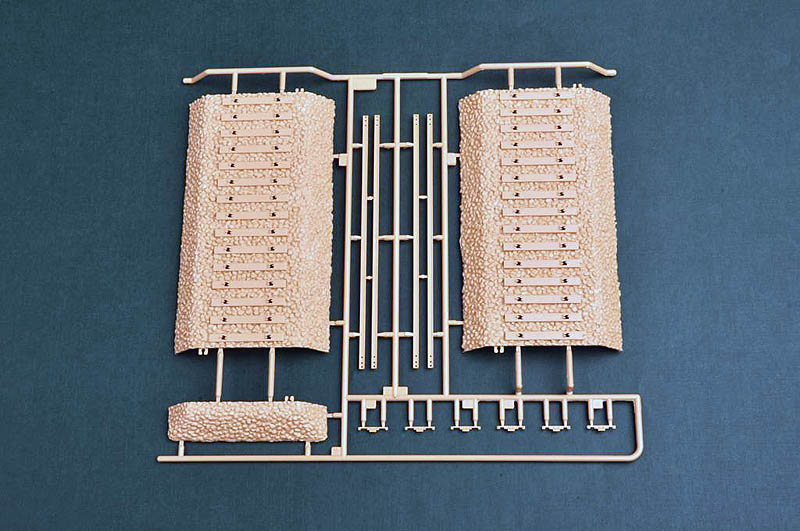
Assembly is simple but is composed of many small parts and detail is fantastic despite its scale 1:72.
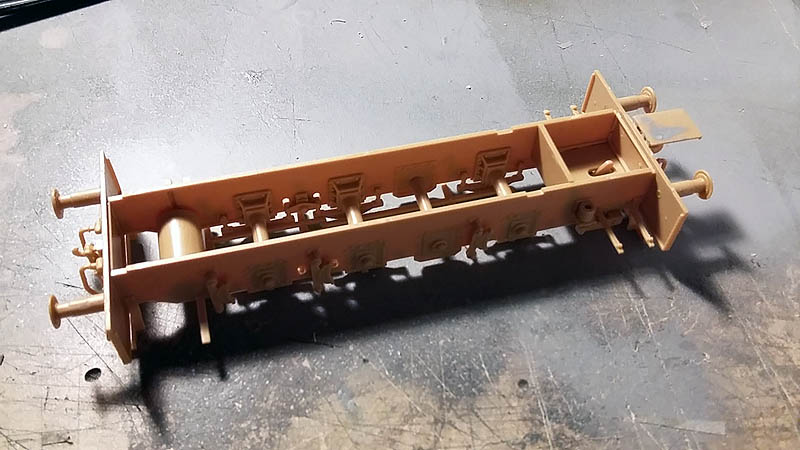
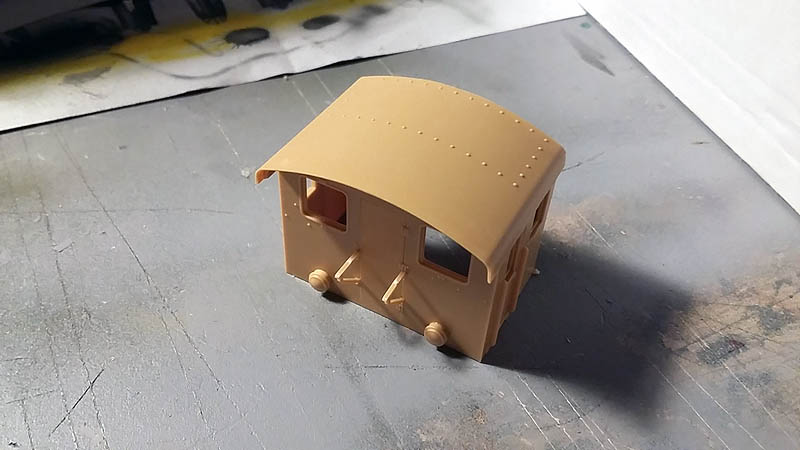
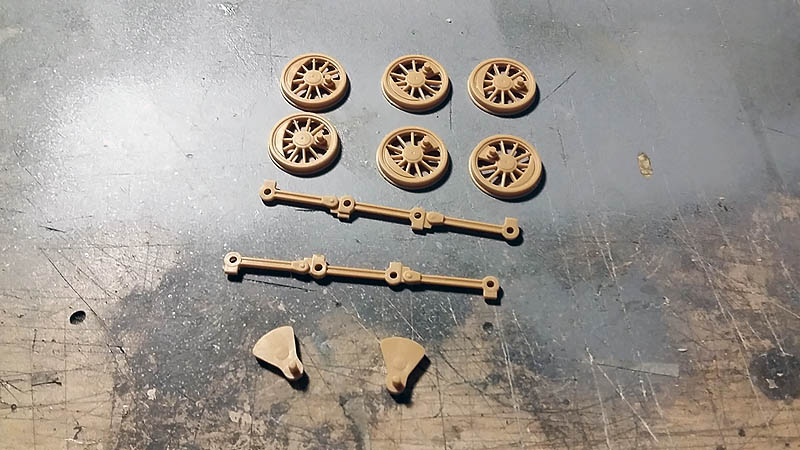
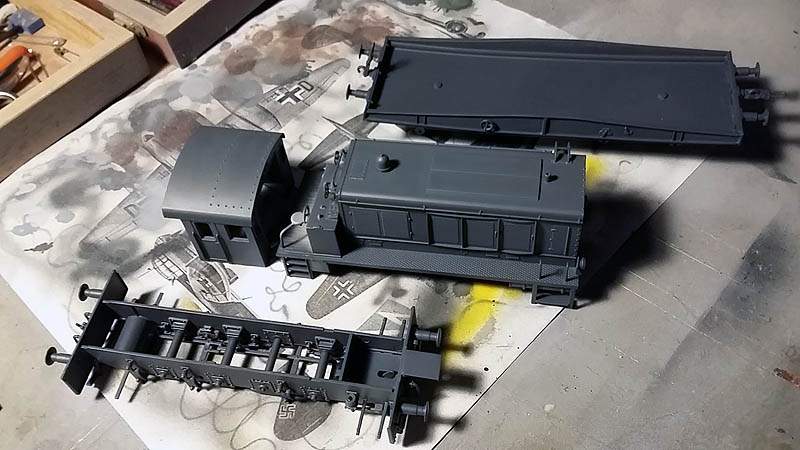
I start to go separating the pieces of their staples, I'll ride the WR360 C12 into three parts and then facilitate their painted, consists undercarriage, the driver's cab and the upper body.
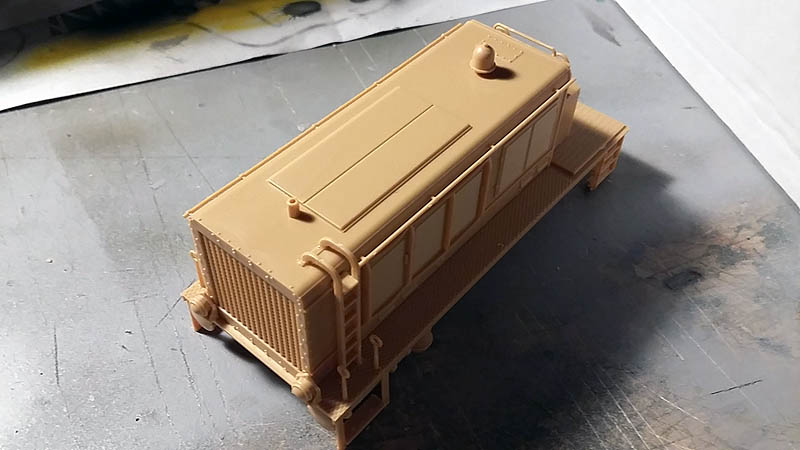
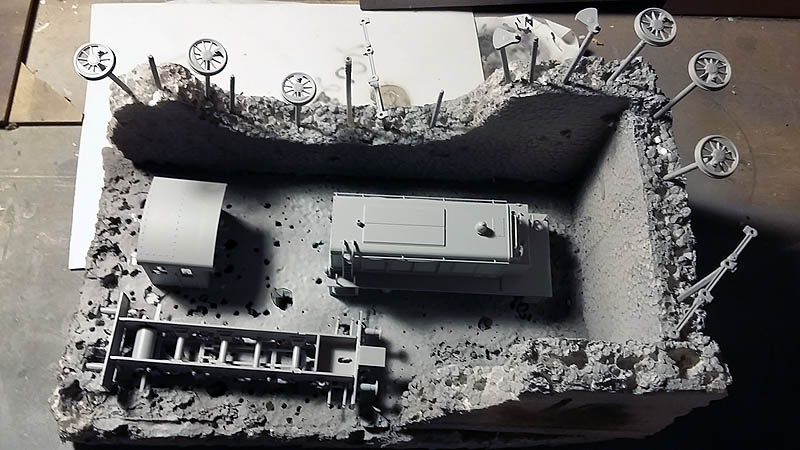
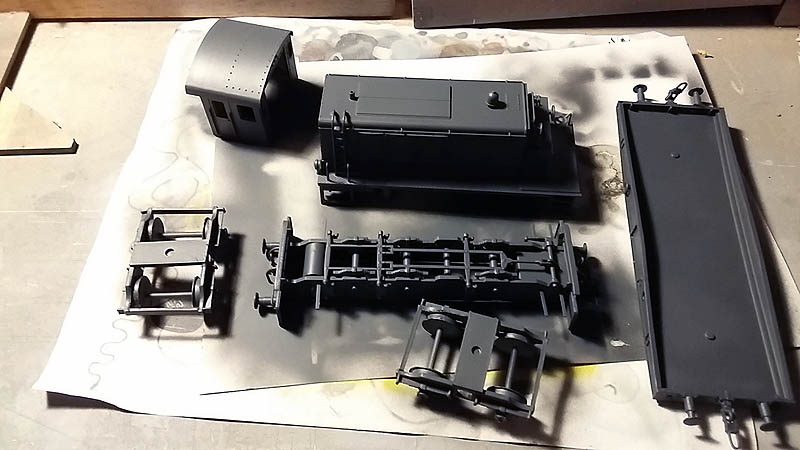
Once started the three parts assembled with the painting process, as always prepare the kit with a coat of Tamiya gray primer and let dry a 24 Hours.
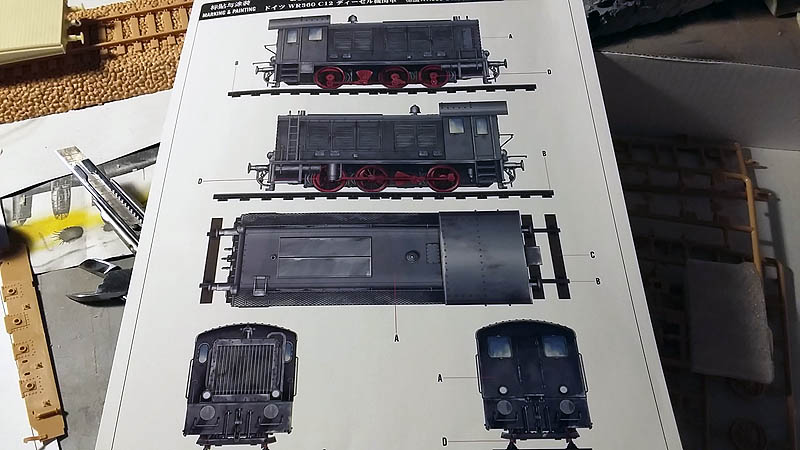
 In the kit instructions the base color of the locomotive is a light gray, I used the German gray as base color with lights as we will have to go clarifying and as you can see in the pictures vintage locomotive color is a very dark color.
The brand used Vallejo Model Air ref. 71.052.
 For the undercarriage I use a red hot Tamiya ref. XF-7.
 Apply one pass with color brush steel Vallejo Model Air Ref. 71.065 on the road surface to simulate the wheel wear by rubbing against the tracks.
 Once dry the base color I start with lights, for this I use a mixture of base color with blanco Model Air Ref. 71.001 the same brand to small proportions to which I will then increase as needed.
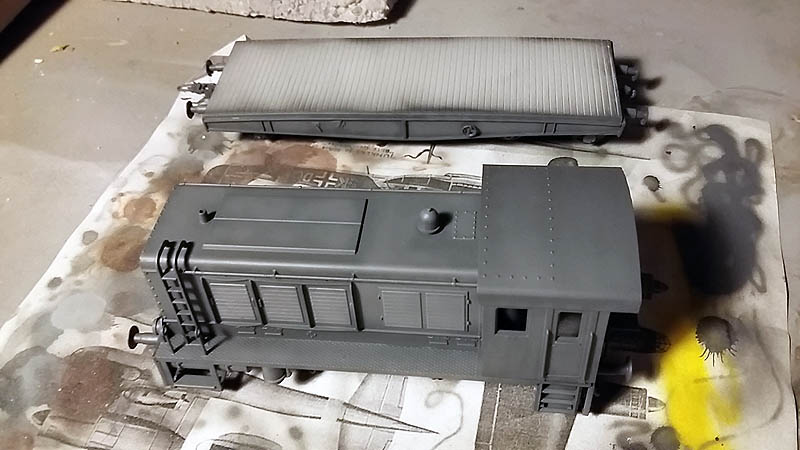 For the impact surface of the bumper steel color I use airbrush applied to simulate the wear of friction.
 For the headlights I use a yellow and a red color rear.
Then amount to see how you color kit, without glue the pieces if you need more passes, in my case apply more lights.
CONTINUARA …
Autor Armand C.M.