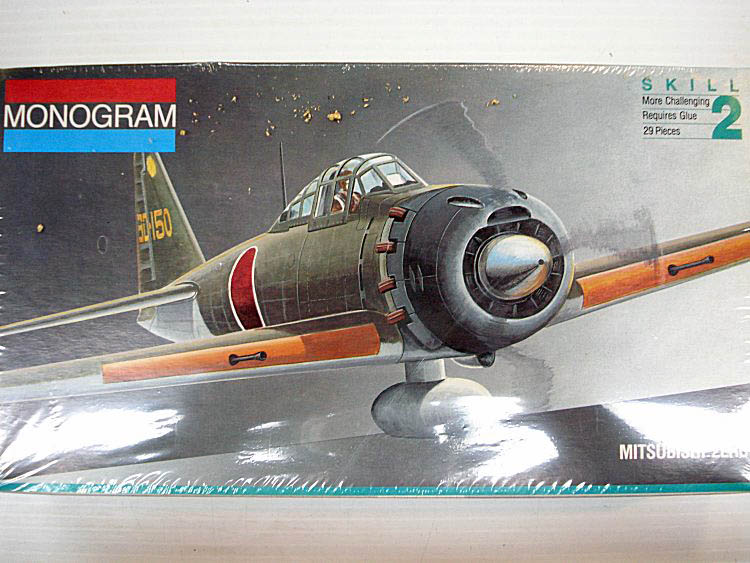
Mitsubishi Zero A6m5 – Monogram 1/48 – Modeling
This model is a Mitsubishi Zero of the first models, Brand Monogram and scale 1/48, and they had assembled and painted brush for many years, I put it in caustic soda to remove paint and reassemble and paint, as you can see the model is very poor in details and parts.
Brief History Mitsubishi Zero :
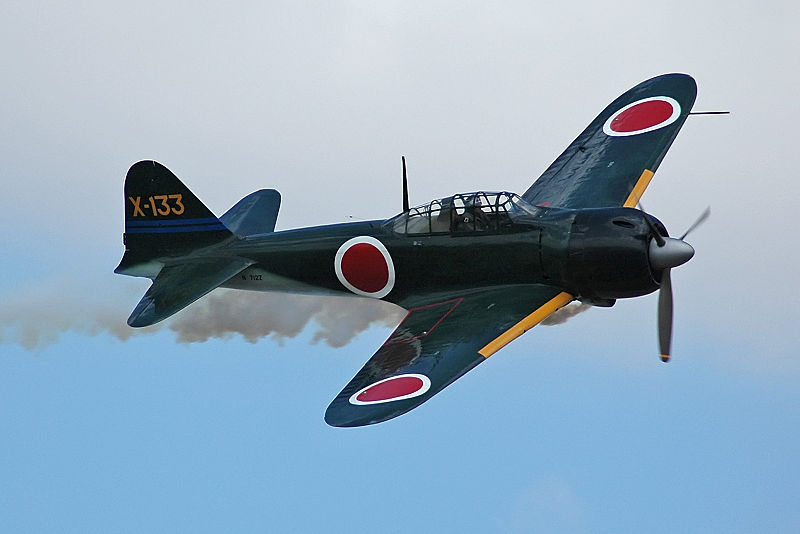
El Mitsubishi A6M «Zero» was a fighter aircraft long range used by the Imperial Japanese Navy Air Service from 1940 to 1945. The A6M was desingado as Embarked Hunting Type 0, Japanese also used an official contraction King sentoki -caza zero or Rei-sen, more familiarly used but that of Zero-sen, as the English word "zero" and French "zéro" were introduced in Japan since the late nineteenth century, when Japan's Meiji era began to receive French and English engineers and scientists with the intention of becoming an industry and modern army and powerful. Although the official name of the Allies was key Zeke I -pronunciado Zik-, It is universally known as Zero Japanese naval its designation.
Born of a request from a naval fighter in May 1937, The first prototype was taking off for flight testing in March 1939. When it was introduced into service in early WWII, Zero embarked on the world's most capable fighter was considered.
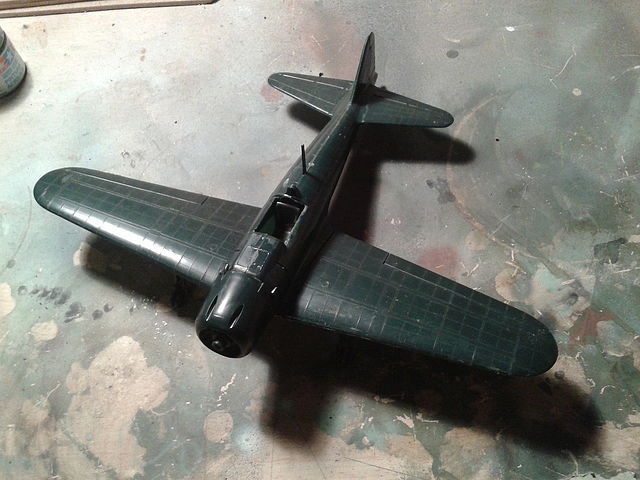
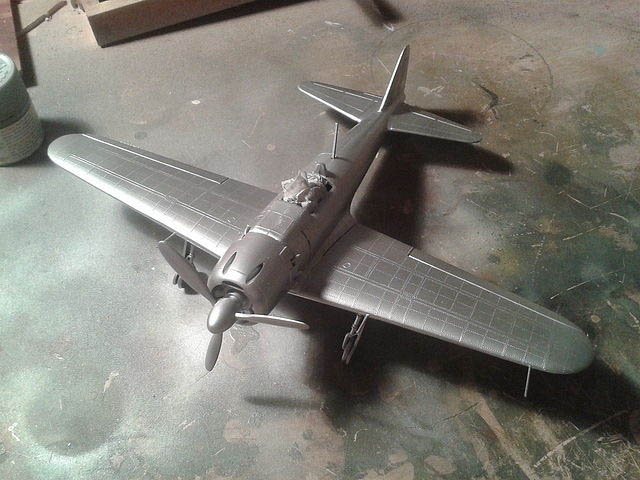
Pickling and aircraft assembly, installation is easy because its interior is completely void details.
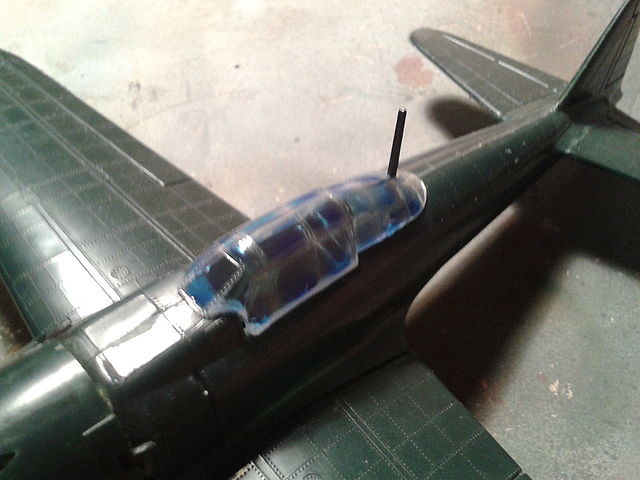
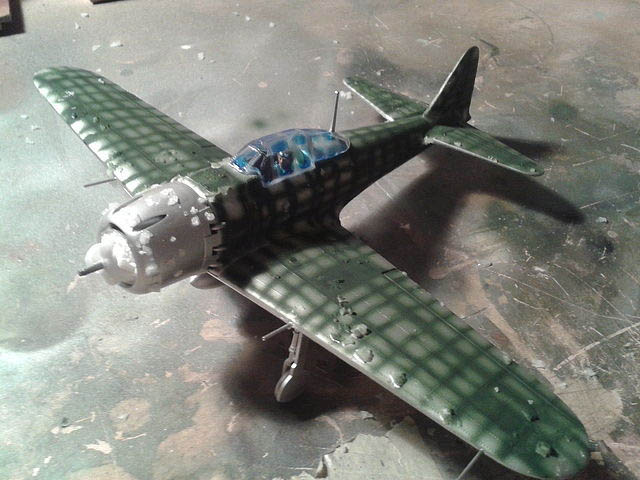
I have masked the windows of the cabin with a special mask for it “Maskol”, very clean and easy to remove, is what you see blue.
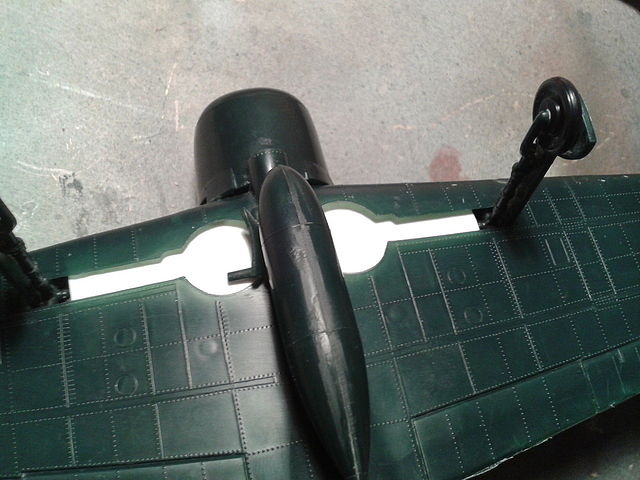
I created a panel to cover the interior of the aircraft where the landing gear is white Evergreen since the model and was not wearing a hole inside looked.
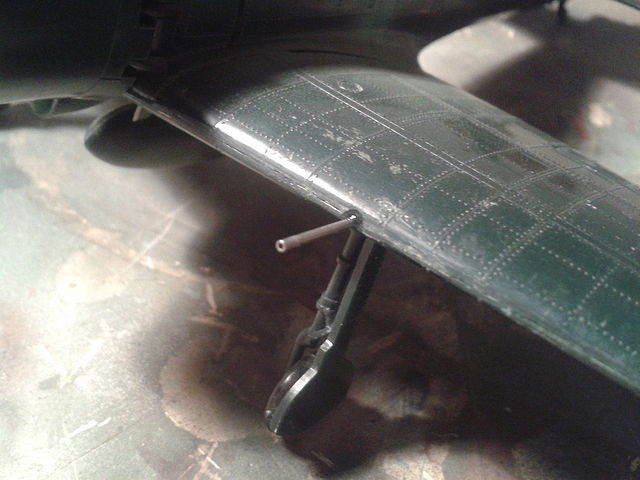
The tubes of the guns I created with the tube of the injection needle, cut and pasted into the holes in the wing, because that come with the kit were missing in action.
Painting:
I start with a silver base, I used the silver number 11 Humbrol, simulating the color aluminum panels tickets with descorches then you can see that color.
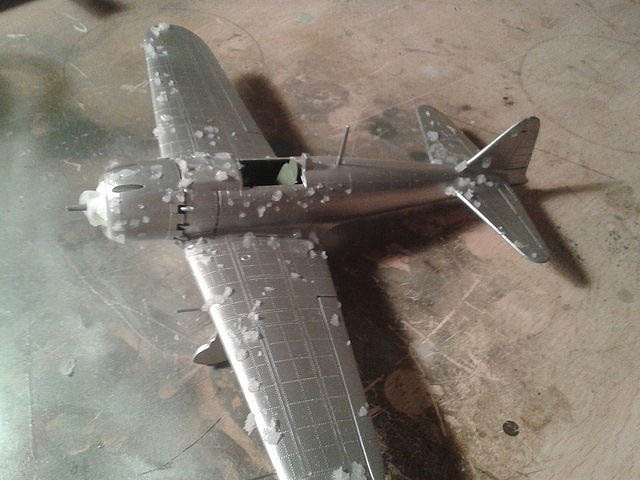
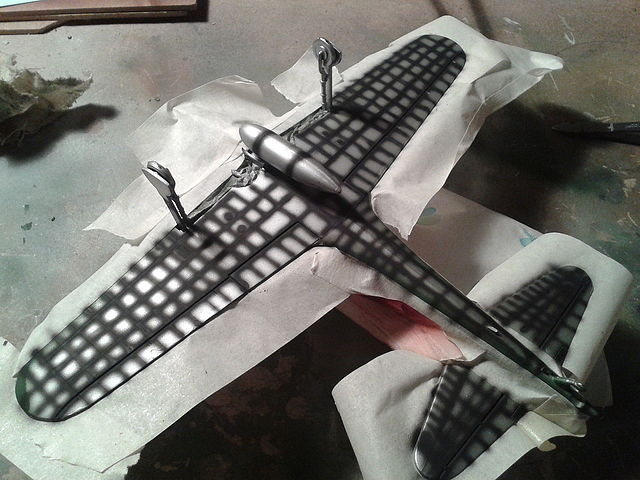
Now is the masked for descorches, I'll try technique salt, for this I used fat domestic salt grain, with brush soaked with water I dunking in salt and then adhering it in areas of the airplane where I want the descorches of desgate play in the paint and let dry water and salt from adhering to the model, if not well stuck to pass the salt will propel airbrush so I recommend that the outlet pressure airbrush is lowered to the lowest you can paint so no problem with salt.
After everything is dry, start with paneling, I normally do with black soil but I'll try a darker color of the final color of the plane to see that this is, to use dark green matte Tamiya XF-67.
Forgive but I forgot to take pictures of the outcome of painted color plane so I will describe the steps:
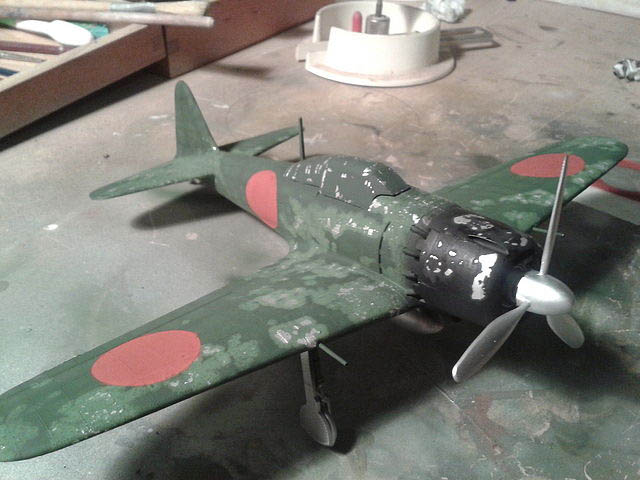
Once dry paint paneling top model with a lighter green nato XF-67 tamiya, but always the color corresponding to the model, I also paint the covers engine model with a black matte, once dry everything step by removing salt with a brush of hair harder and rigid.
I have checked that the result is not bad but a little big these descorches, so next time I will choose one finer grain of salt, This uncorking it touch it up with a brush.
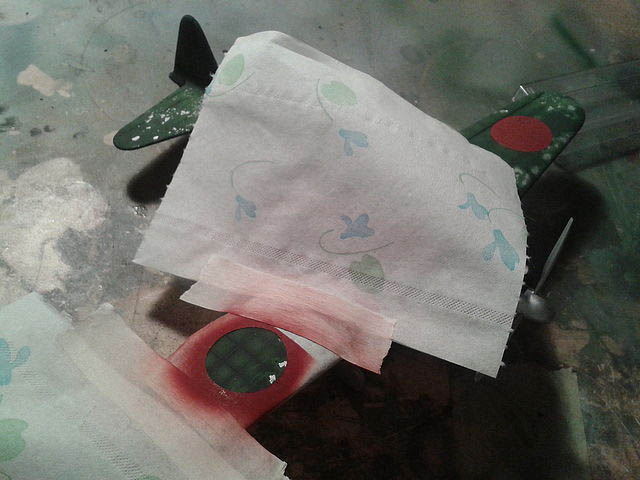
Now we make templates to paint the logos Empire of the Sun, I have created with a compass on paper masking for painting walls.
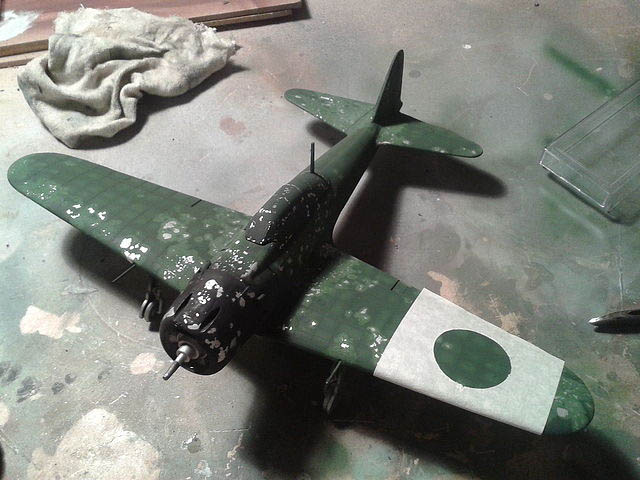
Red paint with matte Tamiya XF-7.
Resultados:
This takes shape, Now prepare the lower plane and then decals, varnished, washes etc..
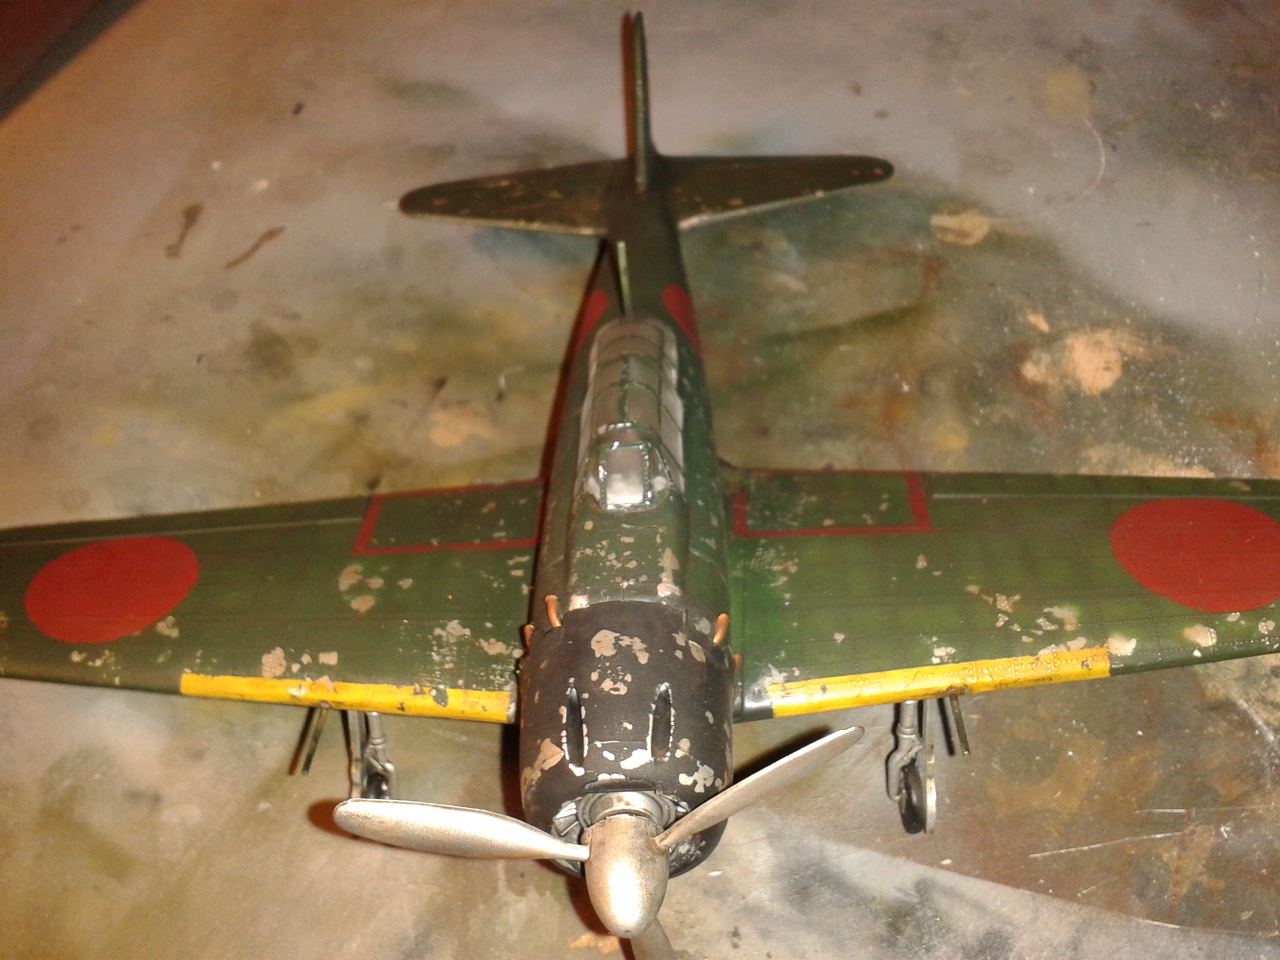
I painted exhaust protruding from the rear of the engine cover on both sides with copper colored section, but now seems very striking when we start washing etc. emperlara to catch the right tone and brightness disappears.

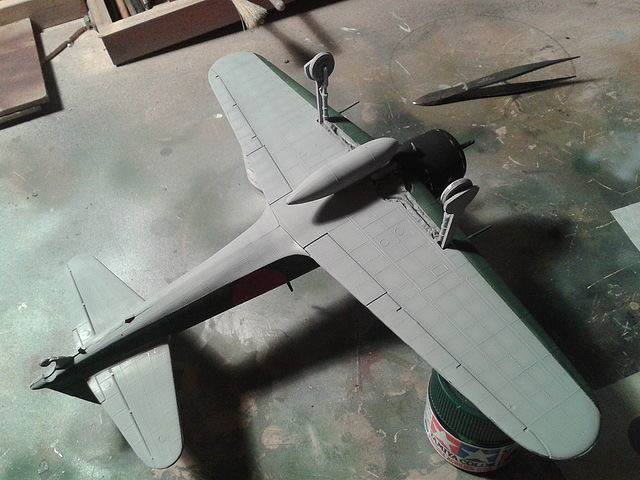
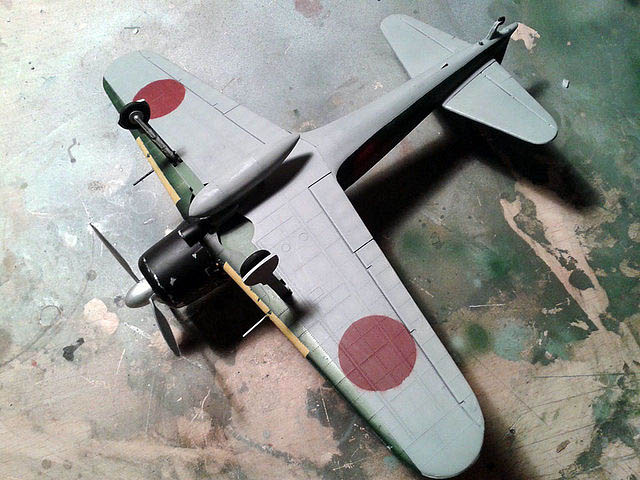
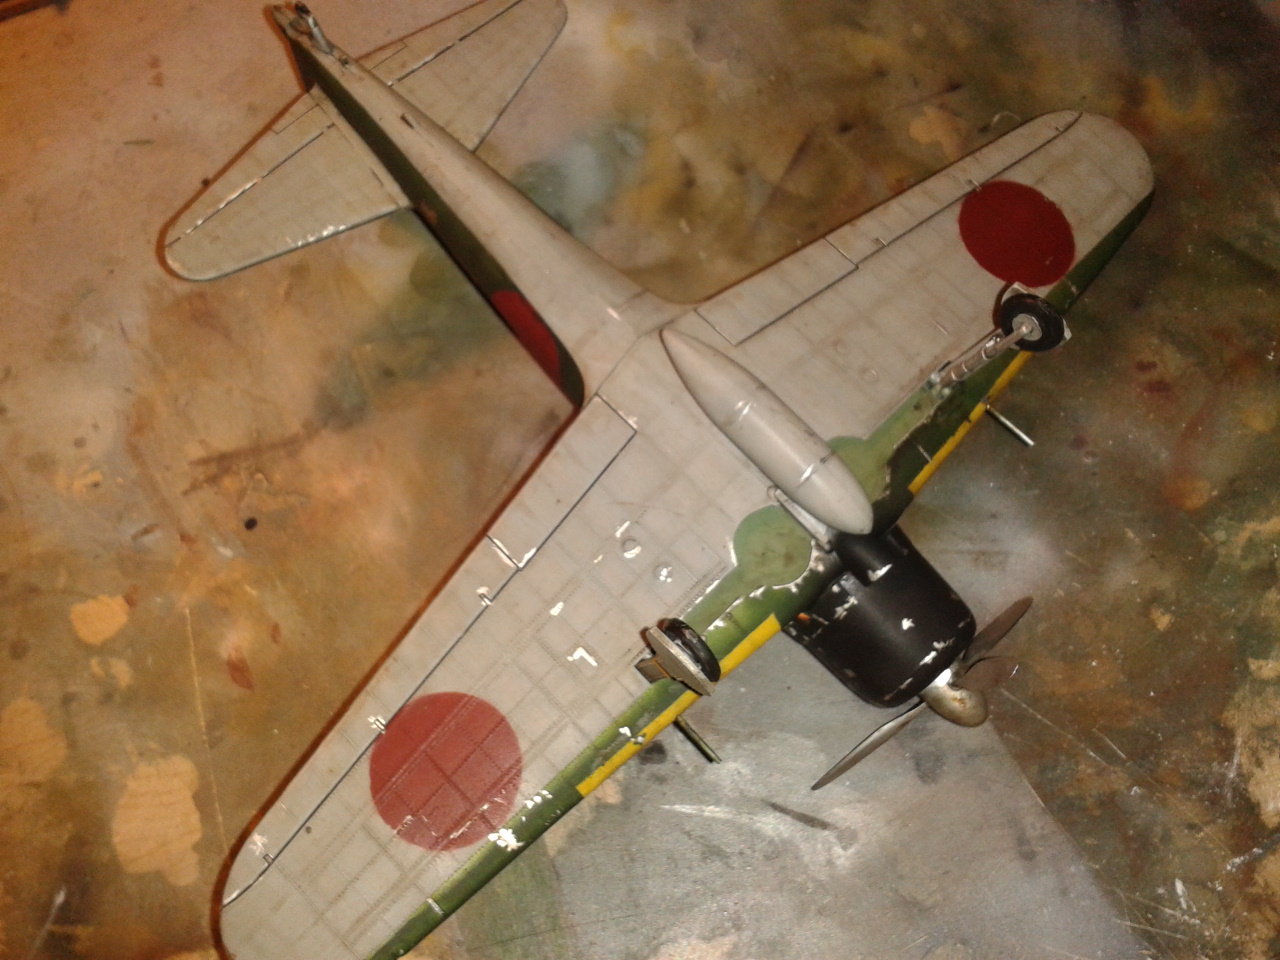
We started with the lower Mitsubishi, we mask with masking tape and draw lines paneling, this time with black since low be painted light gray.
Paint the bottom of the gray XF- de Tamiya, This time I create the descorches with brush, He has not had time to put salt and allow to dry and then paint.
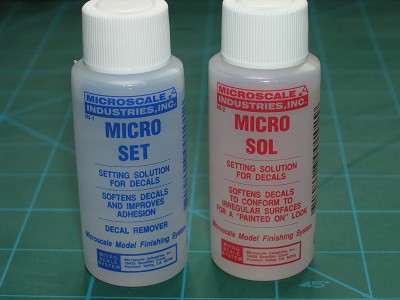
 Once dry the bottom, apply some decals drawer leftover mess me another Mitsubishi Zero, before I apply this solution Microsol and Microset calcas that give better adhesion, but then no hurts to give it a pasadita gloss or matte varnish to leave securely fastened to the model.
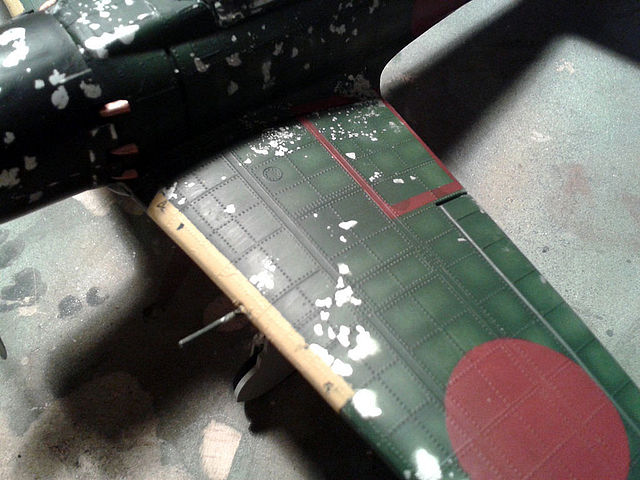
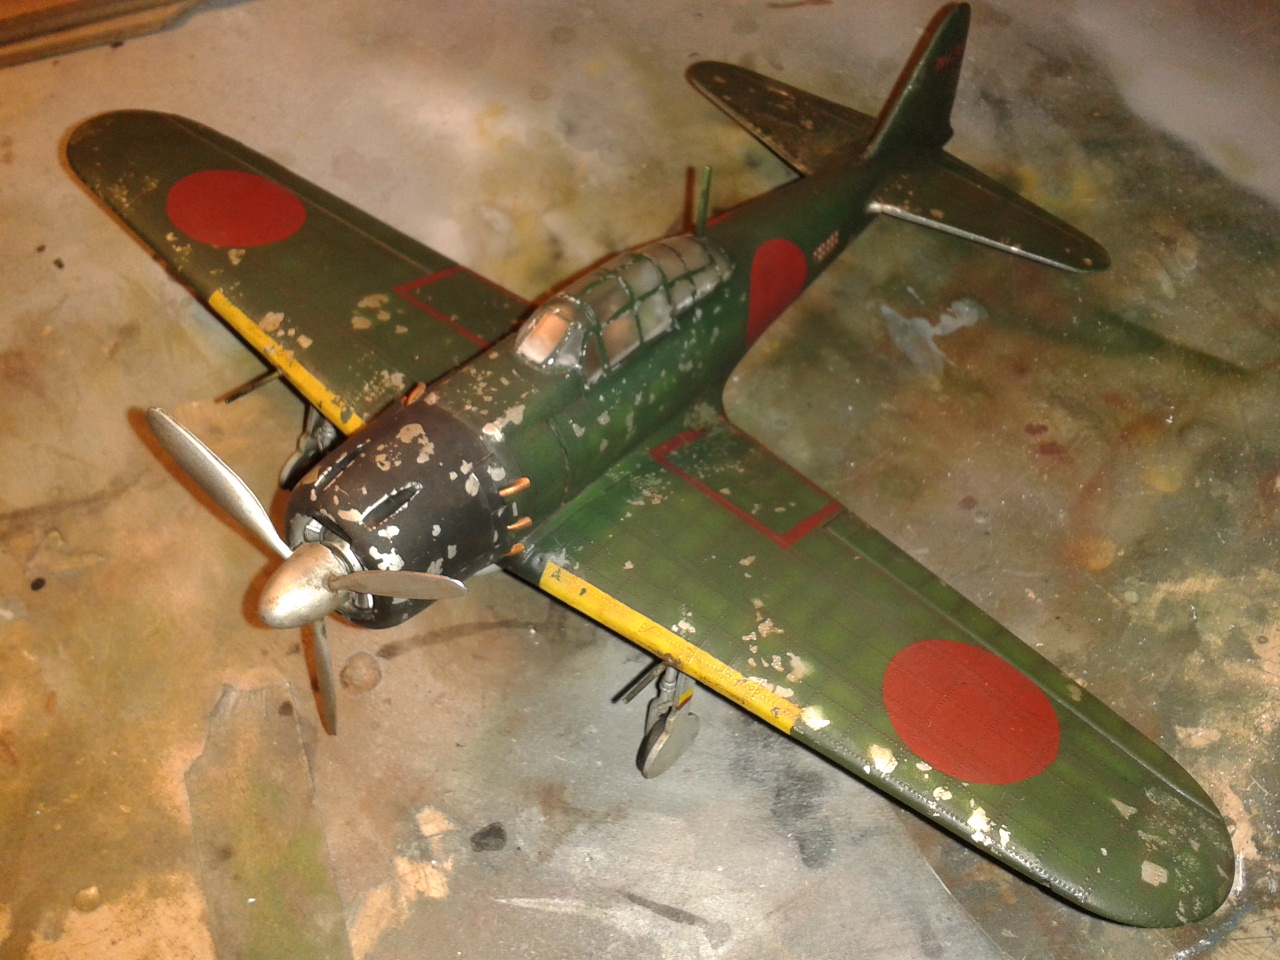
 In the front parts of the wings create the yellow stripes with a few chipped, and typical red rectangles of Zeros in the rear portions thereof next to the fuselage side of the cockpit.
 At the bottom of the plane, round emblems painted on the wings and painted in black matte silver wheels and undercarriage.
 Once all dry well give it a pass gloss varnish to unify the colors and protect the paint and eliminated the protective film from the glass cockpit.
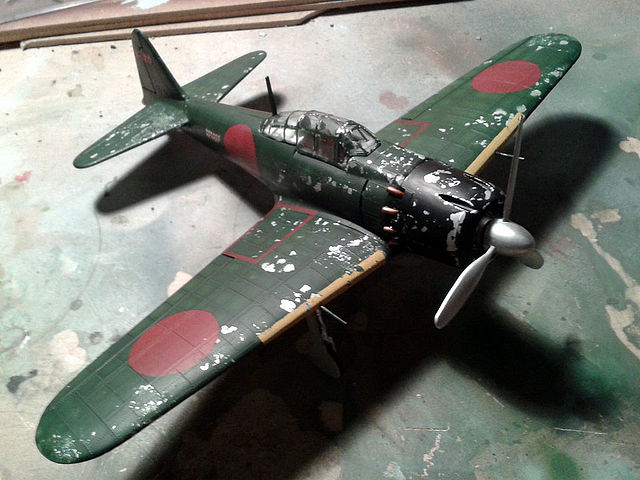
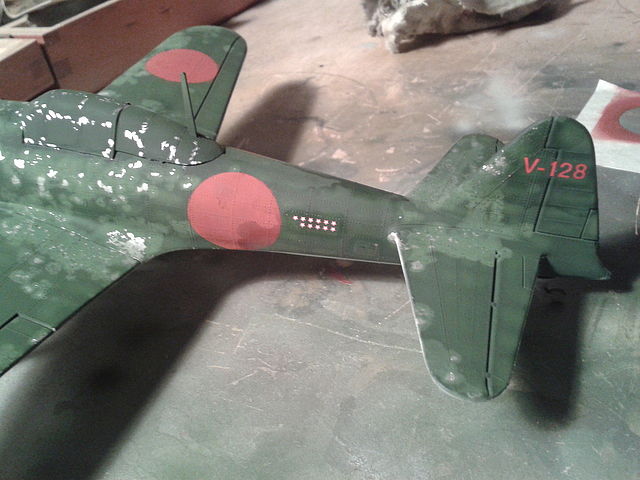
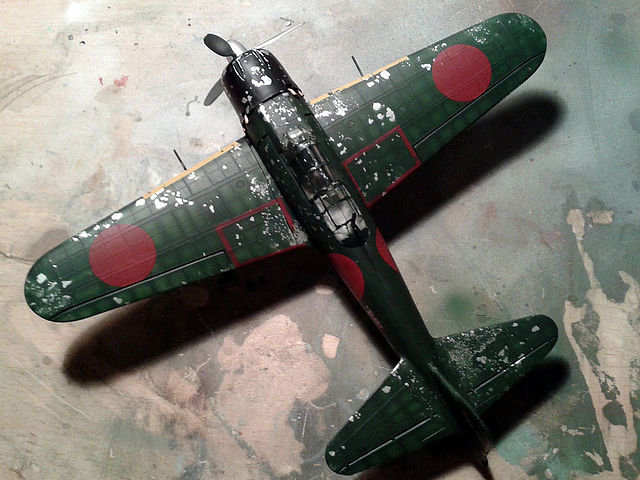 After drying a 24 hours varnish, I tried to give it a wash with brown AK-Interactive and to protect all a past Humbrol gloss varnish. This is the final result.
PROYECTO TERMINADO
Author
Armand C.M.