T34 / 76 m42 de Italeri – 1:72 – Modeling
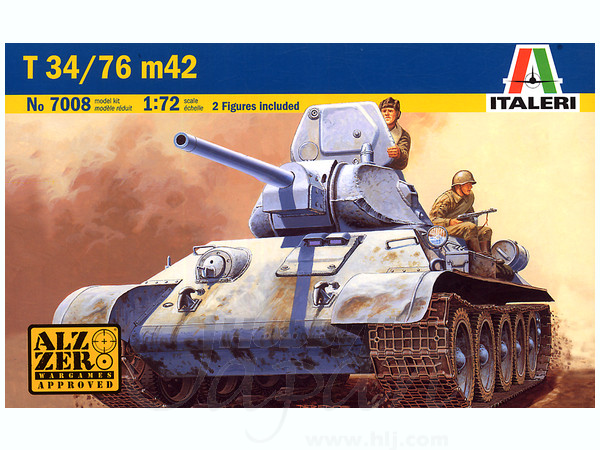
One of the non-German cars that has always attracted me is the T34 Russian, and have taken the opportunity to bid on a chain of toy stores 2×1 to catch this model brand Italeri a scale 1:72 and simultaneously take advantage and play the winter camouflage technique using lacquer.
The model in question is the following T34/76 m42 de Italeri:
Brief history of T34:
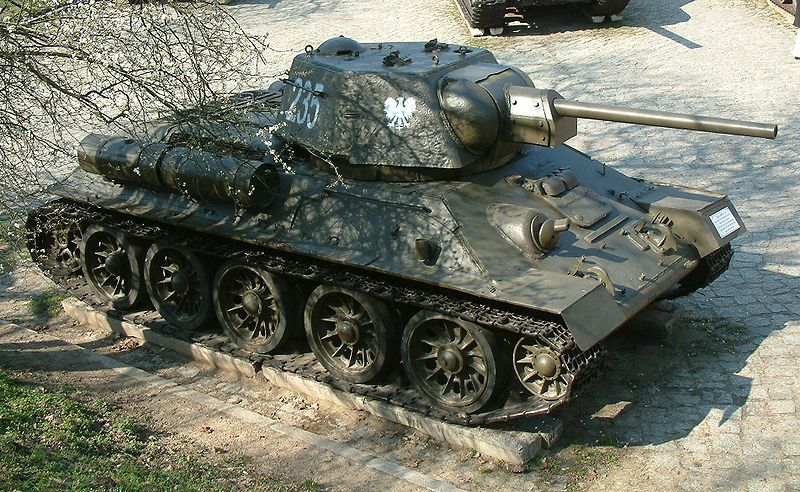
El T-34 is a tank (the chariot) Soviet-made medium which was produced from 1940 a 1958. He was considered the best tank when the Soviet Union entered the Second World War. Present day, is considered the best tank which has intervened in World War II, not have the thicker armor or greater firepower, but for its balance in the battlefield. And this even above tanks much firepower as the Germans and as fast as the Allies. Its design was the most effective and influential of all the war. The first units were produced in the factory in Kharkiv in KhPZ 1940, Ukraine. It was the main weapon of Soviet armored forces during World War II and was very exported later. It was also the most-produced tank during the conflict and the second in history, after his successor, T-54/55. Some T-34 continued to be used during the years 1990. It is estimated that were built near 100.000 T-34 from 1940.
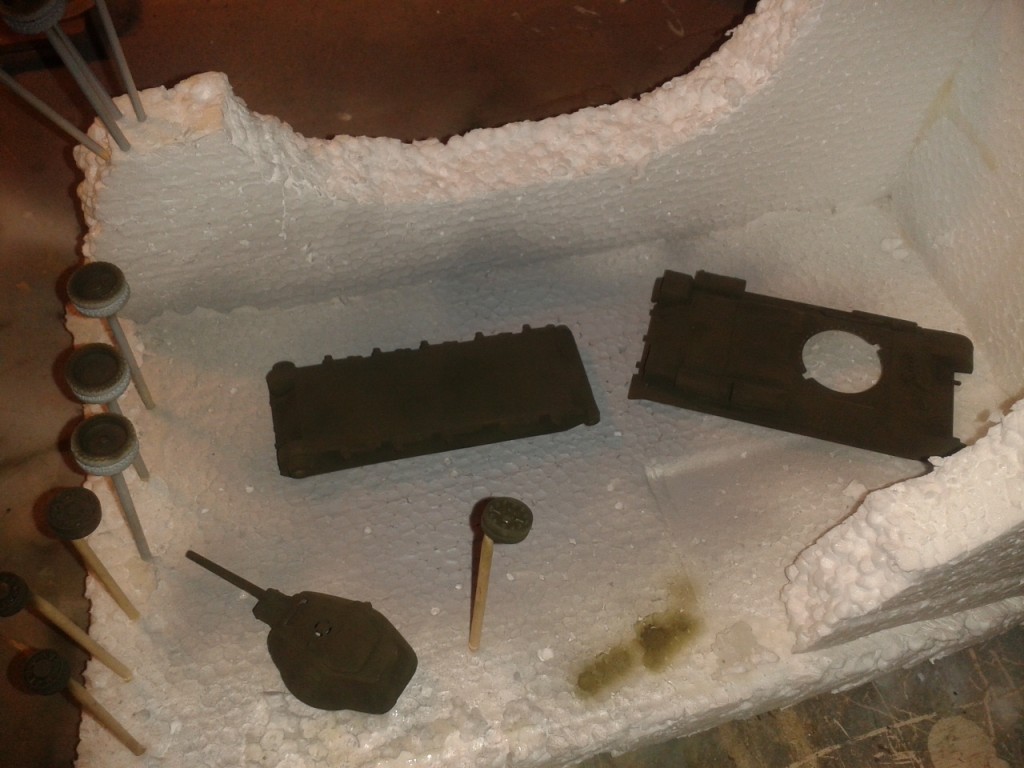
Started riding model, torreta, chassis and body apart and then to mount the traction chains without disturbing us chassis.
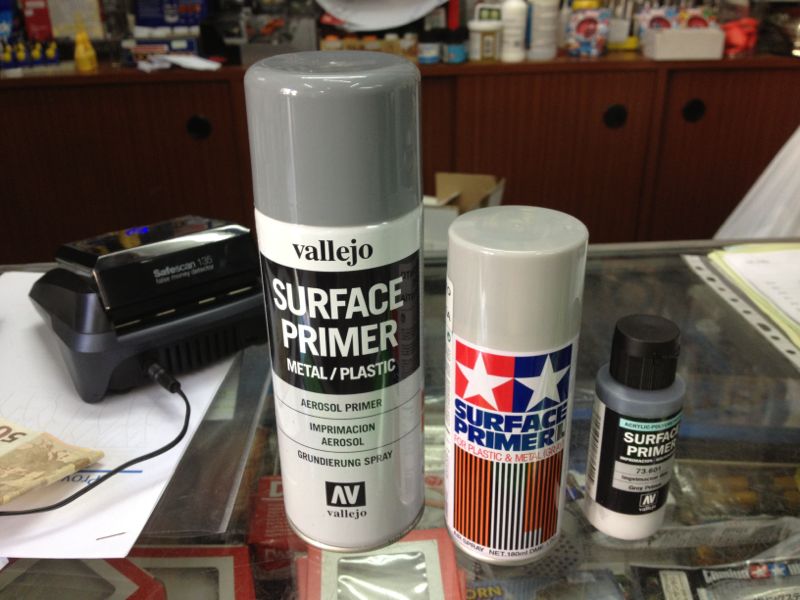
Never used primers, always paint the first layer normal acrylic paint with colors but I thought it appropriate for the tone of the base color, but I decided to try and buy three boats of different brands, Tamiya, Vallejo Vallejo spray and airbrush boat.
After several tests, I have come to the following conclusions, is much better to use the primer, Why?, for several reasons, better paint adhesion to plastic, conceal many defects after sanding and giving a neutral color for the base color is not altered.
Which of the three use, the spray are an inconvenience and is that much wasted by their widespread but his finish is also very well, the airbrush because as all you have to prepare it and then clean so the spray is more convenient and quick.
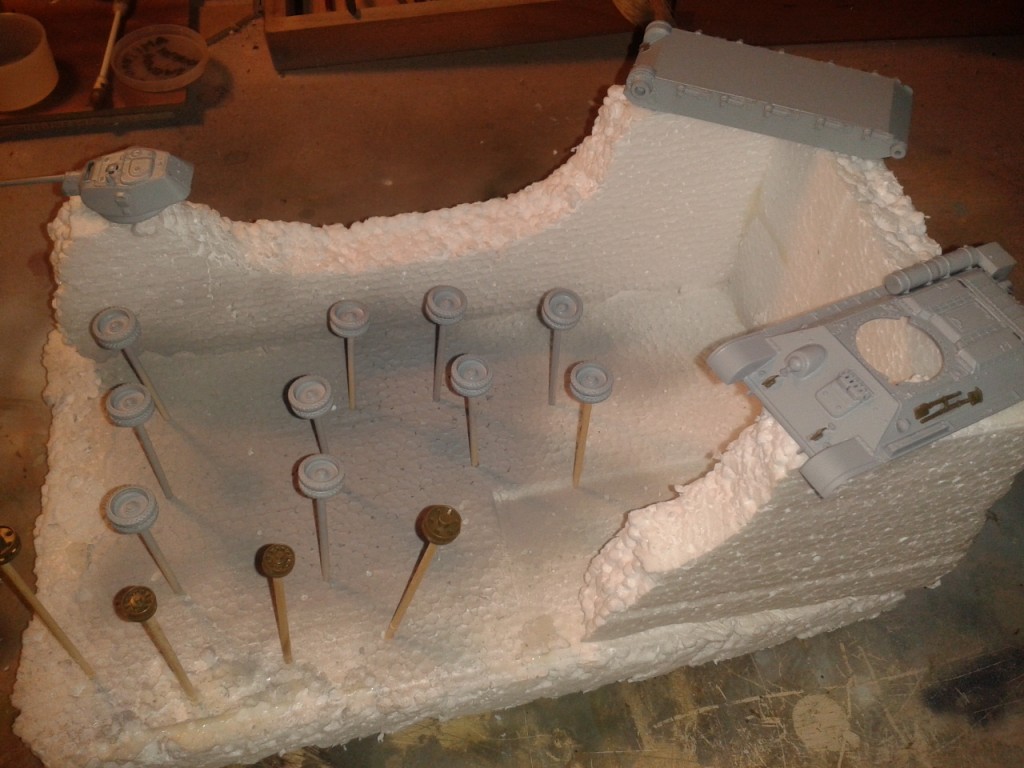
Once dry the primer paint airbrush paint basecoat, dark green in this case, I use Tamiya XF-61.
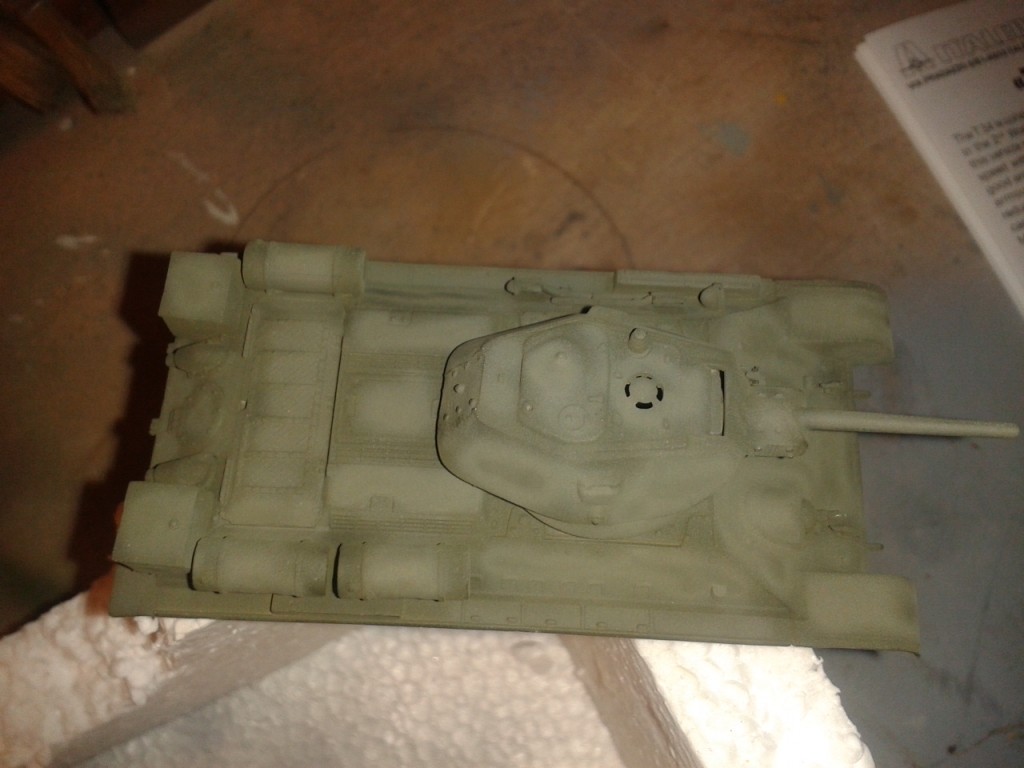
Once dry base layer base color mixed with a little white to lighten the color and proceed to shed light on model.
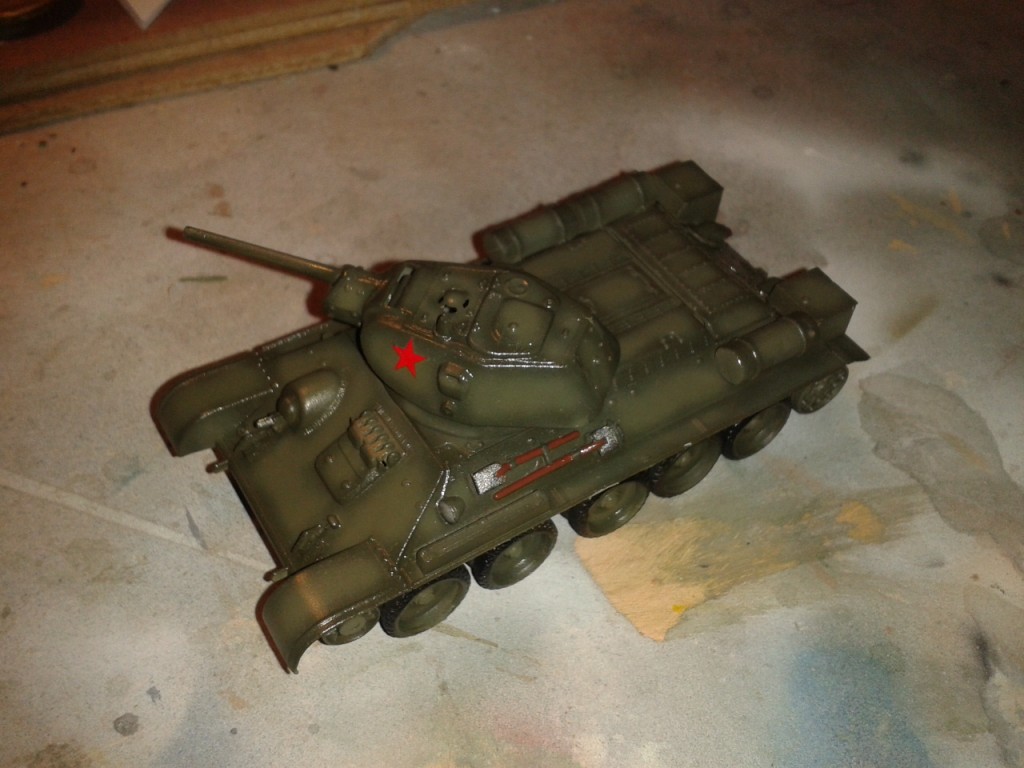
We let the paint dry and once dry paint the details that go into other colors, as the blades, machine gun metal gray and handles in brown and gums drive wheels in matte black, apply the decals, using liquid micro and micro sun set and once dry all apply a coat of gloss varnish to unify the color and protect the decals for next winter camouflage process.
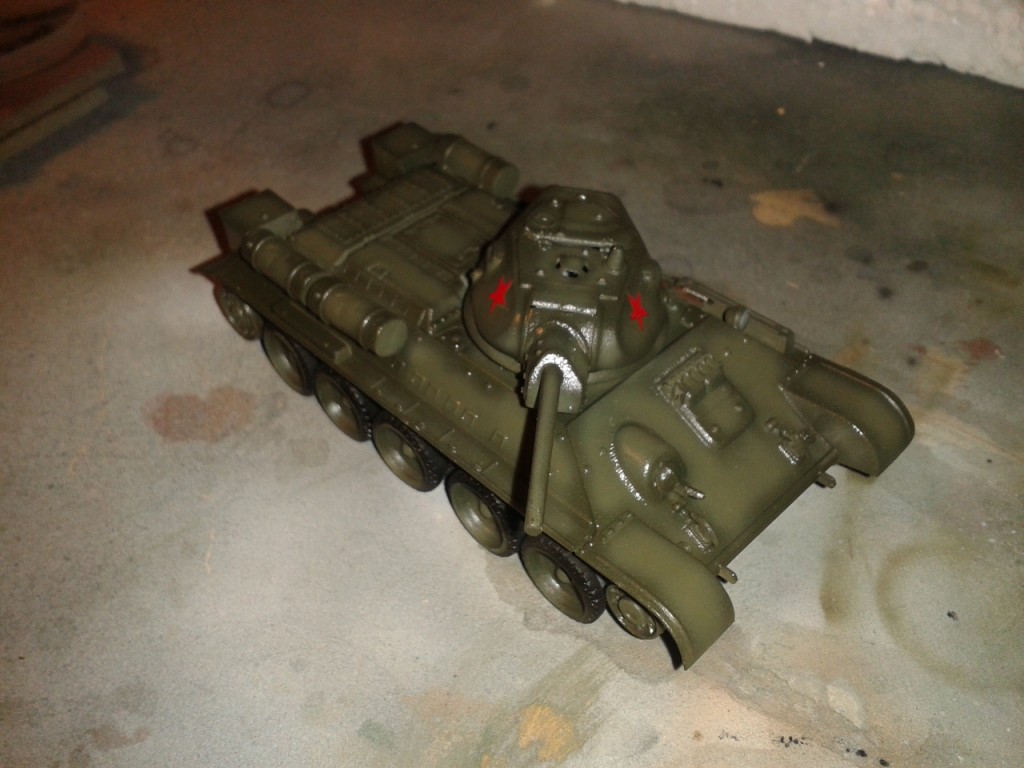
Once thoroughly dry the varnish layer, with hairspray these sell in any hairdresser, Airbrush fill the reservoir with said lacquer to more easily apply the model and let dry taco, once dry apply with airbrush white camouflage color inside out panels and wheels T34 and let dry to the touch.
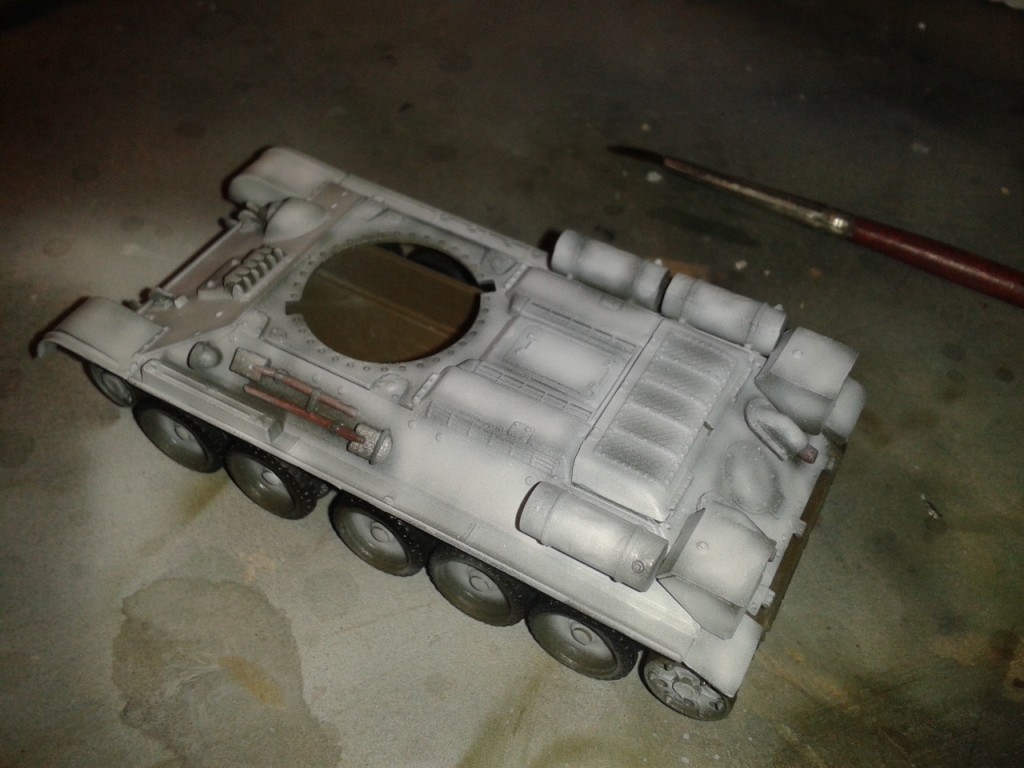
Dry completely before applied with brush water in areas where we want to produce such descorches / wear on camouflage and with a bristle brush floated a little harder to remove such zones in white paint, this is the result.
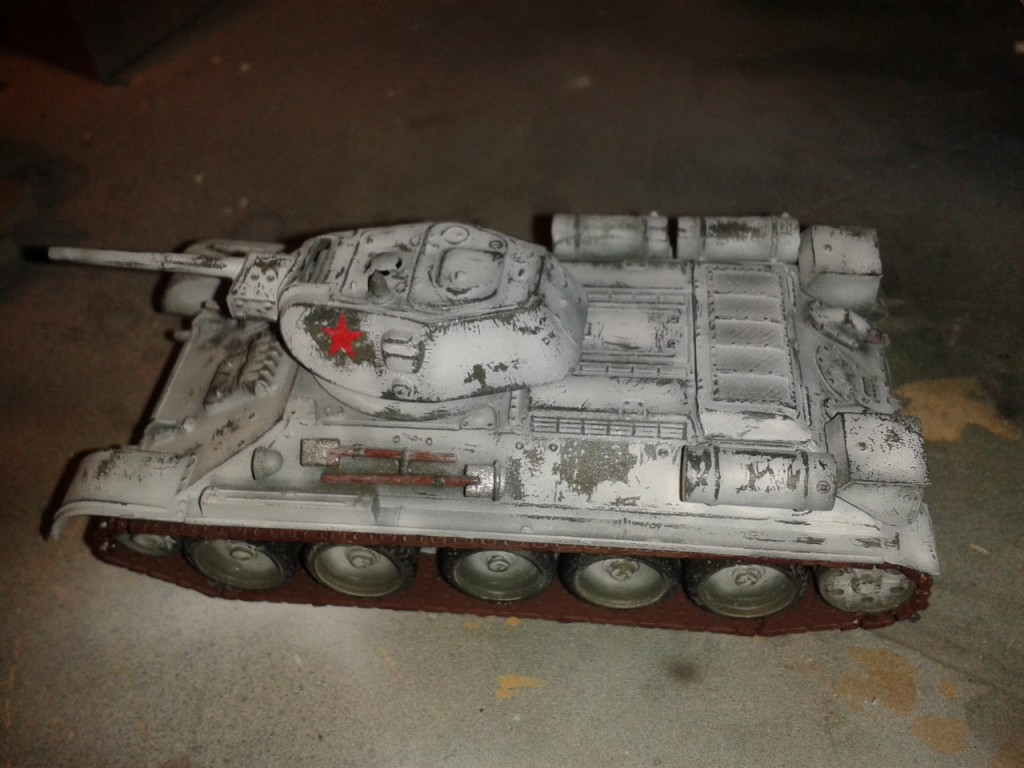
Let it dry a day or two and proceed to protect camouflage paint another coat of gloss varnish, You can also use satin, but I think with bright is easier to remove excess paint washes, so we proceed to give a wash in dark brown oils.
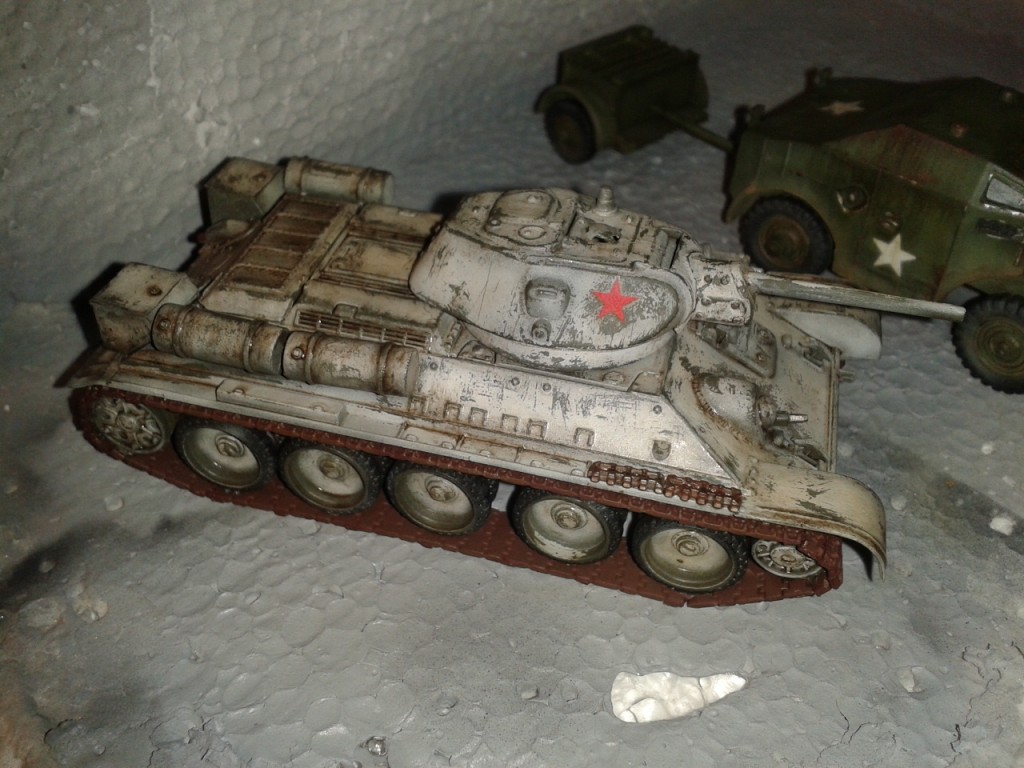
The model is already taking shape now let dry and then continue with the other processes.
CONTINUARA…
Autor.Armand C.M.
