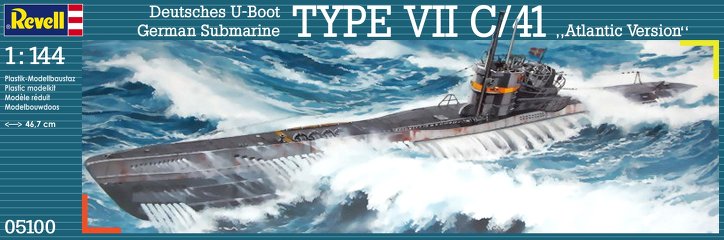
U-Boat type VIIC/41 Revell 1:144 – Modeling
Almost everyone has heard of the legendary German U Boats and wolf packs, although I like aircraft and ground vehicles have always attracted me submarines and all Germans for their sexy silhouette from the very first used in World War II, as well although I have already done some as a Type VIIC and Type XXI scales 1:144 This time I decided to make the U Boat in World War II, the improved version of Type VIIC el VIIC / 41 version or Atlantic Revell a scale 1:144, the cast is quite good with details and price between 20 € and 27 €, we thus.
El kit en cuestión:
A little history about the U-Boot Type VII C / 41:
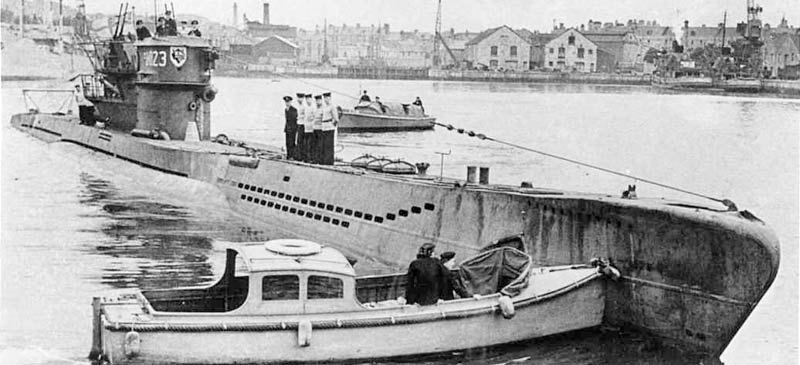
El Type VII C / 41 was the reply from Germany to counter the effectiveness of British progress on Antisubmarine warfare conducted in 1940-1941 It was a slightly modified version of the successful series VIIC and had basically the same engine design power and torpedo armament. As weapons and British team improved, depth charges and were increasingly effective and accurate in finding submerged submarines. The need to dive deeper to evade attacks depth charges was becoming increasingly important. In Type VII C / 41, Crush depth increased from 200 billion 250 million.
In order to increase the crush depth, all nonessential equipment were removed and many others were replaced with new materials , Lighter. The weight savings was used to increase the thickness of 18.5mm to 21mm Town, which increased the crush depth 250m. These changes were considered minor and did not justify a number of new sub-type, so indicated by adding a suffix “41”, indicating that approval of changes occurred in the year 1941.
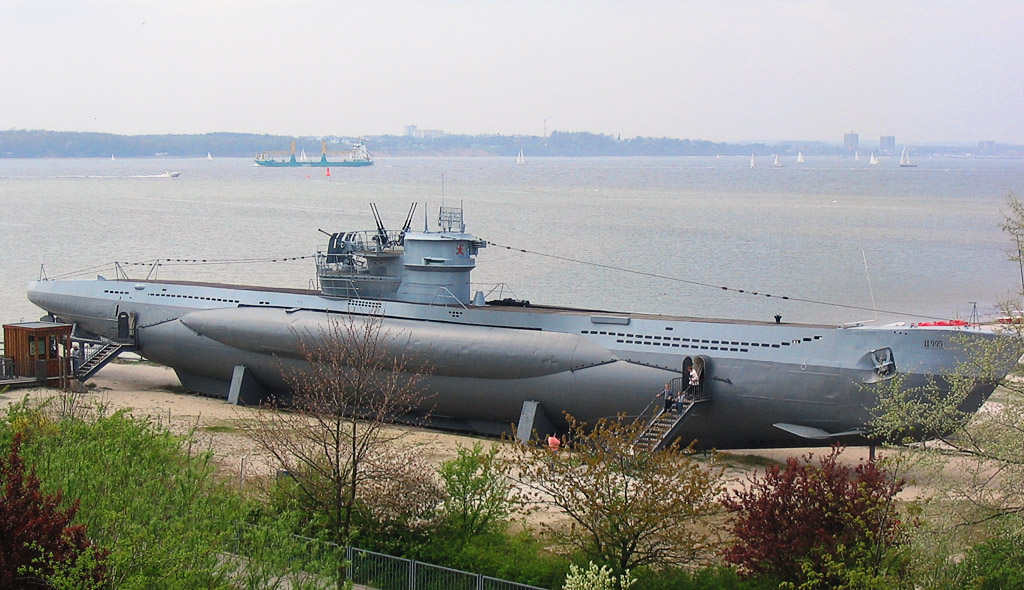
Total 88 Type VII C / 41 were built. Today there is only one U-Boat Type VII C / 41 , el The -995 which is exhibited in Laboe (Norte Kiel) Germany.
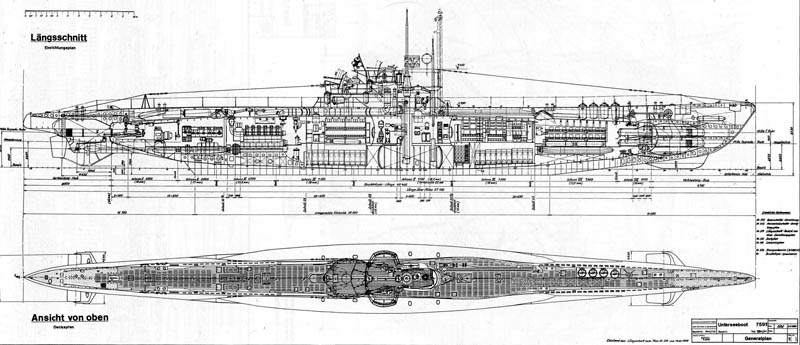
Technical Information VIIC / 41 type
|
|
Kit Contents: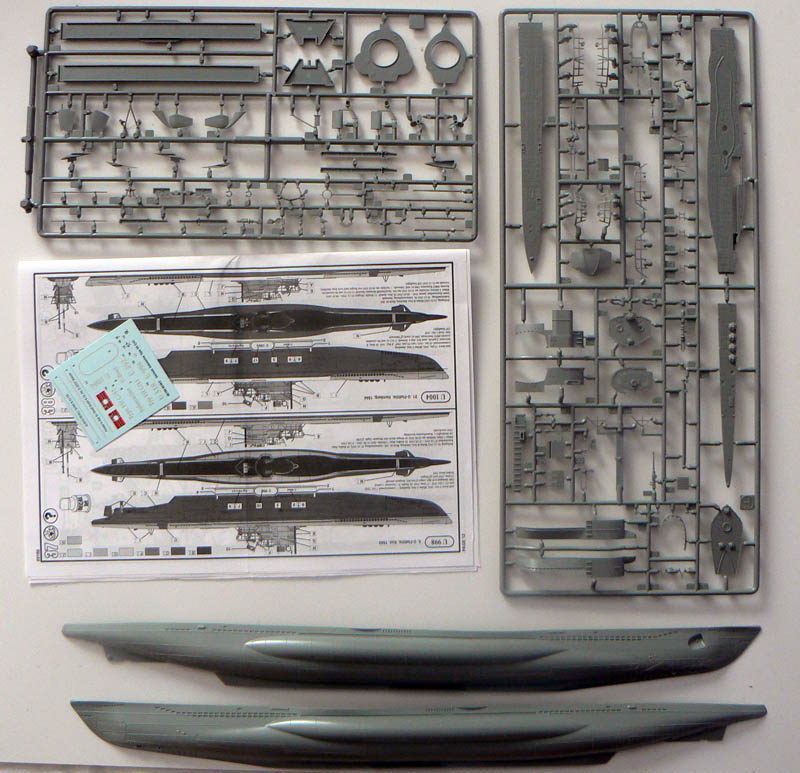 Come with mounting, in some parts I had to use the cutter to remove the excess plastic but otherwise seems not need much work, couplings have good finish using a little sandpaper.
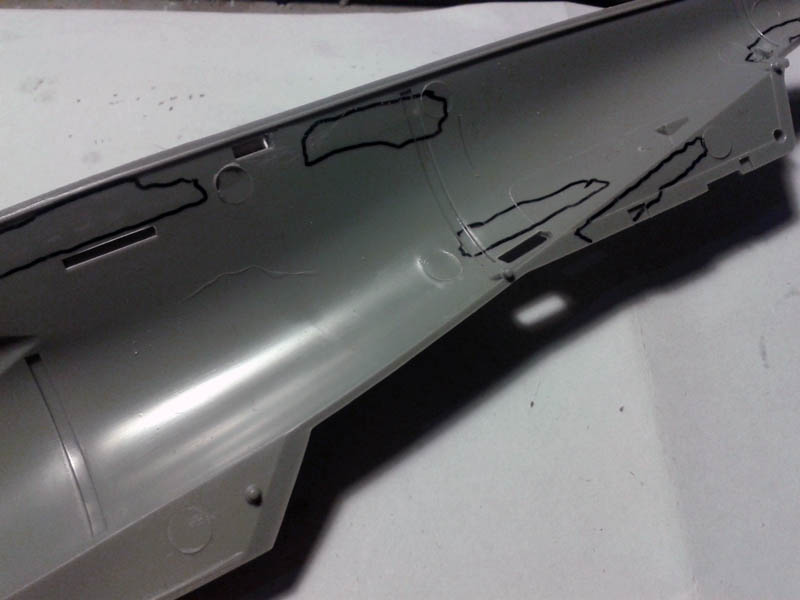
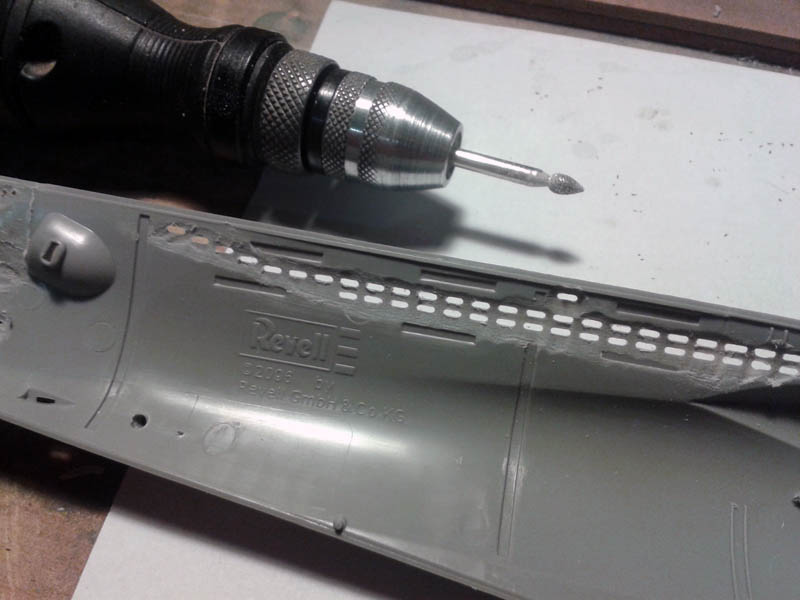
I start with the fuselage, I use a small drill machine and a tip of sandpaper to remove the plastic holes, before that a framework against light sanding areas.
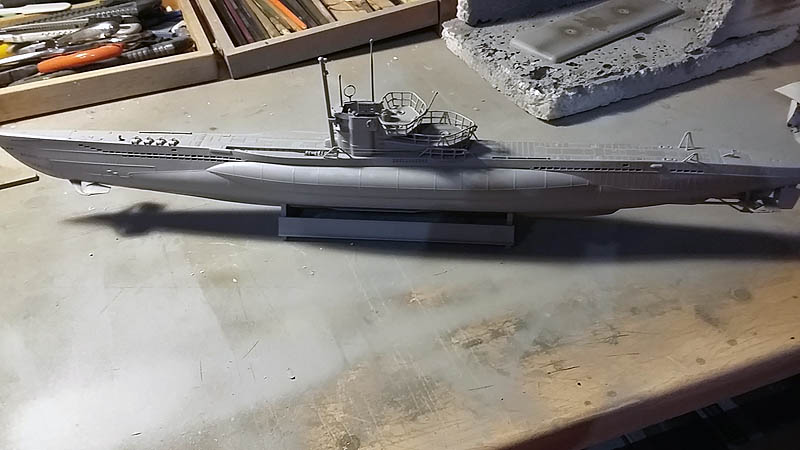
This is the result.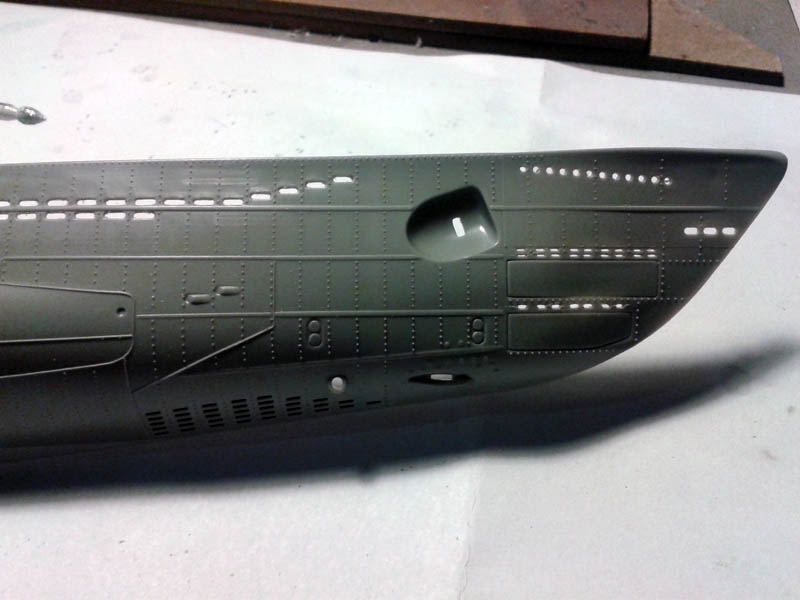 This kit comes with plastic base, once the work sanding the fuselage finished I make mounting the base.
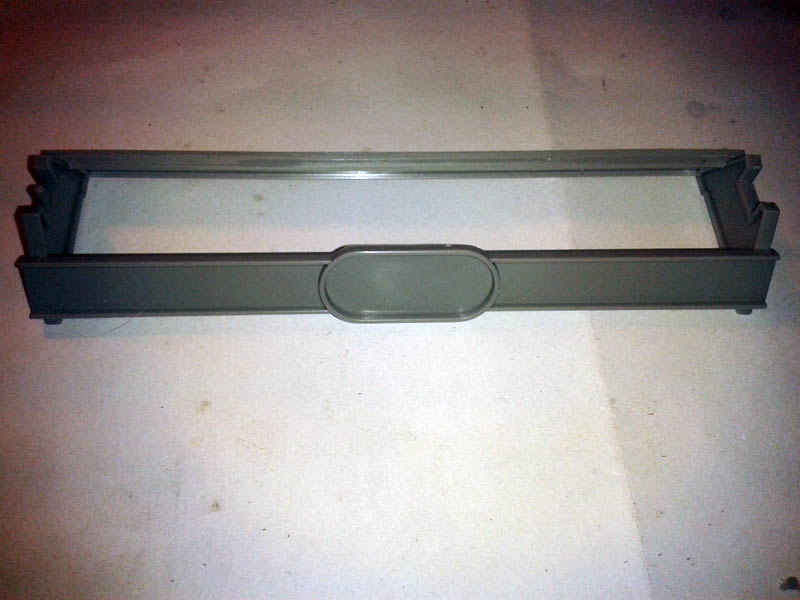 We continue with the tower, is the most difficult part of the kit for its small parts and highly clustered, stairs, railings, periscopes and antennas etc. We came to fruition after several minutes with some patience.

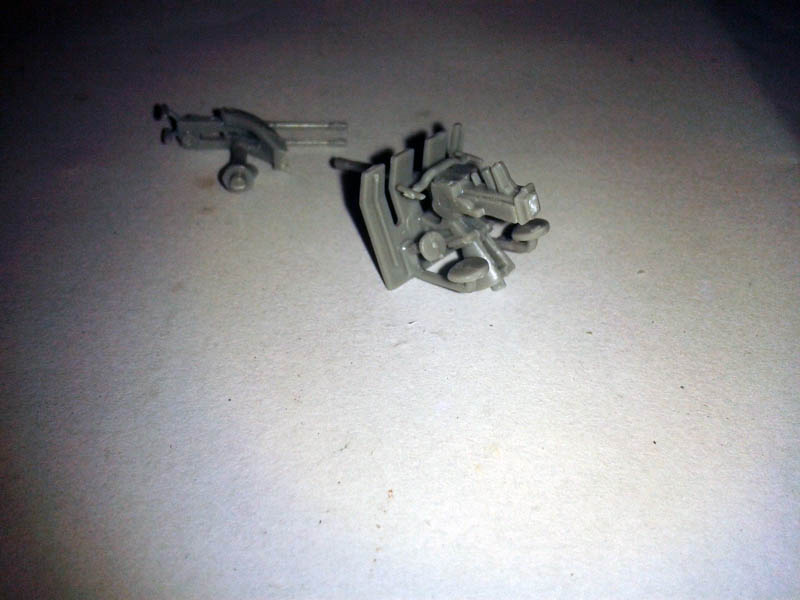
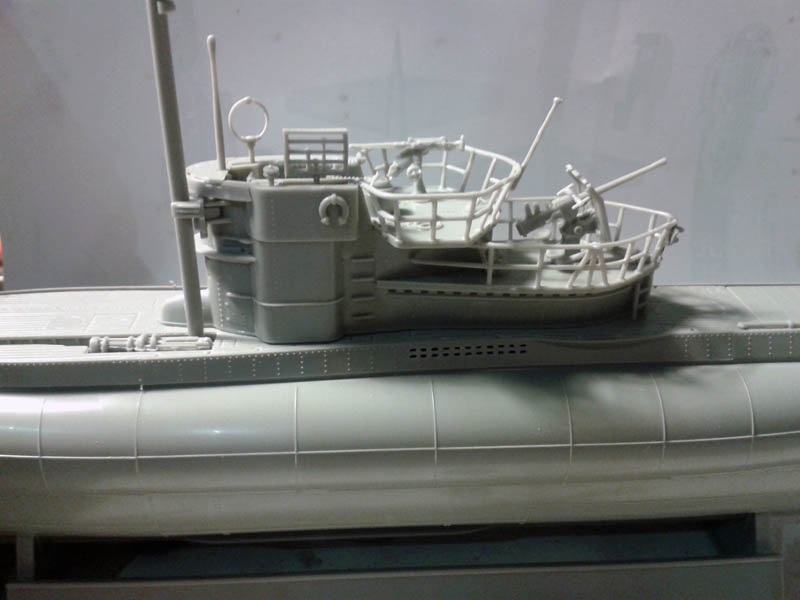
 Another of the more complicated parts by size are the guns and anti-aircraft.
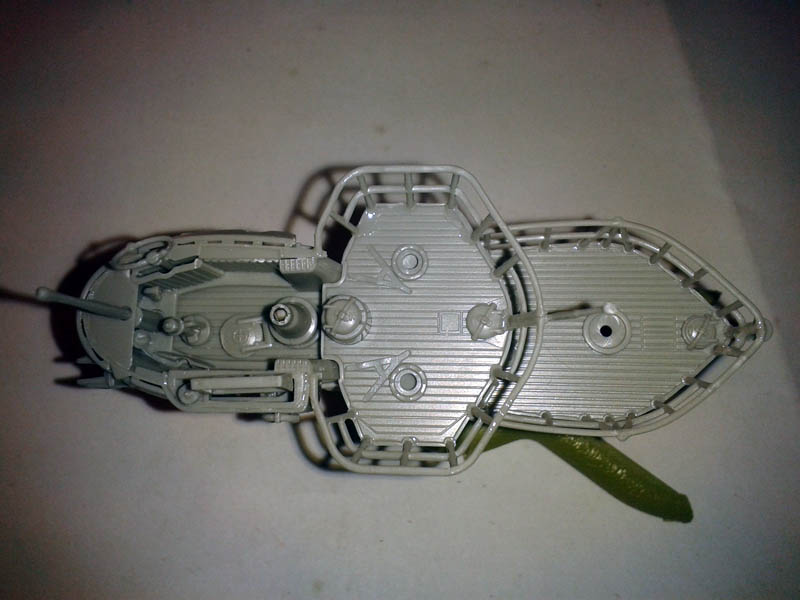
 Once we finished continue with the main structure and add to this the cover and internal separators stays and snorkel tube, say I'm kit comes ready to add supplements for interiors, rooms torpedoes, machines etc.
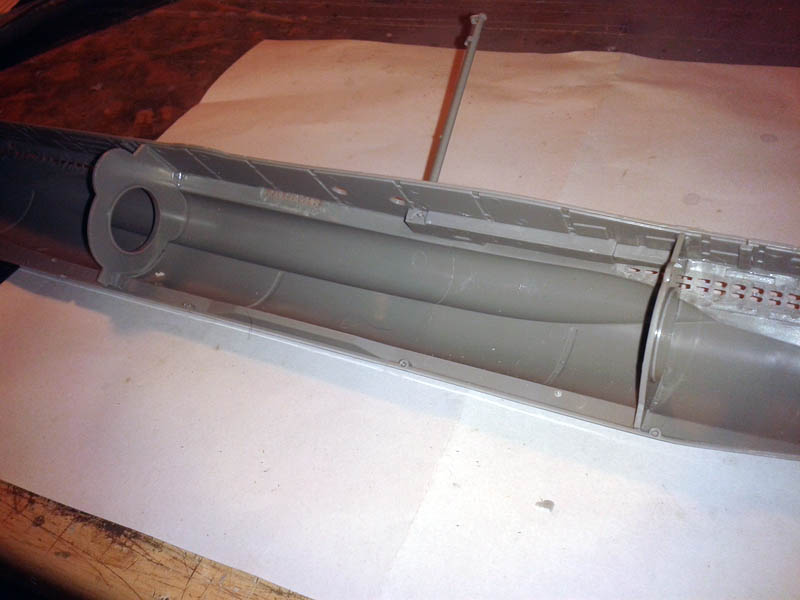 Finally stick the two halves.
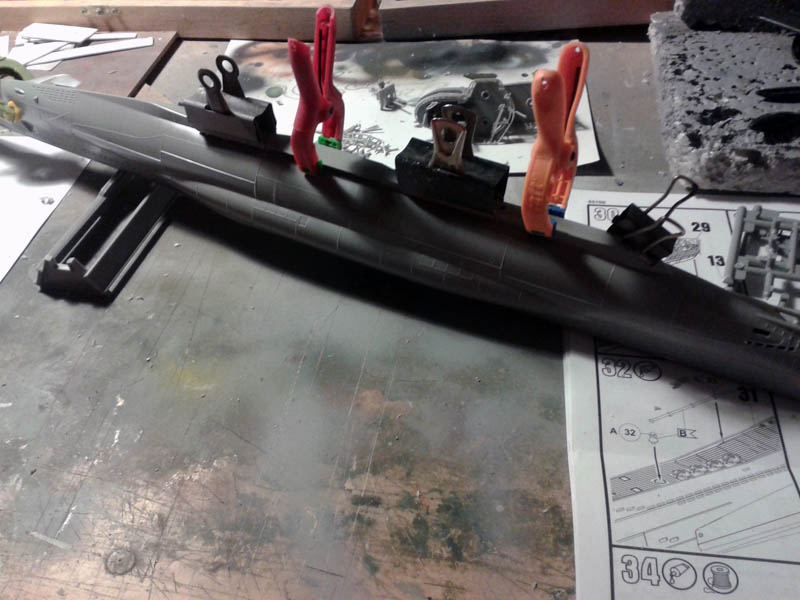
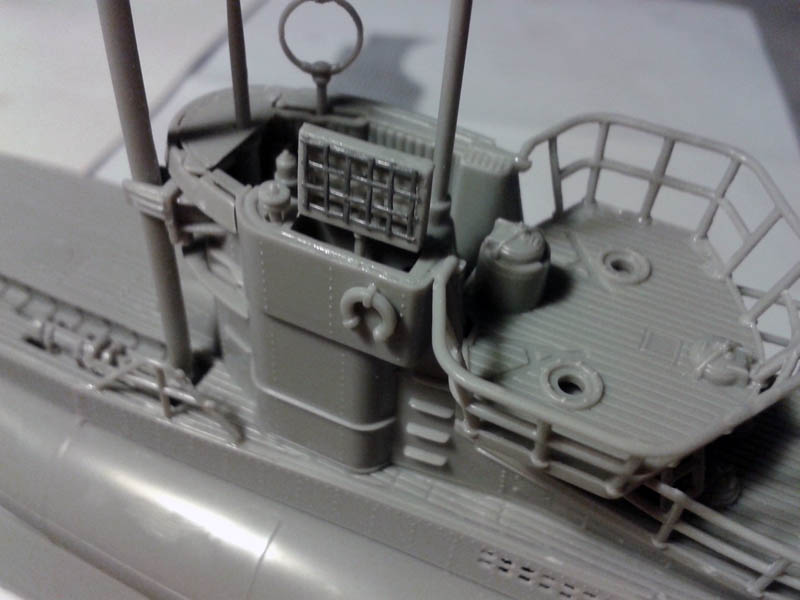
The U-Boat is already taking shape and now we have to prepare it for painting, leave some parts unglued, as the tower and cannon to make it more accessible internal parts when painting, washes etc.. Will stick to the end of the paint job.
 For this kit there are photoetched parts including cover, Details for weapons and other additives, but failing that we can use mosquito net rack.
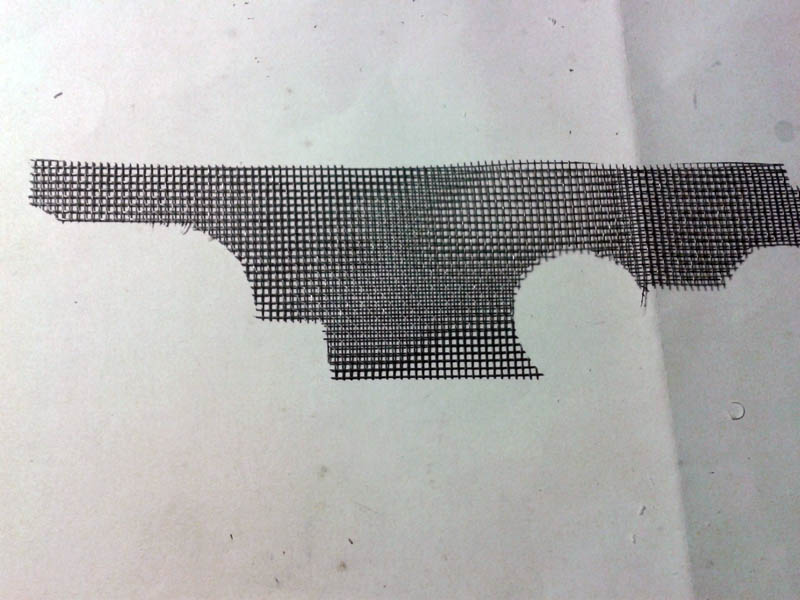
We can use for antenna and radar detection system for fall protection railings cannon turrets.
 Once finished the assembly step primer, the tower of the submarine's print in gray and the rest in white primer, since the gray primer finish and in the store did not have another color, for my taste is better gray.
Safety cables I've played with stretched sprue.
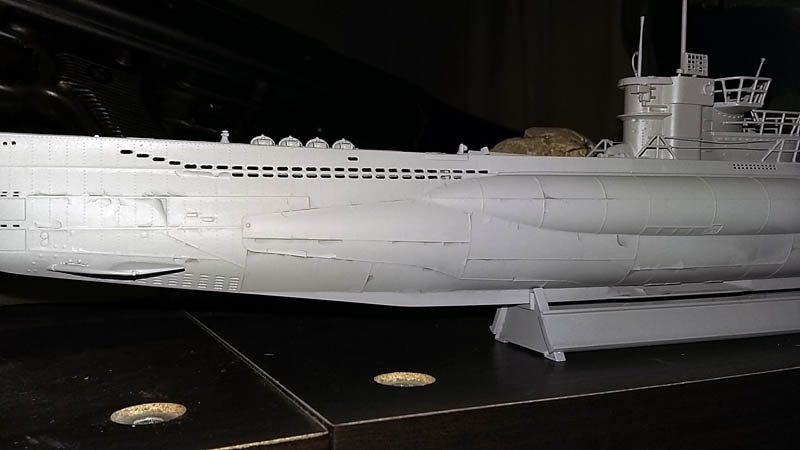
I leave to dry one day, and surprise ...
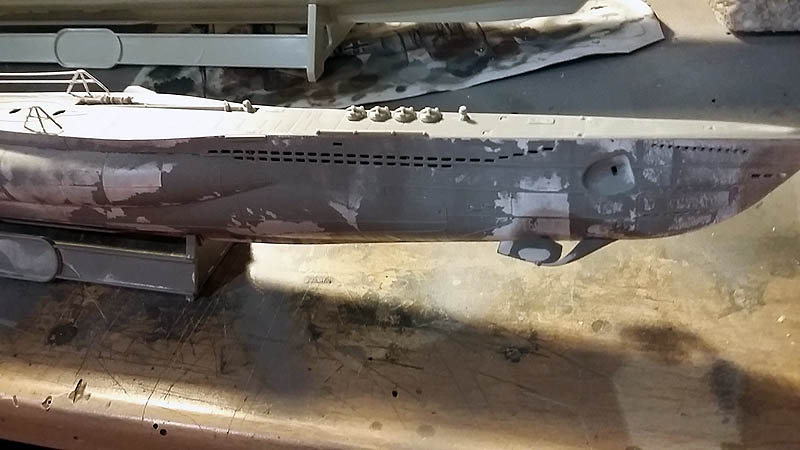
No it is due, if the dirty surface, not having stirred well the spray, the point is that in some parts of the primer kit has jumped bone has not adhered to the surface, this has never happened to me with other primers and primer gray of the same brand.
Now it be sliced the head to fix the problem.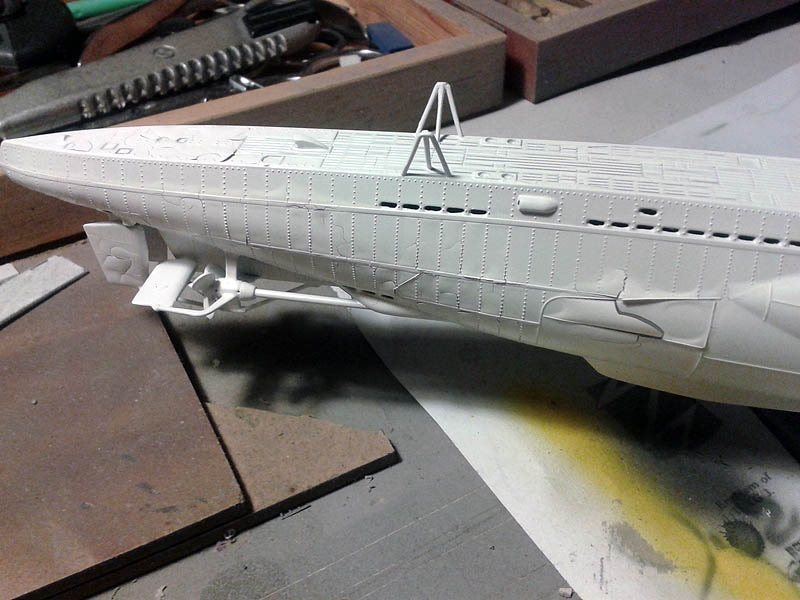 After much testing with several products, oven cleaner "Forza", caustic soda in a bowl of water, what has gone better to remove the white primer was hot water and a mixture of soda and scrub with a toothbrush without forcing hard not to break small pieces.
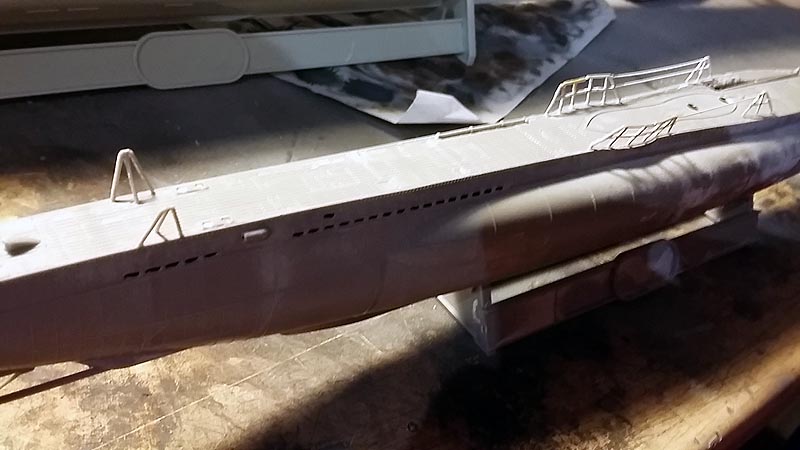
This is the result, Now let dry and re-primed with primer gray, I hope not the same happen with white…
Once all good clean dry I return to prime this time with gray primer.
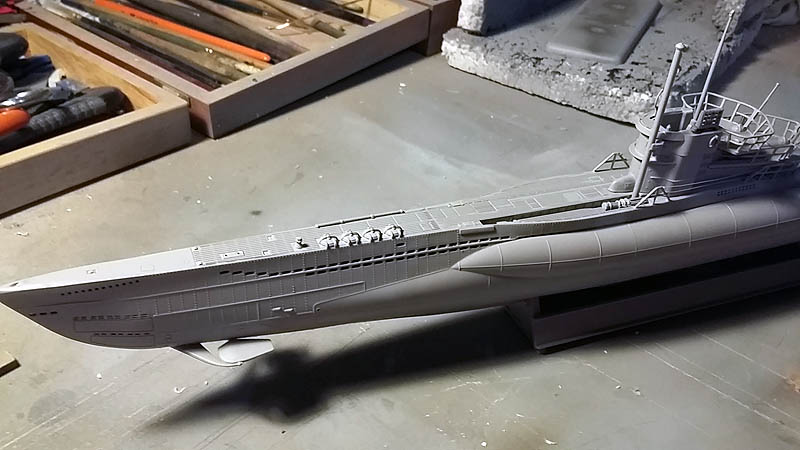
We return to the problem, with gray primer have also come defect, the surface has been washed with soap degreasers, I use another brand of primer, and it starts to sound like "Damn".
TO BE CONTINUED ...
Autor Armand C.M