Heinkel He 111 H-20 Airfix 1:72 – Modeling
One of the planes and bombers was used more in the race of the WWII by German was the Heinkel He 111 who was present in almost all major battles and is one of the planes me the most attention for its design, going back to old kits you buy at markets at a great price I got this kit Airfix a escala 1:72, which is what I'll start although we know like the old Airfix kit of all is to take the bull by the horns and get down to work.
This is the kit: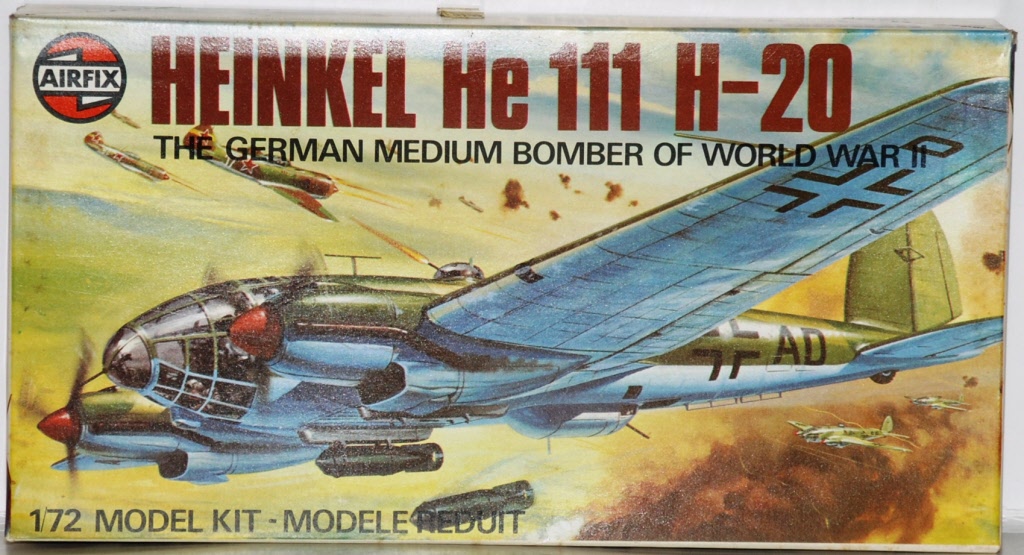 Pair this model I decided to use a camouflage winter.
A little history about the Heinkel 111: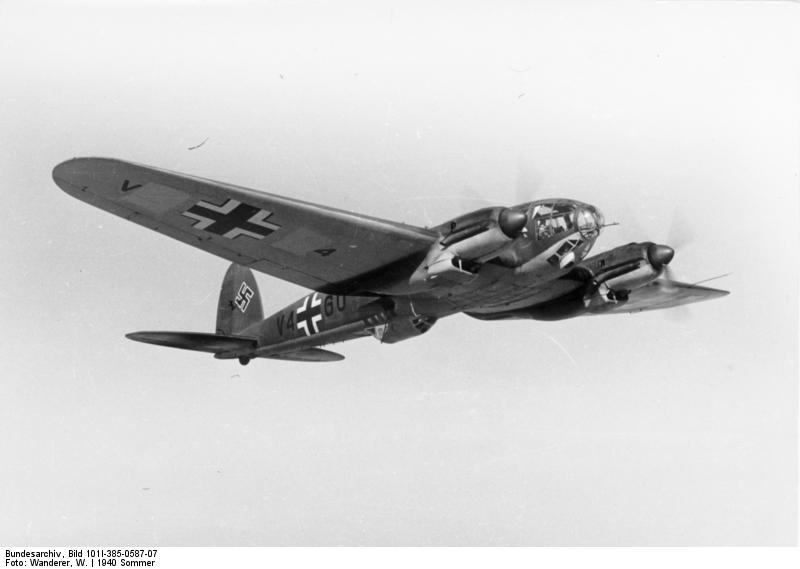
El Heinkel He 111 was a German aircraft designed by Siegfried and WalterGünter brothers in the early years 1930. Often described as a "wolf in sheep's clothing ', posed as a transport plane, but its purpose was to provide a fast medium bomber to Luftwaffe, violating the Treaty of Versailles.
Perhaps the most renowned German bomber nose due to the distinctive style glass "greenhouse" of the latest versions, the He 111 was the main and largest bomber Luftwaffe during the early stages of World War II. He did well until the Battle of Britain, where their weak defensive weapons, relatively low speed and maneuverability were exposed reduced. Sin embargo, proved capable of withstanding severe damage and keep flying. As the war progressed, the He 111 was used in variety of functions in all fronts of the European theater. It was used as a strategic bomber during the Battle of Britain, shortstop aircraft during the Battle of the Atlantic, and as a medium bomber and transport aircraft in Western fronts, Oriental, Mediterranean, Middle East, and North Africa.
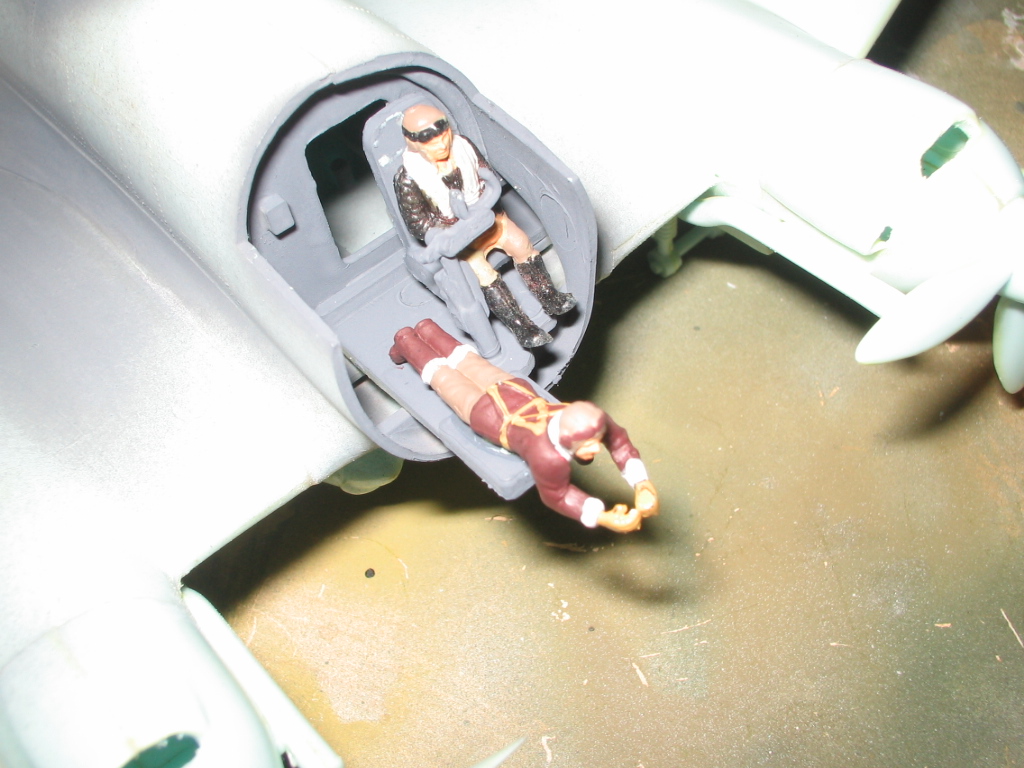
Let's start with the assembly of this great and legendary bomber. Once assembled and glued around the main fuselage of the aircraft, I painted the interior, pilots and gunners before placing crystals.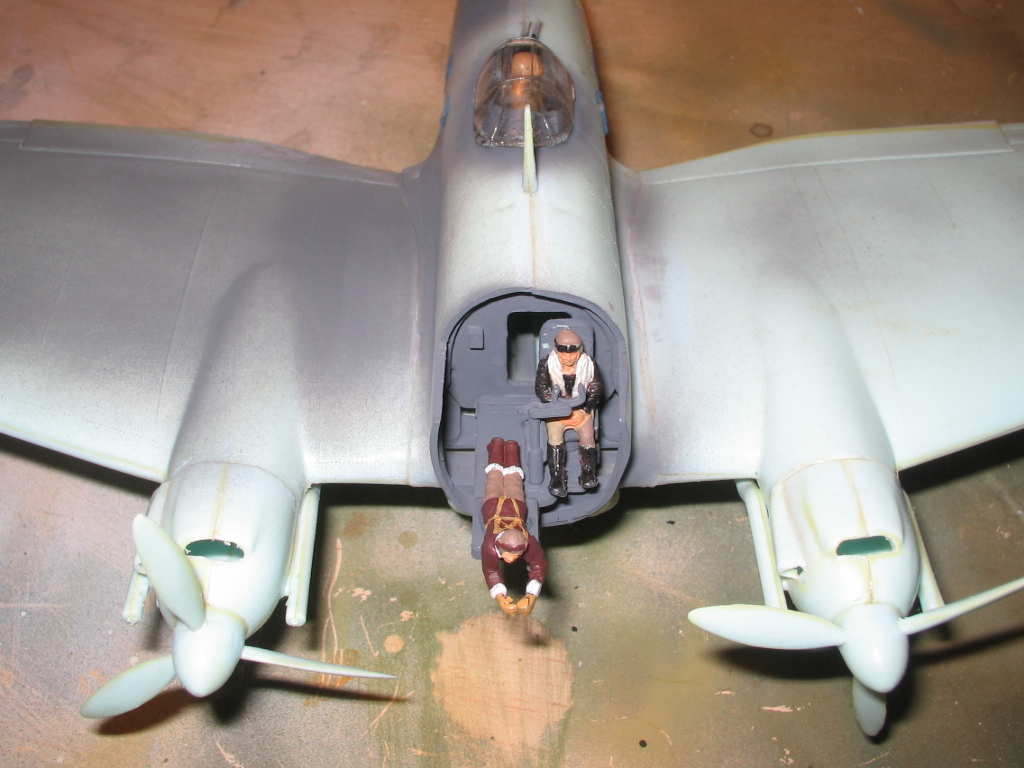
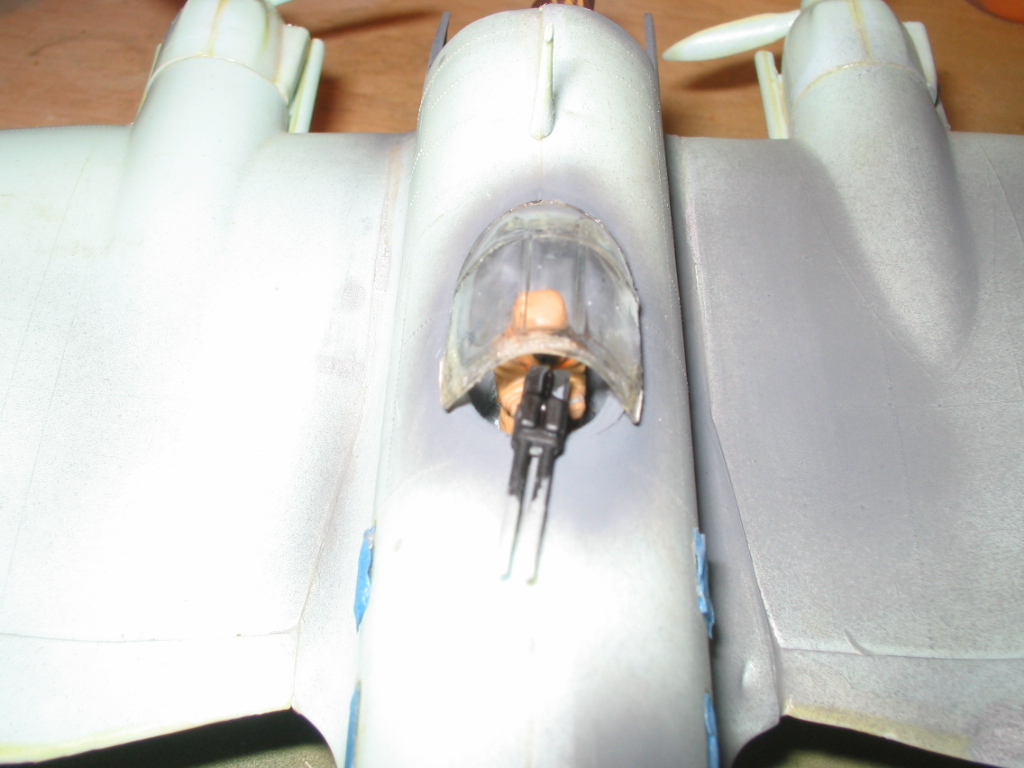
Once dry inside the appliance and crew acristalo, I used the nose of another Italeri kit that had disaster drawer because the original was somewhat deformed and was very, very ugly. Then I proceed to sand some imperfections and mask all the crystals before priming.
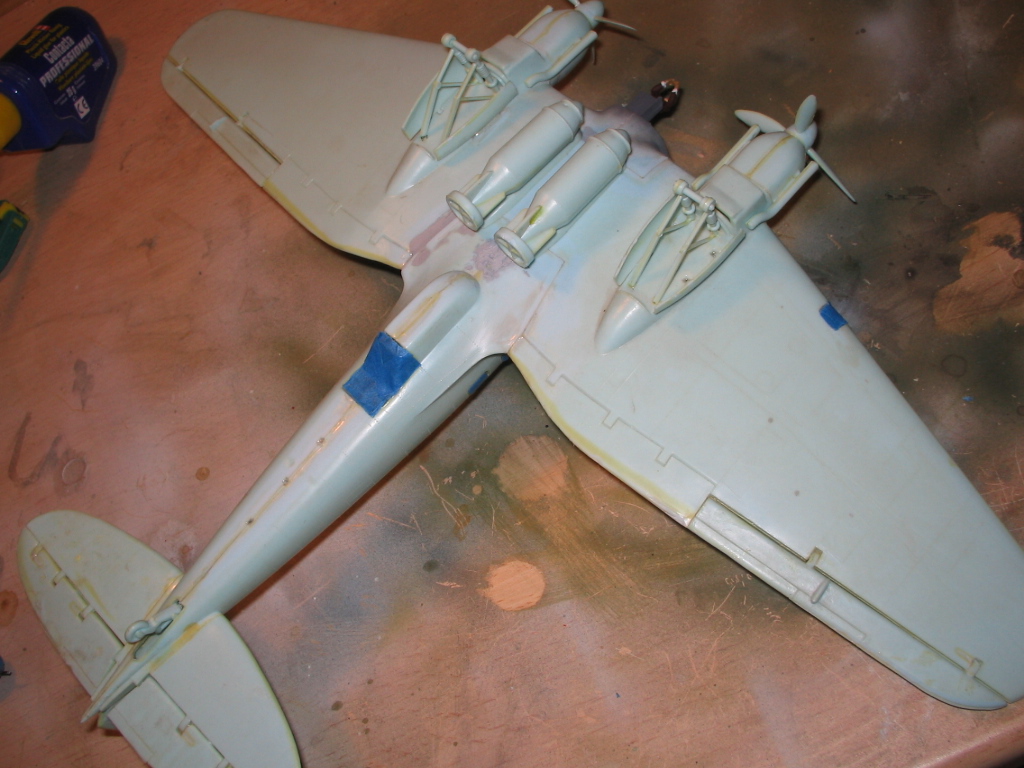
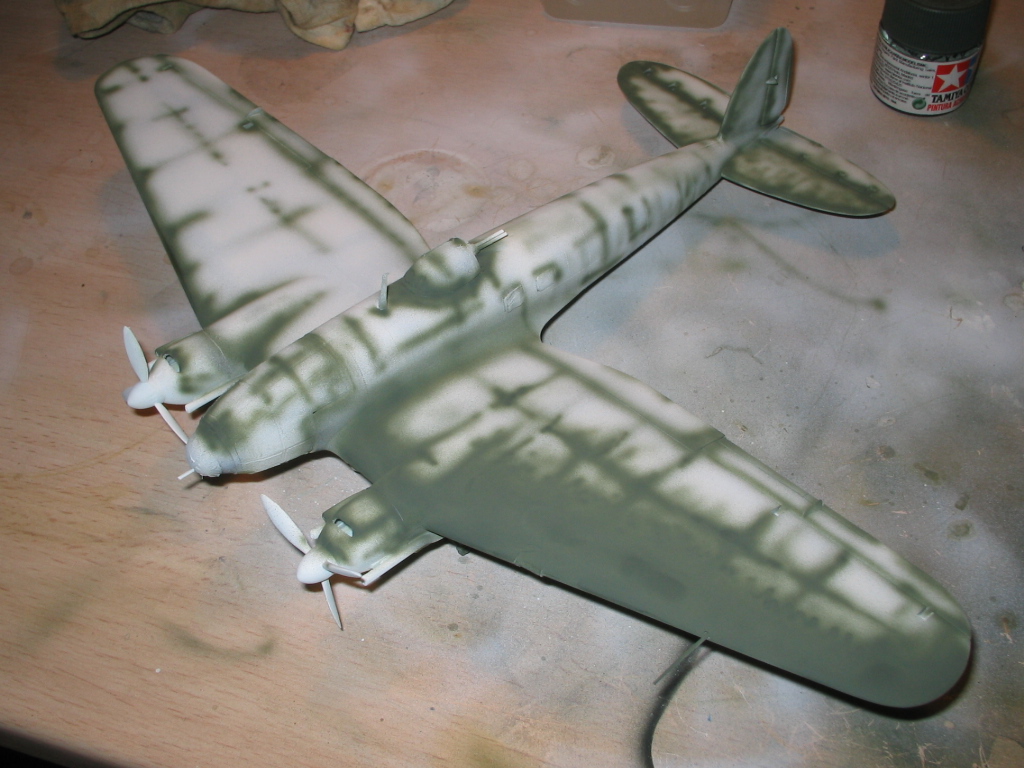
 This time I will not be able to print with paint for this fine as stocks are 0 so I'll give you a pass of white paint Tamiya XF-2 the entire plane to unify the tone before starting with the colors of the apparatus.
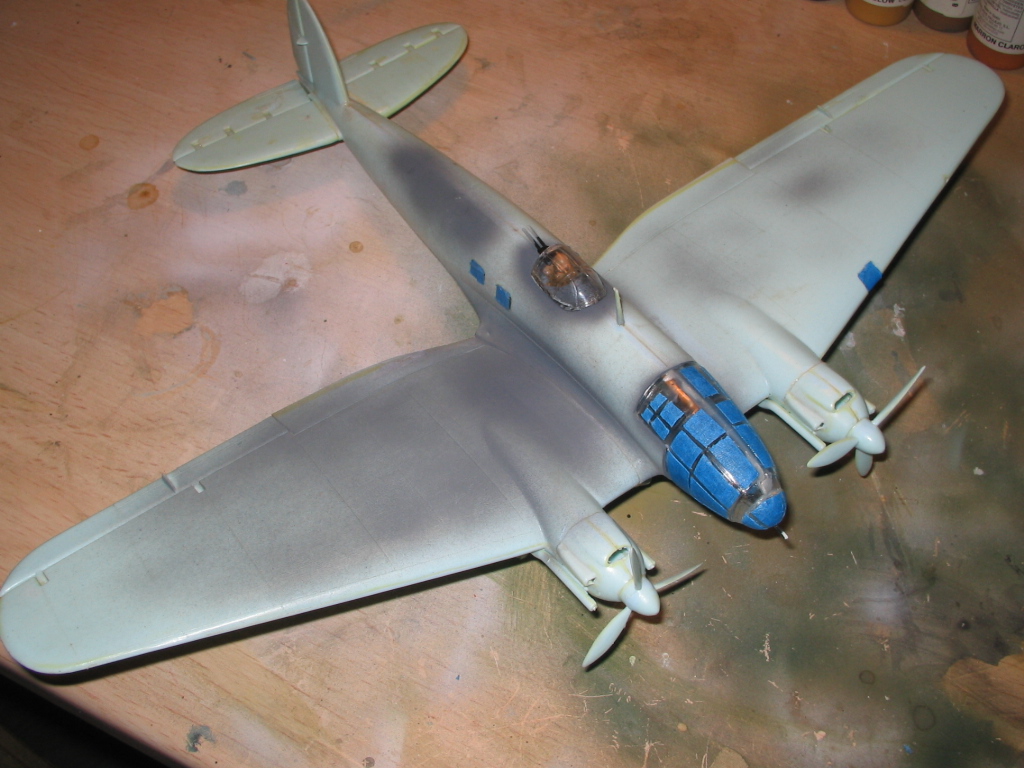
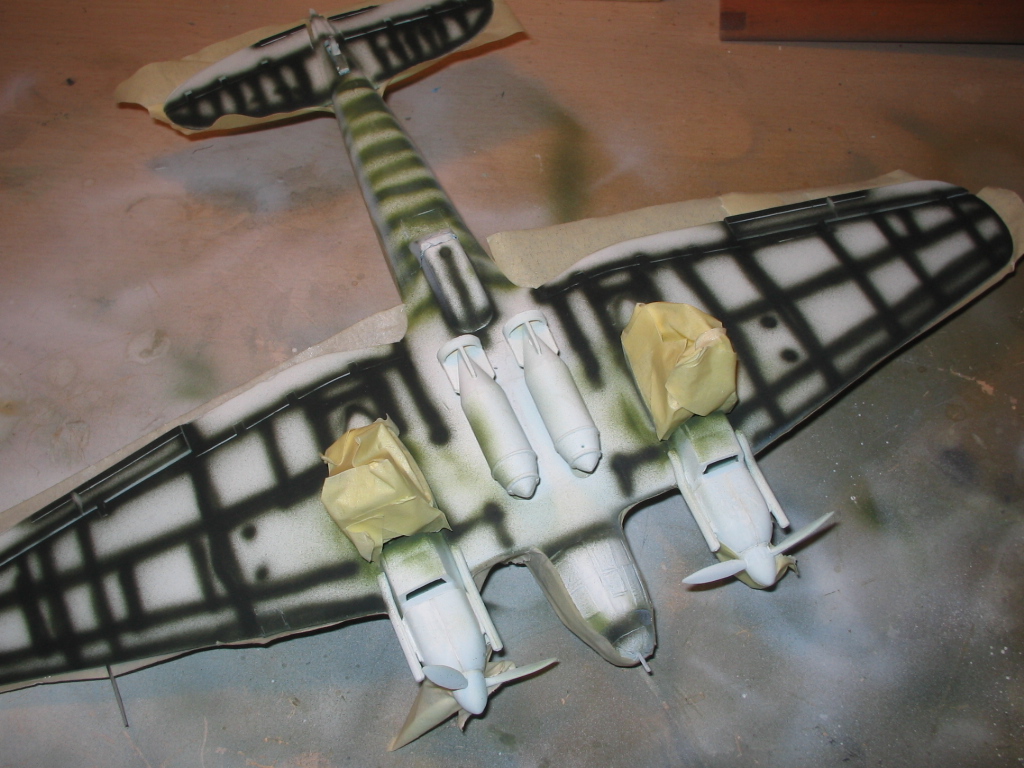
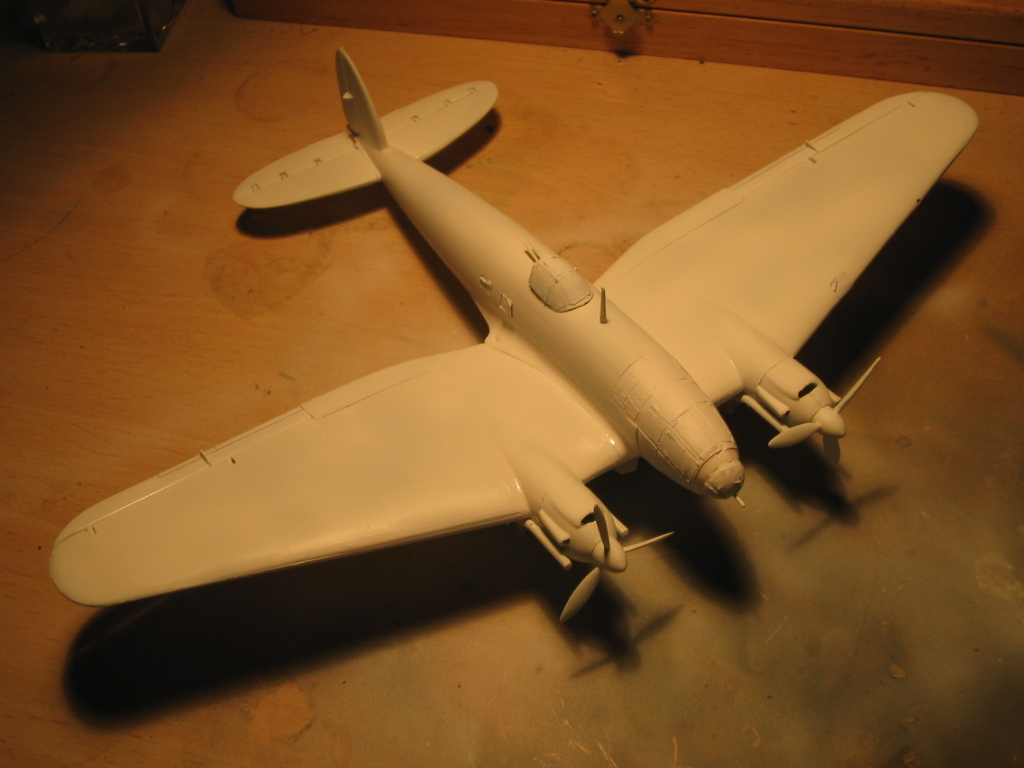 Once dry white paint start with paneling, this time I will not be using the black on top of the appliance, otherwise the Green XF-74 (Olive draft) since I am creating white camouflage and wear freehand airbrush.
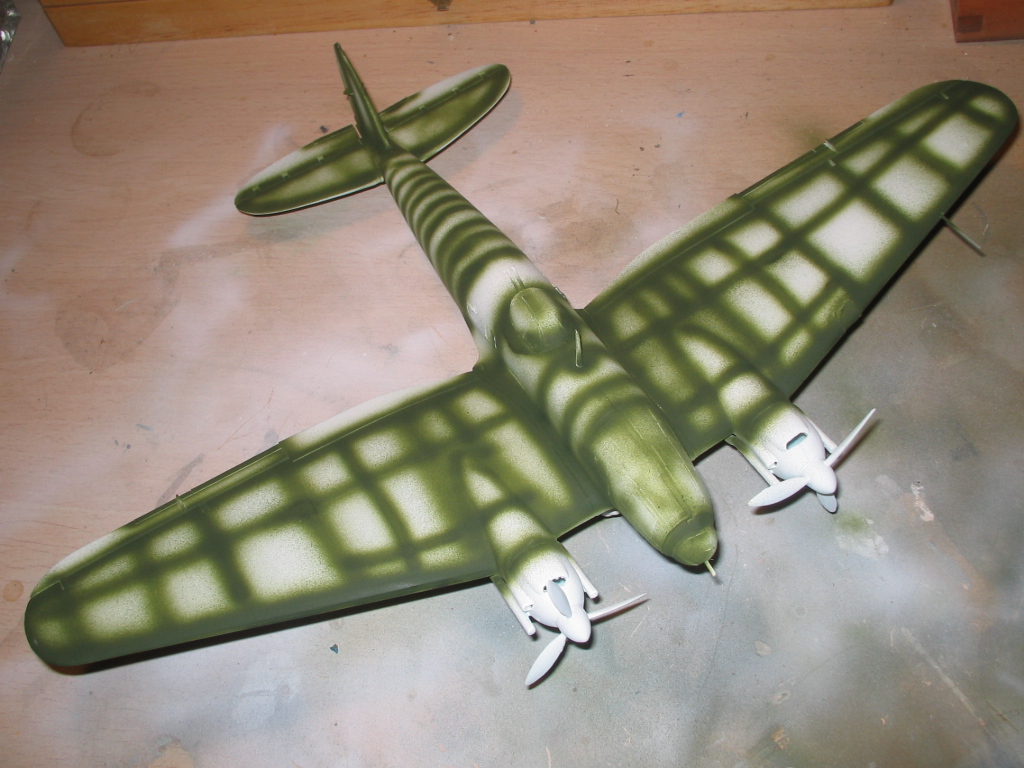
To the bottom as usual matte black XF-1 color Tamiya, interiors landing gear and other also in olive XF-74.
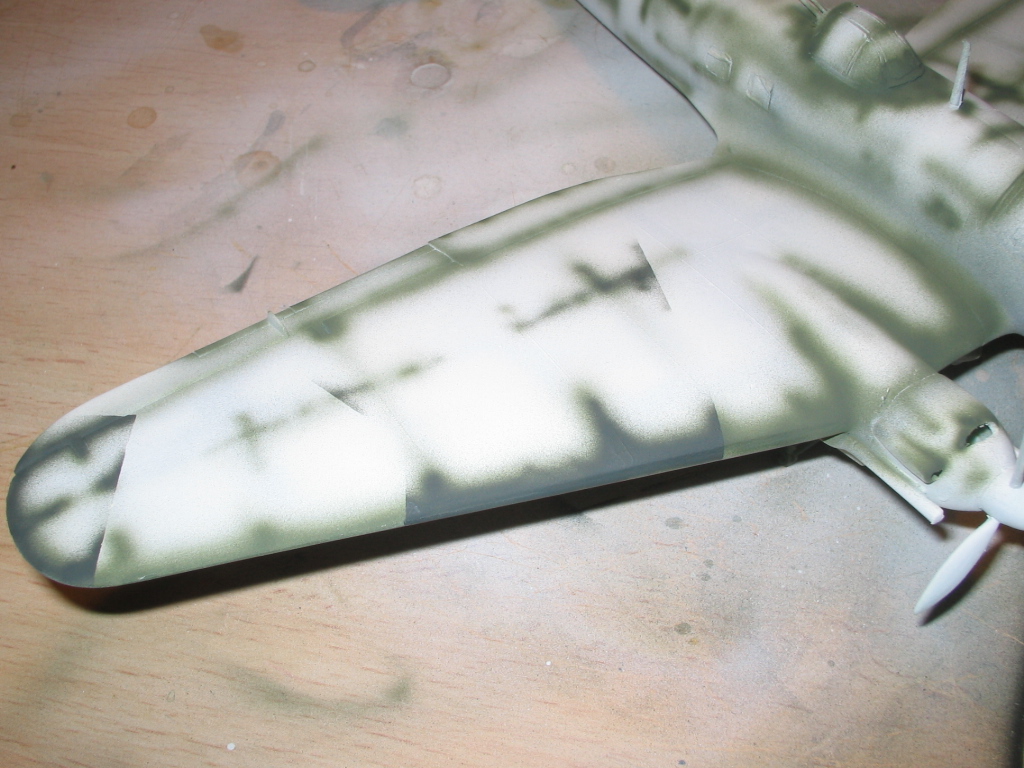
 Let dry for a few days and once the timeout start with the top and camouflage, first filling the parts to green and then blank using templates which takes to recreate the camouflage scheme before the winter, such as in the wings and rear spoilers.
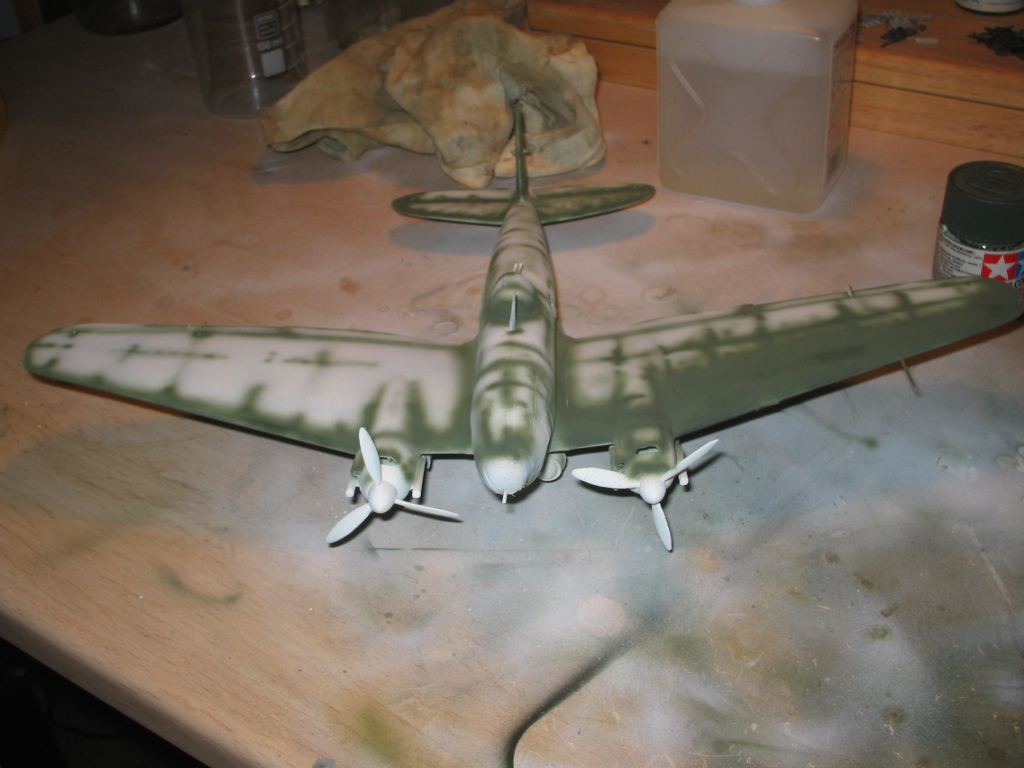
 Camouflage scheme in two green colors XF-74 (Olive draft) and XF-27 (Black green) with winter camouflage worn in white with XF-2 (Flat white) de Tamiya. To make this scheme I have completed the first pictures inside left by soft green paneling and then I used templates to print the dark green which creates original camouflage scheme of the apparatus.
Example camouflage: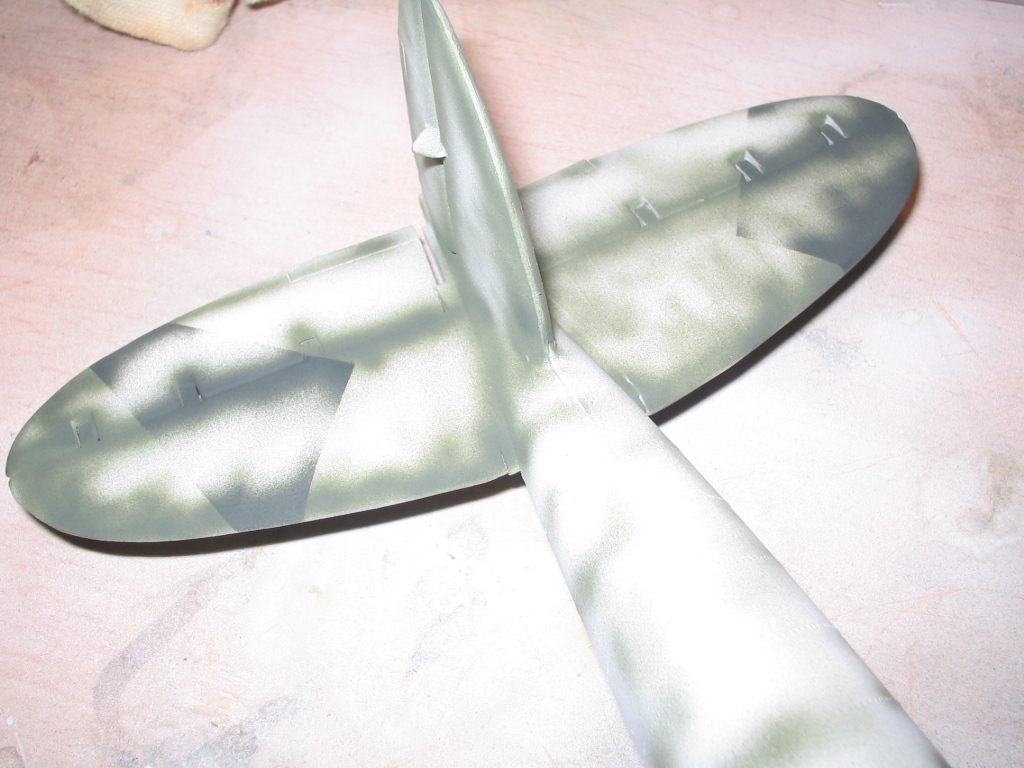

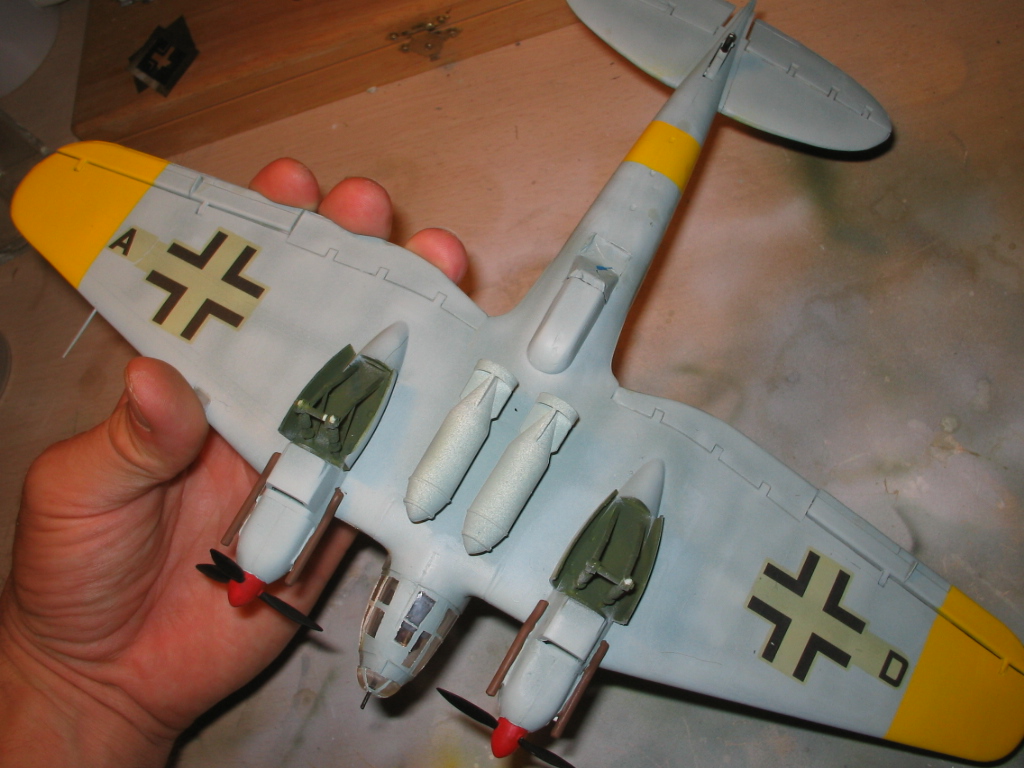
 Proceed with superior masking and landing gear compartments to paint the bottom of the plane with a clear blue XF-23 (Light Blue) de Tamiya.
 Once painted the floor of the plane and leave a few days drying, I start to mask parts of the wings and fuselage with yellow stripes I use the yellow XF-3 (Flat yellow) of tamiya.
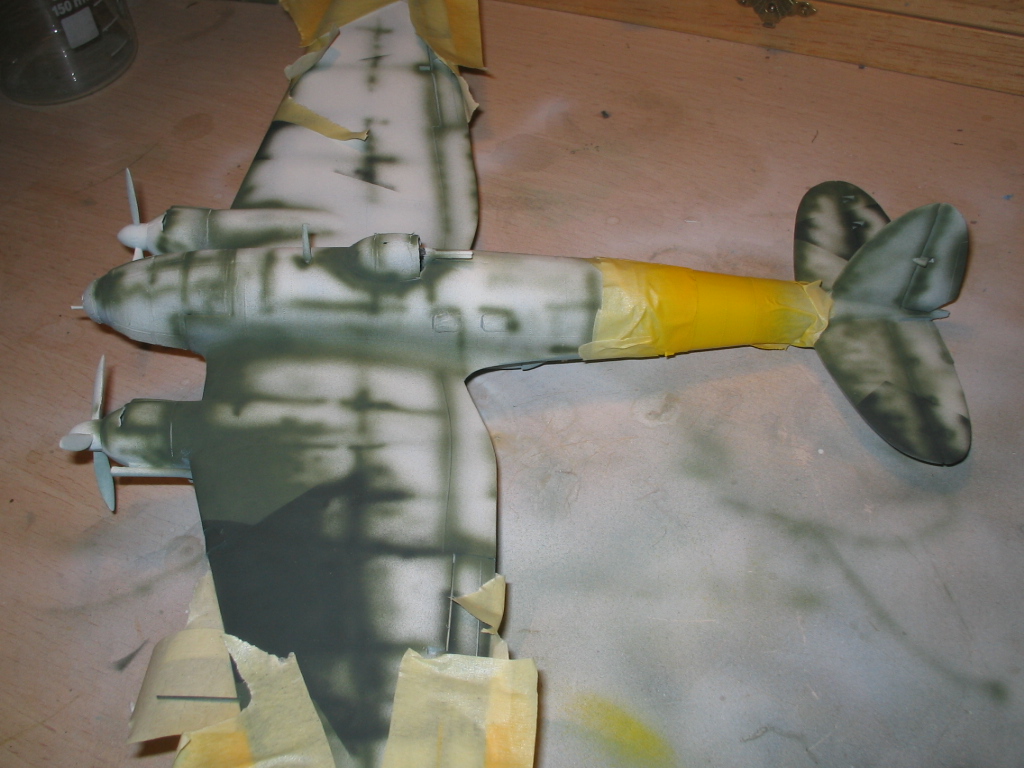
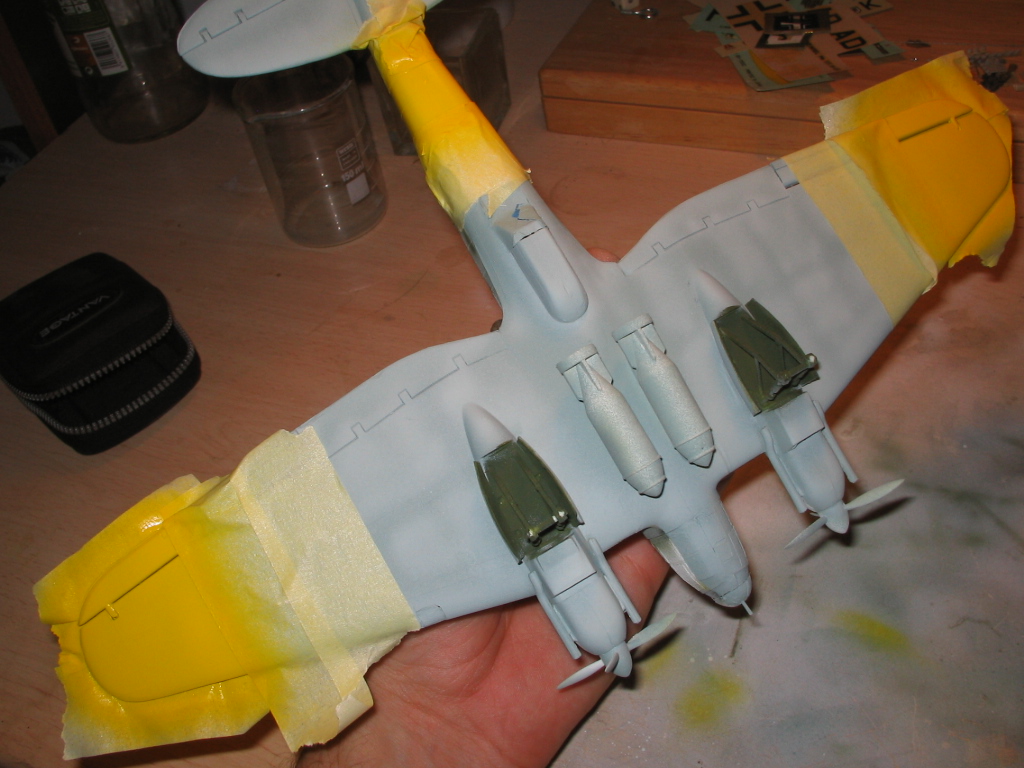
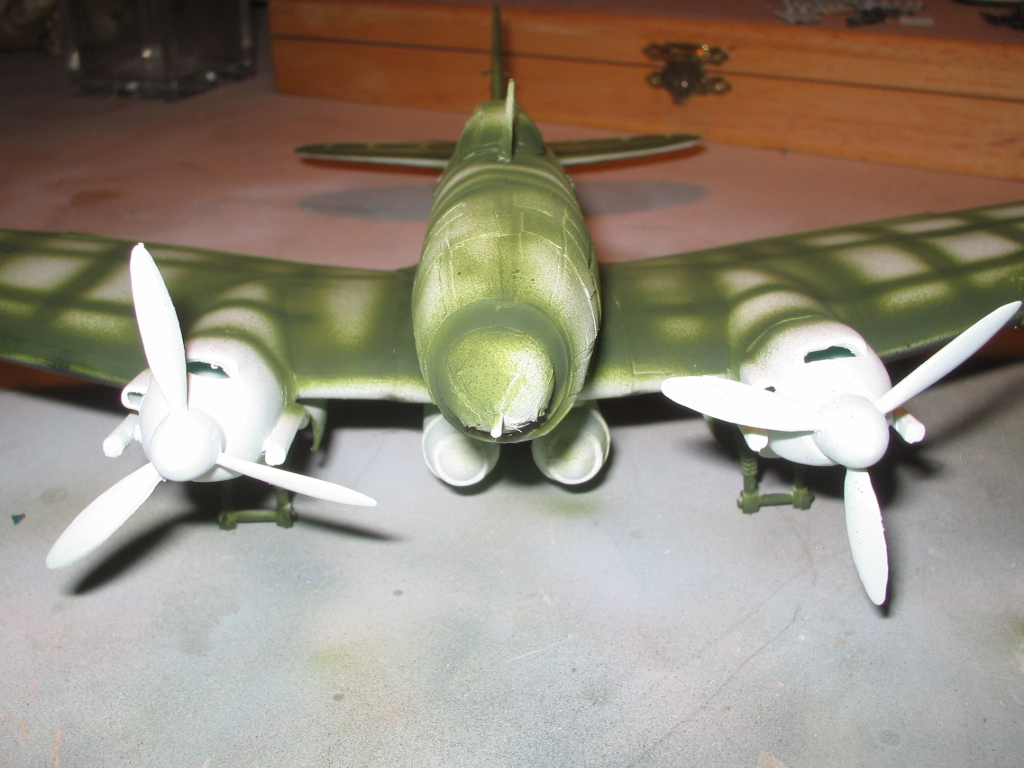
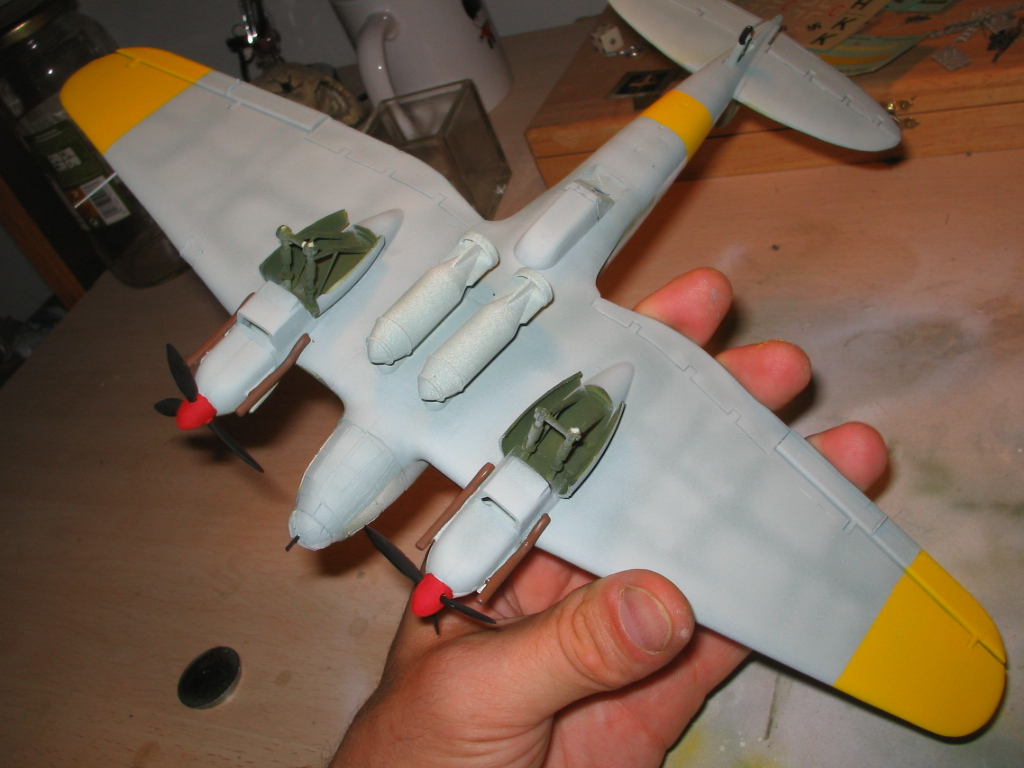
The same process also painted some details like the helices in red and black and exhaust of the engines on a brown XF-68 (Nato brown).
The end result after removing the masking tape is this:
 Prepare surfaces where the washing decals Colocare a little soap and water but before all this apply a thin old-gloss varnish to protect the entire paint job.
Apply the first decals.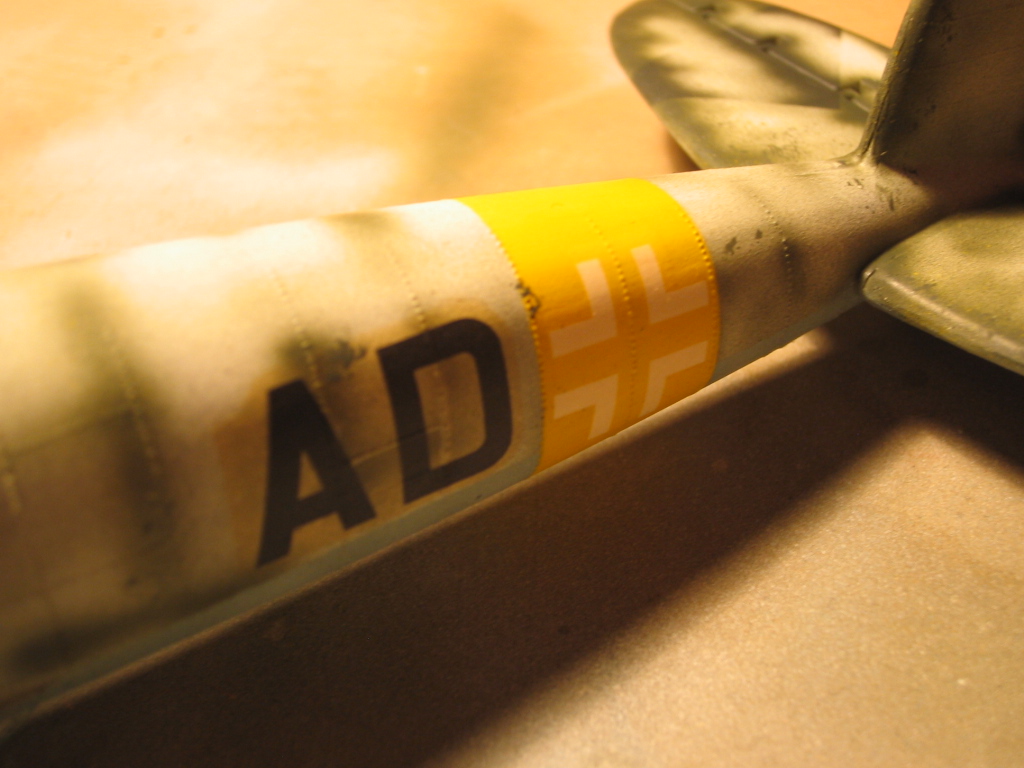
 And it gives me an awesome dip to find that some of the slides are yellowed by time.
 Once seen this upper badges's going to perform with photoetched to see how they are.
Steps, choose either the photogravure / Template according to the scale and attach well to the surface, then paint with the background color white in my case XF-2.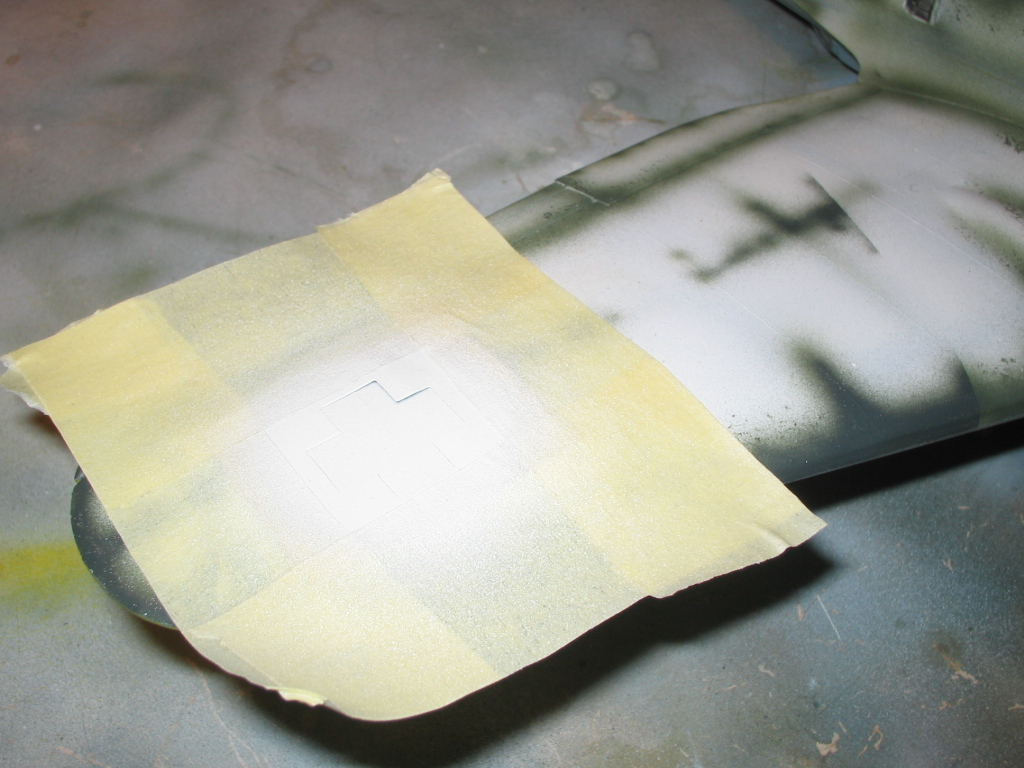
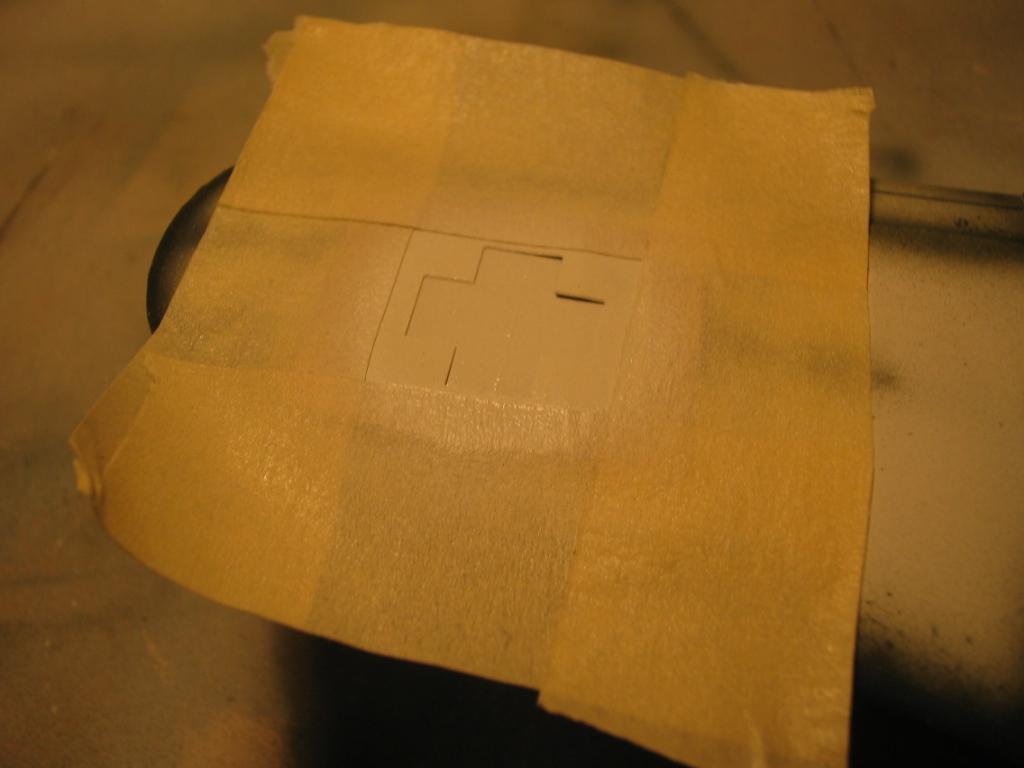
After drying the white background, look the other stencil to paint with matte black XF-1 lines logo.
This is the result, apart from a little accident with a drop of solvent, seems to be quite acceptable.
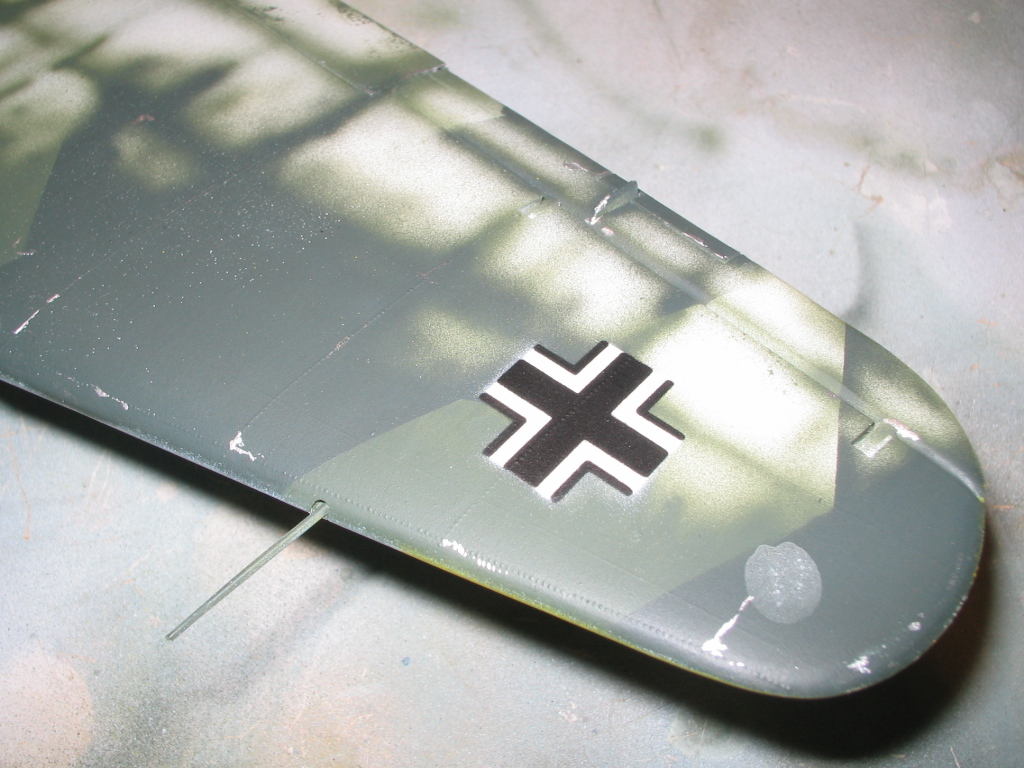 With a fine brush with silver applied to the edges of the panels painting simulating a little wear.
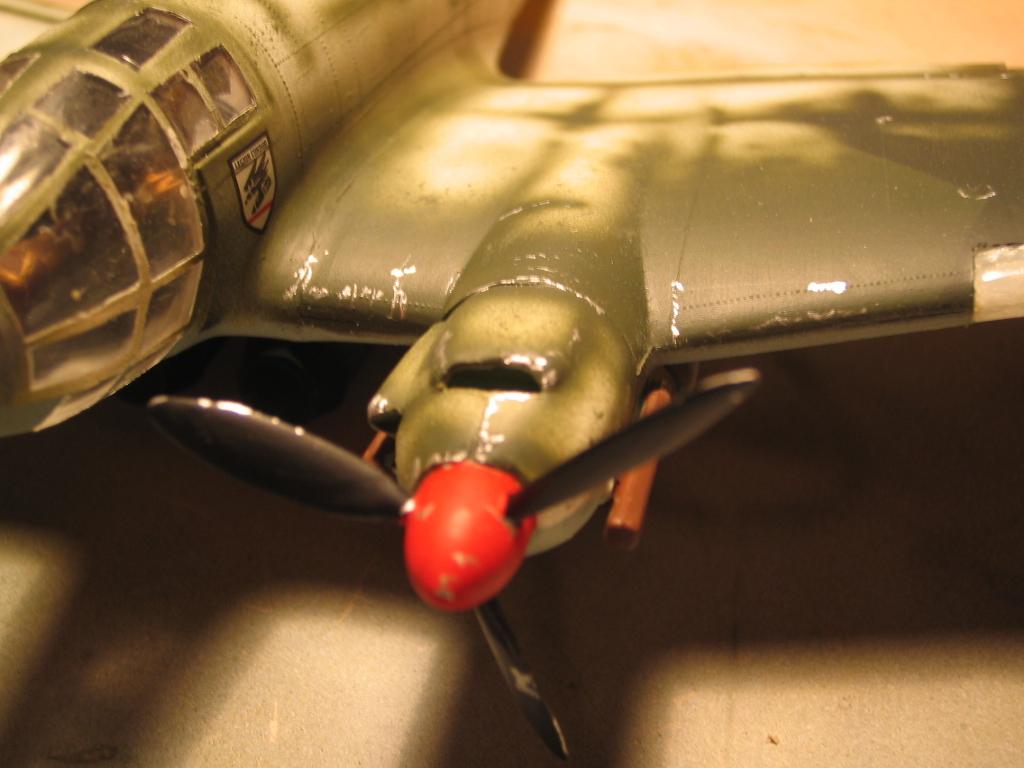 With a sponge and a little green base also apply in some areas of camouflage to simulate impairment.
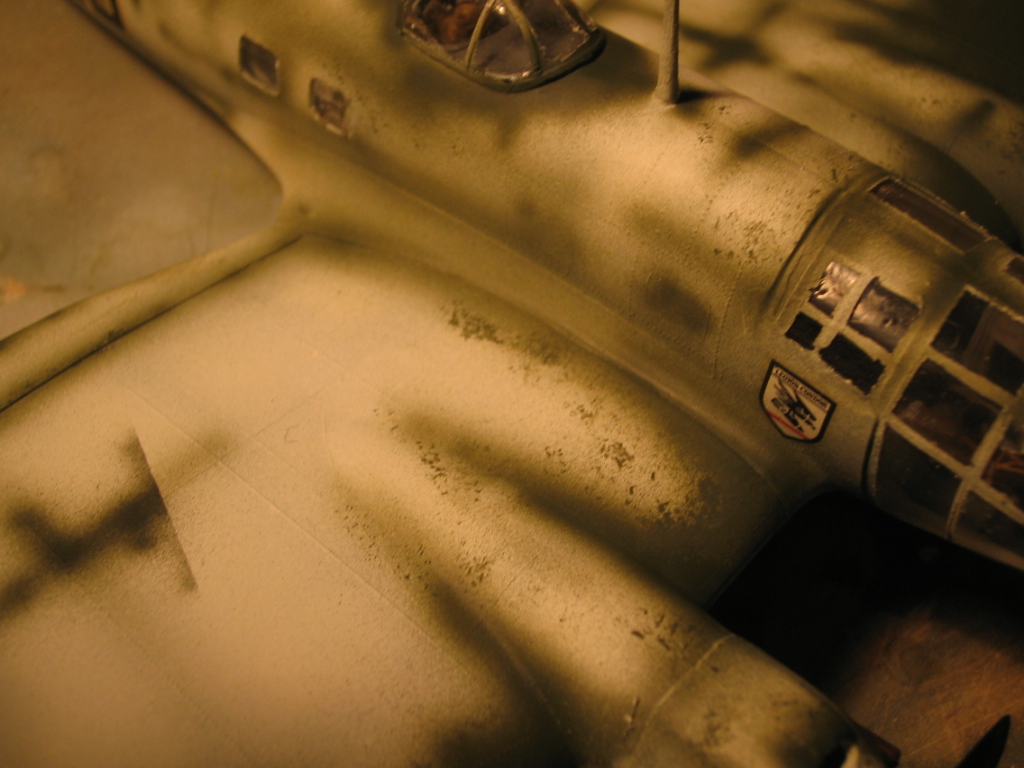 Already have little to finalize the model, let's give some washes, I used some shades of brown to simulate a little dirt on the soft and this are the results:
Model without washing: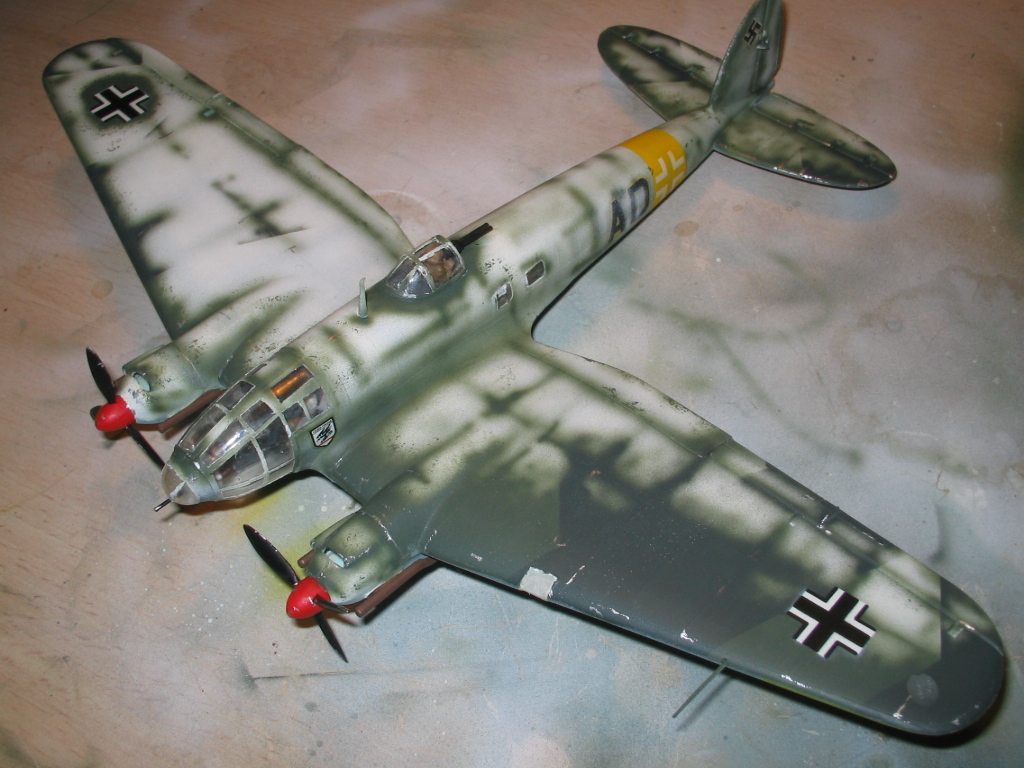 Models with washing in brown tones:
 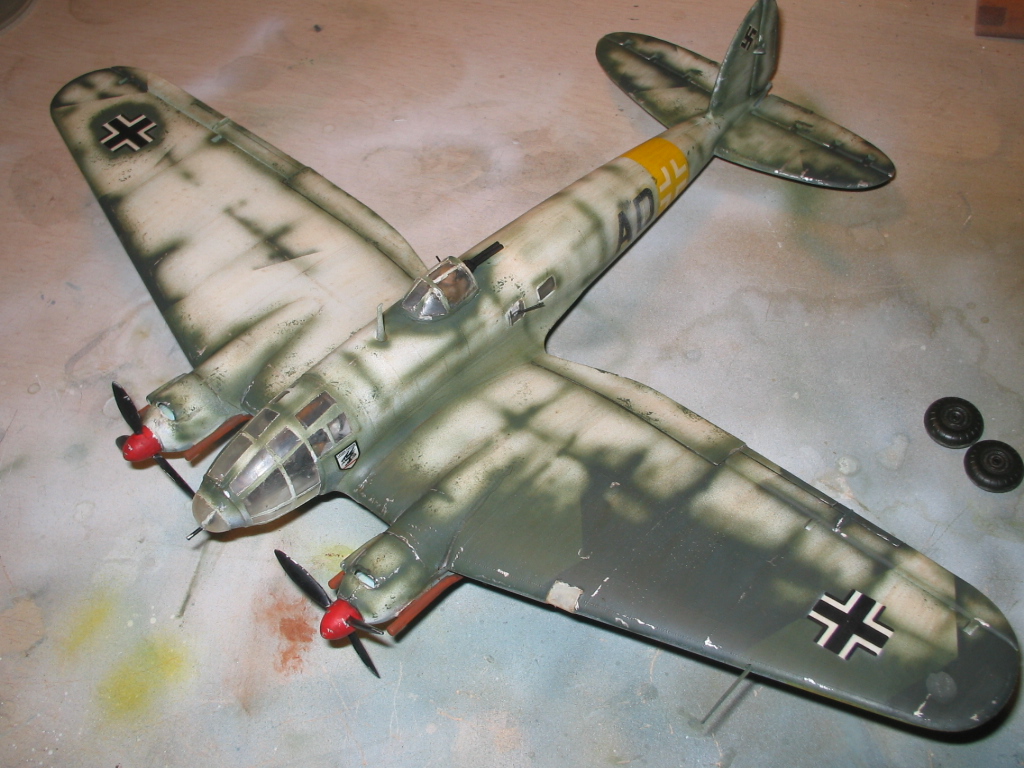 We will finish by adding the wheels of the landing gear, which are otherwise Italeri kit since coming to this were useless.
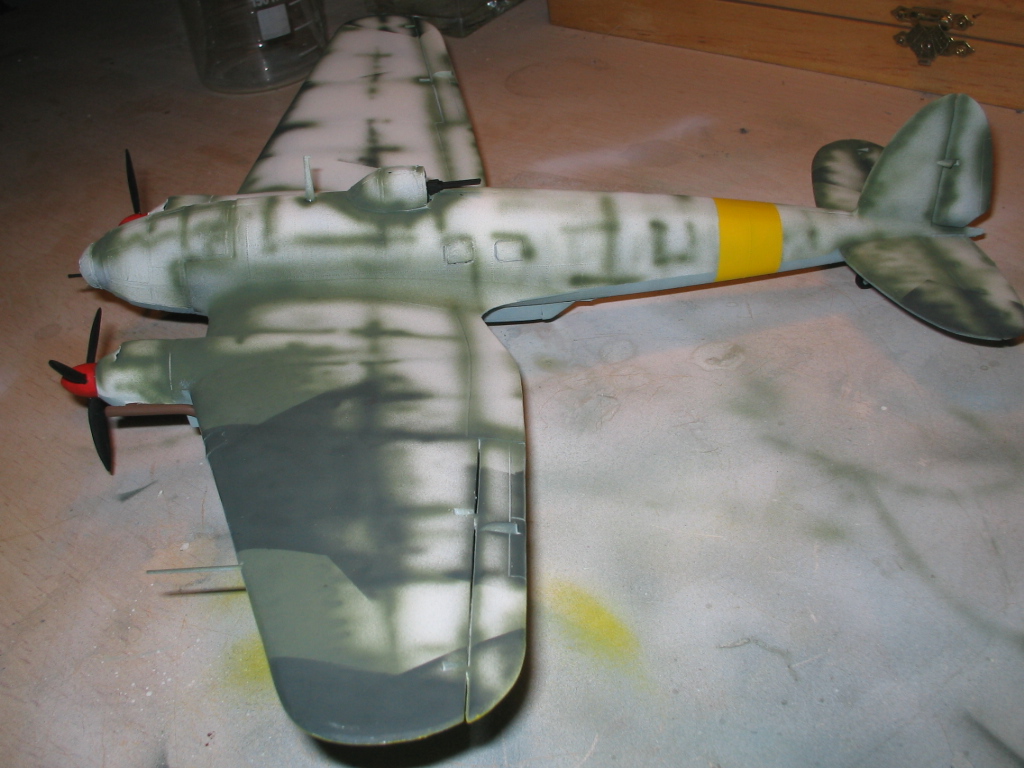
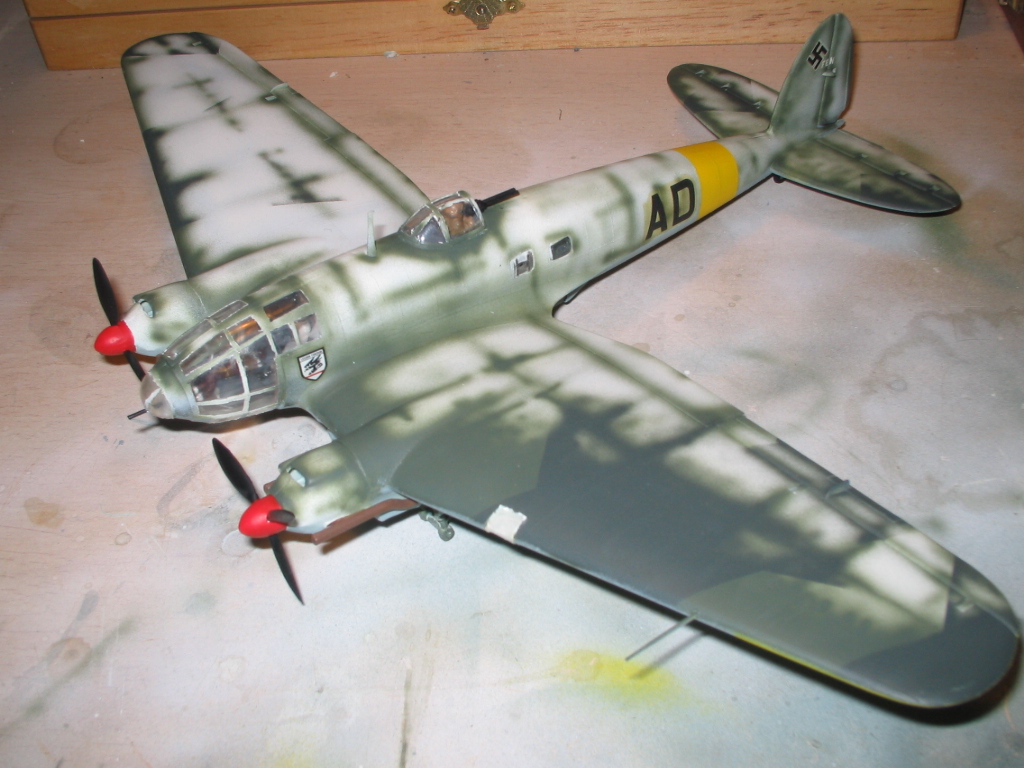
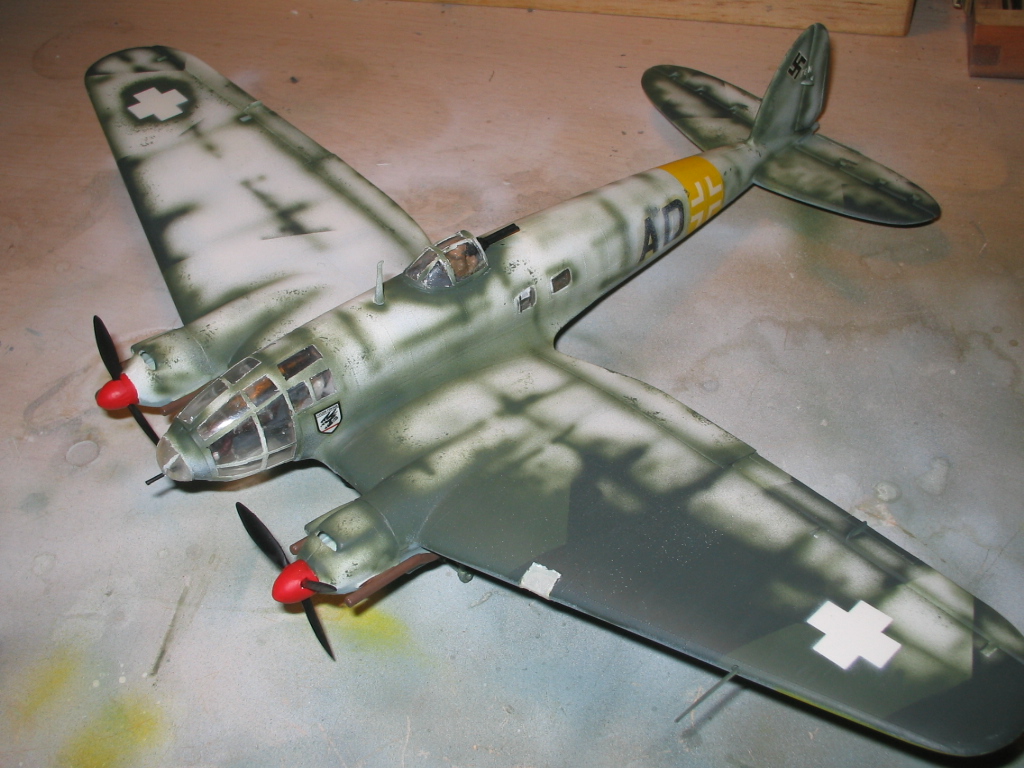
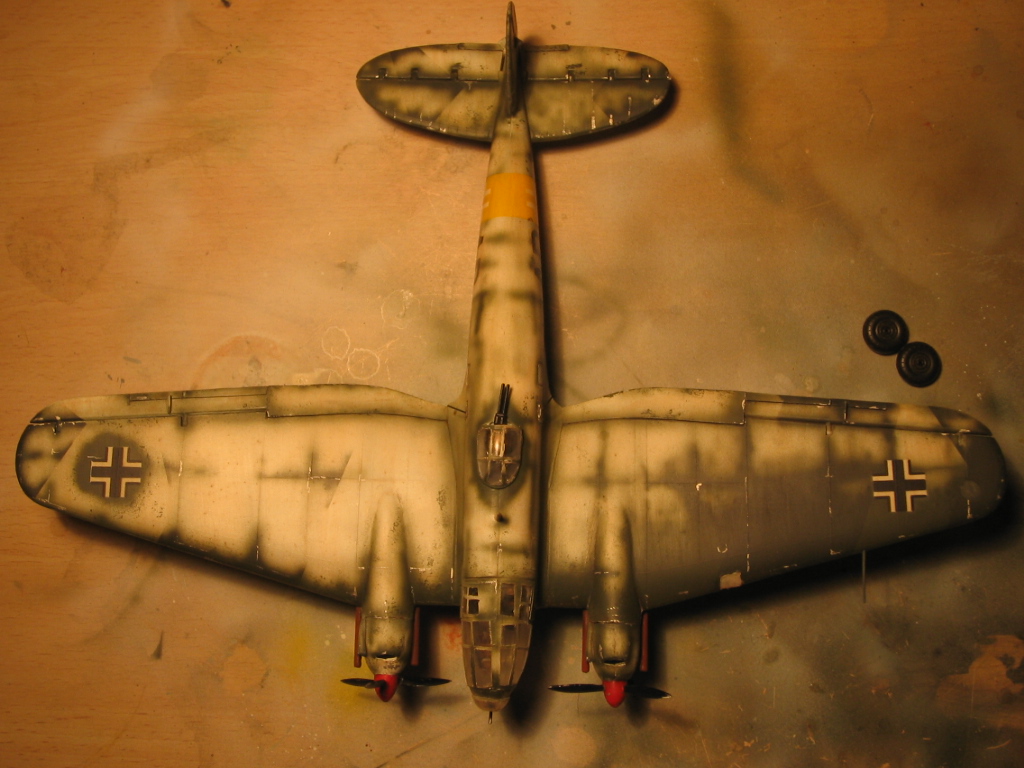
 In this picture we can see the outline of the camouflage pattern top.
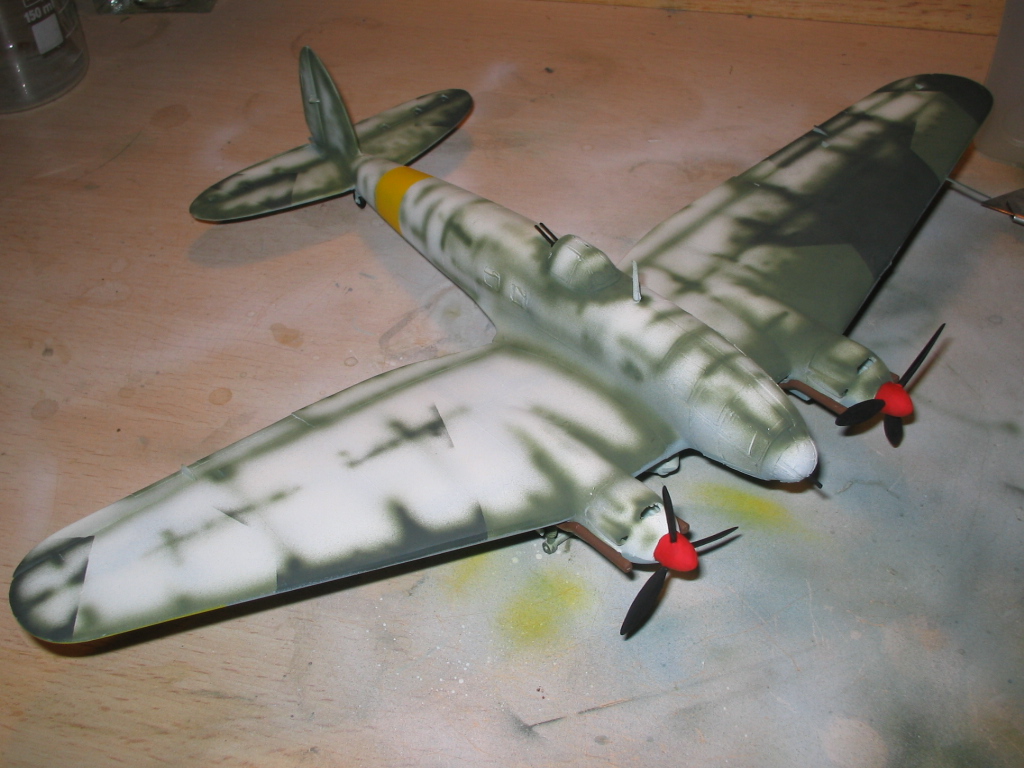
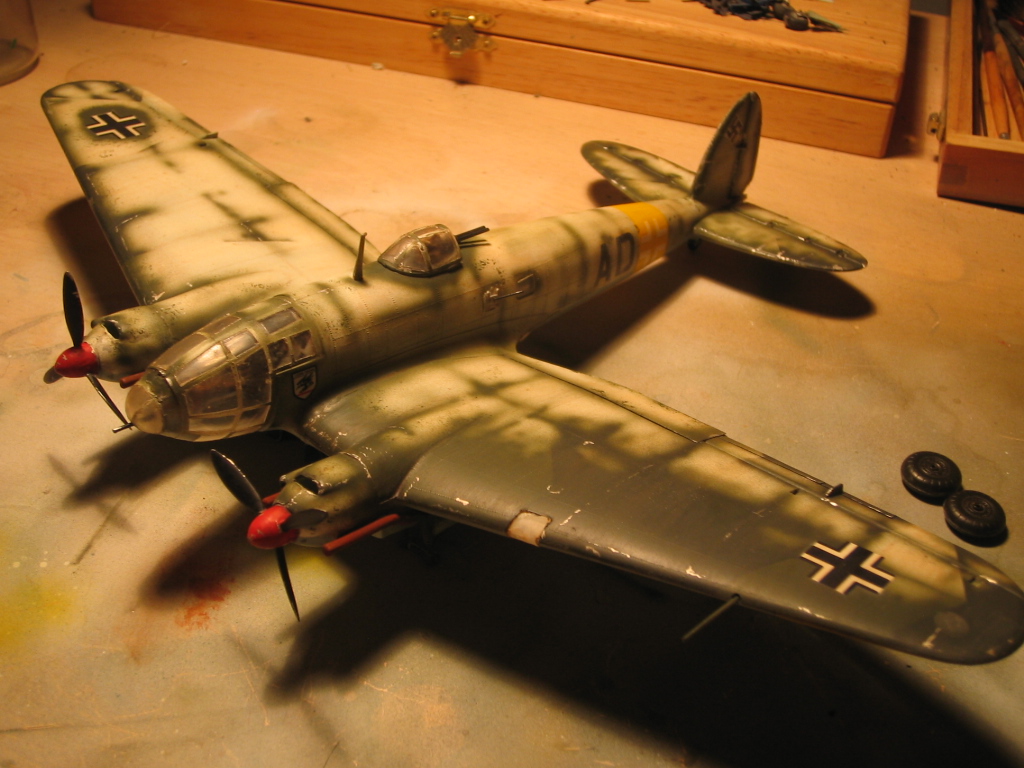
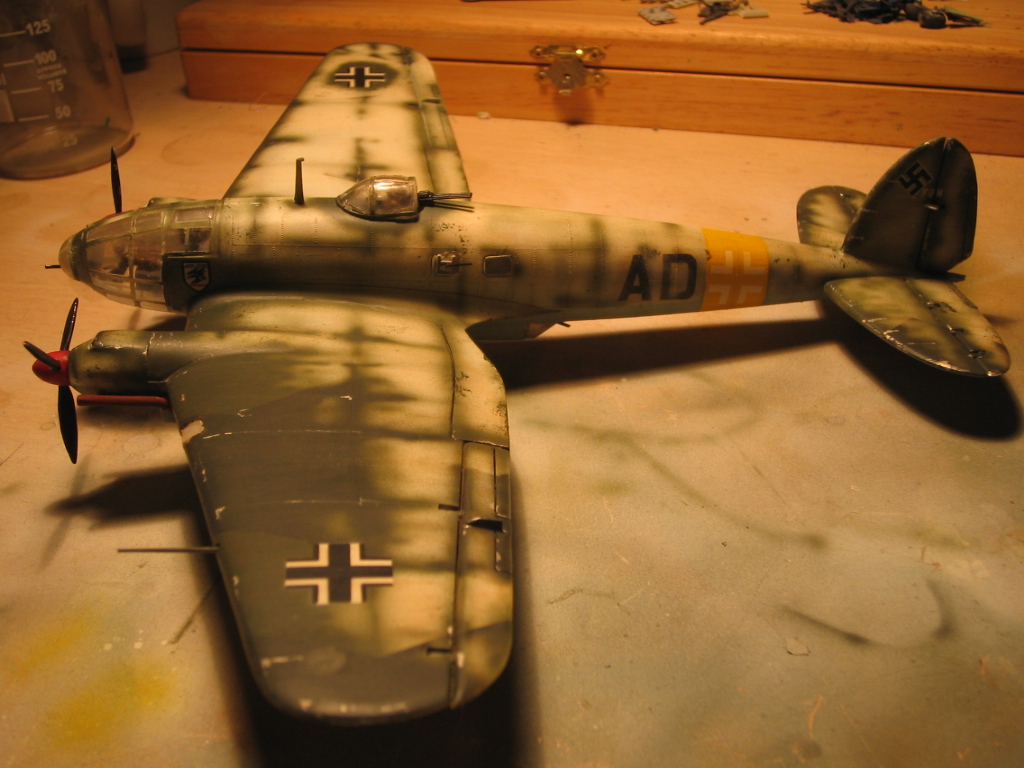
 Vista lateral del Heinkel He 111 H20 to 99% finalized.
Continuara …
Autor Armand C.M.
Other interesting links on the Heinkel 111 in model: