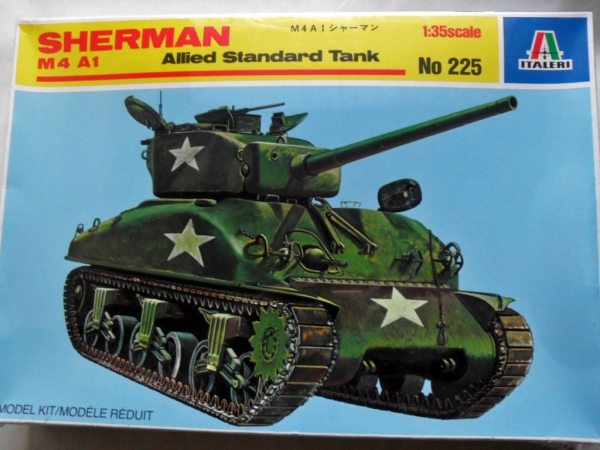
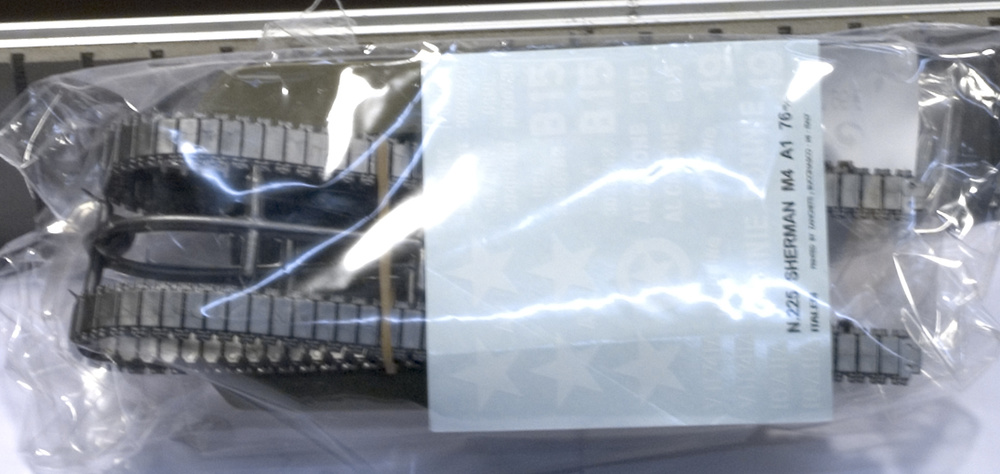
Sherman M4A1 Allied standard tank Italeri 1:35 – Modeling
Welcome to my blog modelismo, after an idle time for personal reasons I return to the load. Some time ago I bought a few packs of models scale 1/35 de Italeri which they were being distributed along with a collection of tanks Altaya, one of them was this kit, el Sherman M4A1 at this scale, at a very cheap price, although the cast is quite old it is a relatively good mold everything fits and there is much to caulk. I've never done a kit from a tank and I think this is a good kit to start.
A little history about Sherman M4:
El M4 Sherman, officially Medium Tank, M4, medium tank was the most used by the United States and the Western Allies of World War II. The M4 Sherman proved reliable, relatively inexpensive to produce and available in large quantities. Thousands were distributed through the Lend-Lease Act to the Commonwealth of Nations and the Soviet Union. The tank was appointed by the British from War general William Tecumseh Sherman Civil.
The M4 Sherman evolved from the M3 Lee, He is having its main armament on a gun carriage mounted with lateral stabilizer. A special feature of the Sherman was a giroestabilizador an axis, but nevertheless, It was not accurate enough to allow you to shoot when he moved, but it helped keep the reticle on the target, so that when the tank stopped to shoot, the barrel pointing in roughly the right direction.5
When the M4 entered into combat in North Africa with the British Army at El Alamein in late 1942, He gave the Allies an advantage over the Axis. For this reason, the United States Army M4 believed that it would be appropriate to win the war, and initially a relatively small pressure to the development of additional tanks will be exercised. Logistics and transportation restrictions, the limitations imposed by roads, ports and bridges, also they complicated the introduction of a tank more efficient but heavier.6Battalion tank destroyer used built in the hull and chassis vehicles M4, but with open gun turrets and more powerful high speed, also they came into widespread use in the Allied armies. Even in 1944, Sherman most retained their most versatile gun 75 mm.7Some Sherman were manufactured with a more powerful gun, Americans installed the barrel M1 76 mm, and the British installed a QF 17 pounds (Sherman Firefly).
The relative ease of production allowed the manufacture of a large number of M4, and a significant investment in recovery units and tank repair damaged vehicles allowed in combat were repaired and returned to service quickly. These factors combined to give numerical superiority, better logistical support to the Allies in most battles, and they received many infantry divisions and tank destroyers M4.
Assembly process:
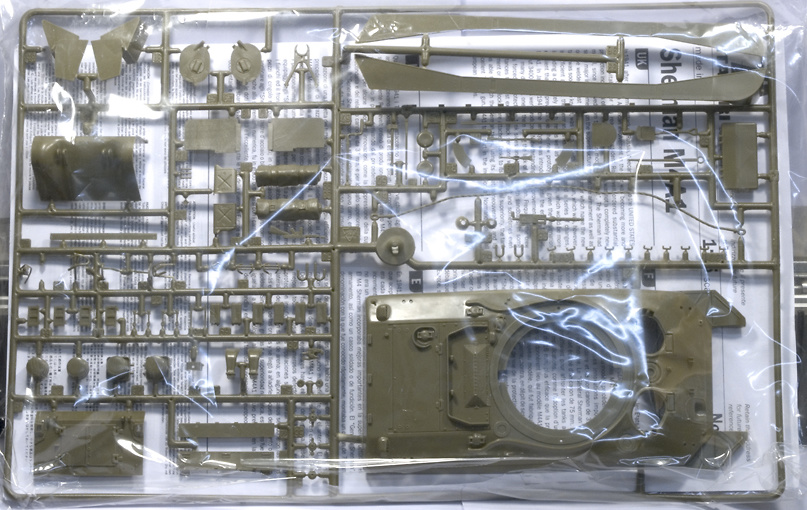
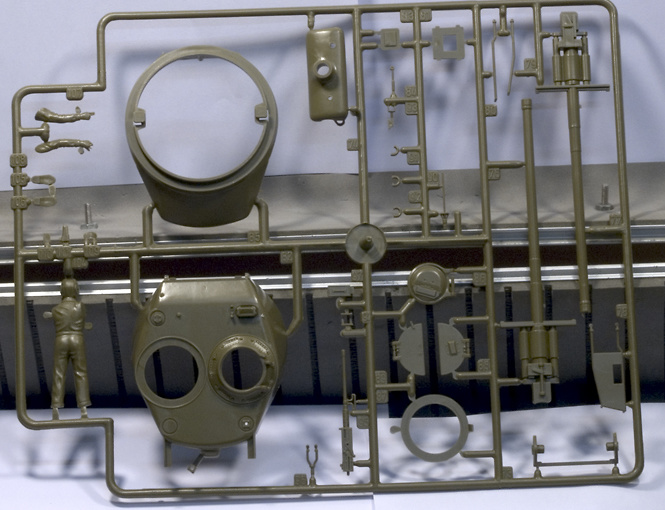
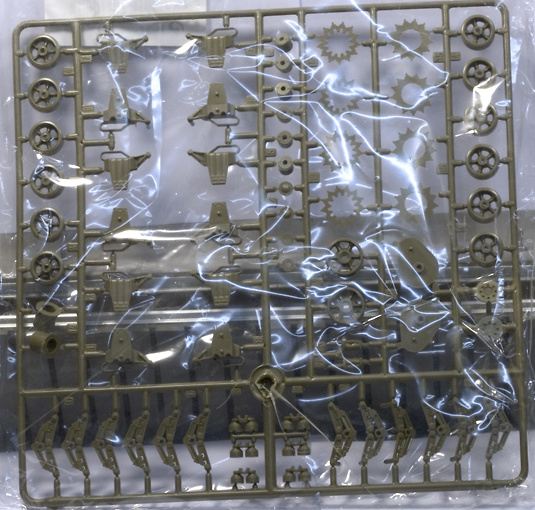
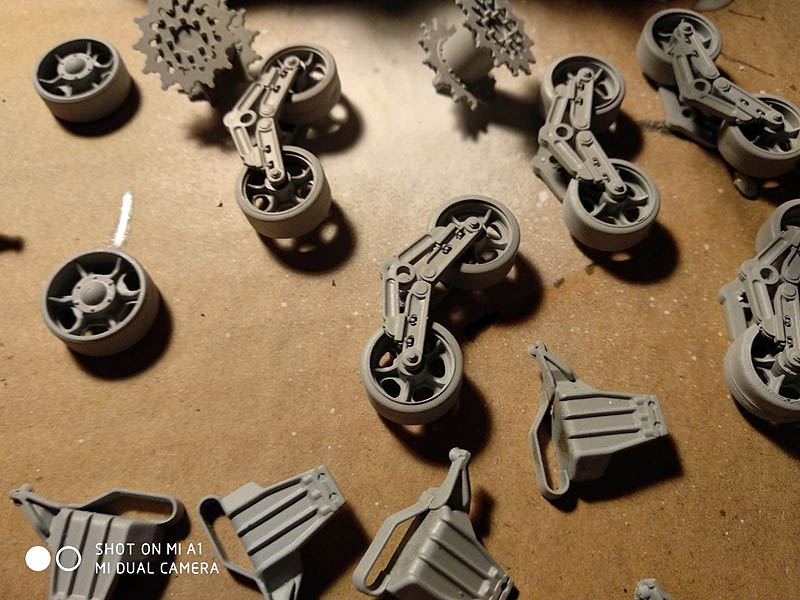
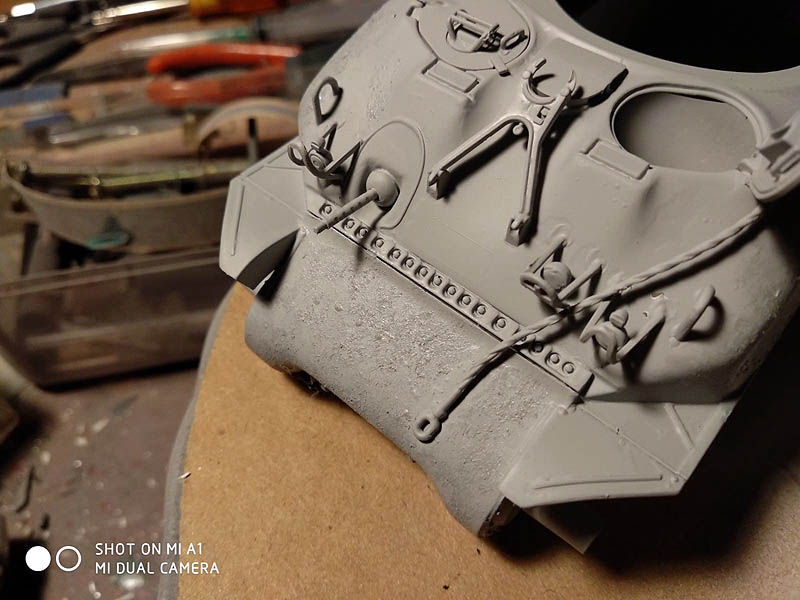
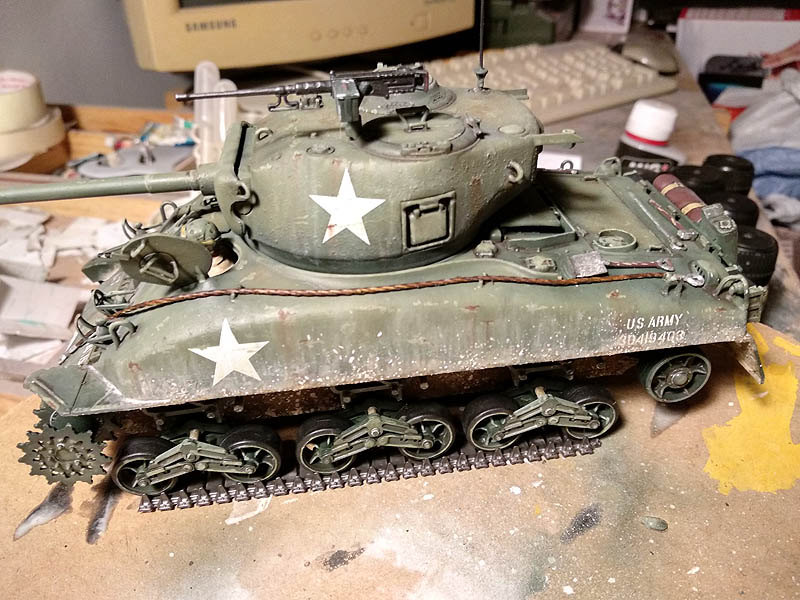
The assembly process Sherman M4A1 It has been simple, the only problem I encountered, since the model had it mounted in a while is that when they put the chains so that by the time they were acquired properly then attach them to the drive wheels was that the party had time, either by a defect in the plastic or because of temperature changes, but they were not exposed to pressure or force that might affect the plastic to break into several pieces, Otherwise everything perfect. After the painting process and see how the project progresses decide whether to acquire a set of traction chains for a little more detailed links or attempt to reuse the original that comes with the set.
Painting process:
Once the assembly is finished I start with the primer, I used white primer Vallejo but I again had problems in areas where quartering kit primer and leap, longer if not for reasons of product is defective, humidity or temperature where I leave to dry models, but I decided to use the Tamiya primer, this primer I've never had problems, It is more expensive but then have no unpleasant surprises. 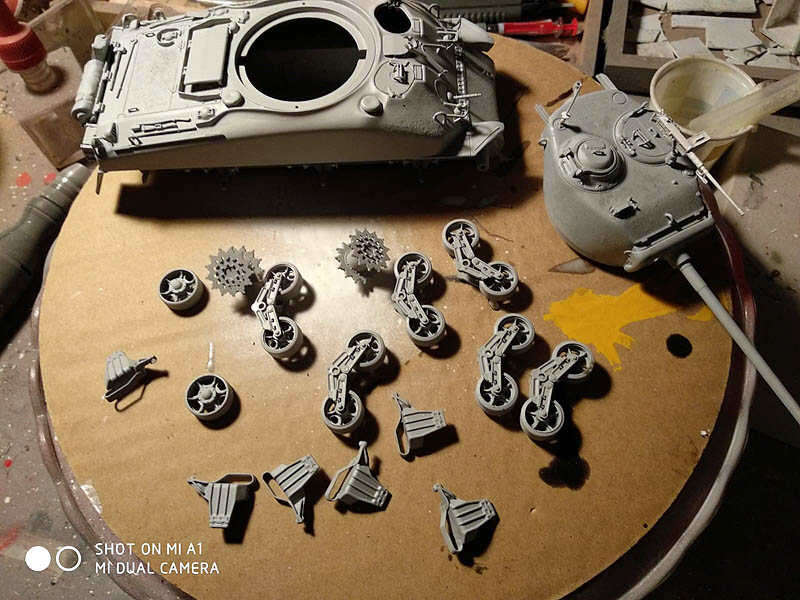
Noting the original vehicle we see that in some places the car battle armor is not smooth, but it has a kind of rough texture, To apply this effect I used Tamiya putty diluted with Thinner of the same brand and adhering it to the surface with a brush.
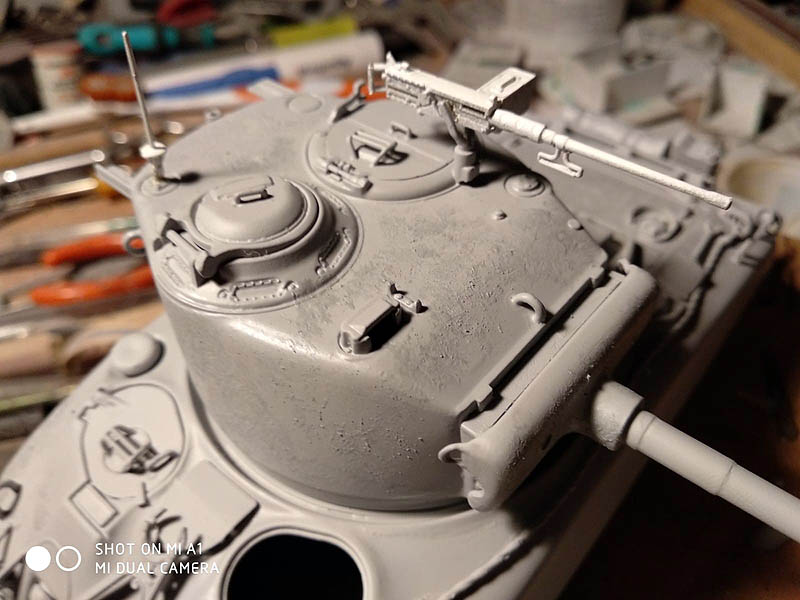
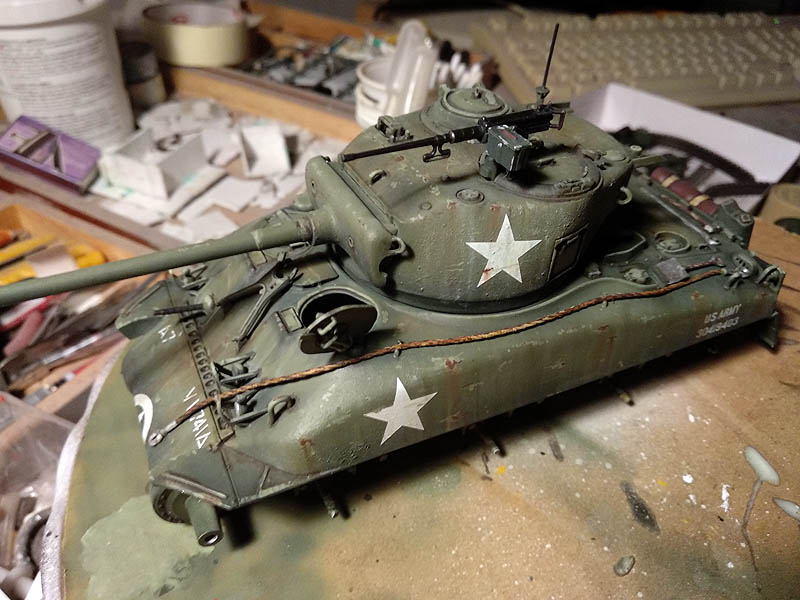
After drying the primer step to apply the base colors, I have read several publications and many modelers use different tones, all extracted from the mixture of olive green base color, I will use a dark base color and save me endless mixtures and have a reference number and not a %, I believe that, although mix to obtain a more correct color it suffers many modifications after applying filters, lights etc.. and we can save a headache and then remember the % used in mixtures for base colors if we try to use a tone already manufactured, in my case for the dark tone base I have used is the gave the XF-11 de Tamie.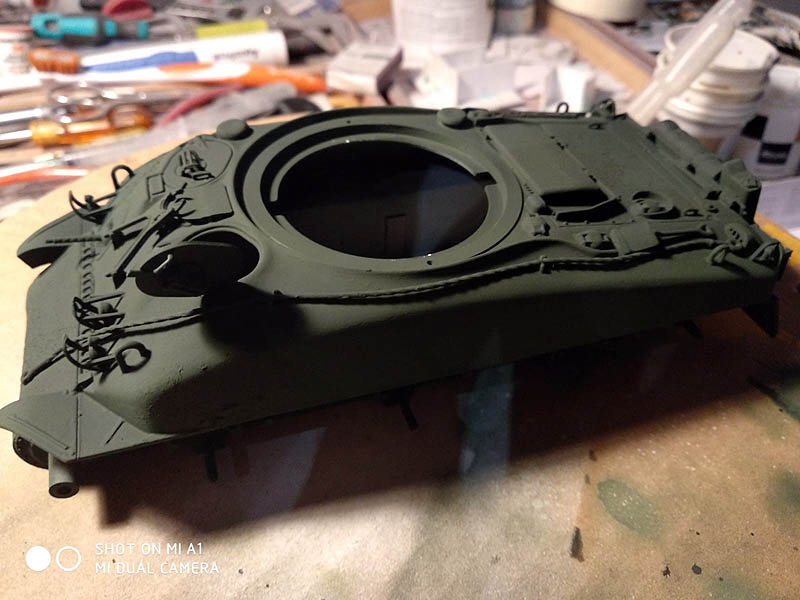
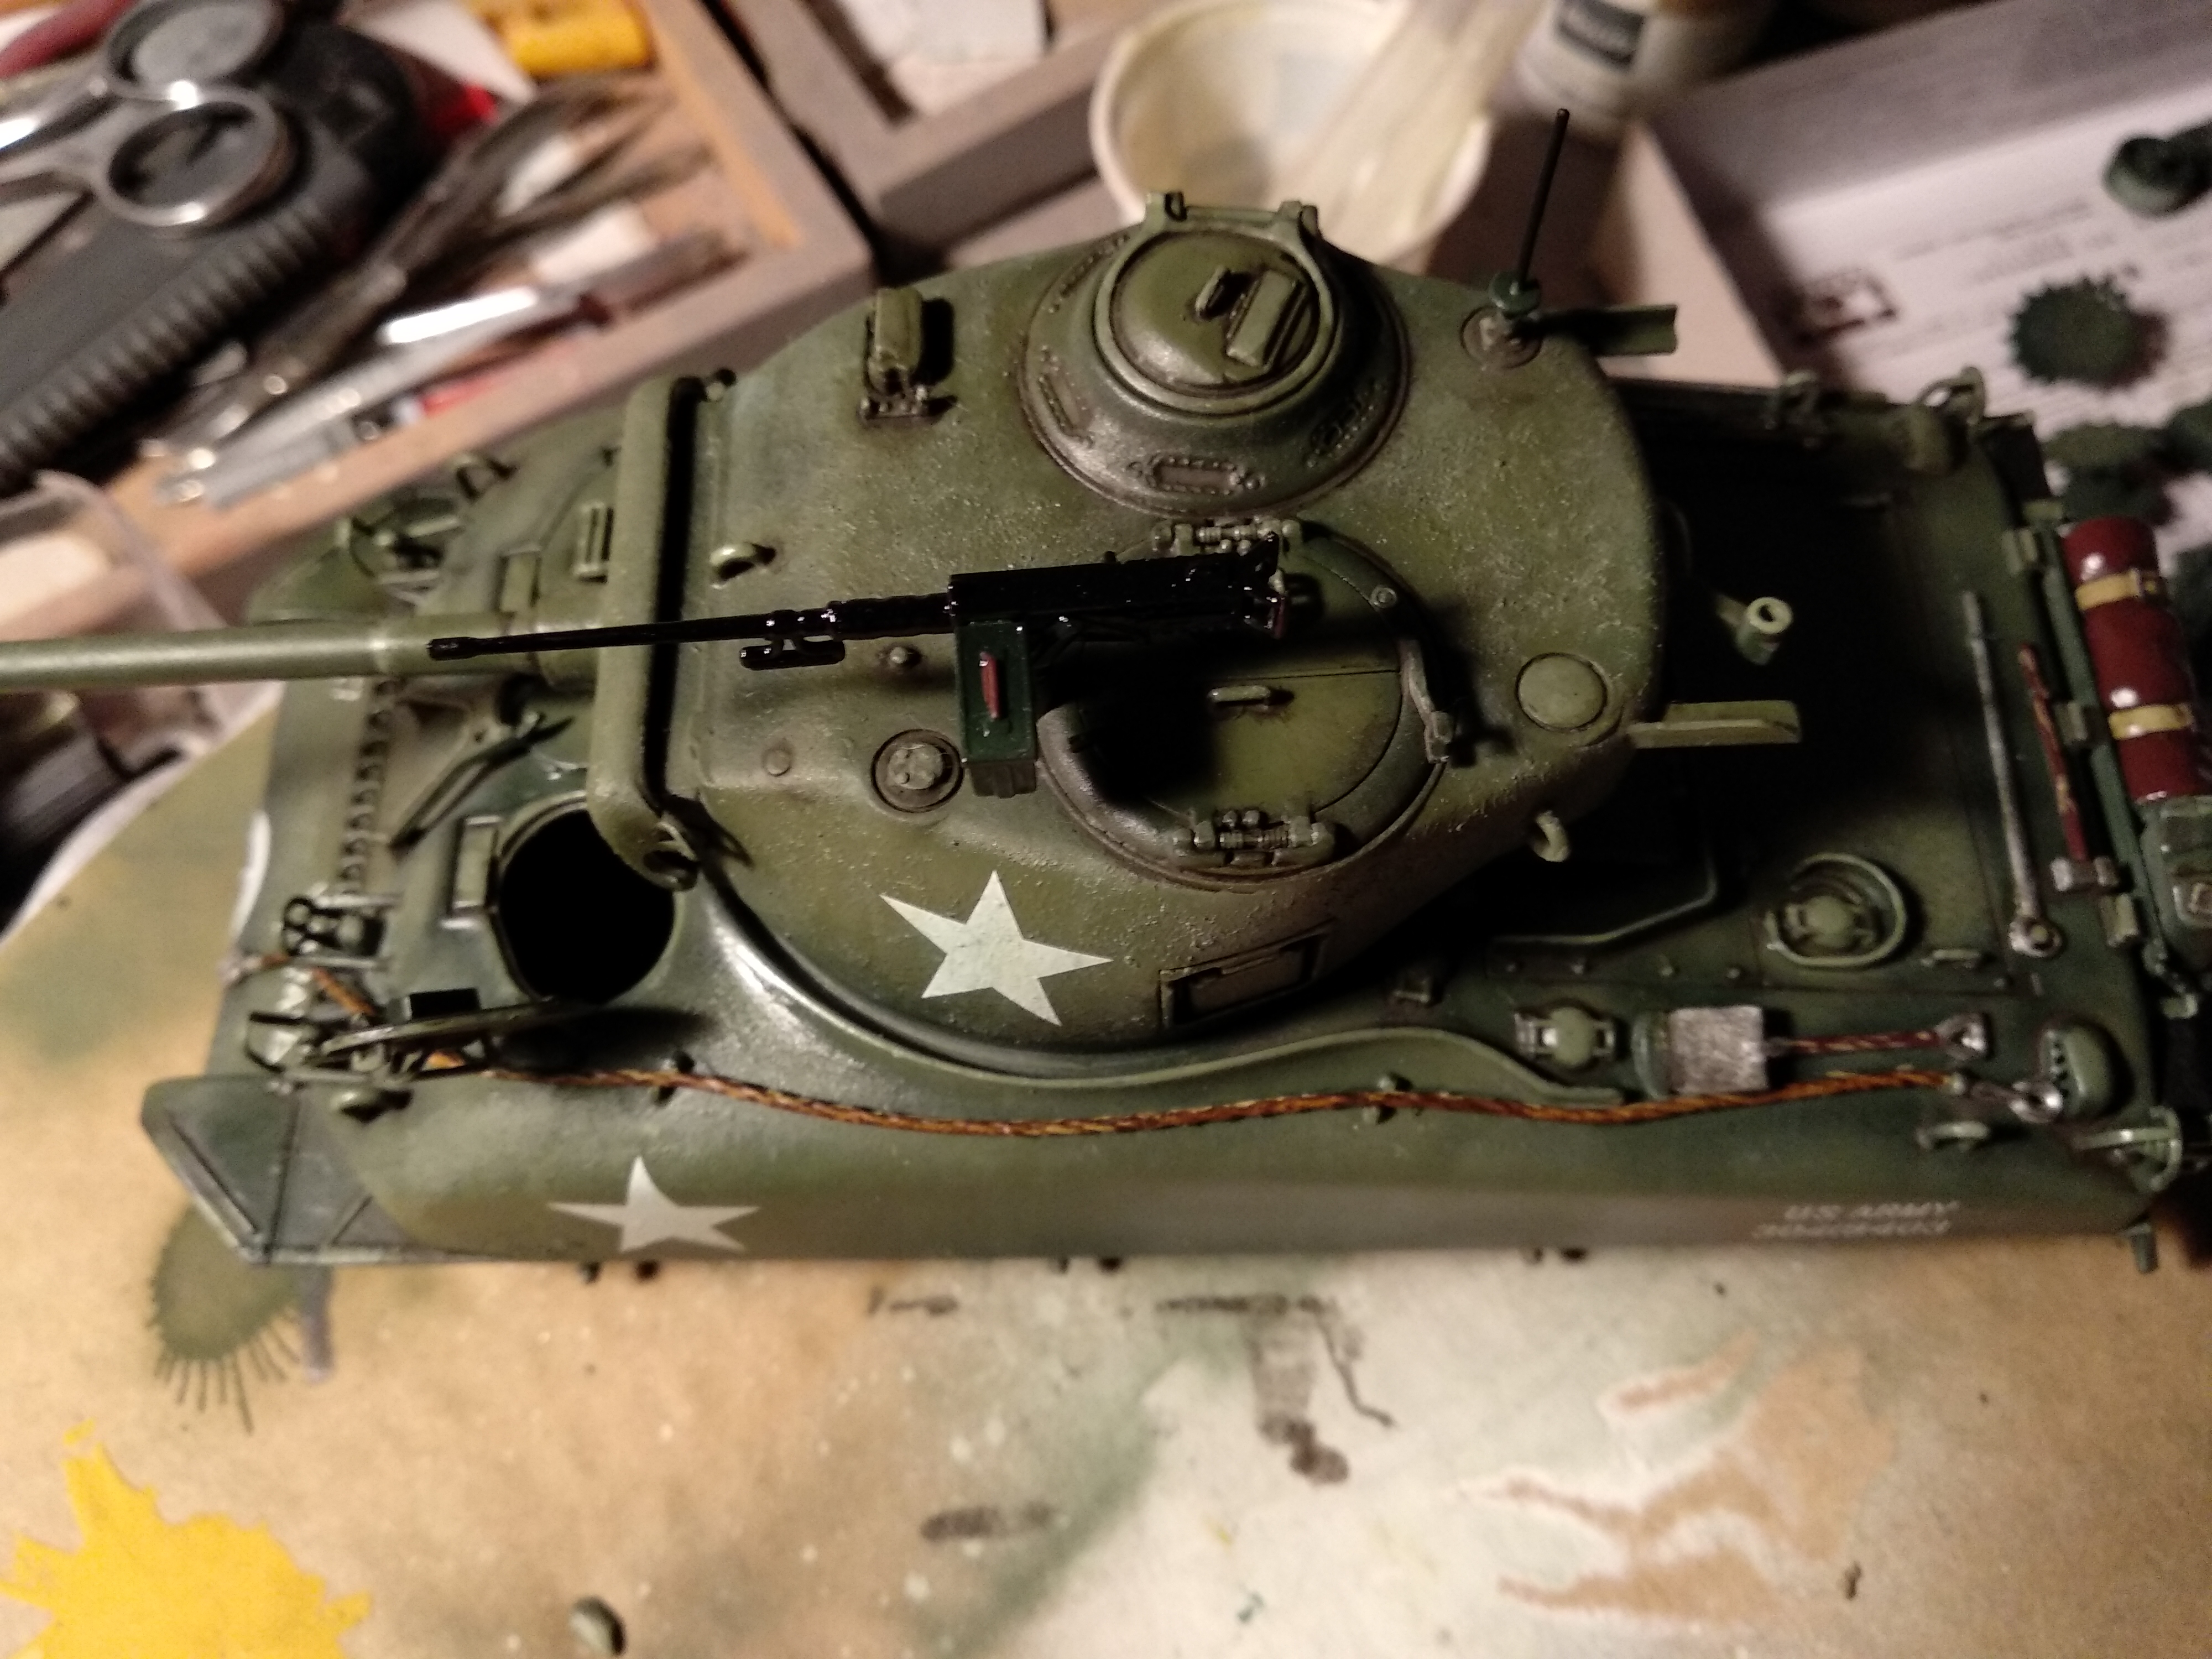
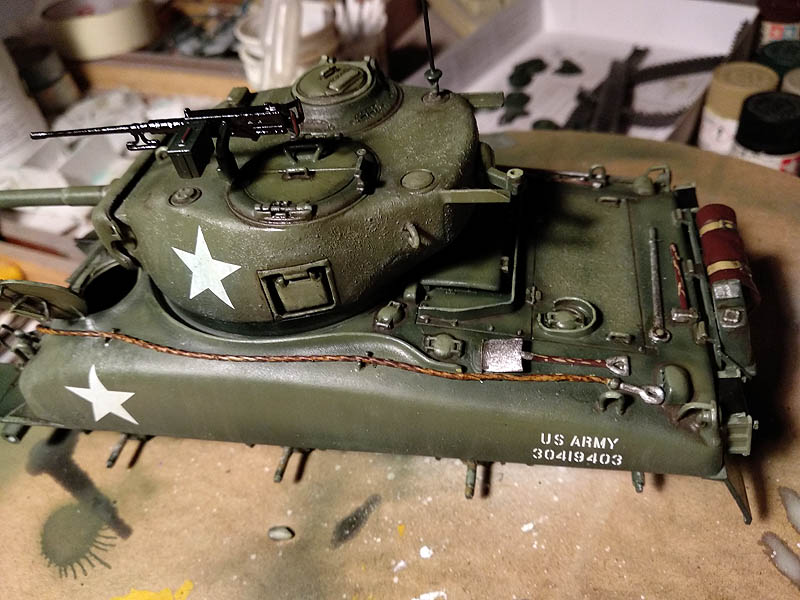
For the lights and shades of camouflage if I have used mixtures based Olive Tamiya XF-62 , the first tone has been a mixture of olive with target ratio 25% de blanco XF-2 , then apply another tone mixing olive green with Buff XF-57 the same proportion as work on the first ring, You can check the result by comparing the turret where applicable color.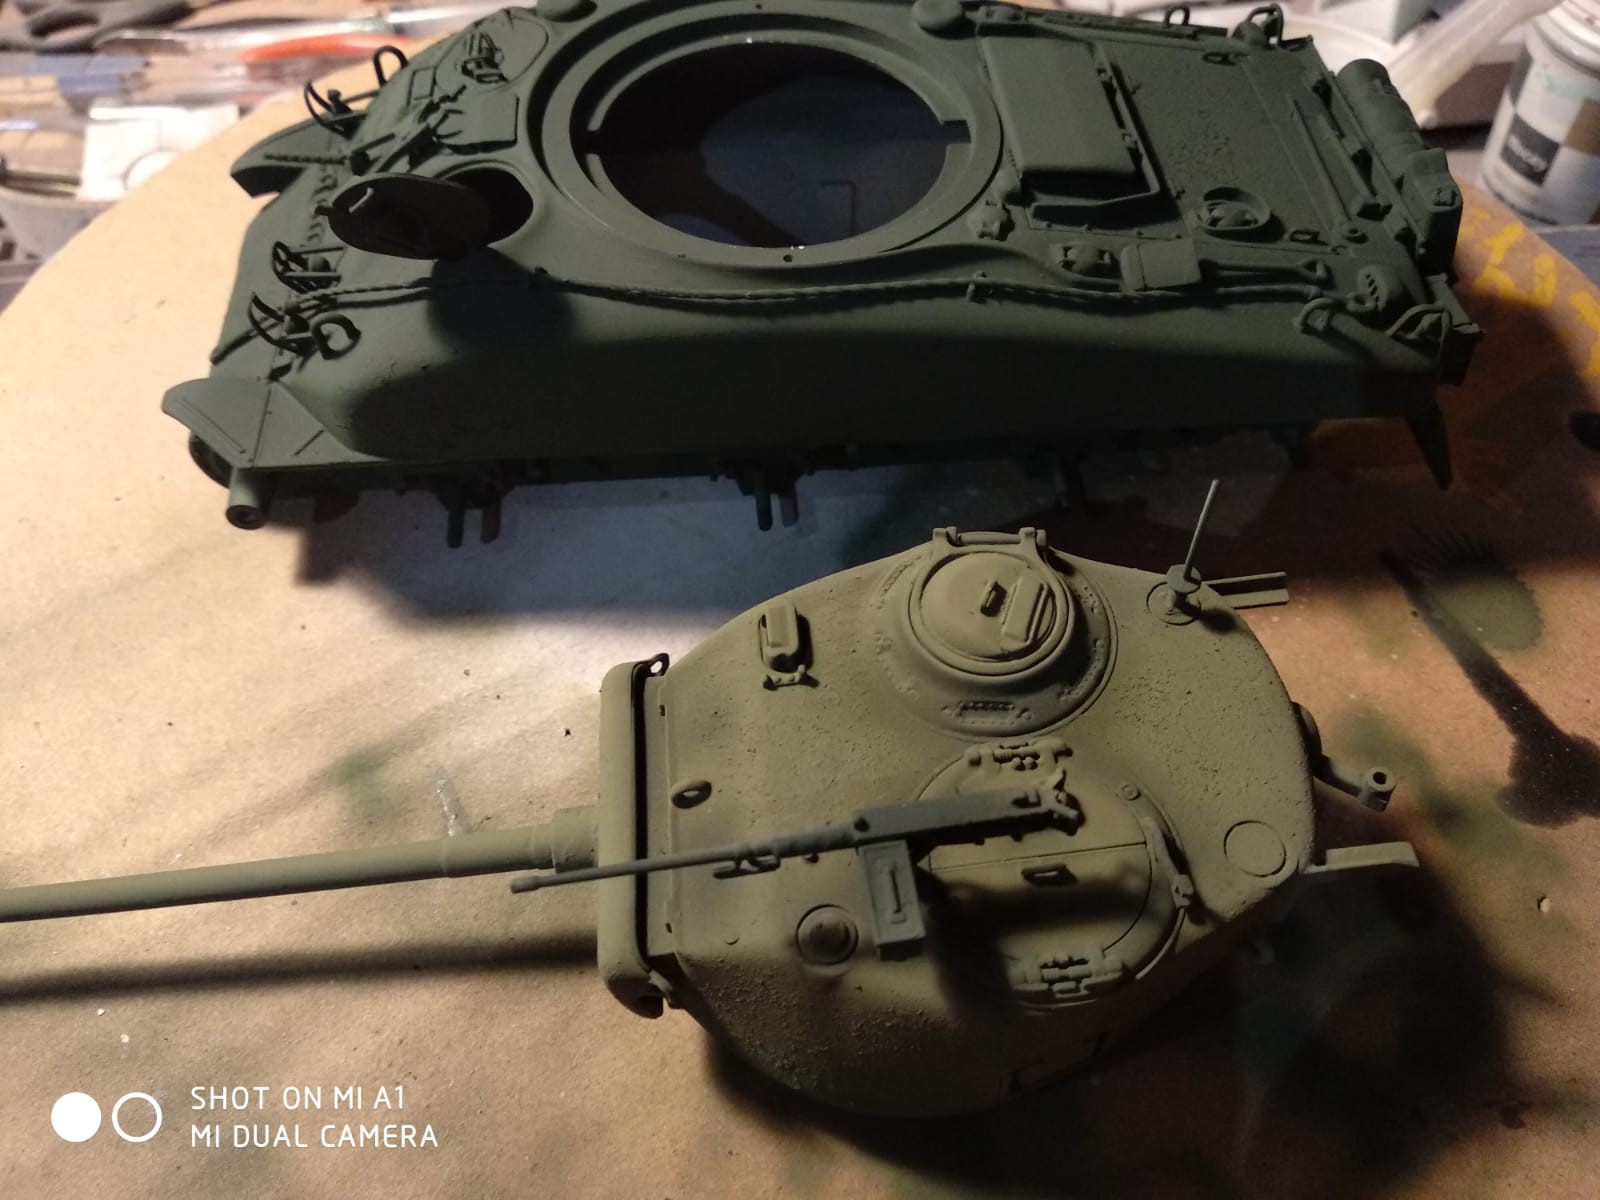
Upon completion of the lights and shades of the base color to paint step tools and other accessories in different colors.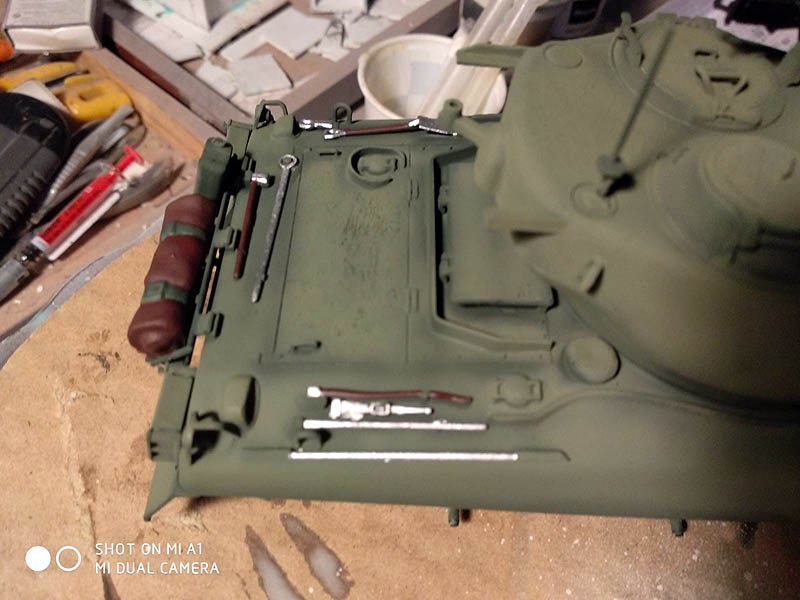
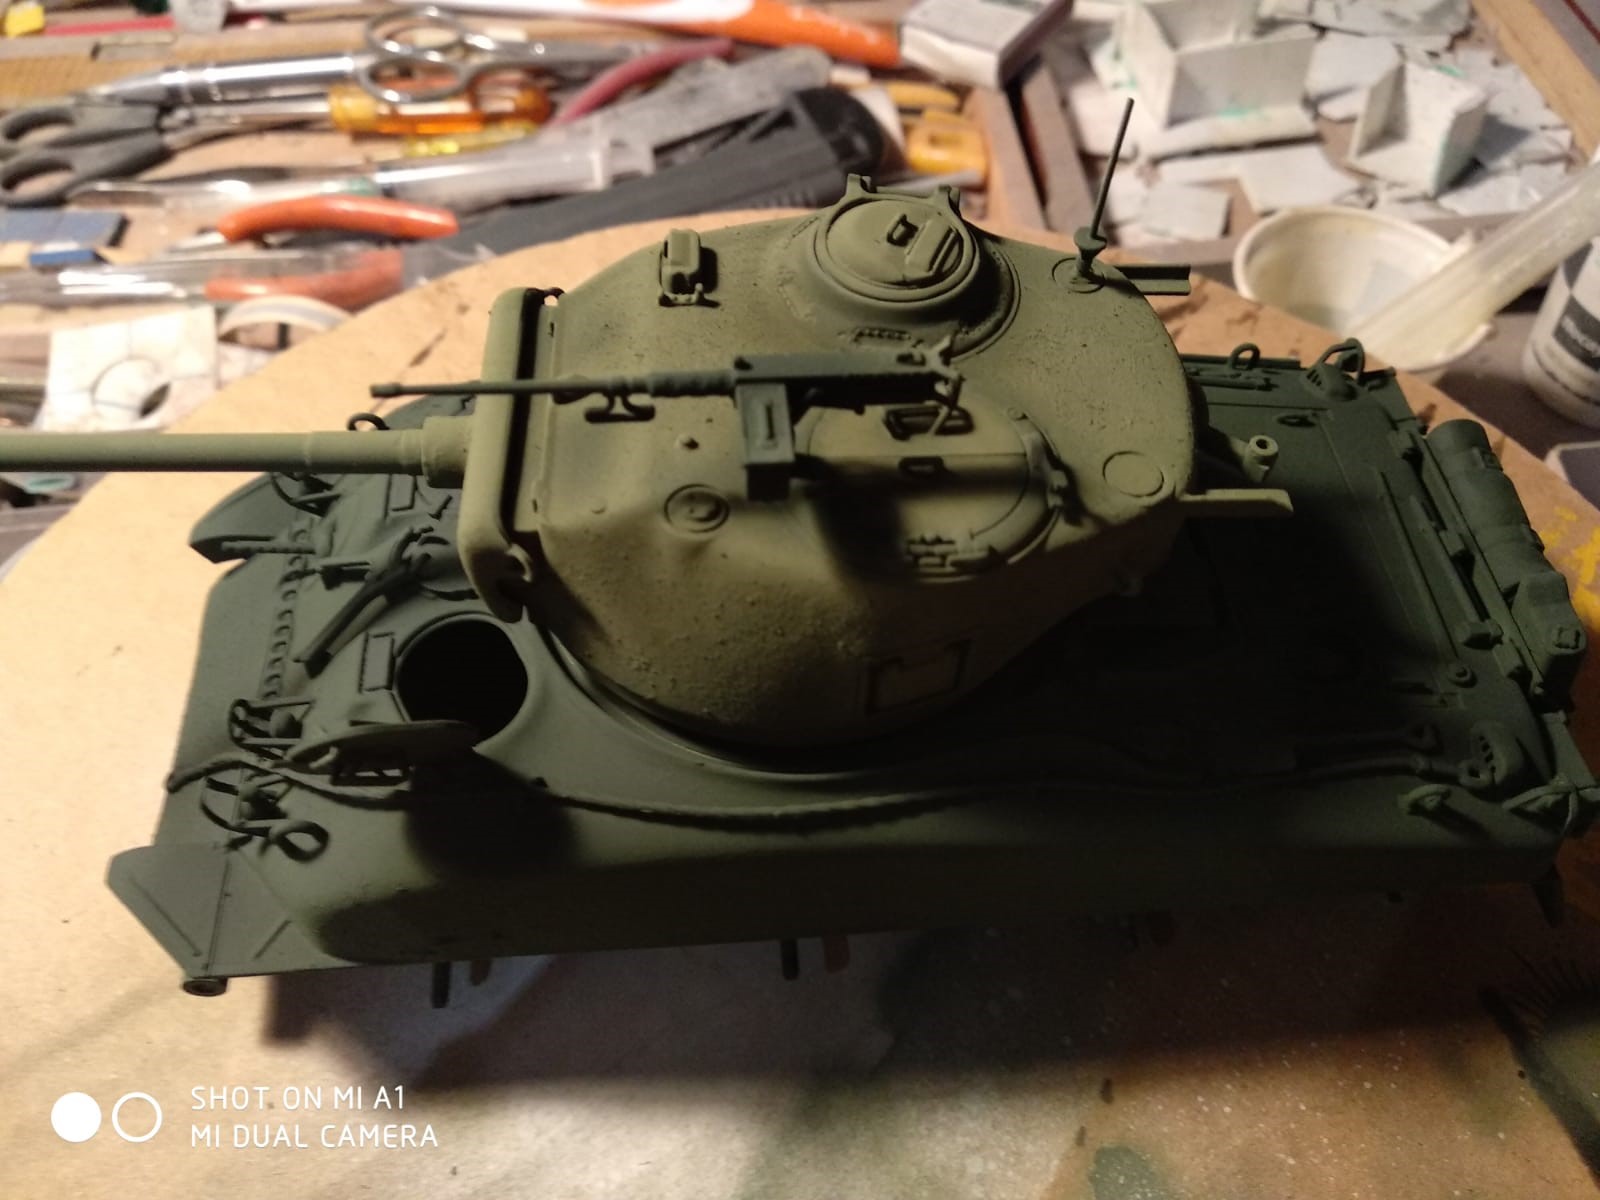
Then I apply a flat clearer and more relief areas like hinges lights, Fuel caps, Headlamp hardware protection, vents etc., with a mixture of olive green to white 50% very dilute in Thinner, I applied with a fine brush.
Completed this step to paint the drive wheels, using the same color scheme.
The following process is varnishing the entire vehicle to protect the painting and applying decals, lacquering was undertaken, transparent paint gloss XF-22 Tamiya, and the decals are easy to apply.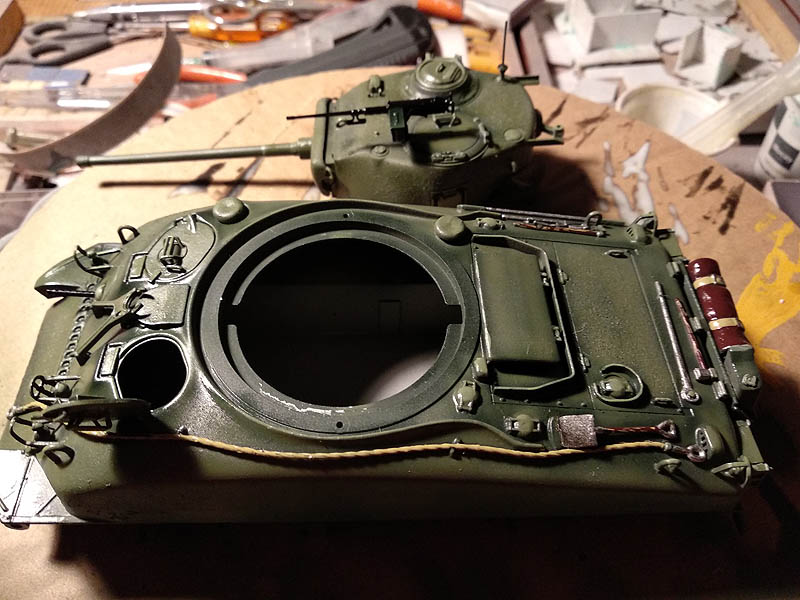
Apply decals cleaning a little area with a dry cloth and using liquids for fixing rubbings “Microsol y Microset”.
Moisten the surface with liquid Microset and once with water blandecidas decals with a brush dipped in the same liquid shifted the decal to the surface of kit, fixed in place of clean liquid sombrante with a flat brush to dry and thereupon apply another brush liquid Microsol, We see how the decal begins pucker a little, not to worry because what makes this liquid is soften to suit the surface, If we can help remove excess with a dry brush passing slowly and without applying much pressure on the surface of the decal.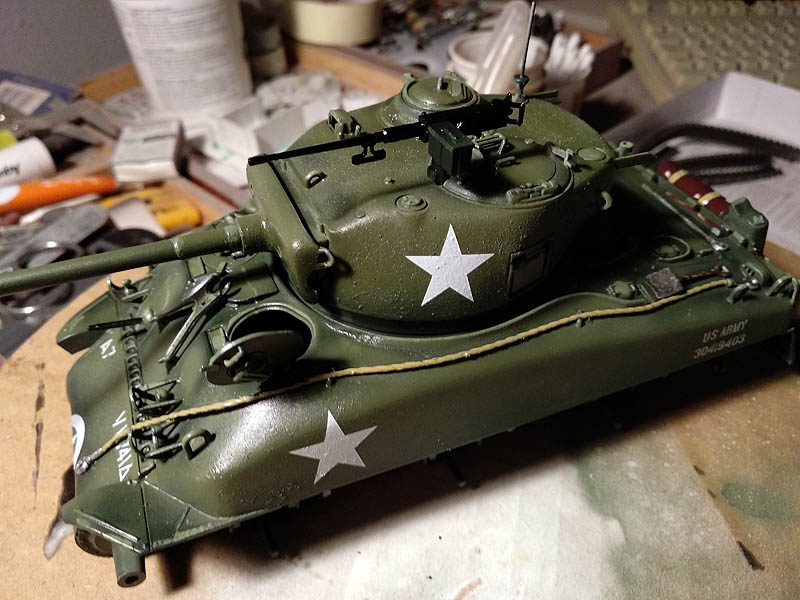
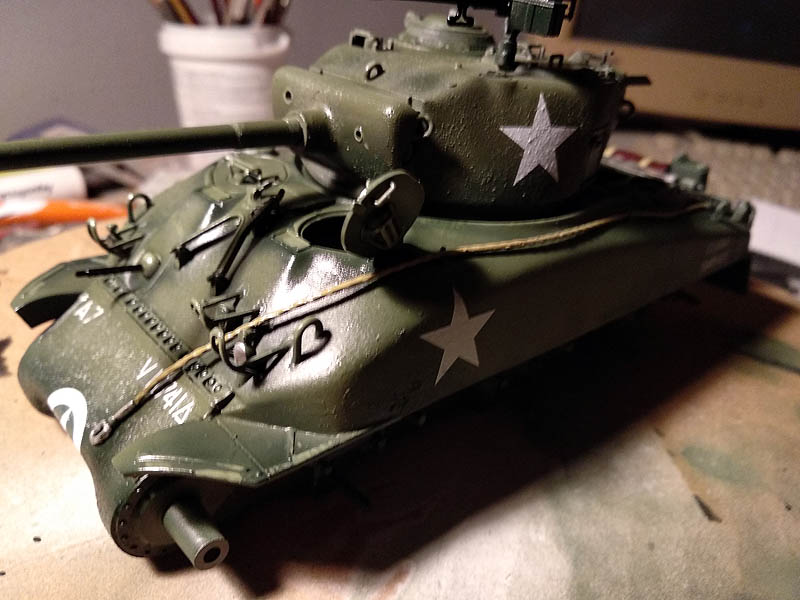
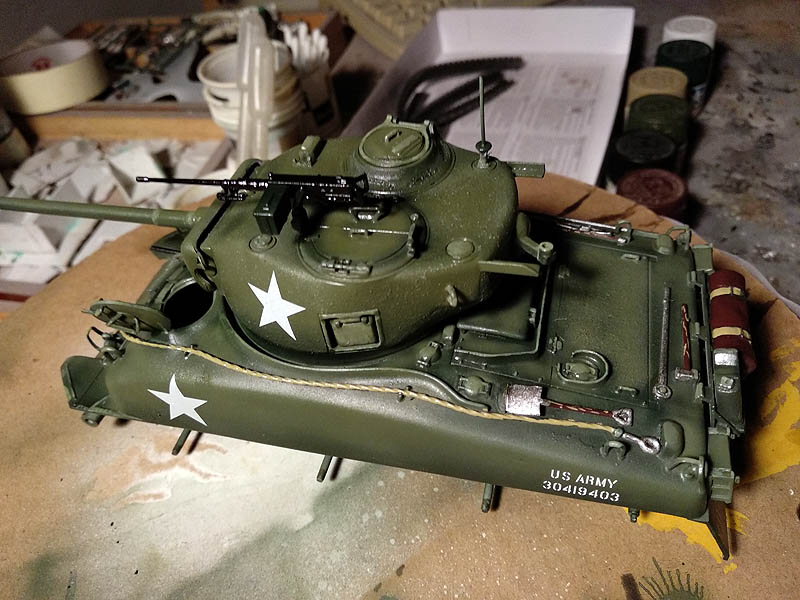
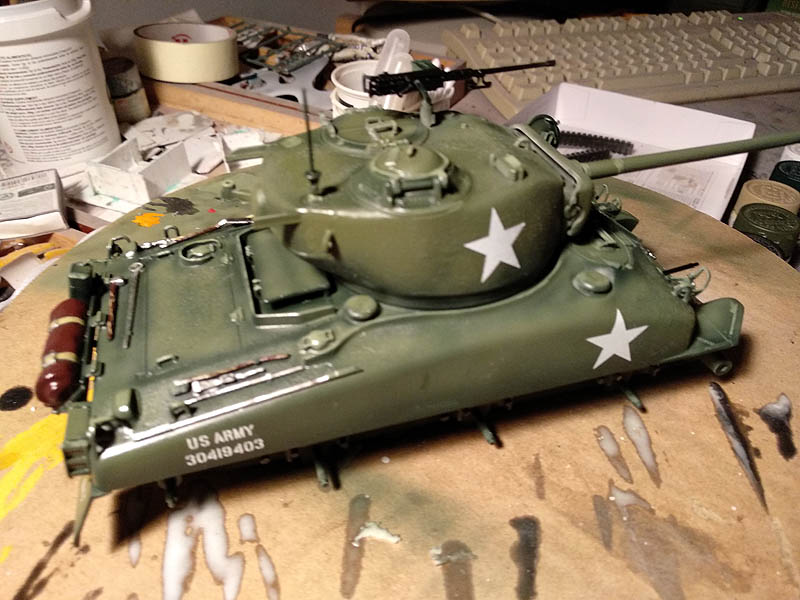
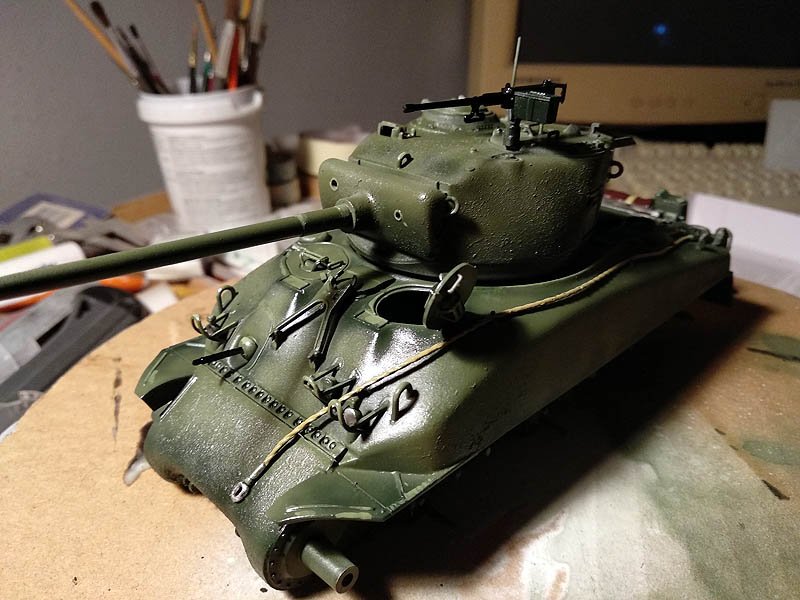
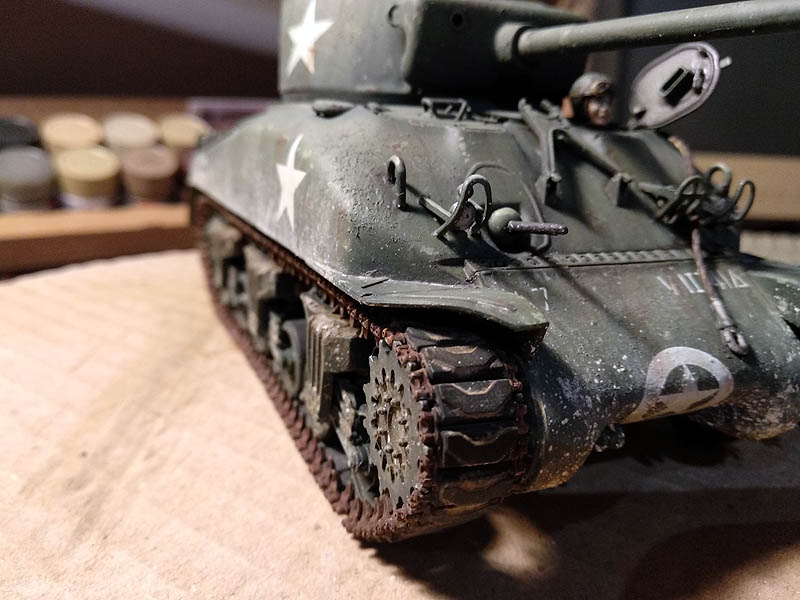
Adhering the decals and ensuring that the liquids applied are dry and clean surface apply another layer of gloss coating to unify the tone and texture the decal to the surface around the chariot Sherman M4A1.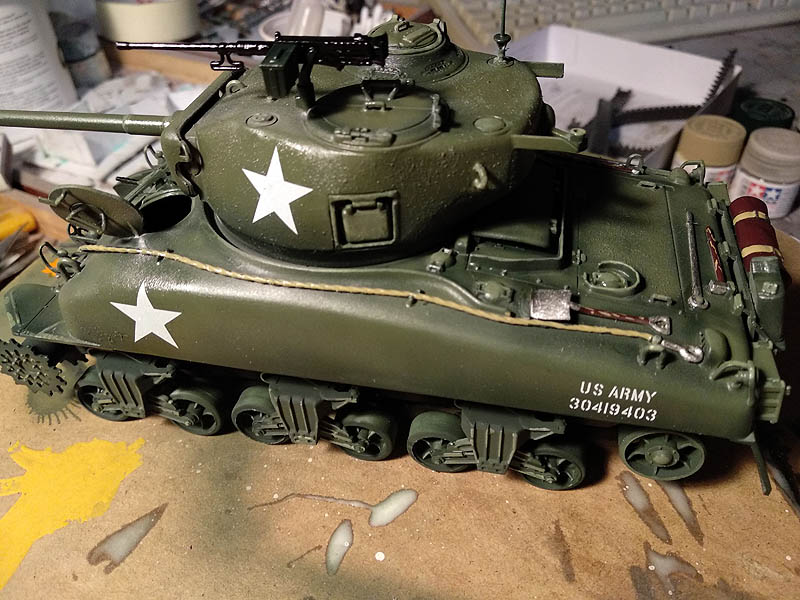
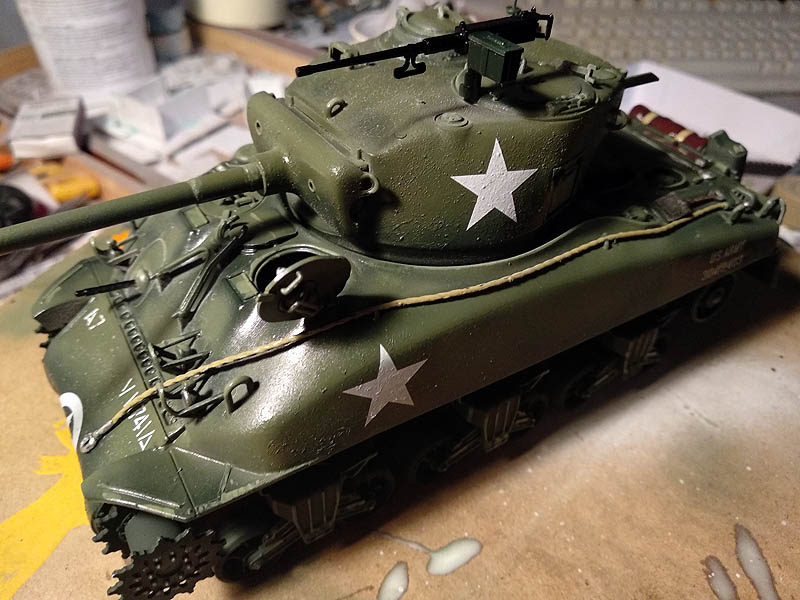
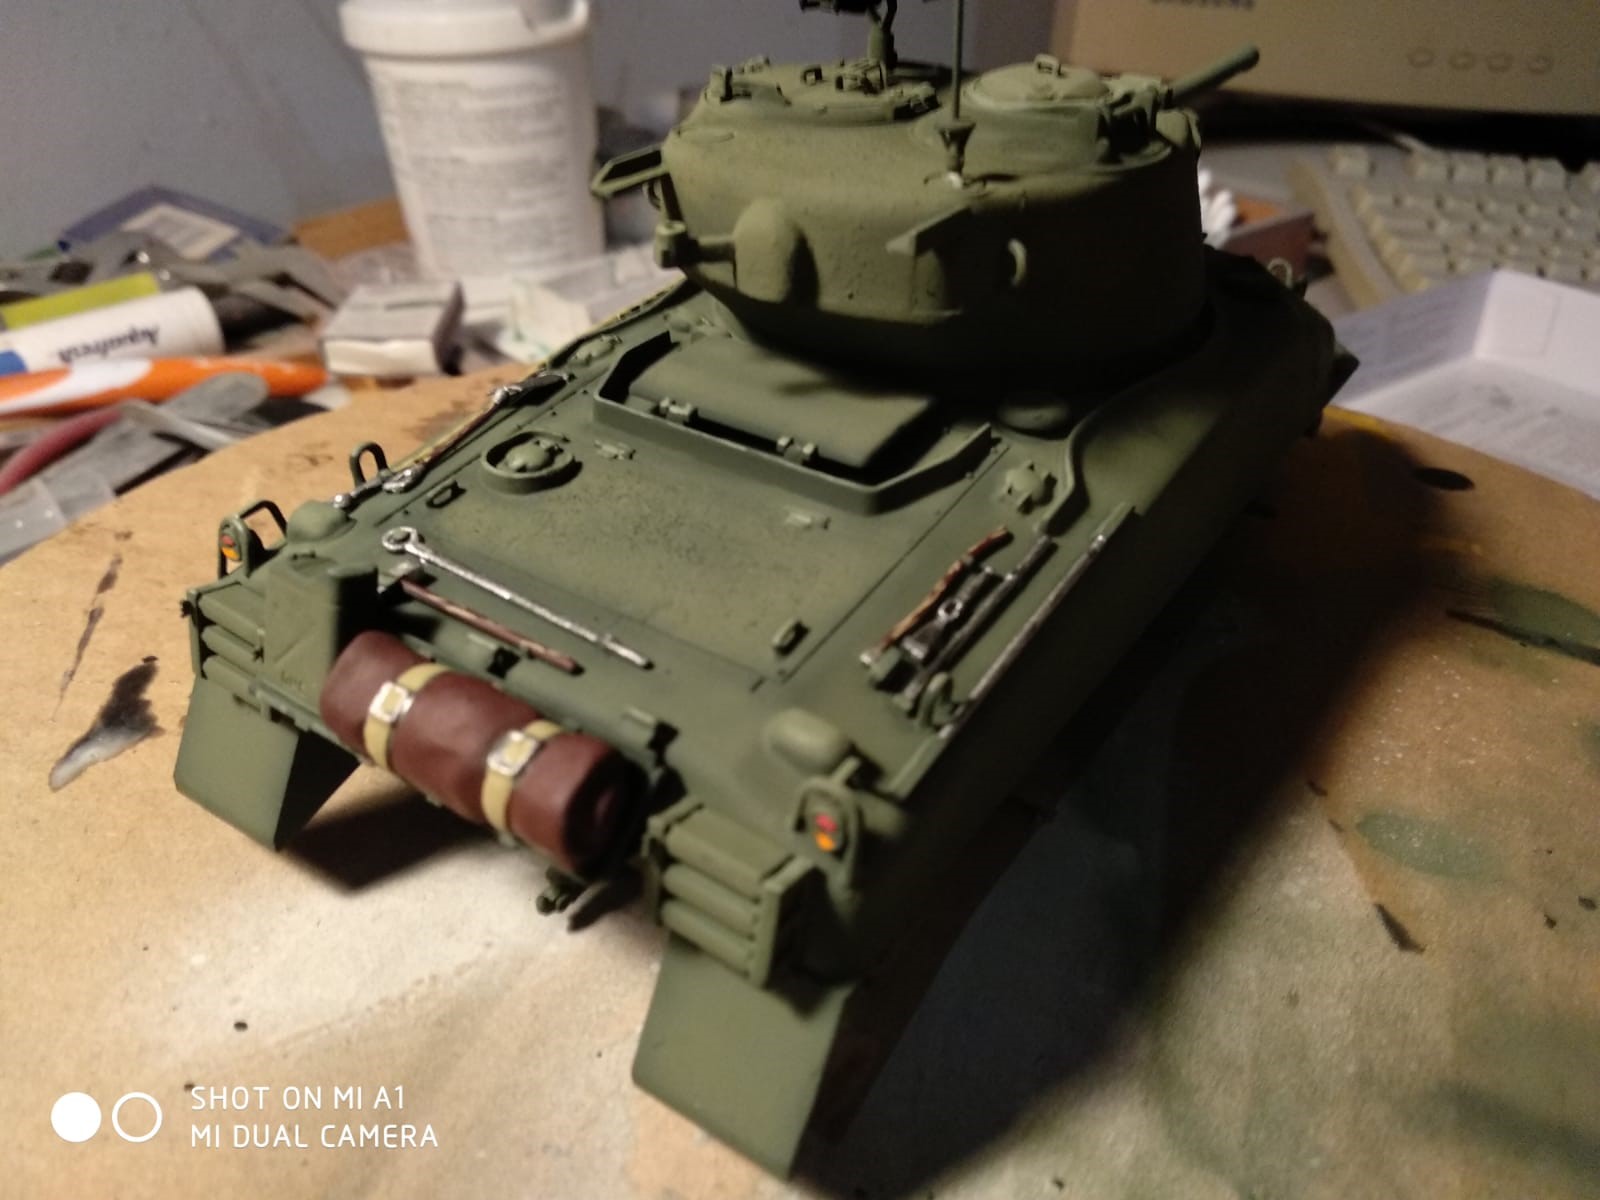
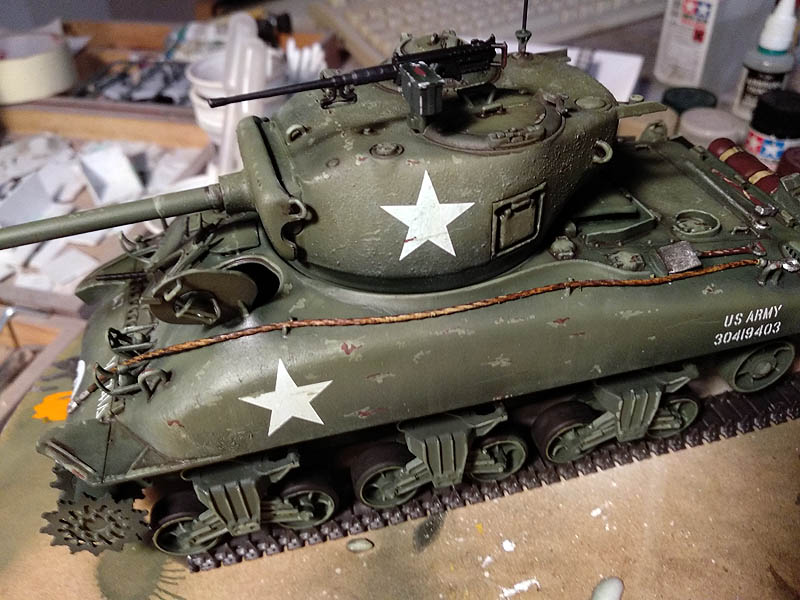
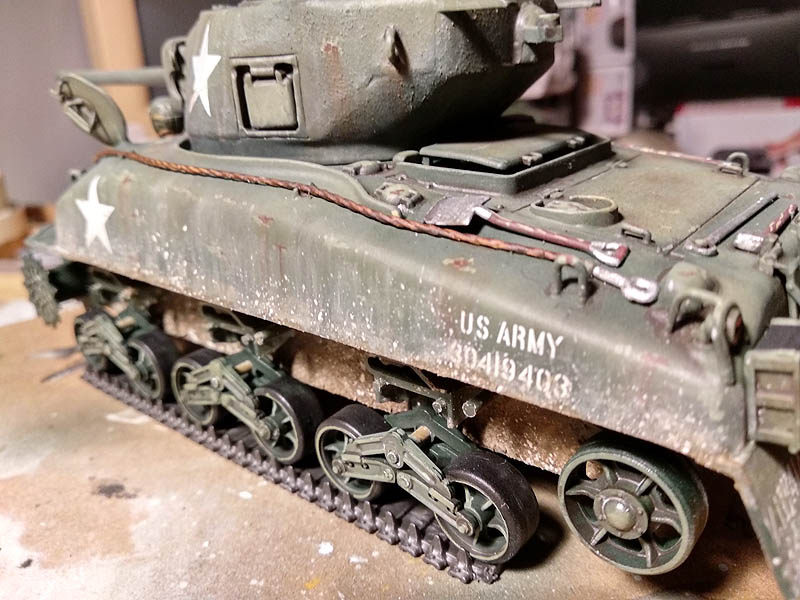
Now I apply a oleos to the turret on top and side, as well as the front and sides of the Sherman M4A1, the is also applied to the rear motor cover, the oils I use are white and ocher, some green, so I get some clarity to the edges of the car and a color palette in those parts.
The oleos apply them in spots with brush in the lightest parts white applied and in the middle of the ocher, with a flat brush moistened with “White spirit” the aguarrás, difumino top-down and remove the excess if it appears.
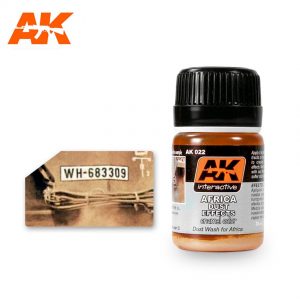
Remember that you must use products other than acrylic for such tasks as if they were would spoil the earlier work. The next step is to apply washings, for him Sherman M4A1 based olive green camouflage color brown use a vehicle washing with said color AK-Interactive.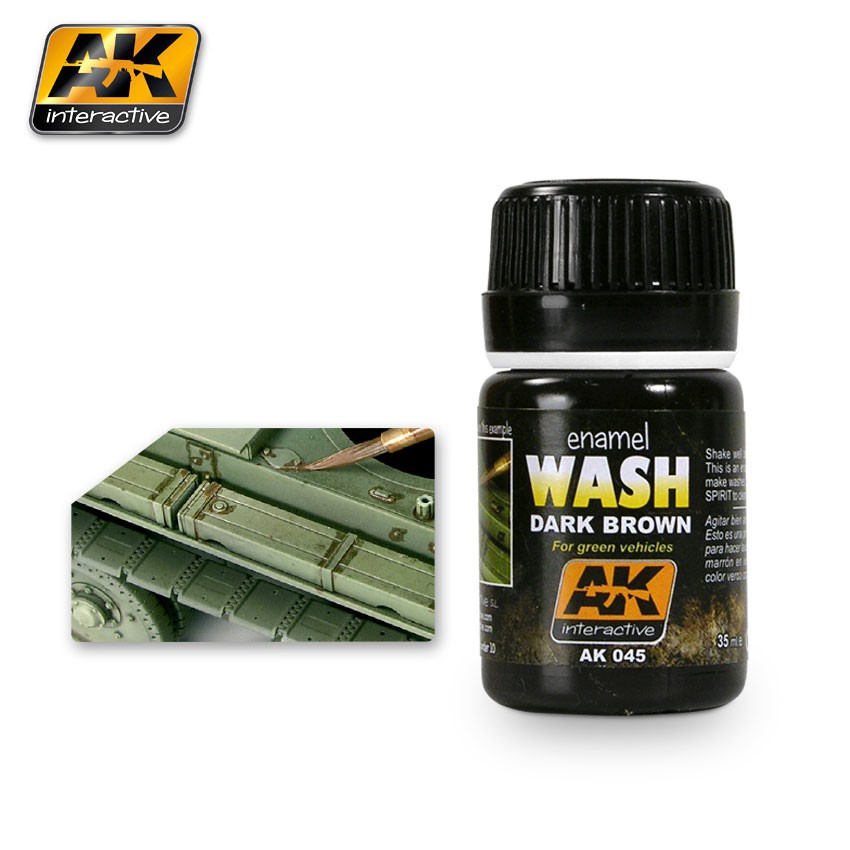
I apply it in the grooves and crannies around the chariot, rings, together, protectors, screws etc.. with a pincel up, I do not care because when the surplus will destroy a dry cloth or brush moistened with white spirit or turpentine.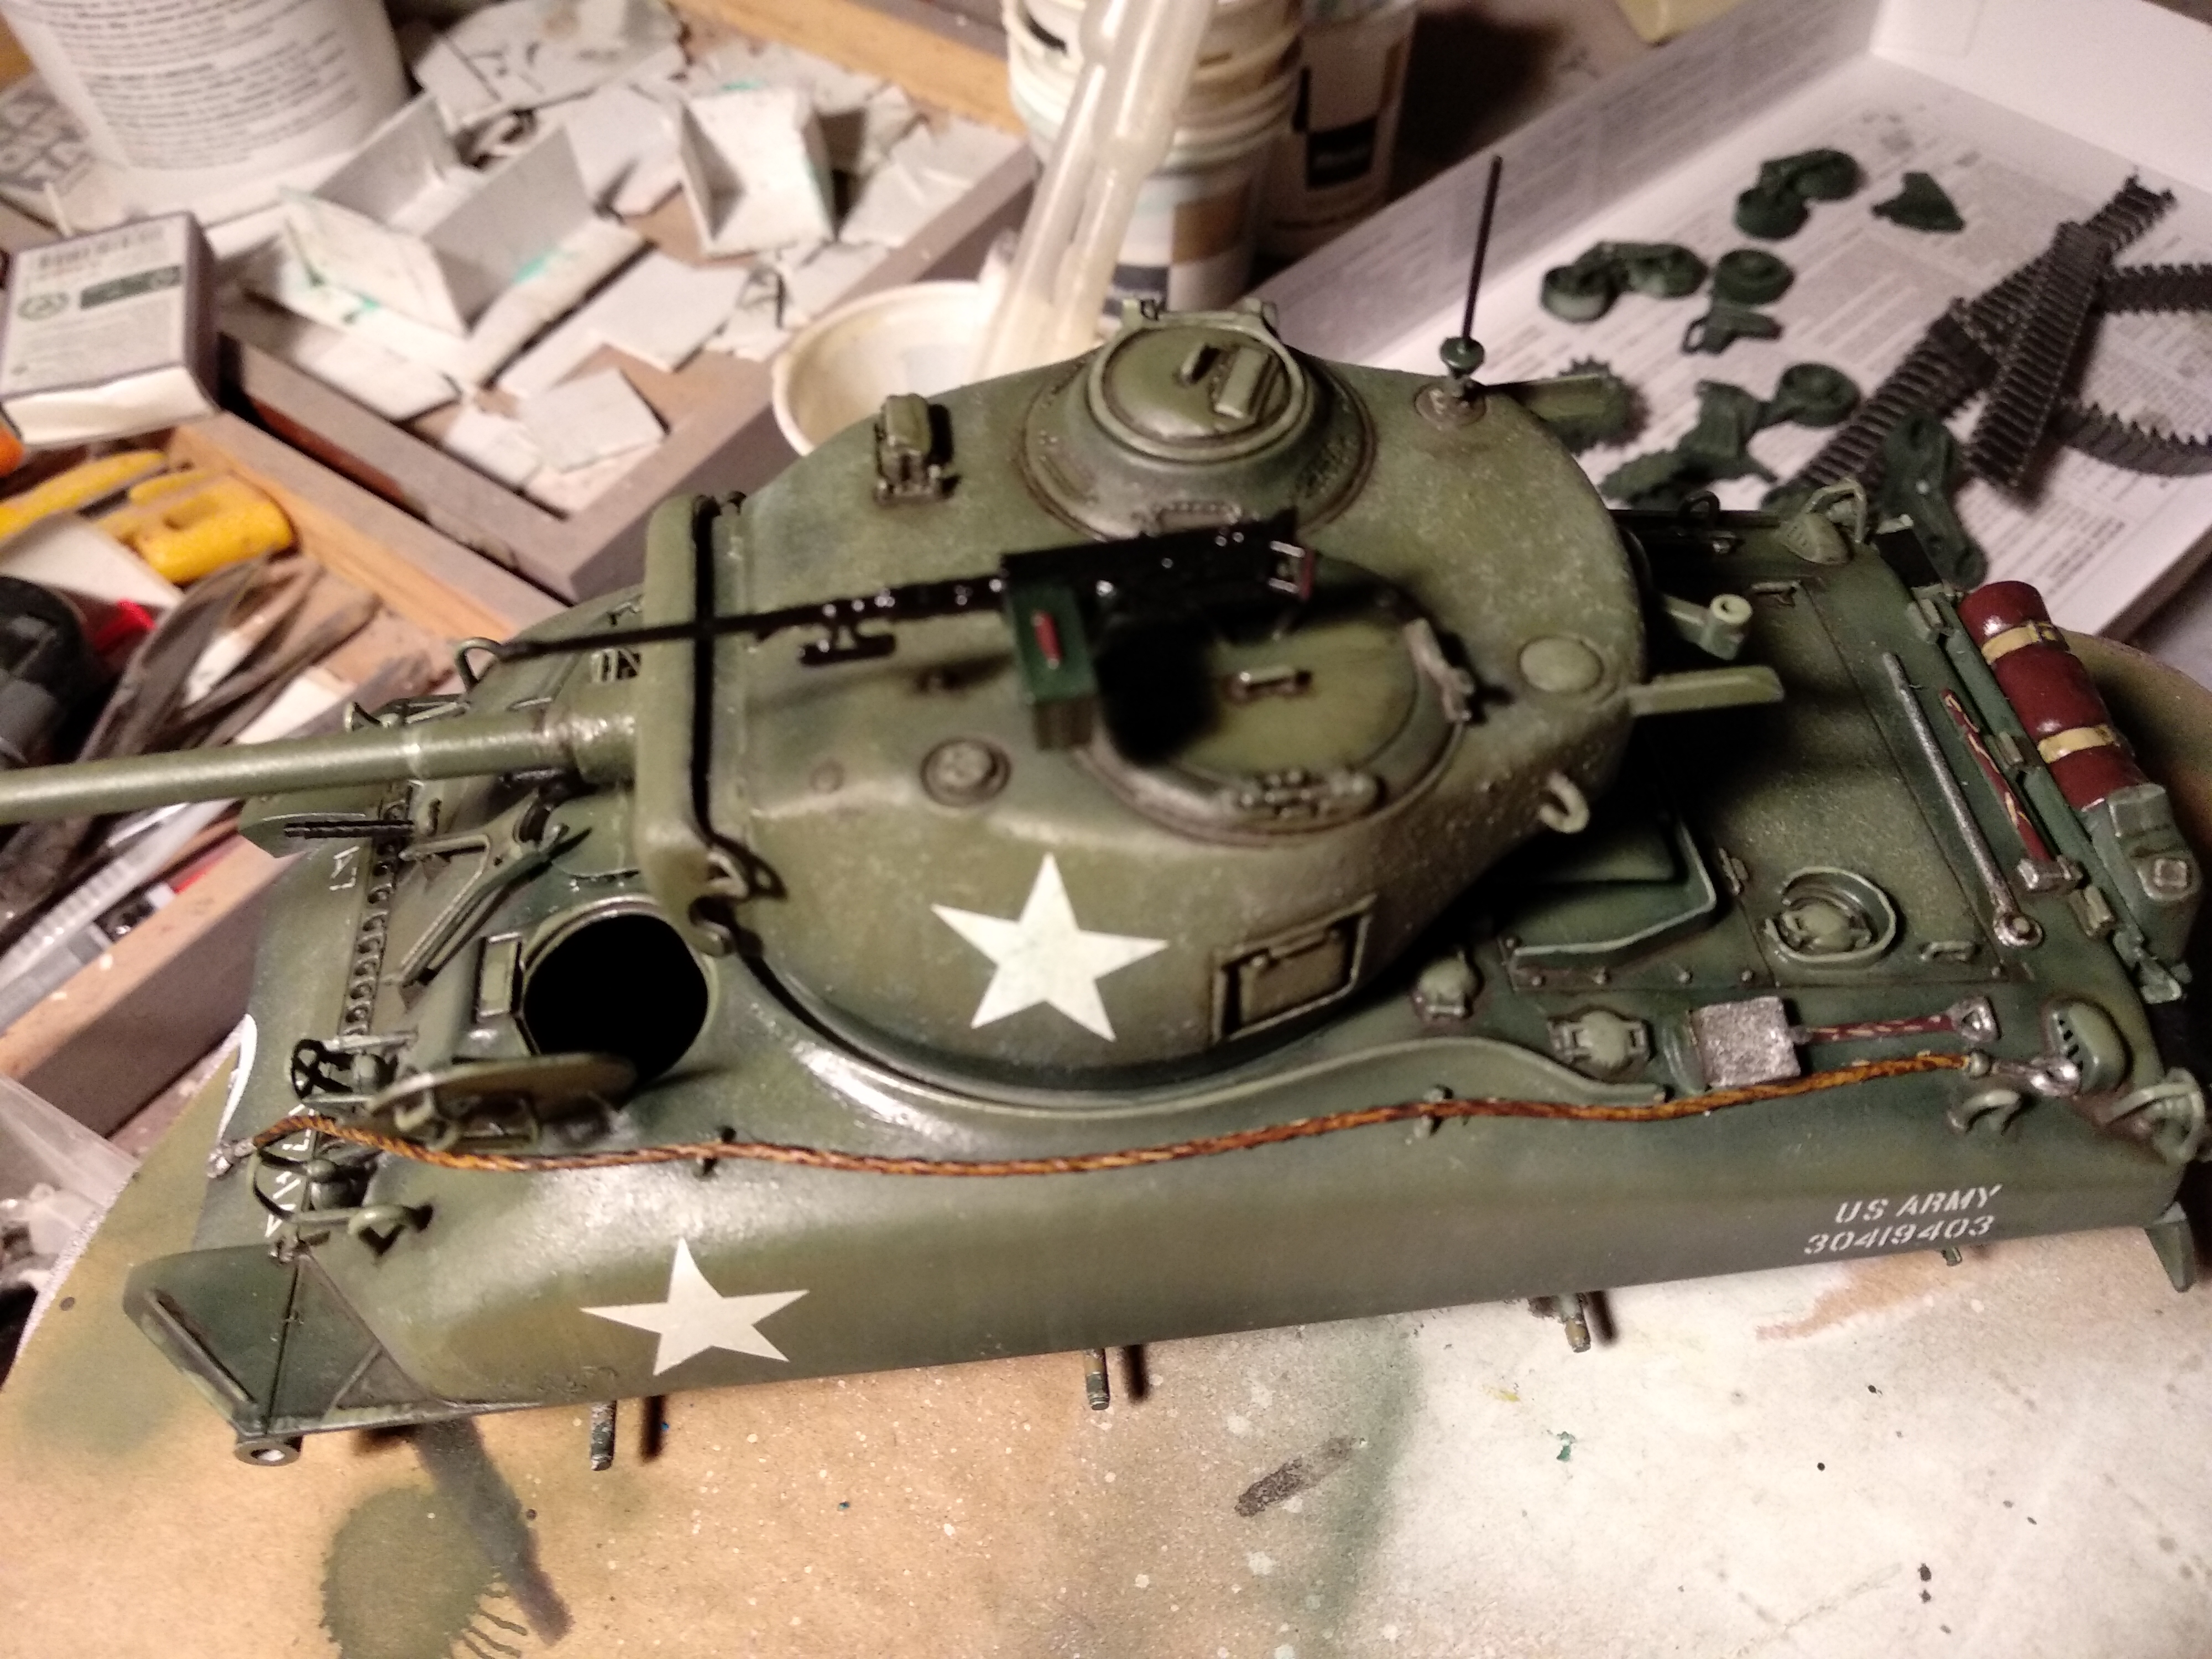
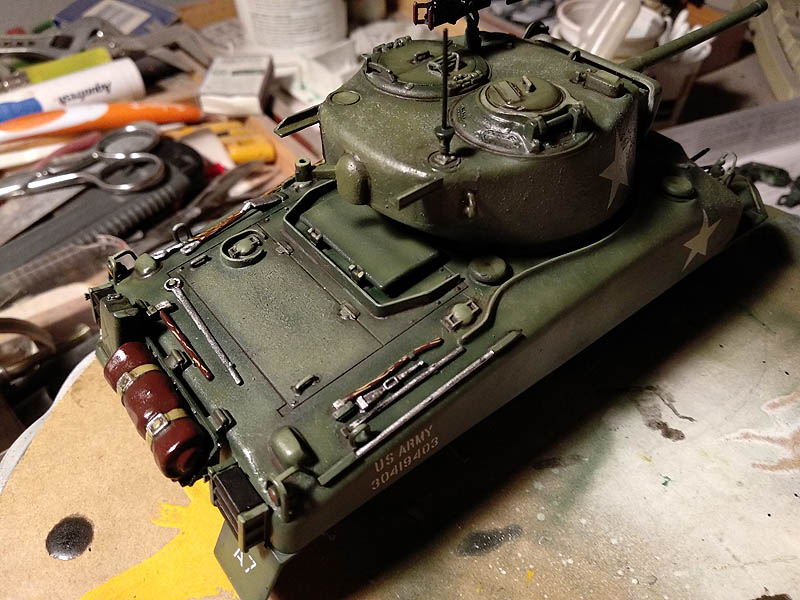
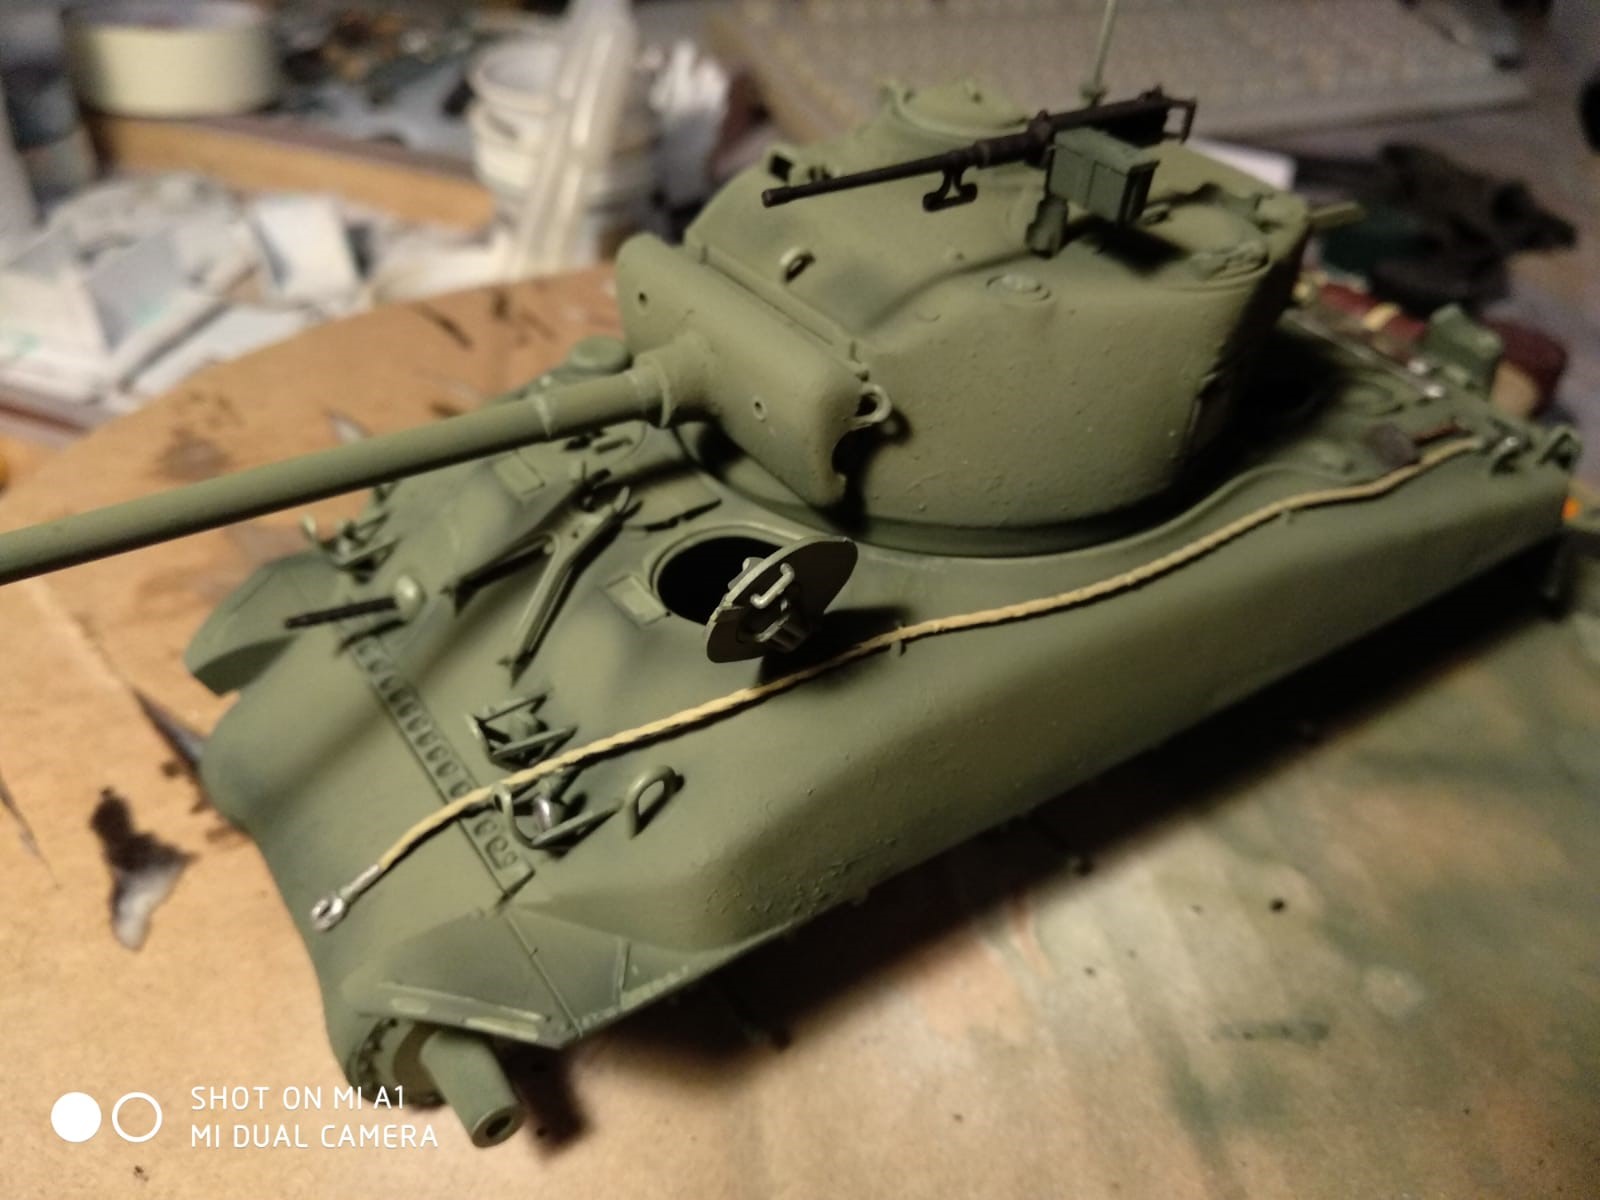
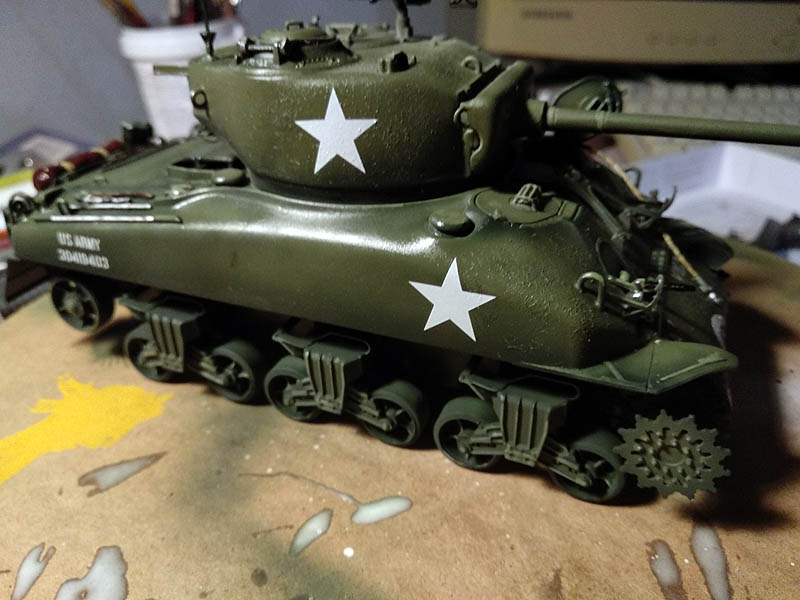
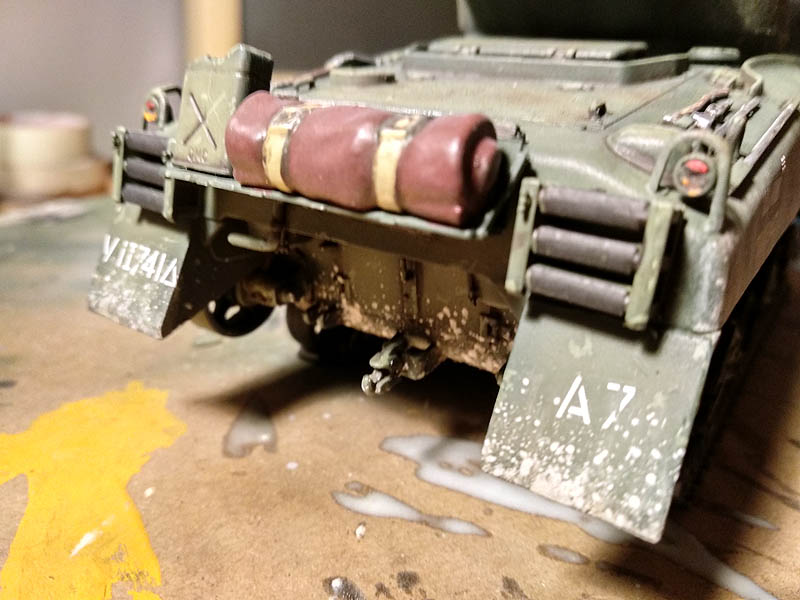
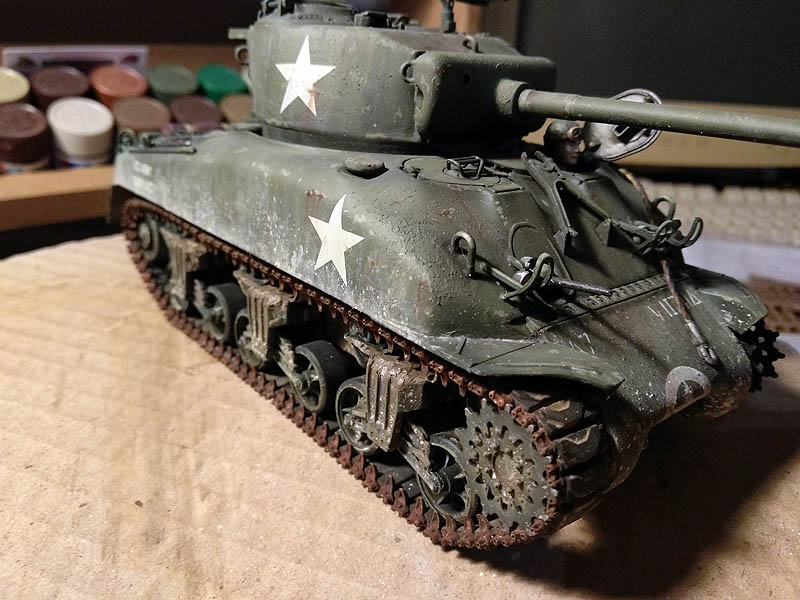
Following the paint job, I will proceed to aging vehicle, To do this I will use oils and any product for the purposes.
I will create a descorches or scratches in the paint, To do this I use a color lighter color we have in the Sherman M4A1, I a mixture of Olive Green XF-62 y blanco XF-2 al 50% and with a fine brush I create effects.
Then I applied to some descorches Brown XF-68 to the effect corkage total painting.
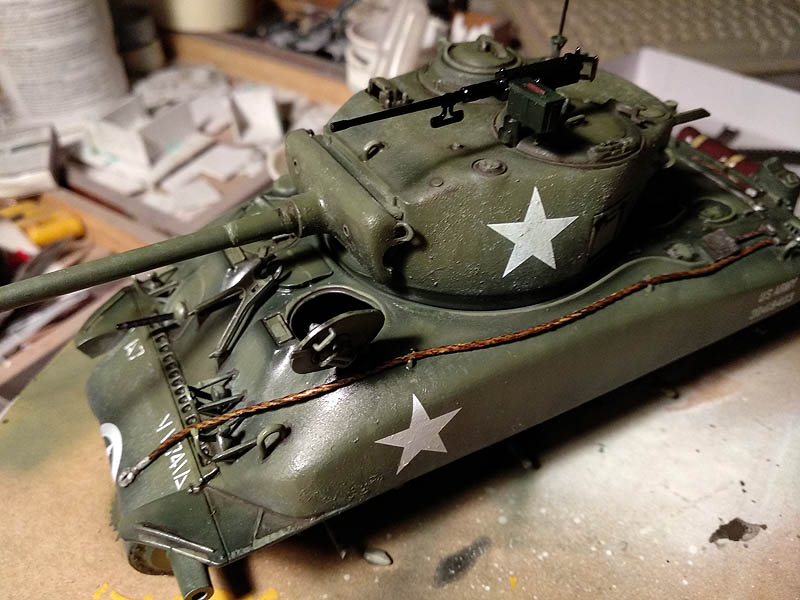
Now I want to simulate a chorretones of dirt and rust, The first is to protect the work previously done if we used glazes such products must be protected if we are to use other products of the same features I protect with acrylic paint, so I apply a coat of varnish this time kill to protect previous work and give that effect matte finish for.
With oleos white, black and ocher perform the chorretones of dirt on the turret and some places chassis especially front and side panels by applying dots of color on the kit and with a flat brush dipped in turpentine or white spirit will give passes vertically to go blurring the Color until the desired effect.
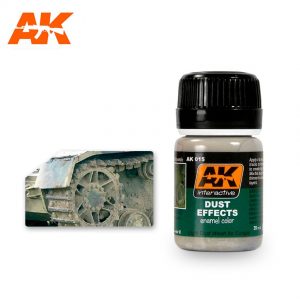
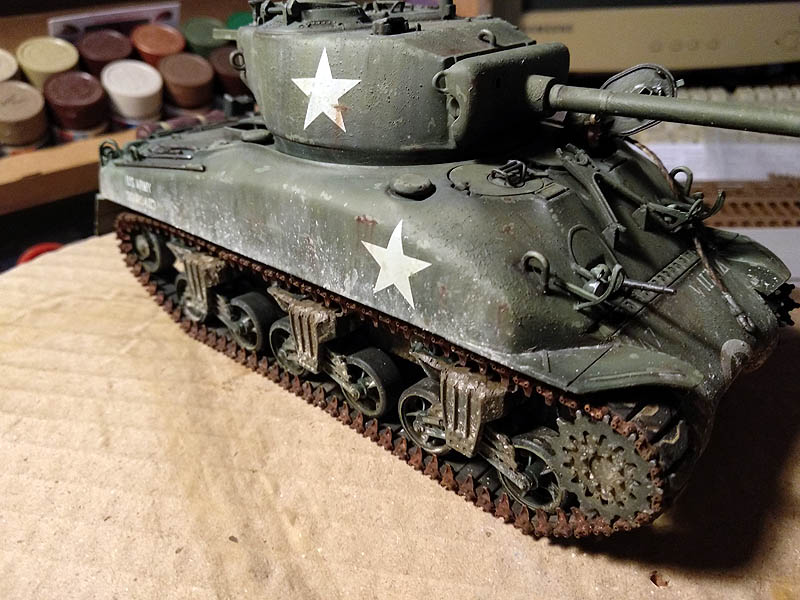
For the purposes of rust I have used a product called “Streaking Grime” de AK-Interactive.
How to apply this product is the same as the oleos, flat brush moistened and passed vertically or horizontally depending on the surface and effect to work.
For stains or dirt accumulated rust I use this same product, but applied to flat surfaces spreading the product with circular brush dipped in turpentine etc..

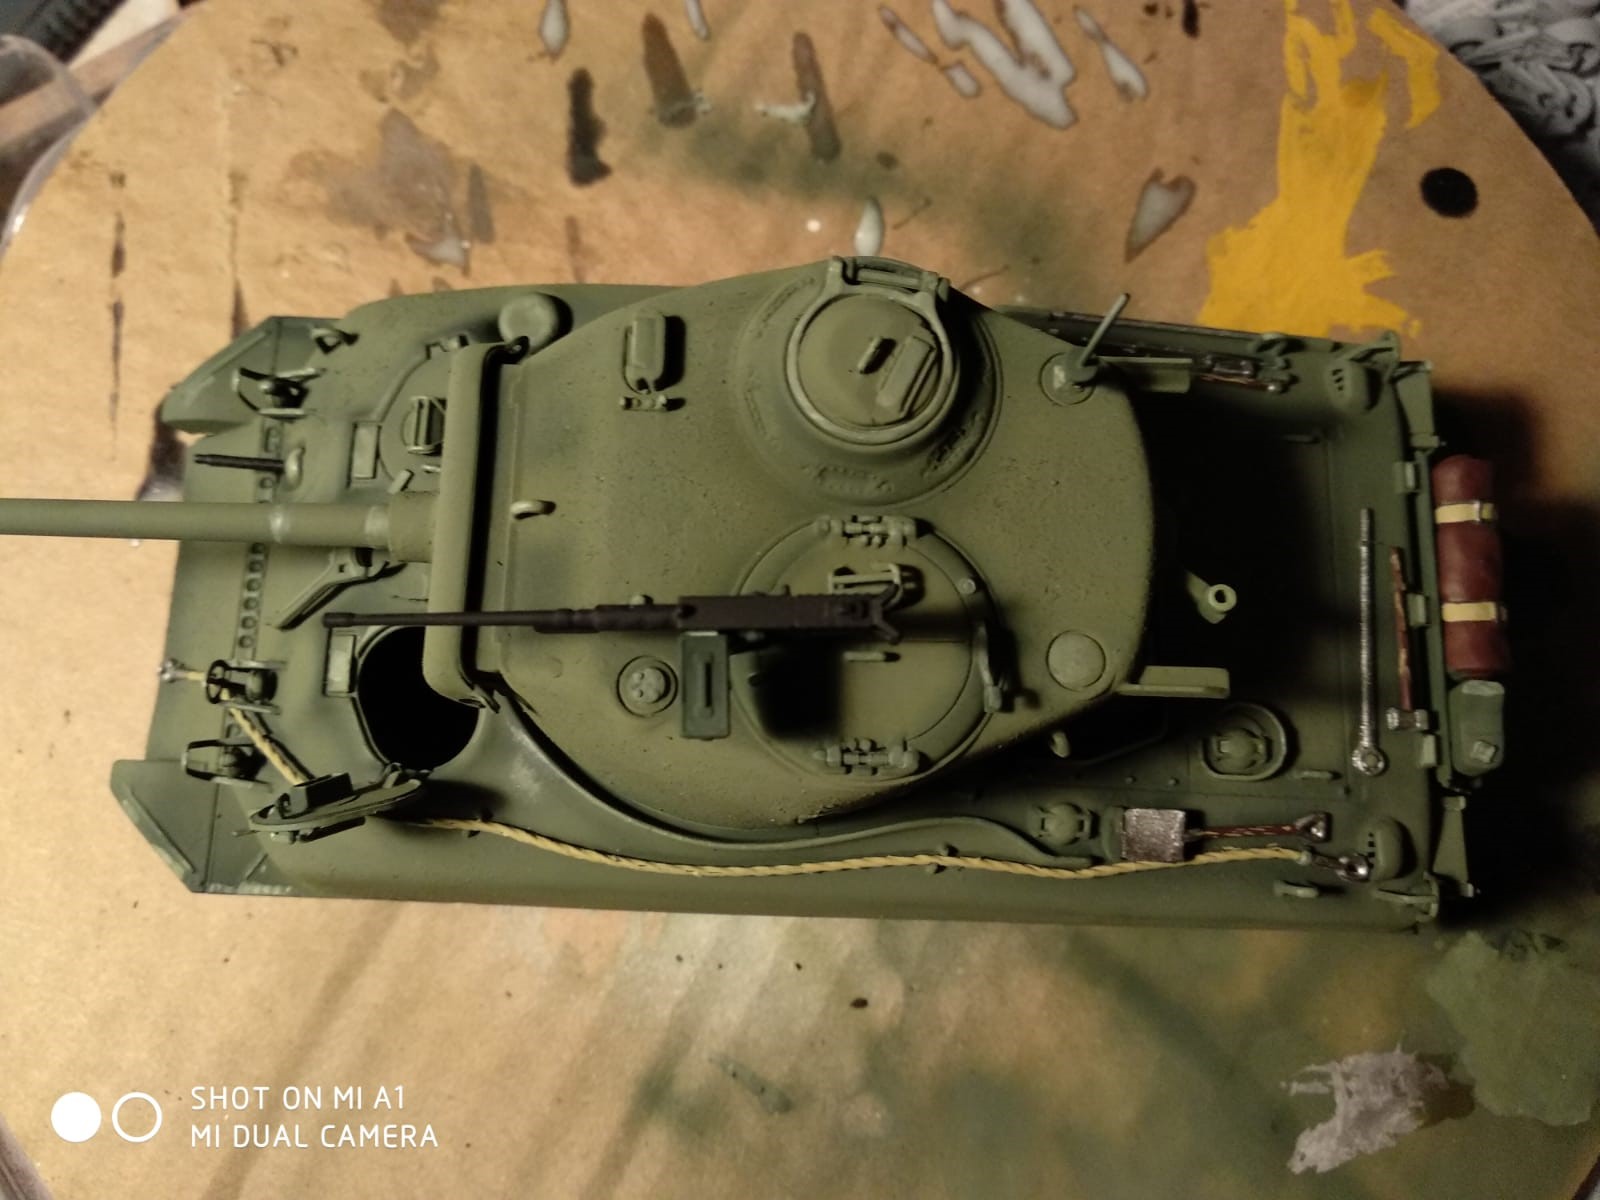
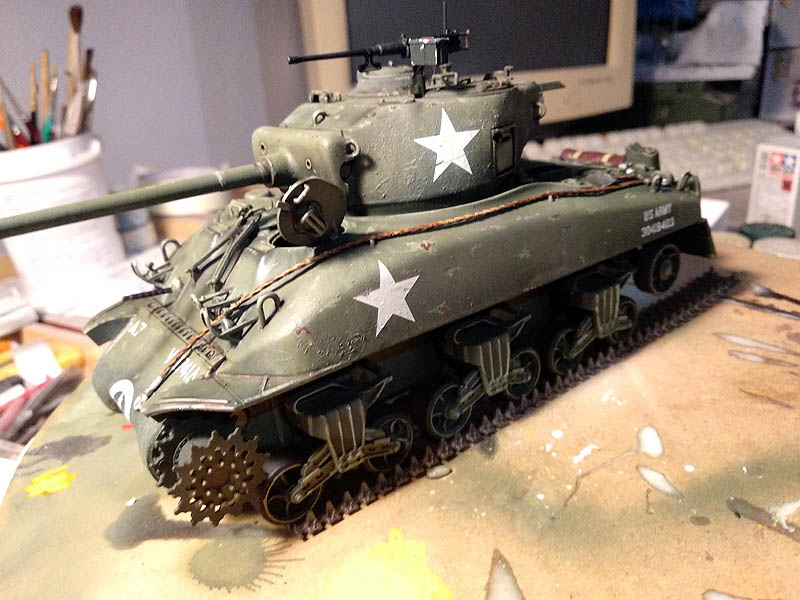
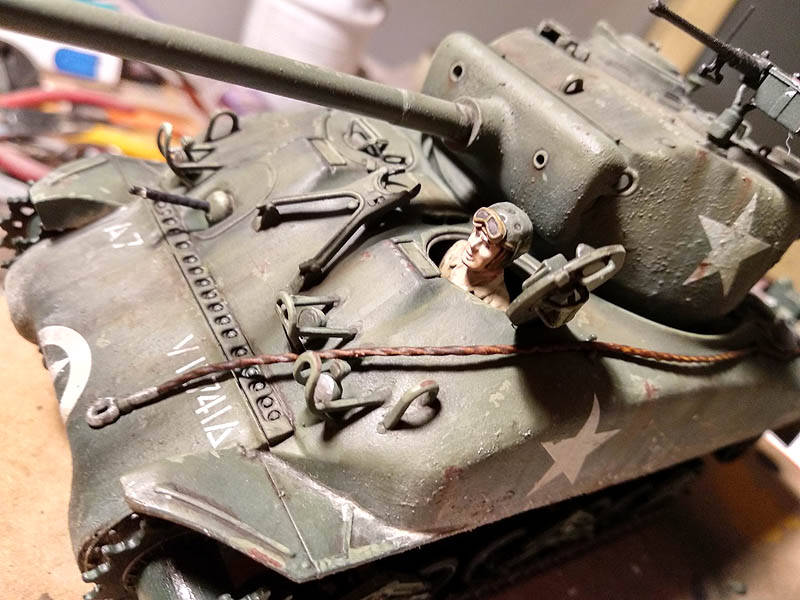
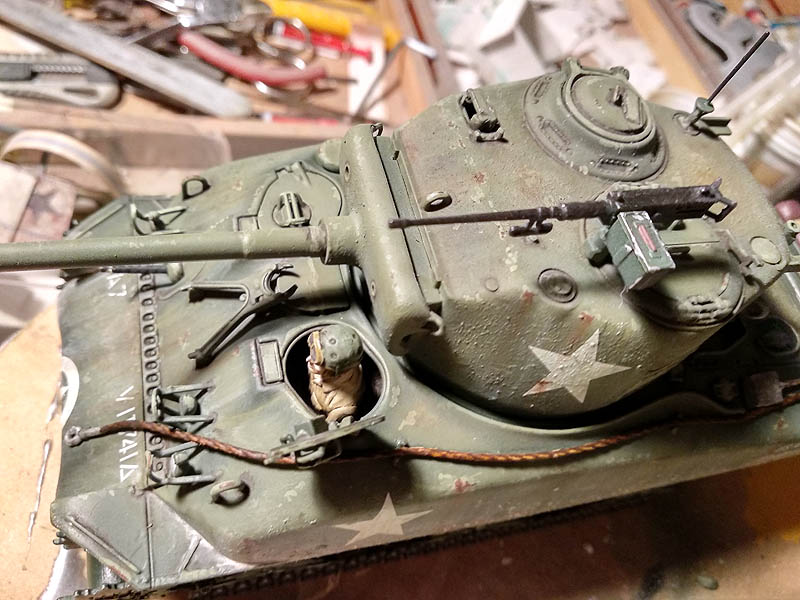
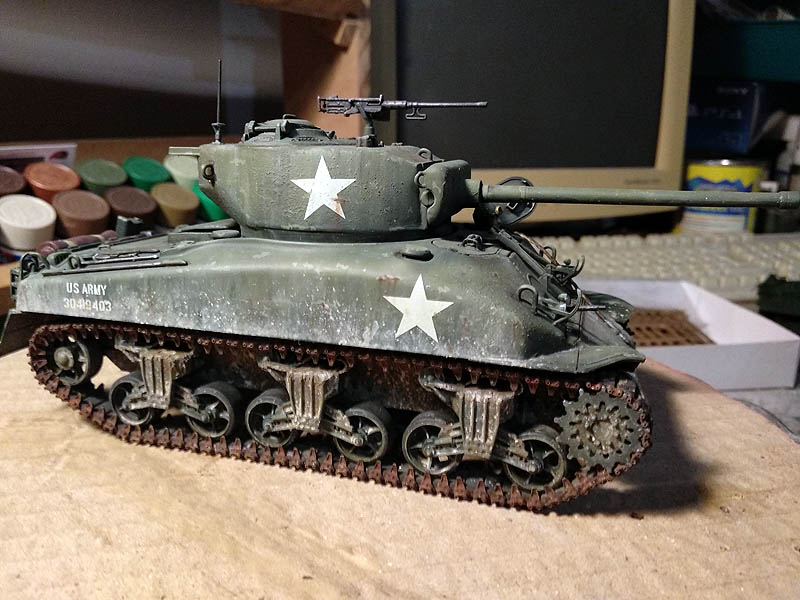
Following work Sherman M4A1 I add a figure, In this case the driver, The kit carries an upright figure which I cut around the waist and I've added a support with Evergreen and then I hit the side of the vehicle inside to adjust the hatch Sherman.
Before gluing the undercarriage and chains I'll make the muddy dirt or produce the wheels and chains on the sides lower, rear etc.. tank.
For this I autilizar several products AK-Interactive y me productions.
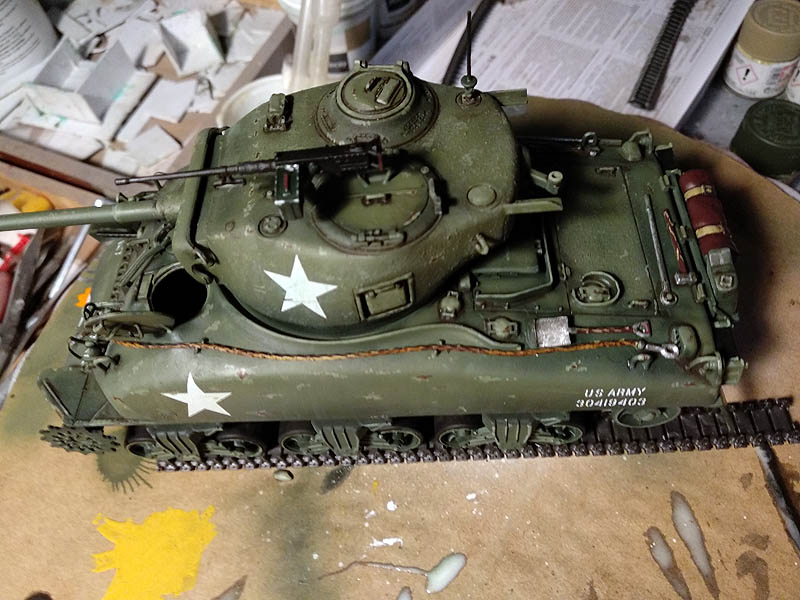
For stains and dry mud chorretones I used two products Weathering, Dust effects y Afrika dust Effects.
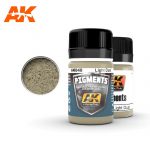
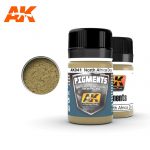
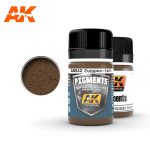
Dust I have used various pigments Light dust pigment, North Africa dust pigment, European earth pigment y Dark earth pigment.

To give the dried mud texture I used Mig Productions resin mixed with pigments.
First of all I created a texture of clay of various hues for the underbody with resin and pigments aforementioned, and mixing them with a brush I have been added as I saw fit accumulations of mud and dust.
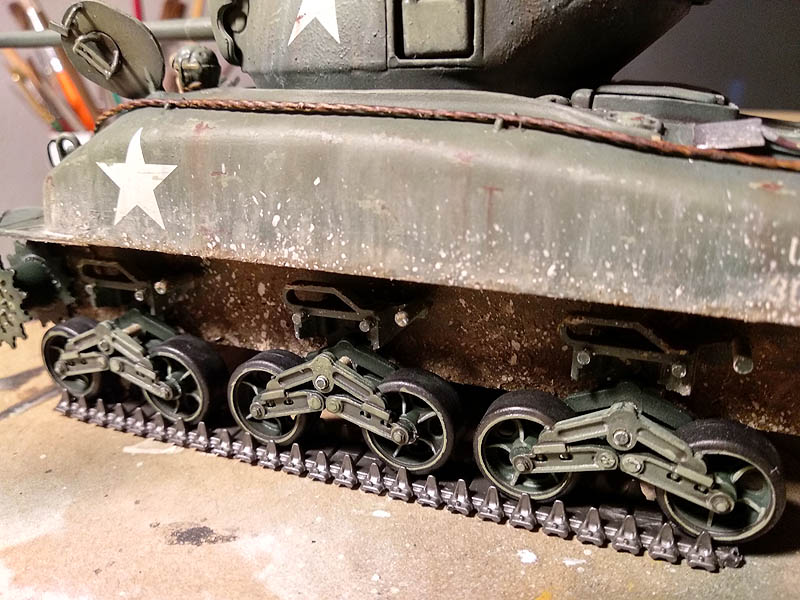
For stains of dried mud I used the liquid Dust effects, I've been wet a brush and airbrush I have applied very little pressure air to let go little by little splash in the parts that I found most suitable.
Before doing so on the model I always do tests on another surface to see that pressure works better.
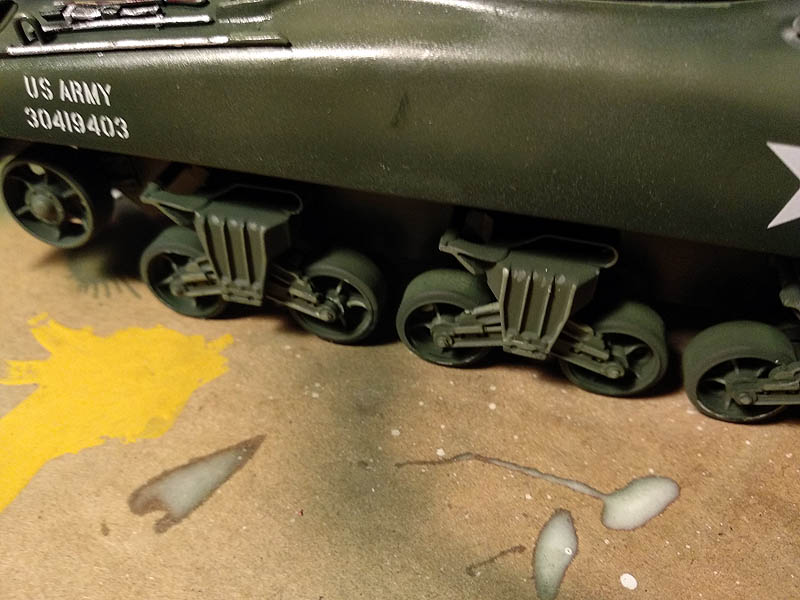
Put the wheels of the undercarriage to continue to work and continue with the effects of dirt.
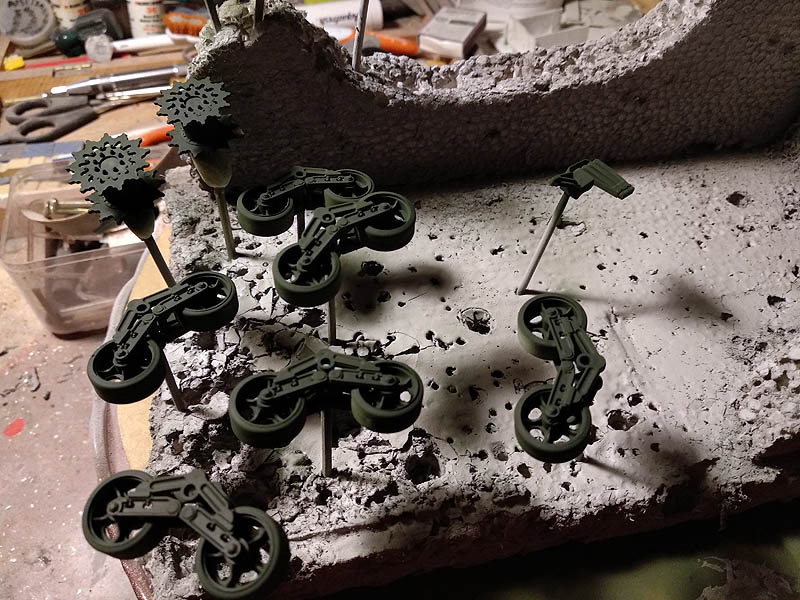
I have decided to dispense with the traction chains plastic in one piece that come with the kit and go something beyond, I bought the set brand BRONCO SHERMAN T48 WORKABLE TRACK LINK SET, It is a huge job since each link come in separate pieces, but I think it is worth the end result.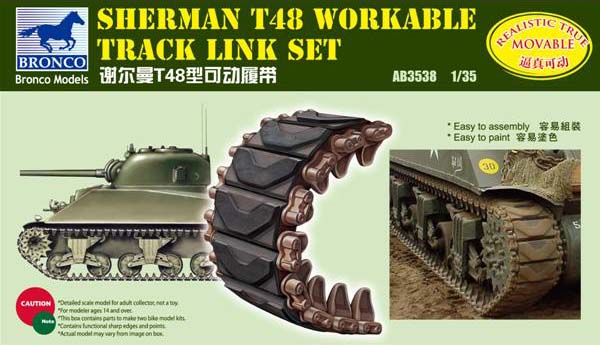
The contents of the set.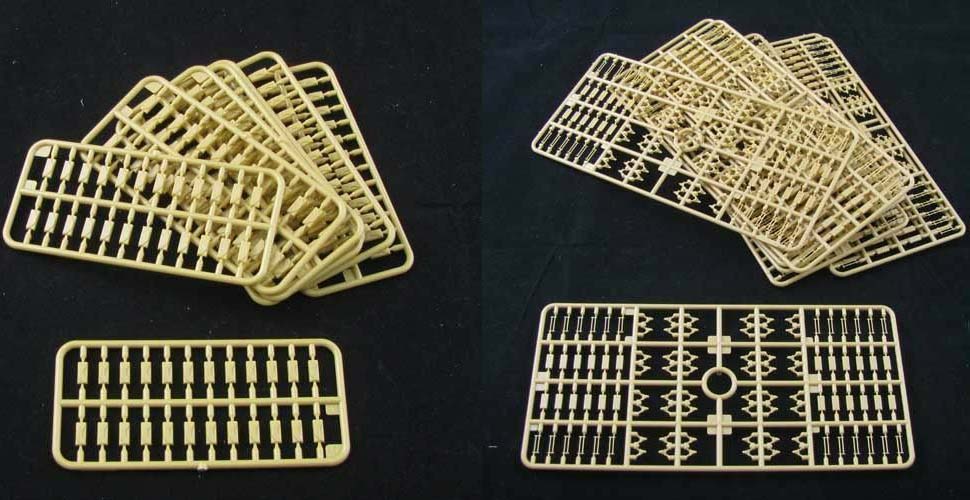
Final result expected.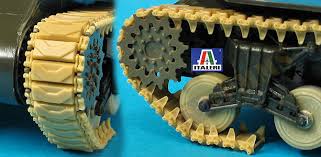
Mounting start, I was using glue needle system but I have found that it is much better ultra liquid glue brush, I've used it is to Tamiya with reference 87038.
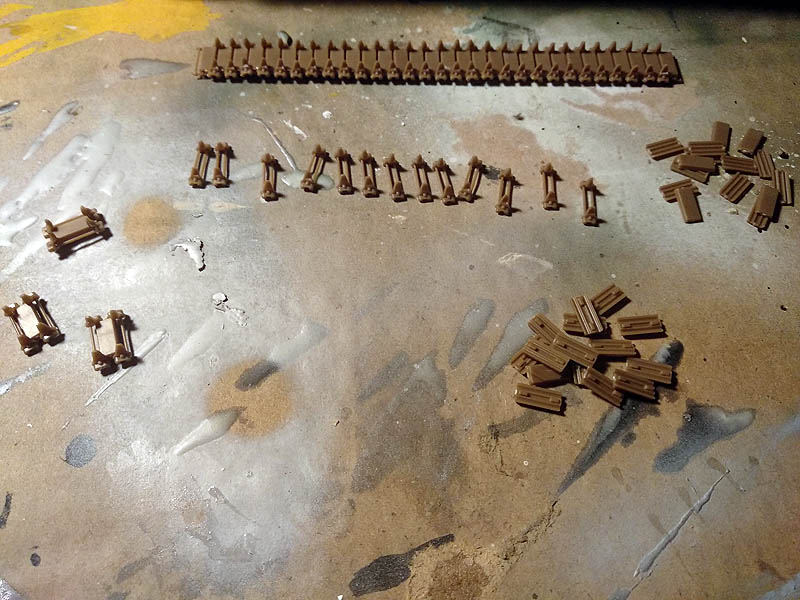
After the assembly phase, before ending the connection I check adjusting. As I have found no links to spare for leakage or improper assembly and glued the pieces.
I start with the painting process chains traction BRONCO with a gray primer Tamiya.
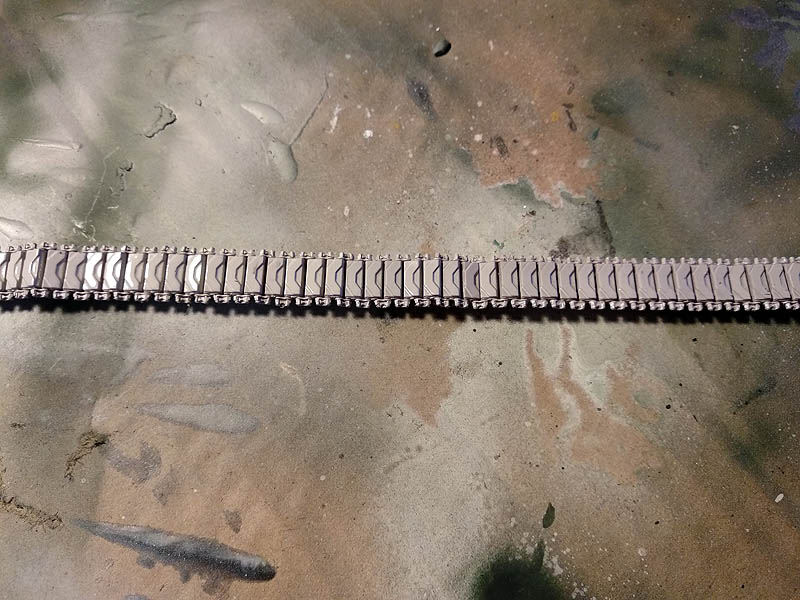
Based paint for traction chains is negro mate XF-1 and the metal anchors XF-60 dark yellow de Tamiya.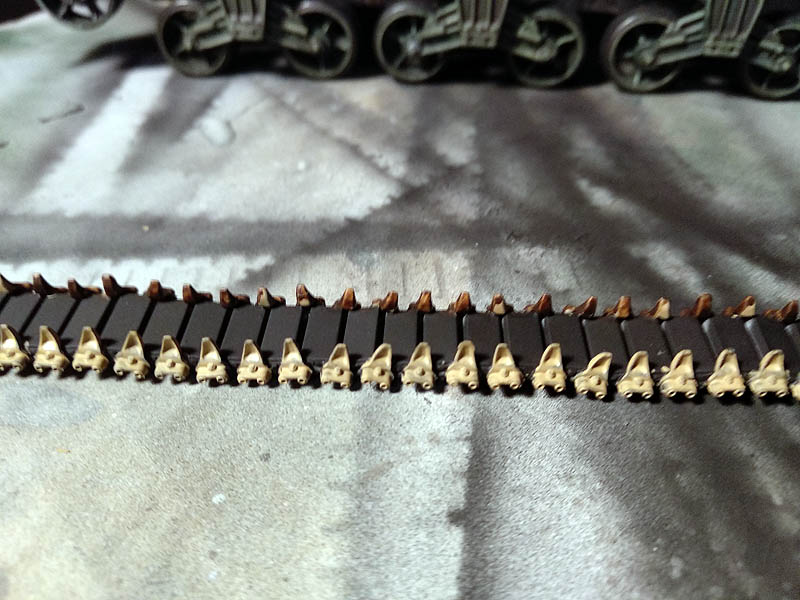
Once painted metal links I apply a special wash chains AK-Interactive with reference if 083.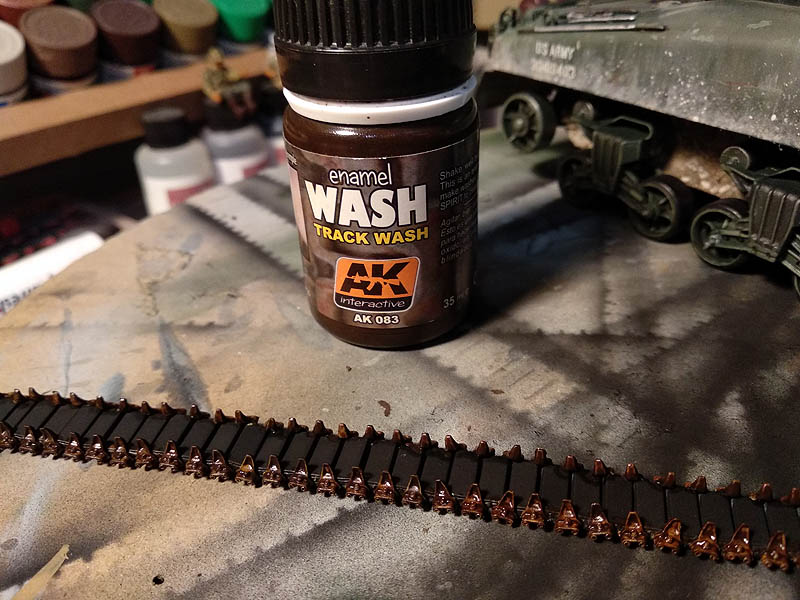
Once dry washing I apply with a dry brush pigment “Dark rust” all the links and then give it a pass matt varnish. Once dry we see the result of a texture of rust on the links.
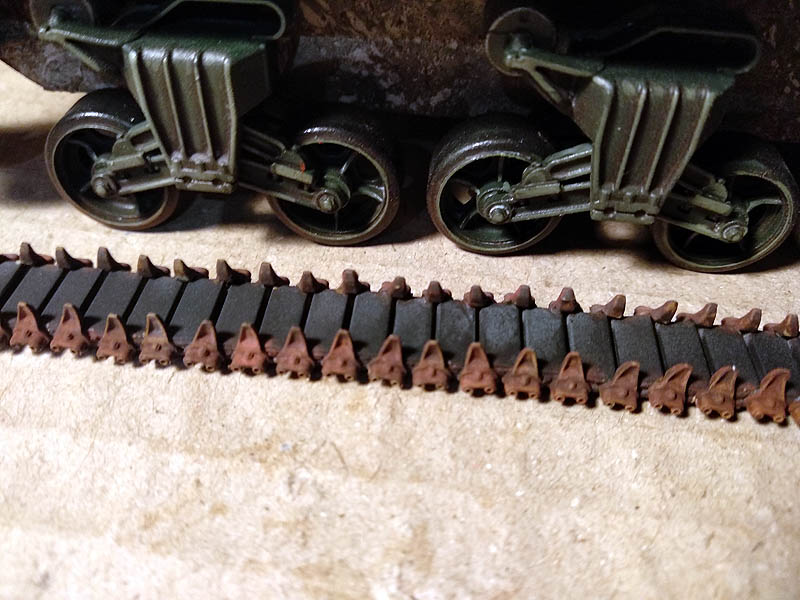
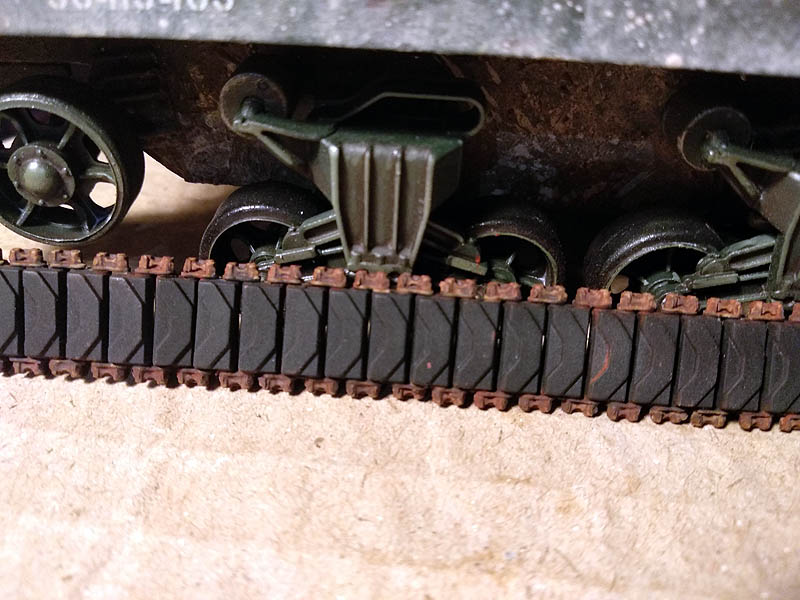
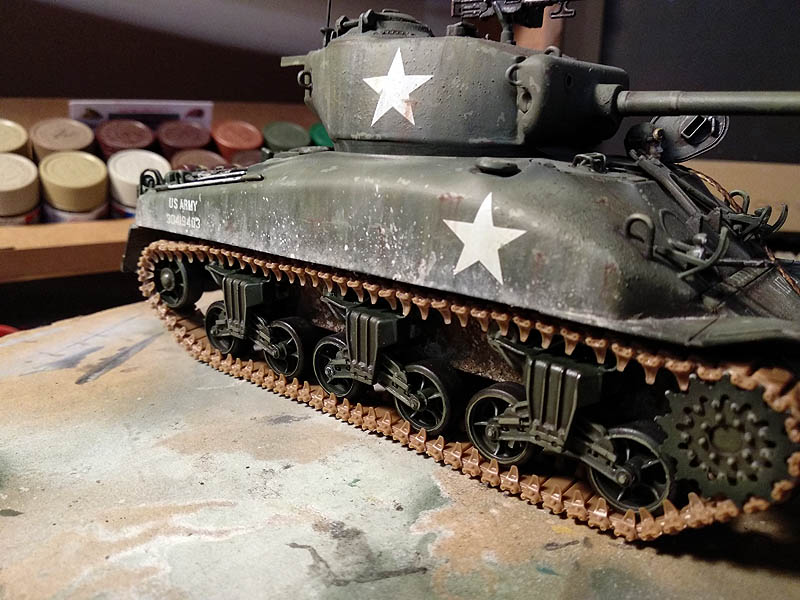
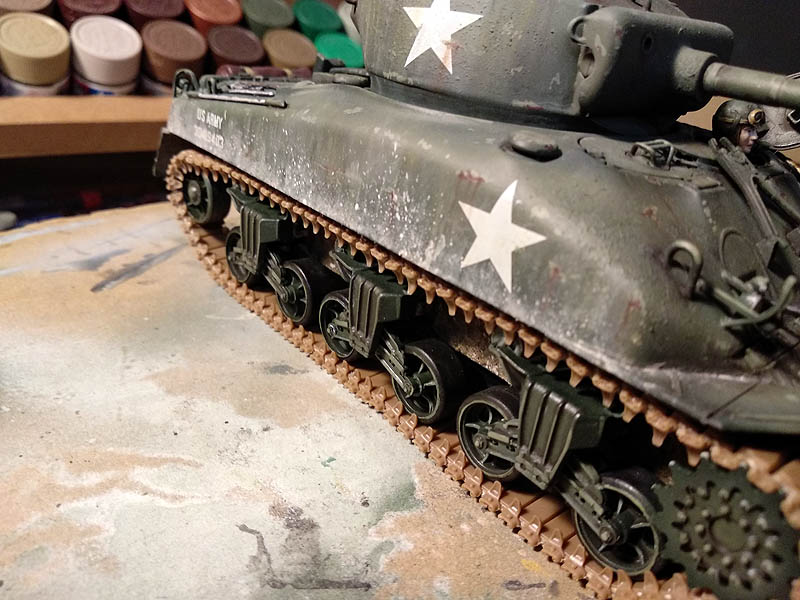
Before mounting the traction chains I apply the process I used dirt on the carriage pigments, washes etc.. in the undercarriage, and chains.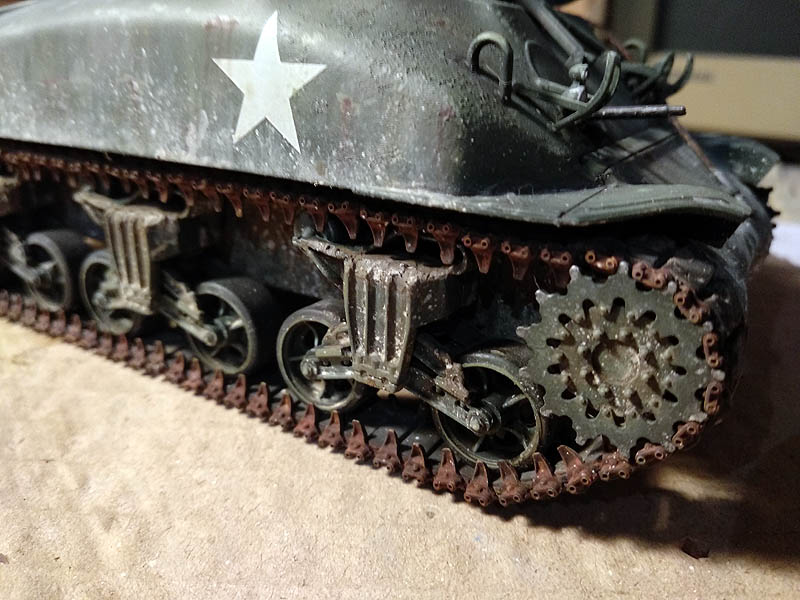
Completed the process of dirt amount chains drive the model and varnishing back to all Sherman M4A1 matt varnish check that there is no zone with glitter glue because, techniques weathering or by manipulating the hands kit.
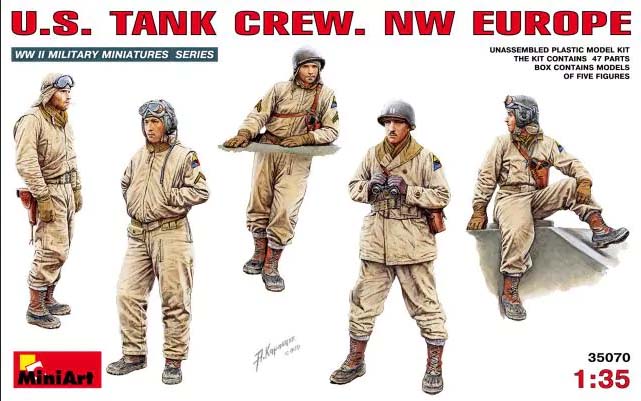
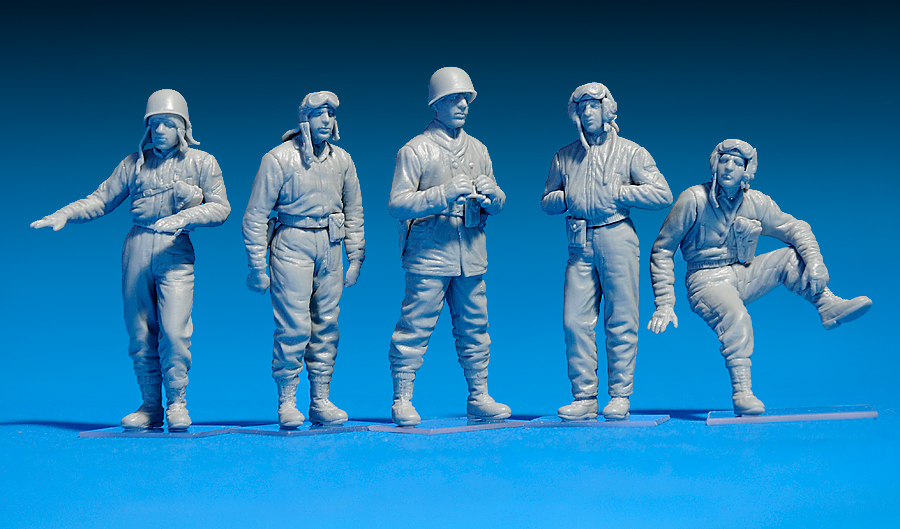
I thought about adding some figures a part of carrying the kit and I'm looking at the following references, I'll leave in the pipeline until the job, but if anyone is interested in these in September here are references:
35347 Tamiya
35070 Miniart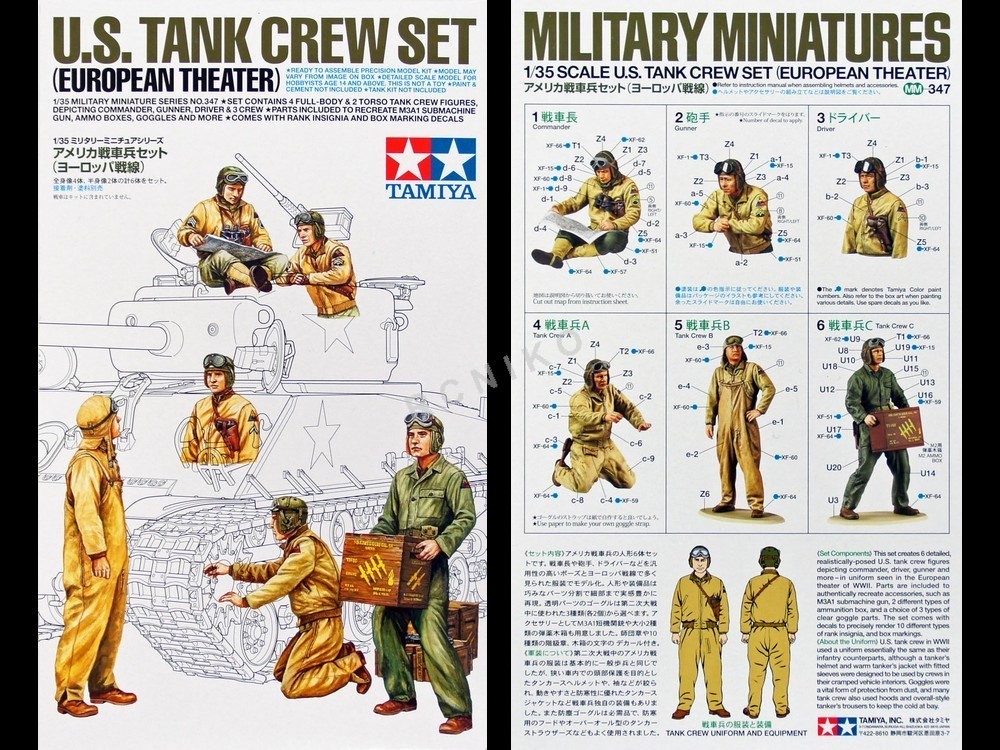
TO BE CONTINUED ...
Autor Armand C.M.