Focke Wulf FW 190 A-8 Airfix 1:72 – Modeling
One of the best aircraft of Nazi Germany during the Second World War was the Focke Wulf 190, Airfix has released a new mold of this spectacular German fighter, the kit chosen this model for my new job is Focke Wulf FW- 190 A-8 this brand scale 1:72, their new much improved molds especially the added negative panels give good results, quality and price is also attractive, These kits are available to model and scale speaking now of the scale 1:72 and a fighter, ranging from 5 € to 9 €.
Also indicate that STARTSET Airfix come with their paintings, brush and glue, Ideal for novice modelers.
El kit en cuestión:

A little history Focke Wulf FW on 190: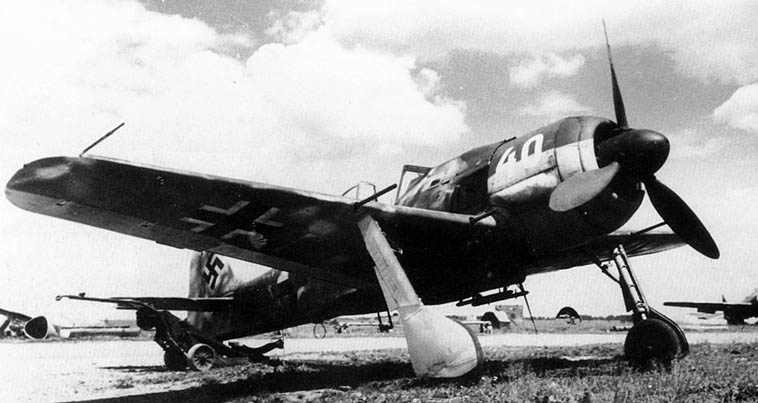
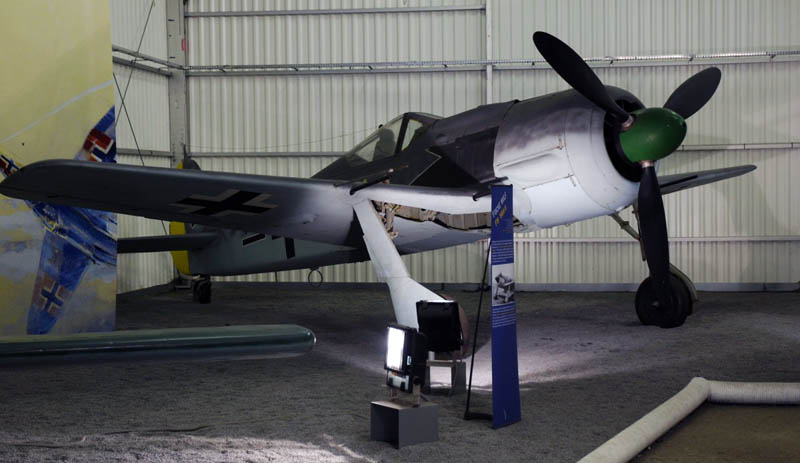
El Focke-Wulf Fw 190, nicknamed Shrike ('Shrike' in German), was a German fighter plane of World War II designed by Kurt Tank in the late 1930. This single-seat aircraft powered by a radial engine fighter was the last German piston mass produced into action in war. It replaced the partially successful Messerschmitt Bf 109 from 1941. Since production began in 1941 was continuously improved to the end of the war, during that time were made over 20.000 copies. In 1945, Fw 190 operating effectively in all fronts.
The Fw 190 was highly appreciated by its pilots, and since his first bout in 1941, quickly proved superior in all aspects, except turning radius, the main fighter of the Royal Air Force, el Supermarine Spitfire Mk. V. It was not until the introduction of vastly improved Spitfire Mk. IX in autumn 1942 when equality is restored qualitative. In their latest versions maintained a qualitative parity with Allied fighters last.
Version A-8:
Motor BMW 801D. Additionally also mounts a fuel tank 95 fuselage liters. Its armament consists of two machine guns MG 131 de 13 mm on the hood, two guns MG 151 20mm near the root wing cannons and two optional MG 151 de 20 mm or two guns Mk 108 30mm in them designed to support the wing, beyond the undercarriage. It began manufacturing in December 1943 and was made in a number of 1334 appliances. Incorporated the GM-1 enhancer based power nitrous oxide. Some were modified as S-8, i.e., seater coaches. It was the last sub-variant occurred.
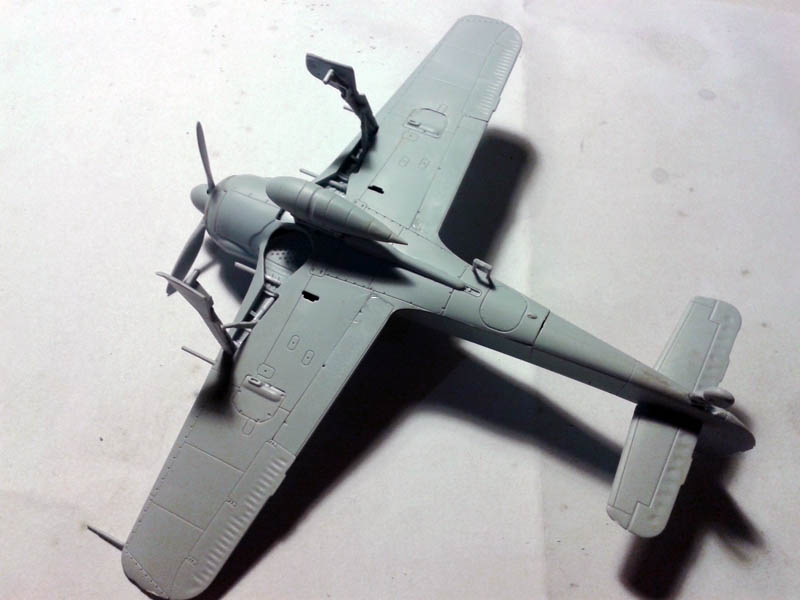
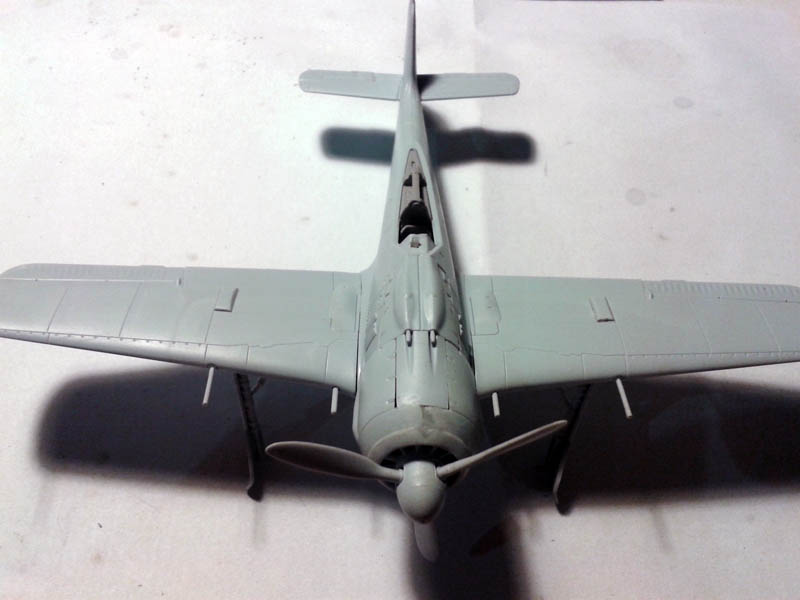
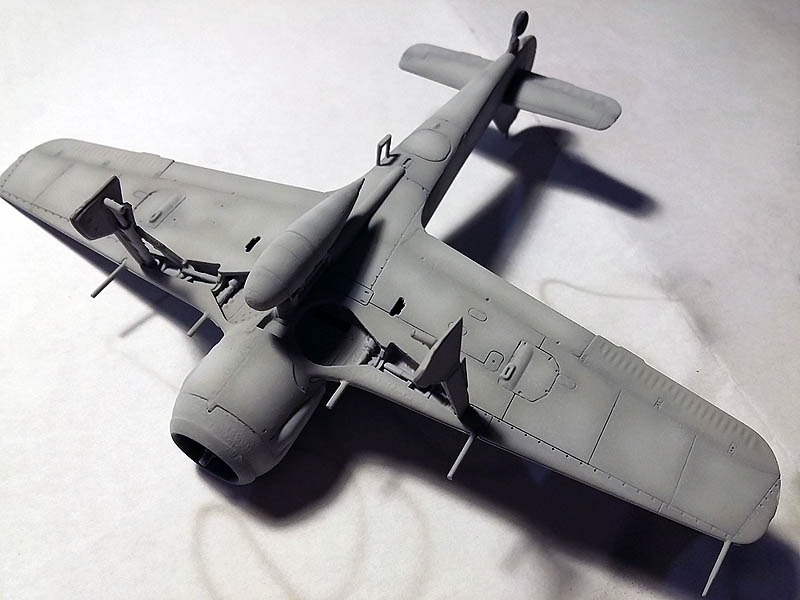
Installation and coloring kit: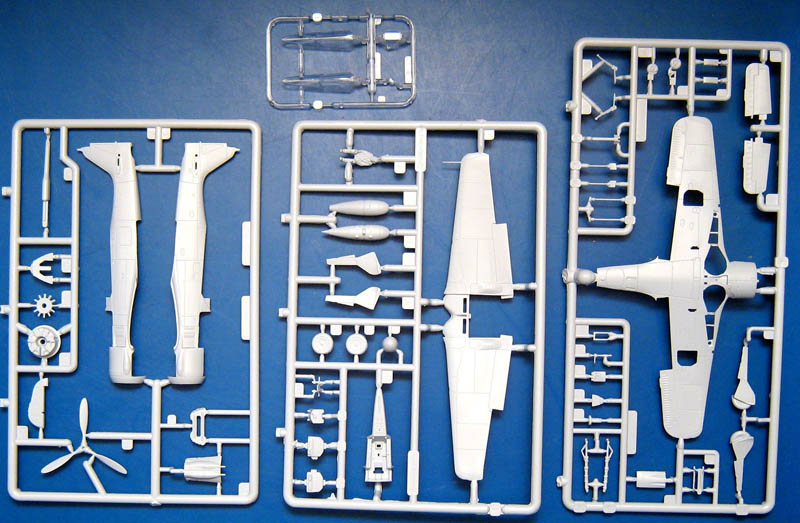 We started with the kit, anchors of it are something bad and you have to use some sandpaper and putty although the absence of excess plastic makes shorter working with the cutter, but with patience you will come to fruition.
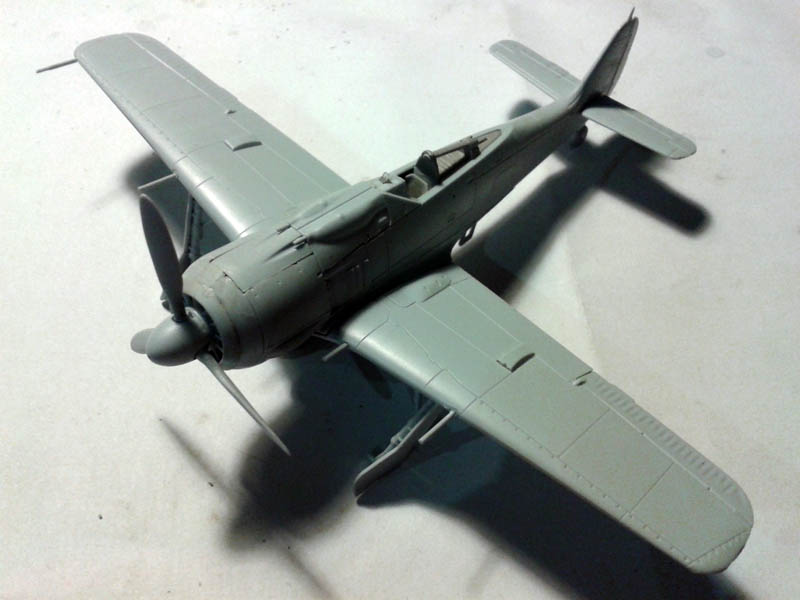
 Once we mounted the painting process, the colors used in this plane are the RLM 74,75,76 corresponding to the color chart Model Air (Vallejo) 71054(RLM 74), 71128 (RLM 75) may be substituted by 71052 and 71046 (RLM 76).
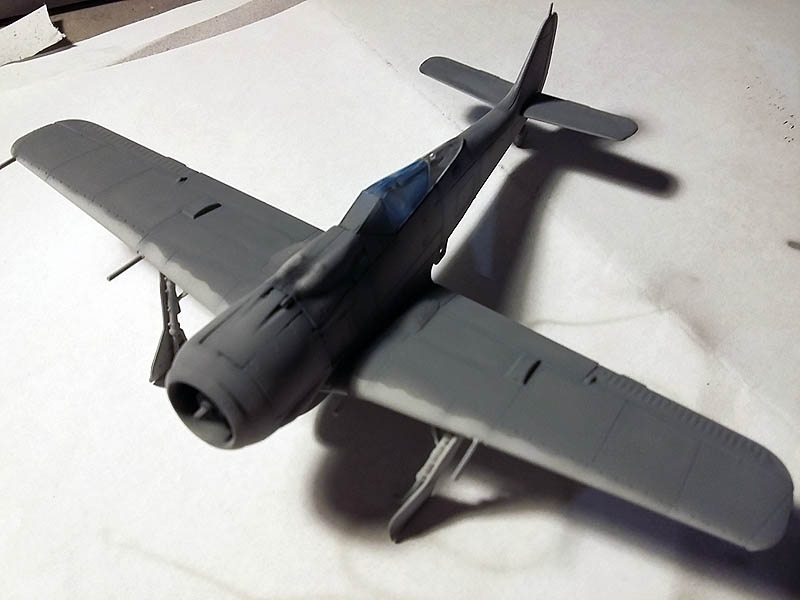
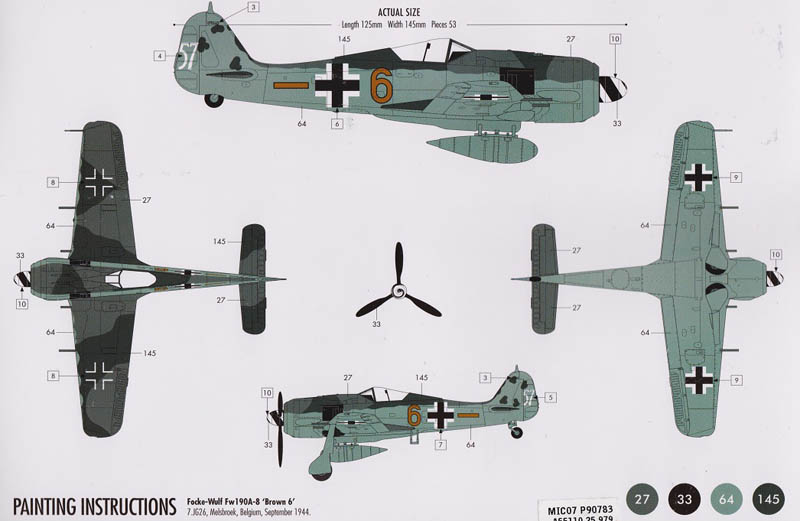 Apply the primer in this case I used spray primer gray finish Vallejo, although there is for airbrush, This is quick looks good and dry in minutes.
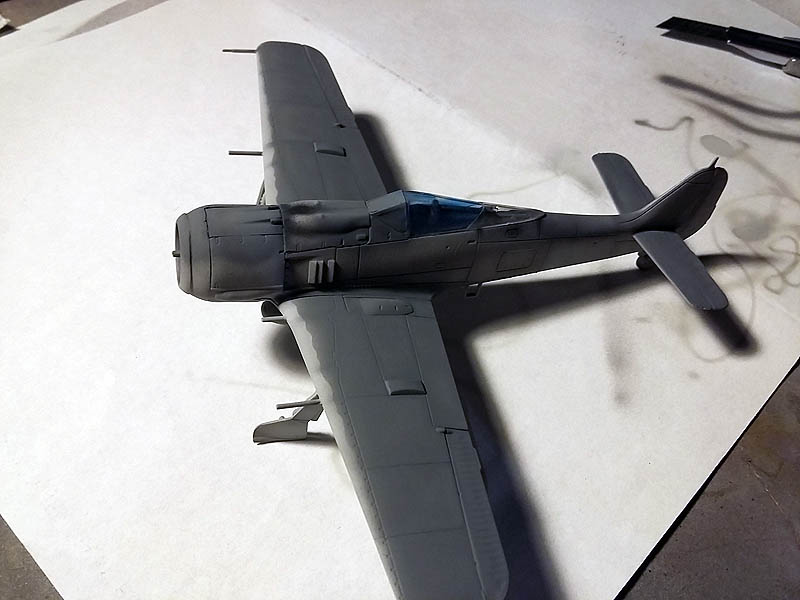
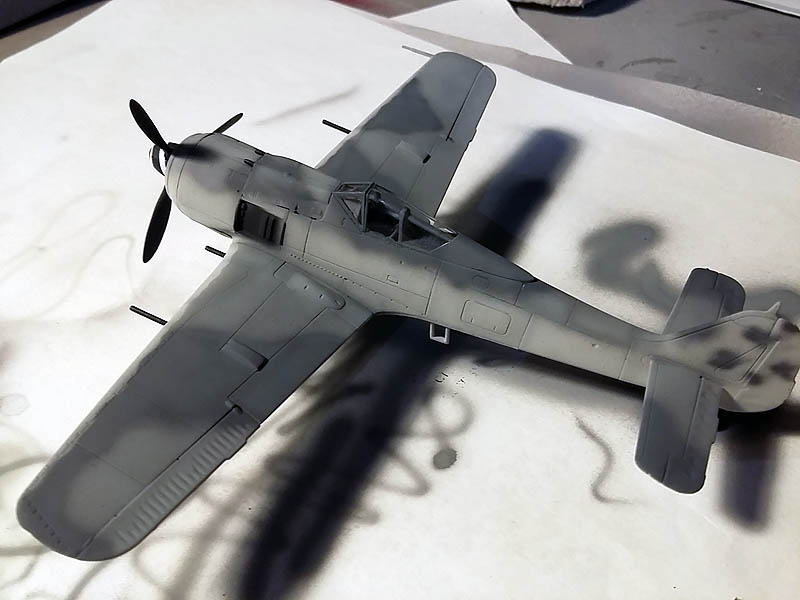
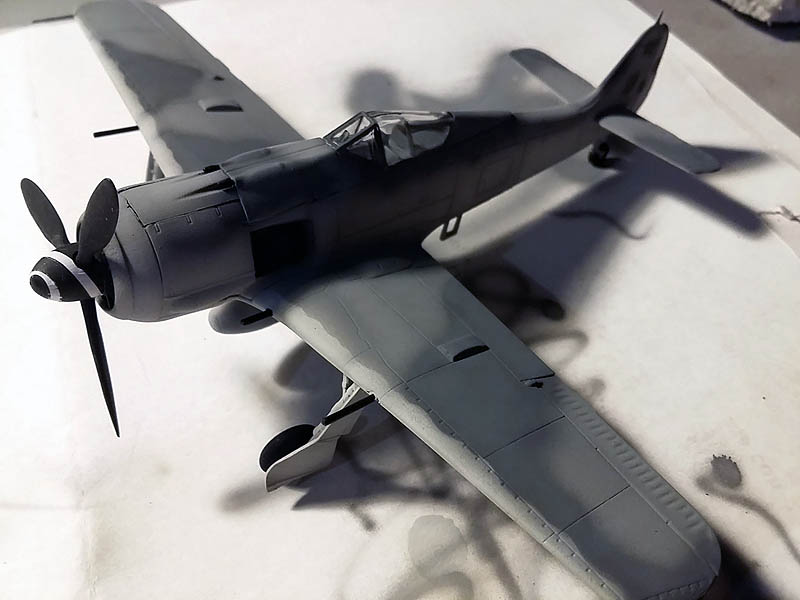
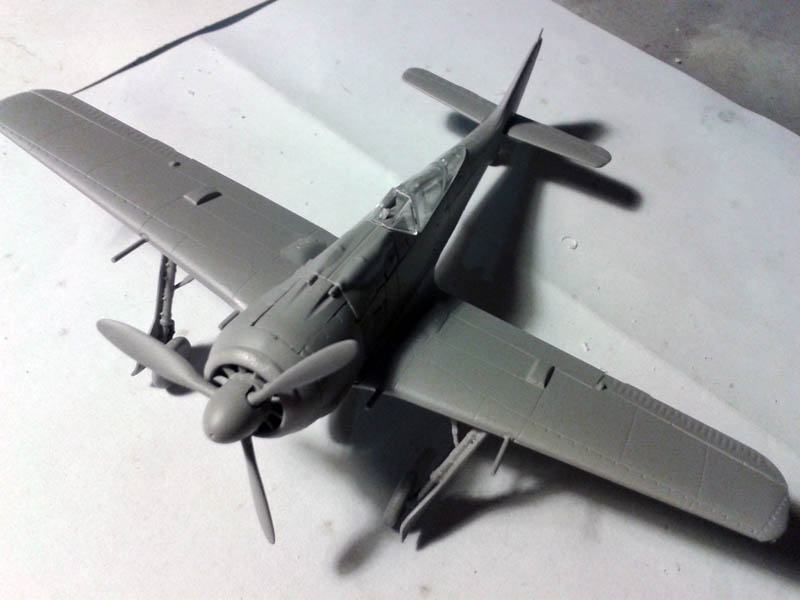 I start protecting the glass cockpit for the painting process with Mascol, then apply black XF-1 Tamiya paneling lines to highlight them once applied based color.

 For this model I have not used the RAL colors that come in the instructions if no shades of gray in the Tamiya brand:
Gris claro for low and half the side of the device, XF-80.
Medium gray to the base of the side and frontal plane, XF-54.
Dark gray for mimicked, XF- 24.
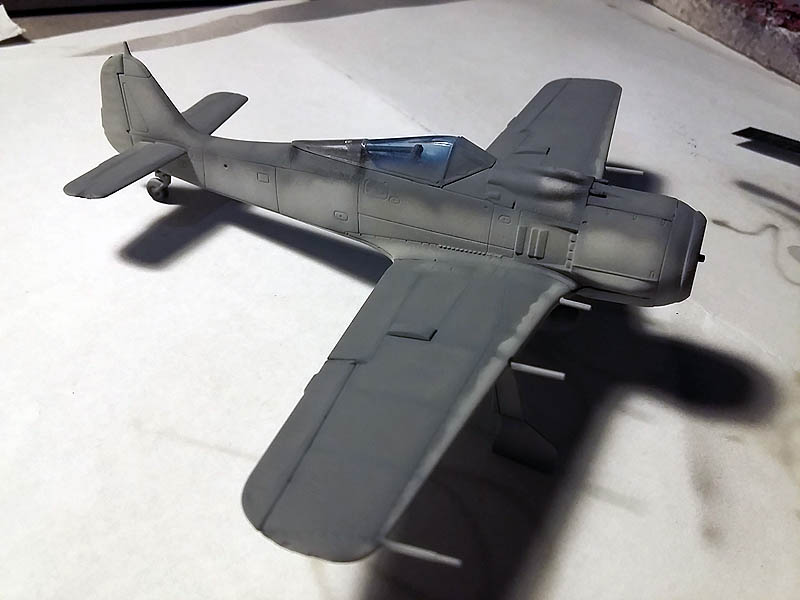
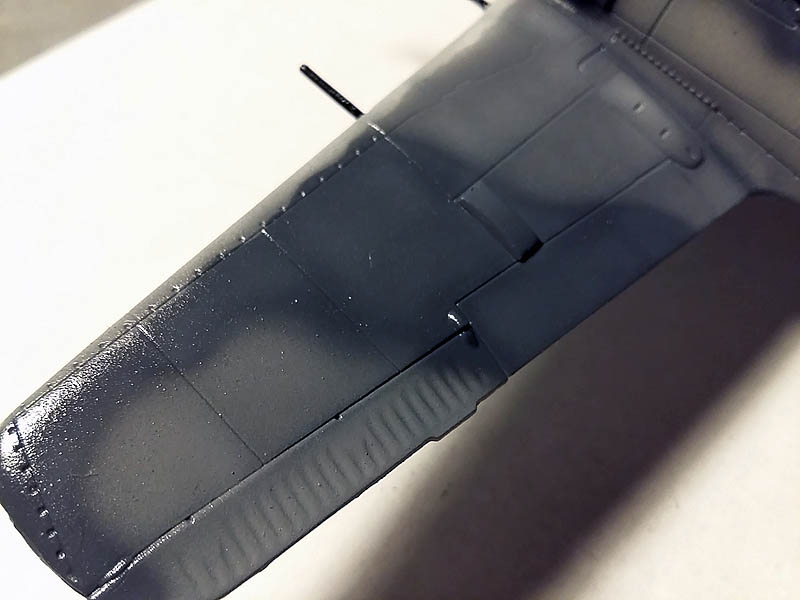
Apply light gray with the airbrush for the bottom and sides of decreasing the amount Focker lines paneling not completely eliminate the black.
 I think with a sheet template to start drawing wavy wings Focker.
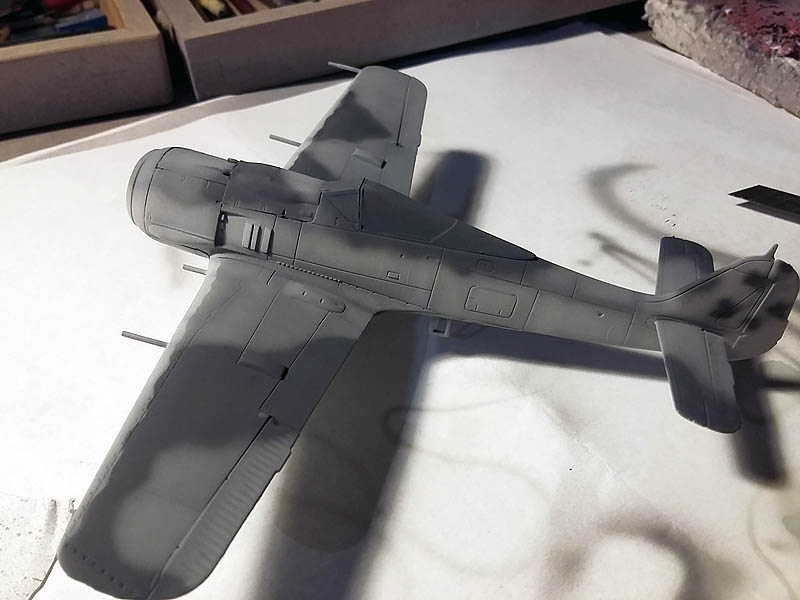
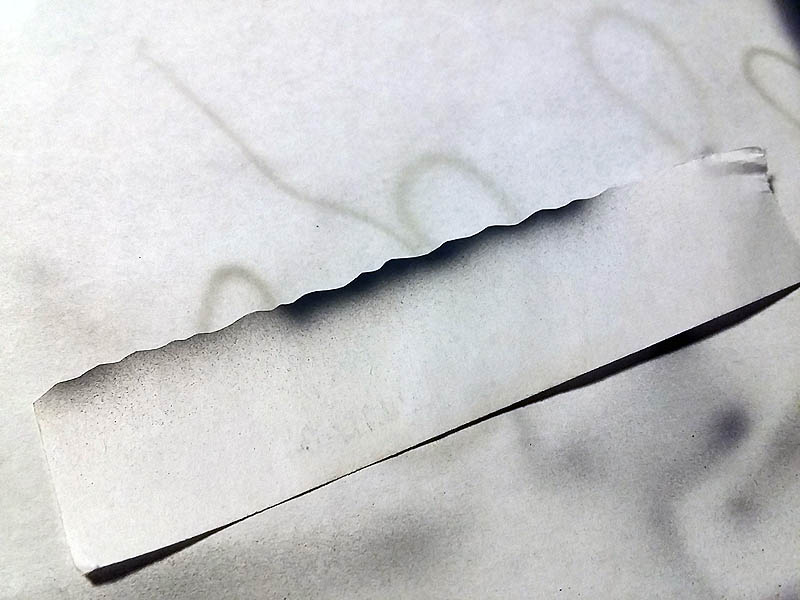 With the attached template and airbrush applied on the wings and upper middle gray plane.
 Although I have marked lines with black panels to highlight them a bit more mixed medium gray with a little white with a portion 90/10 and I apply in all painted panels with medium gray.

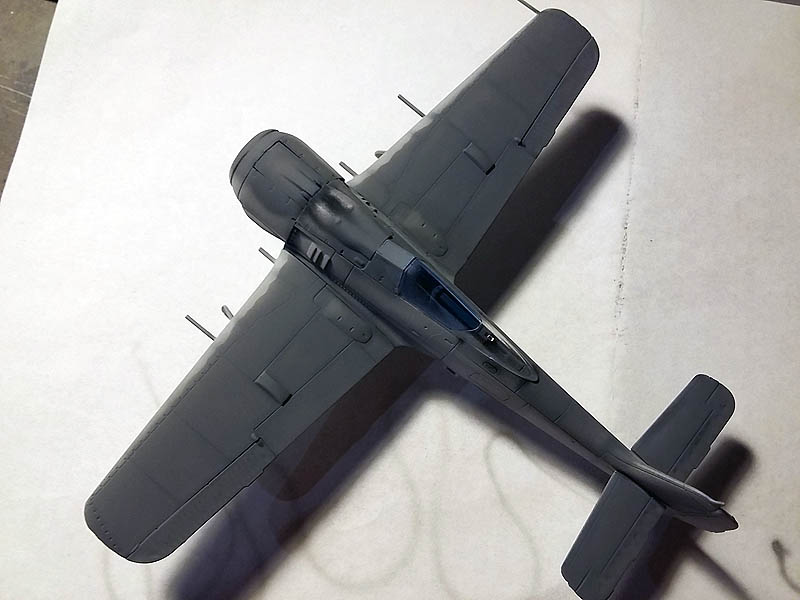
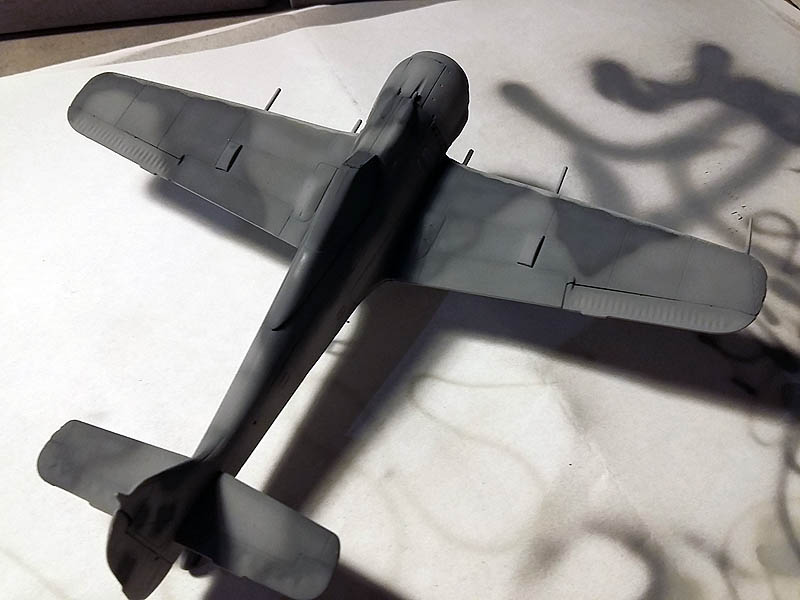
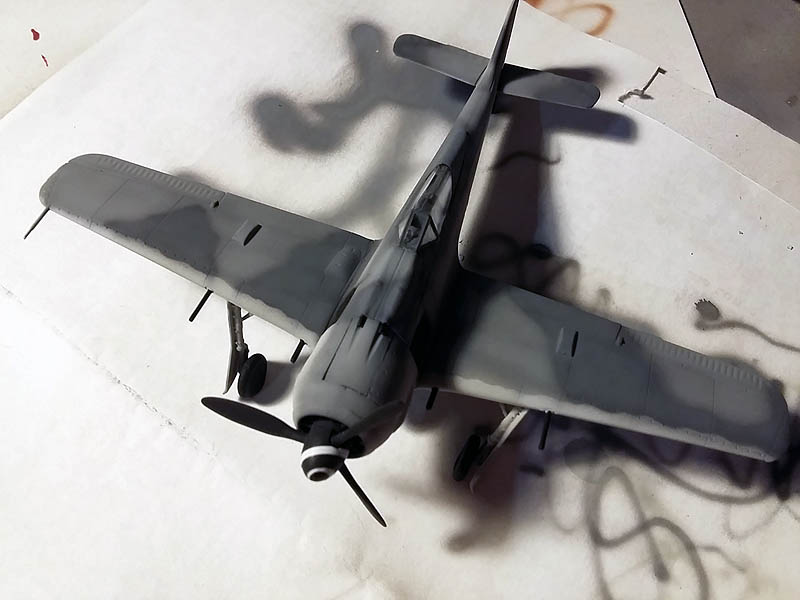
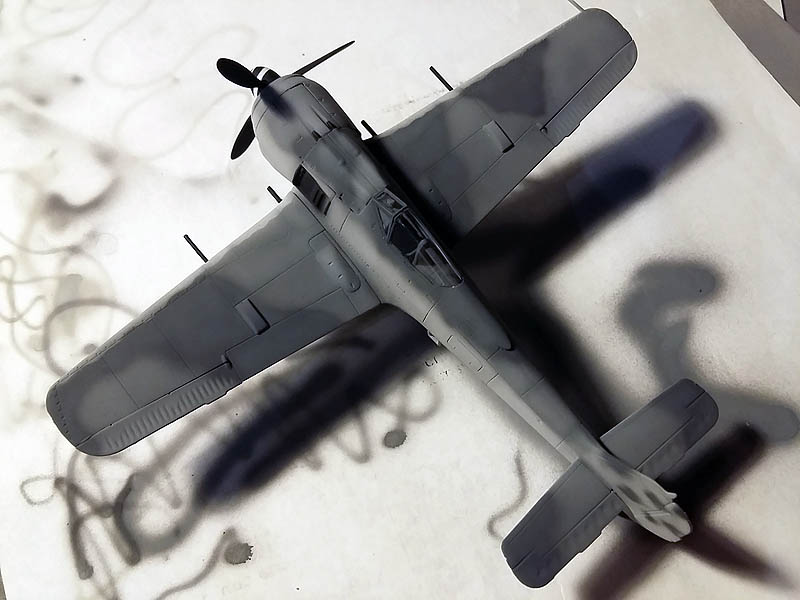
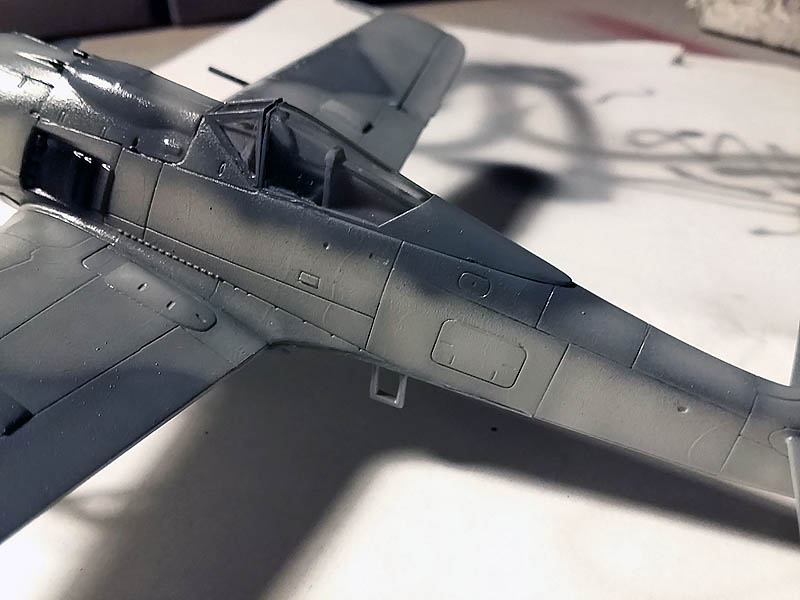
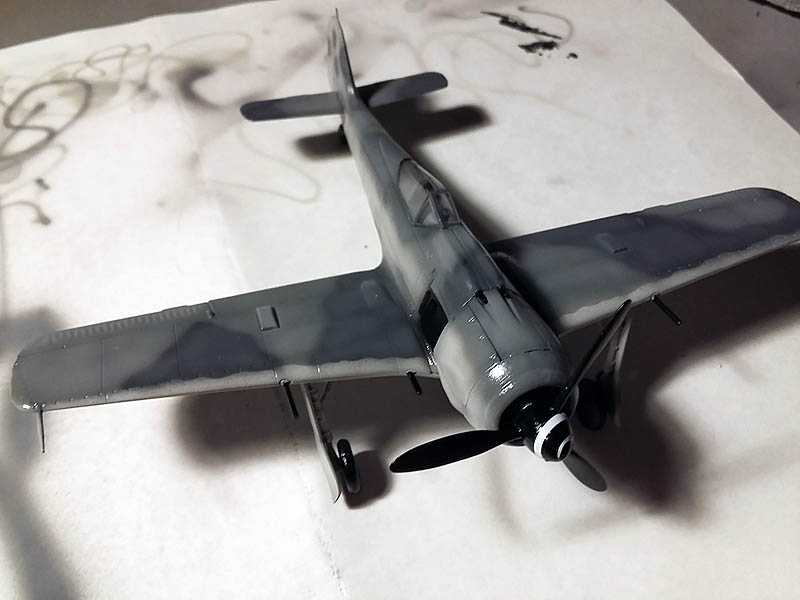
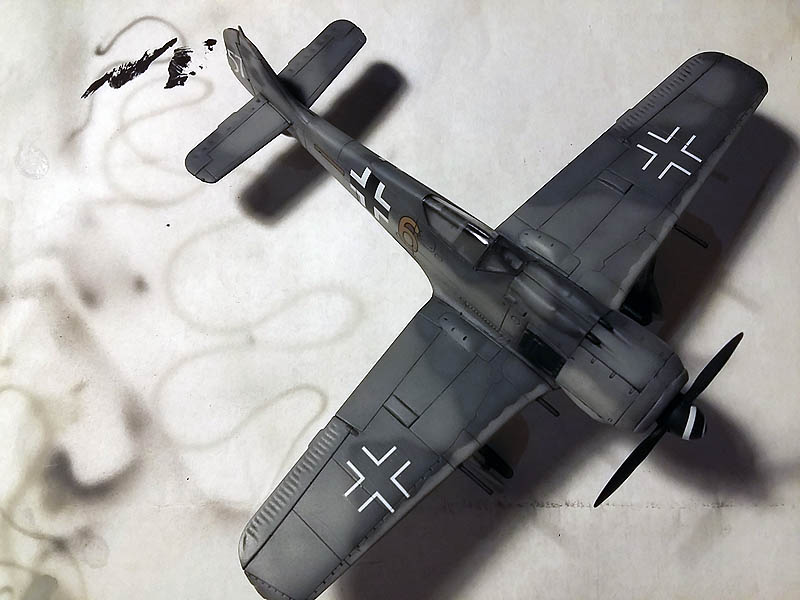
 The next step is to create the mapping for this camouflage and dark gray add freehand airbrush.
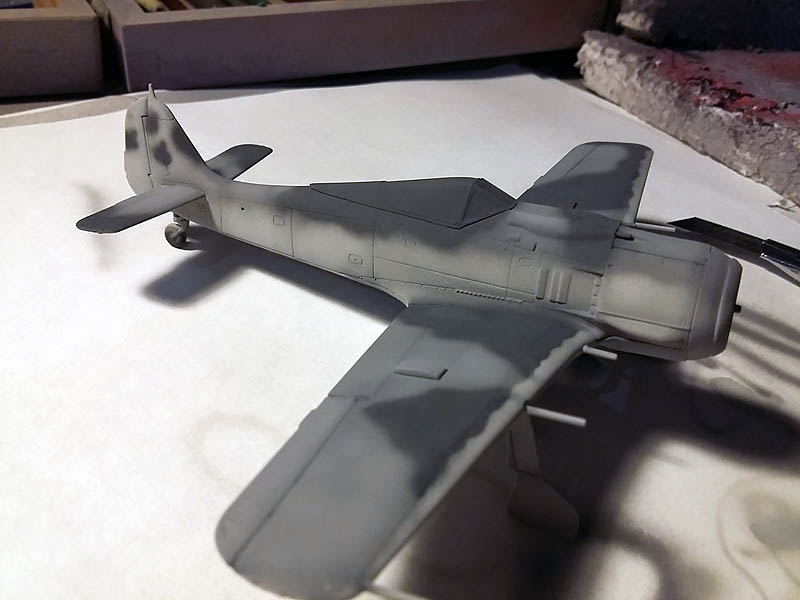
 I follow the same process as before to highlight the dark gray paneling on adding some white base color in proportion to 90/10.
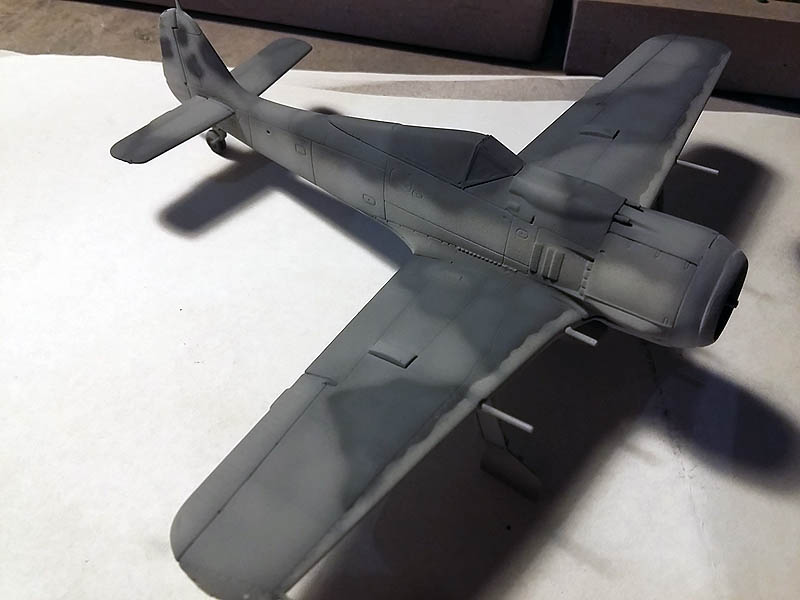
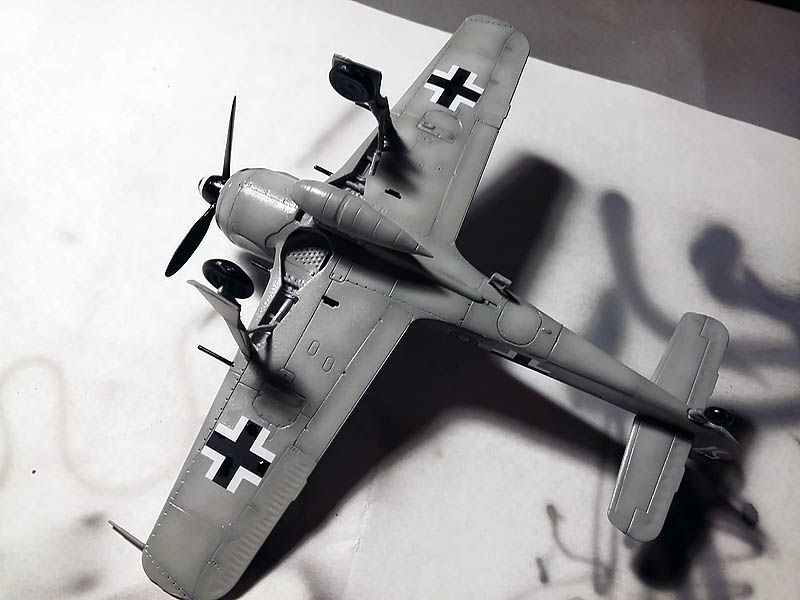
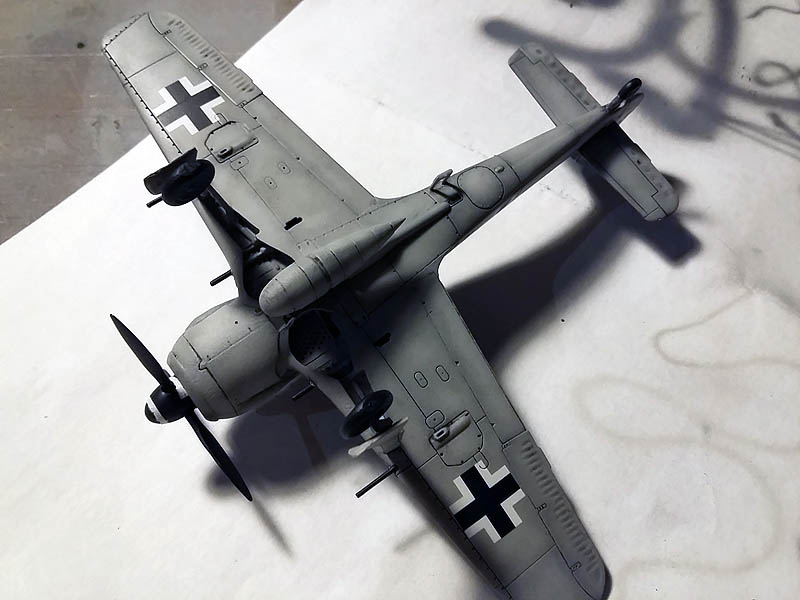
 Add all the missing piece by pasting, wheels and propeller, paint tubes and machine guns black.
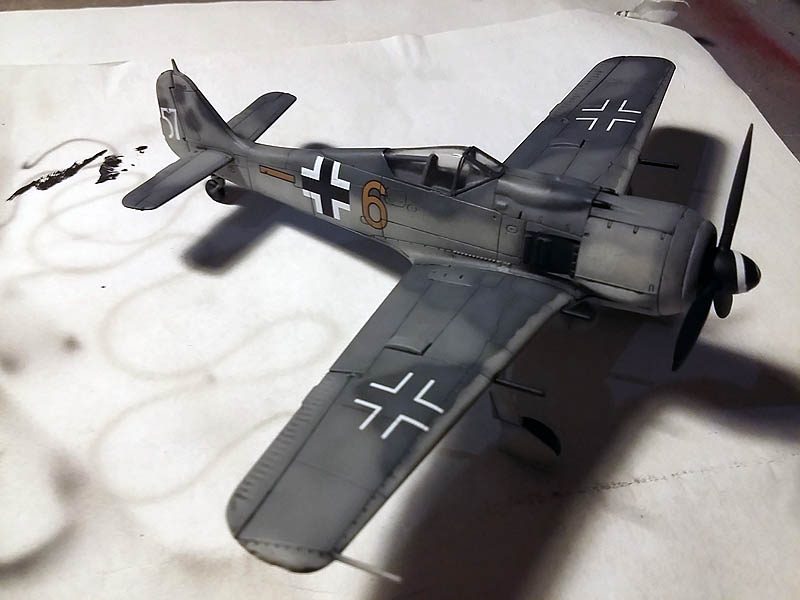
 Once all dry varnish it with XF-22 glossy varnish Tamiya entire aircraft to protect the paint and proceed to add the decals.
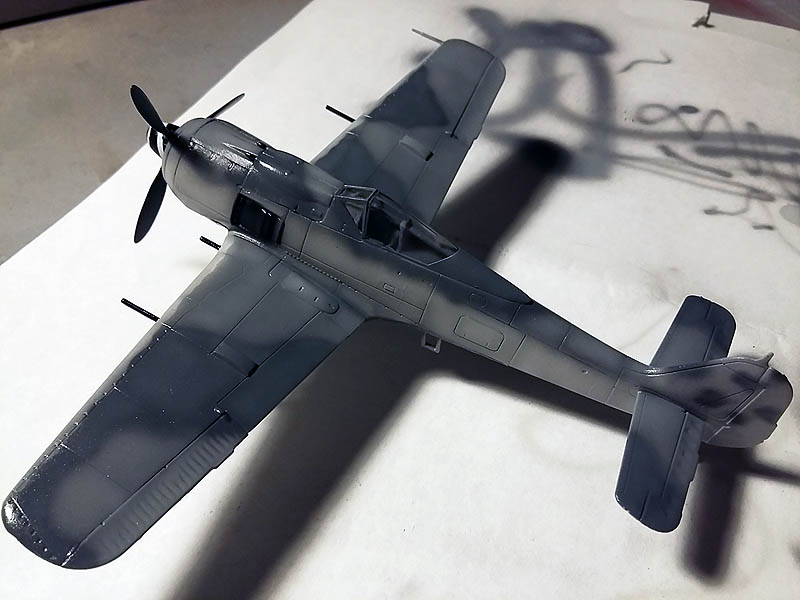

 A few days to let the varnish dry completely and proceed to add the decals helped liquids for the task, Microsol y Microset at my place.


 When I have firmly set the decals I return to varnish the entire aircraft to protect the decals from the following painting processes.
 I leave several days to dry the glossy varnish and proceed to paneling, for this I use a black liquid that can be left to dry in the recesses ideal to highlight the lines layer, remove the excess with a cloth or cotton pad dampened, in other models I used oils that give the same result, but models with some supermarkets and letting work with materials more manageable use this type of washing.
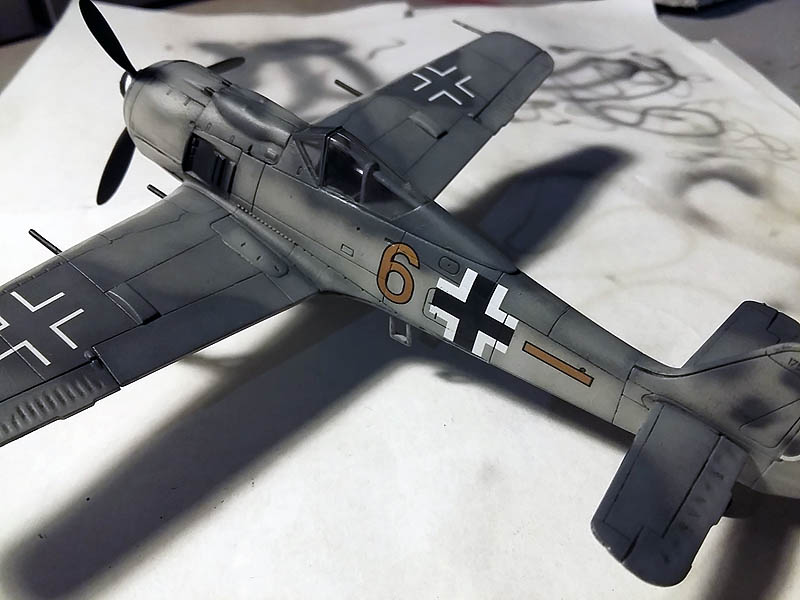
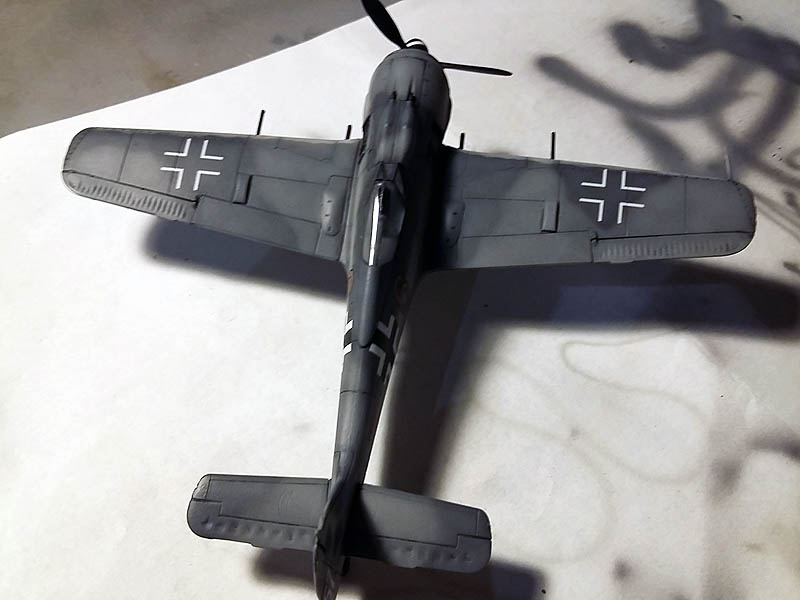
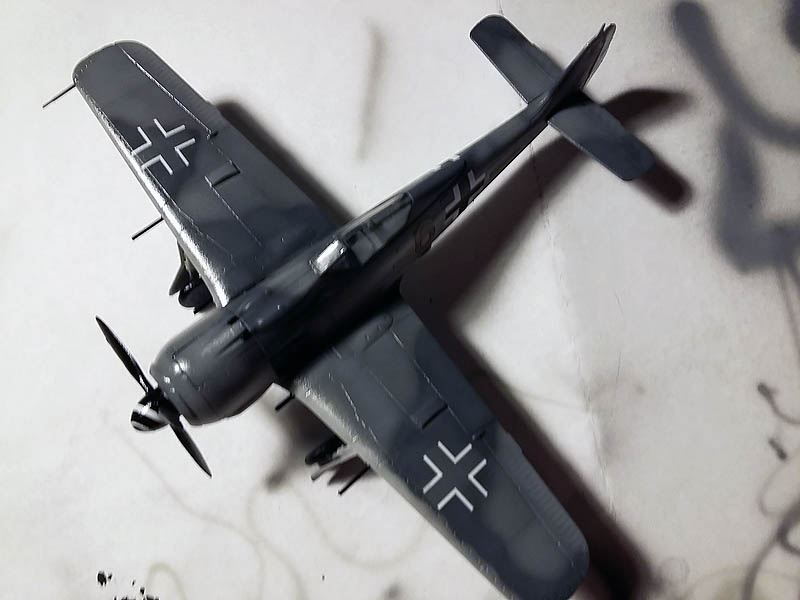
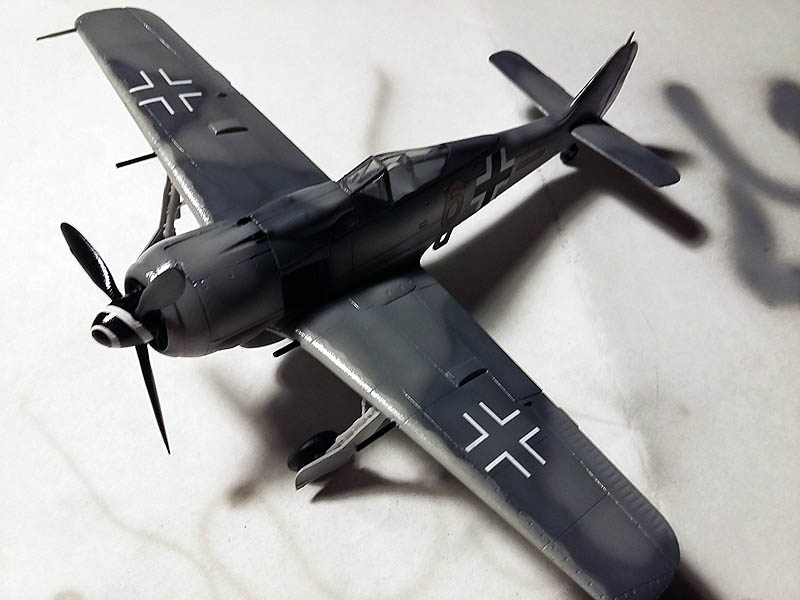
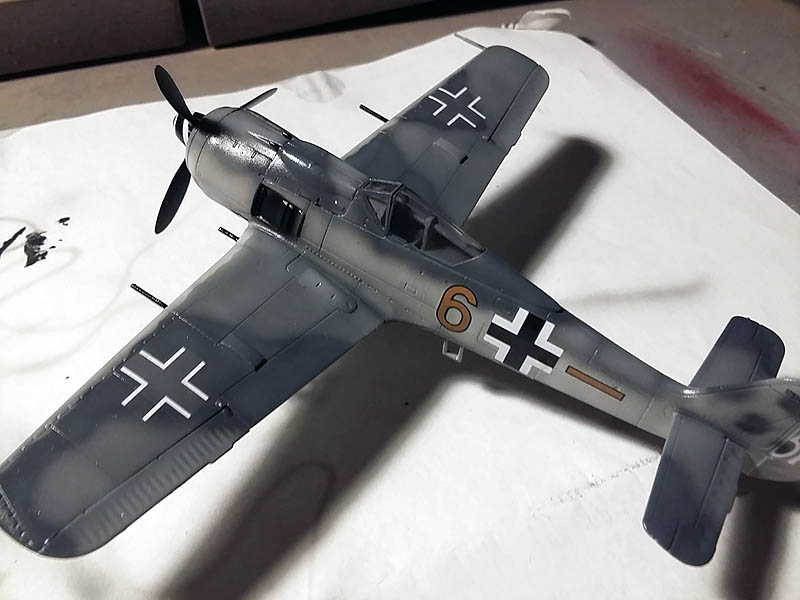
 Retired surplus and dry process with black paneling, step varnishing whole plane satin varnish Vallejo Ref. 70.522 which it is the best result that has given me so far.
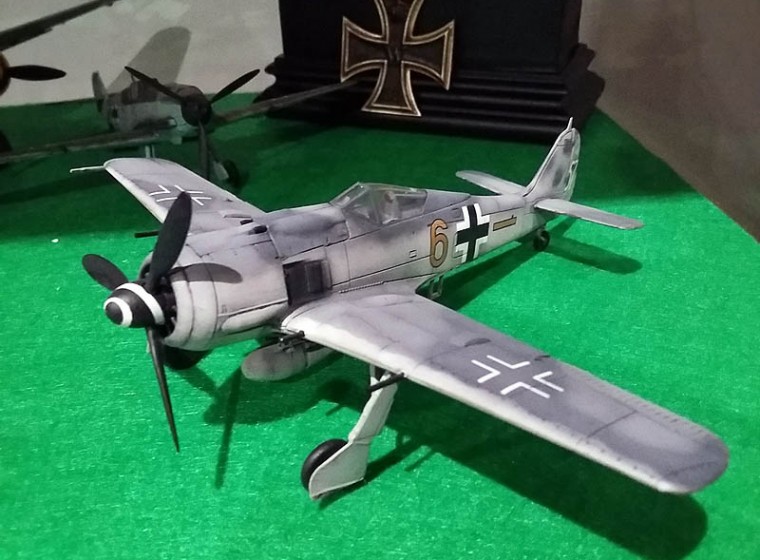
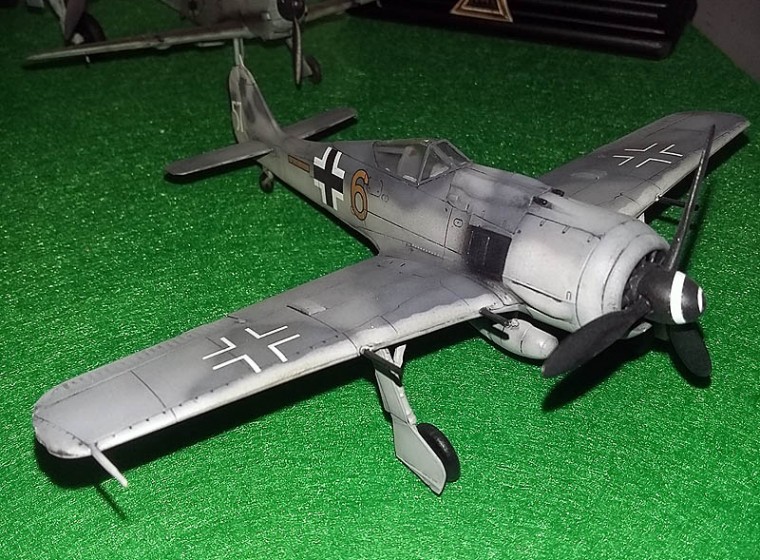
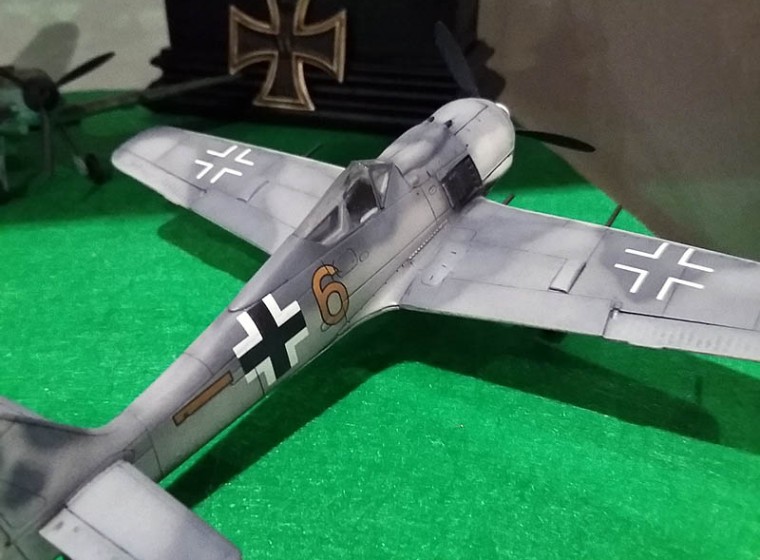
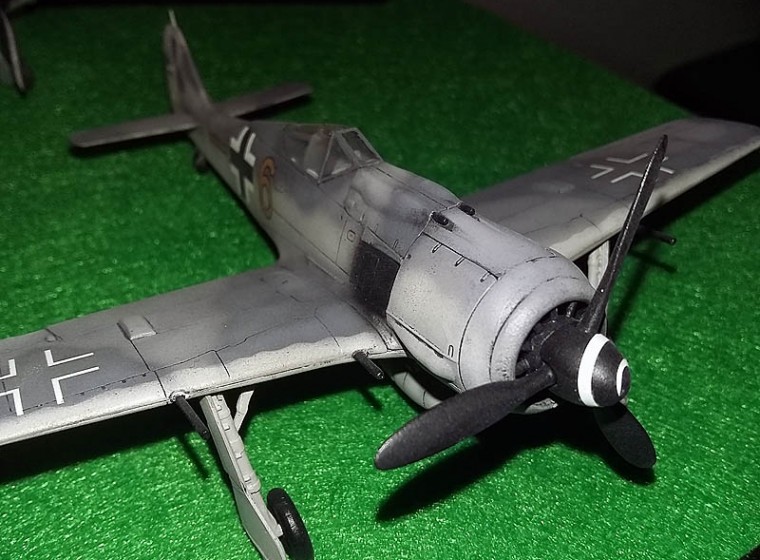
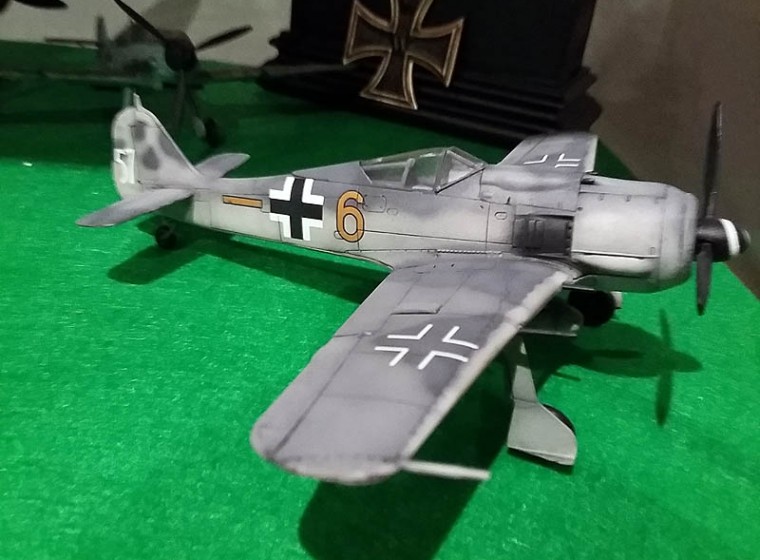
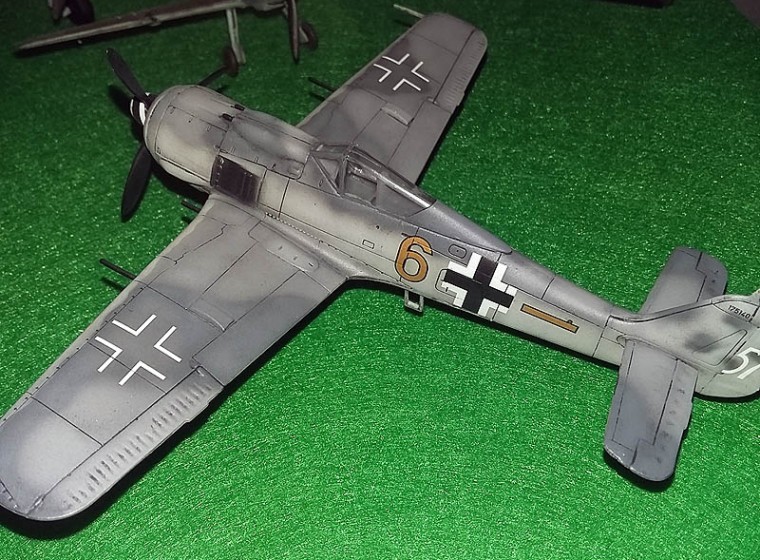
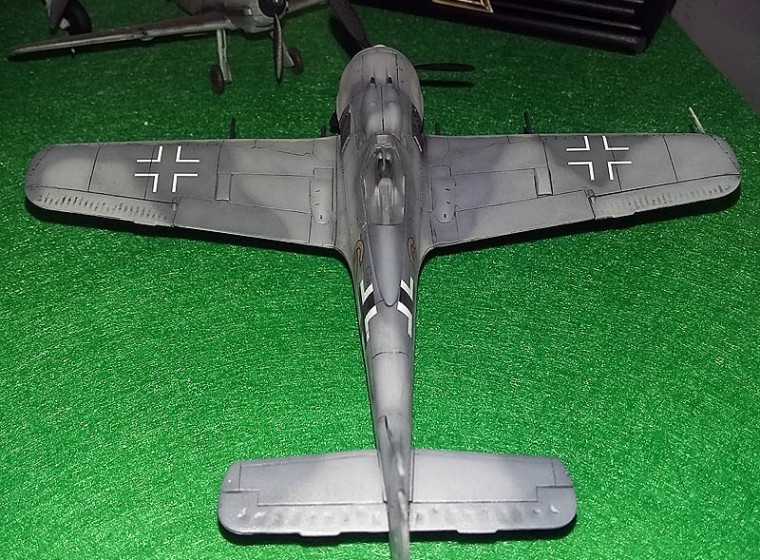
PROYECTO TERMINADO
Autor Armand C.M.