German Sd.Kfz 182 King Tiger Henschel Turret Zimmerit Trumpeter 1:72 – Modeling
Another favorite of mine armored vehicle's awesome King Tiger, one German heavy tank developed by several German companies during the WWII, this metal behemoth was indestructible by most enemy tanks.
Choosing a Kit to scale 1:72 to mount this super shielded happens to my windows, at the end I chose the brand Trumpeter, as I said in another publication for me is one of the best brands, multiple versions, the Henschel turret the Porsche turret con Zimmerit or the, my choice was the Henschel version zimmerit.
This is the kit: 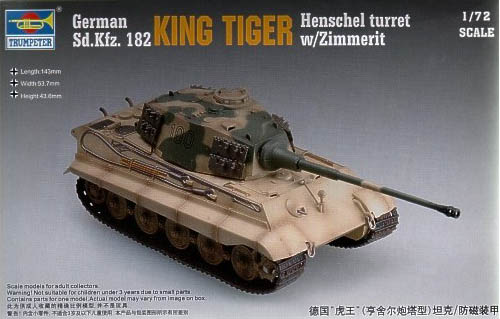
A little history on Tiger II (King Tiger):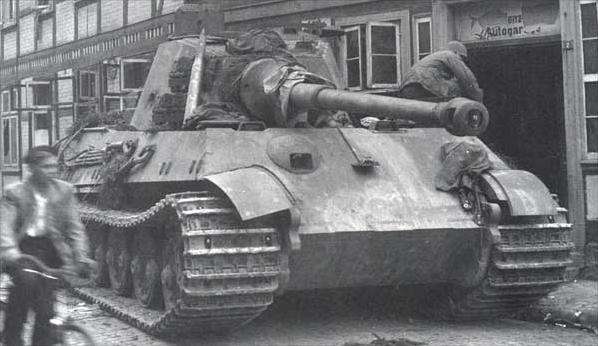
El German heavy tank of large size WWII as last official German designation was Panzerkampfwagen Tiger Ausf. B, often abbreviated as Tiger B. The inventory designation German military vehicles for this tank was Sd.Kfz. 182. It was also known by the informal name Bengal tiger, often literally translated as King Tiger by Allied soldiers.
The design followed the same concept as the Tiger I, but destined to be even more formidable and forceful in performance effectively. El Tiger II combined the thick armor of the Tiger I with the sloped armor used on the Panther medium tank. Weighing almost reached the 70 tons, was protected by between 100 y 180 mm in the front shielding area,7 and was armed with long-barreled KwK 43 de 88 mm L / 71. Its chassis was also the basis for the tank destroyer without turret Jagdtiger.
The Tiger II was delivered to the heavy tank battalions of the German Army (Heavy Panzer Battalion Army – Shortcuts s.H.Pz.Abt) and Armed SS (s.SS.Pz.Abt). It was used in combat for the first time by the 503Th Battalion Heavy Tank (s.H.Pz.Abt. 503) during the Normandy campaign 11 July 1944; while, on the Eastern Front the first armored unit to be equipped with tanks Tiger II was the battalion 501 (s.H.Pz.Abt. 501) the 1 de septiembre de 1944 had 25 of these tanks in operational service.
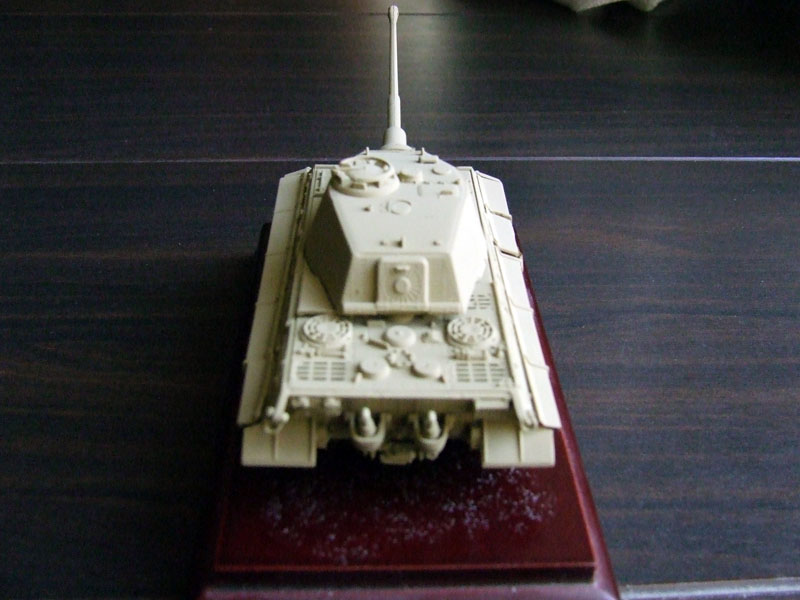
Assemble the kit something really easy as the quality plastics and everything fit perfectly Trumpeter makes it easy.
 To give a little more realism to the side fenders which are on separate the short by some sections to simulate bumps dents areas with pieces.

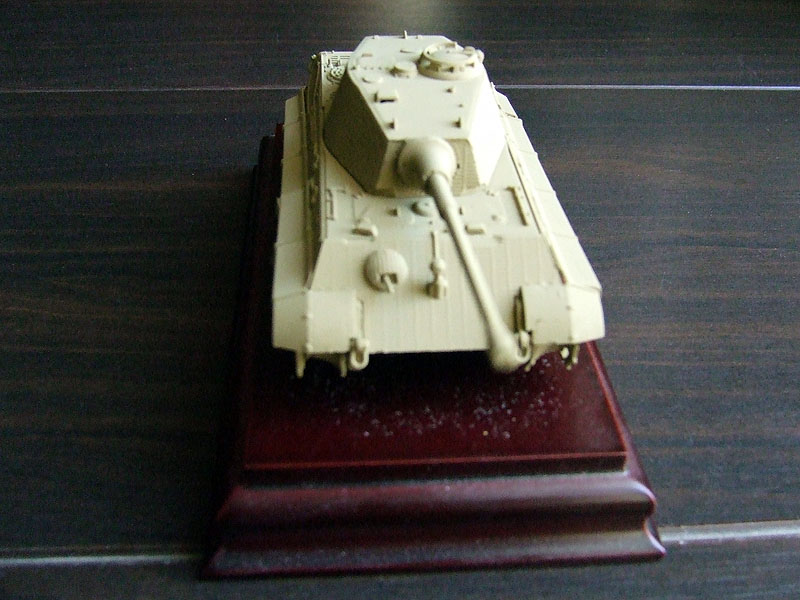
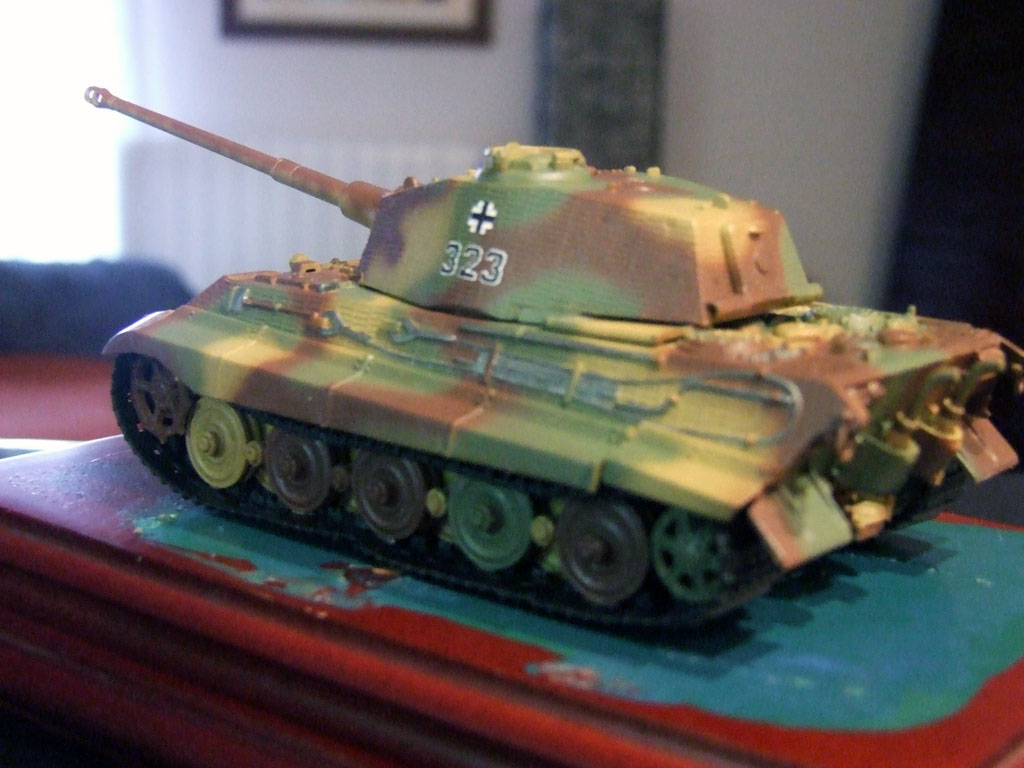
 To begin painting armored, we give the first pass with gray primer and let dry a few hours. Next step ... apply the base color in this case I'm going to create a camouflage pattern in three colors like Tiger II there exposed as museum Bovington Tank Museum England.
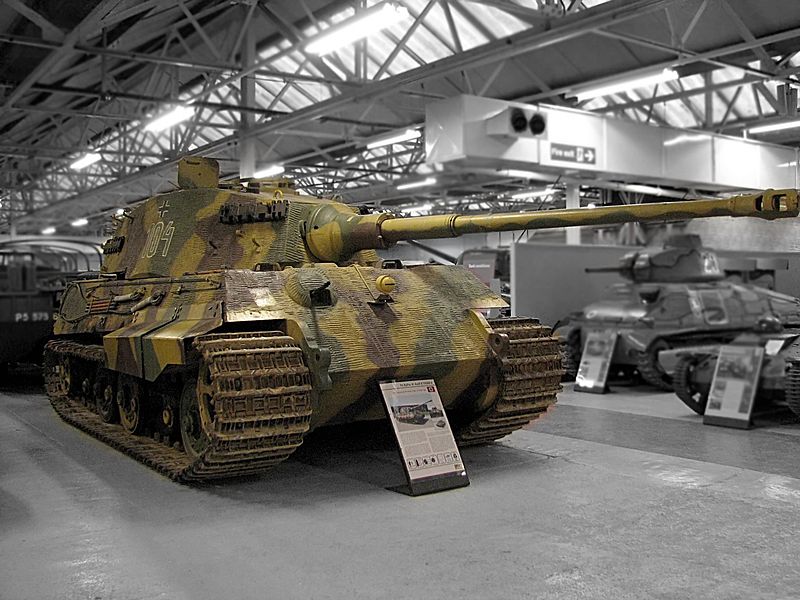 For this I use matte colors Tamiya:
Olive green XF-74 (Olive draft)
Brown XF –68 (Nato brown)
Dark yellow XF-60
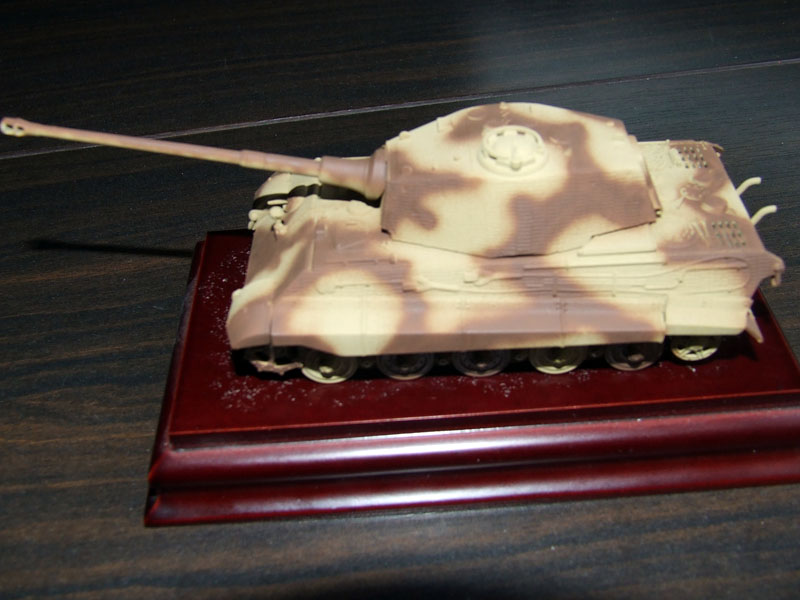
After drying the base color XF-60 a timely, start with the airbrush and brown XF-68 to give the first camouflage stains freehand without using template, although you can use masking tape to create the schema Camouflage.
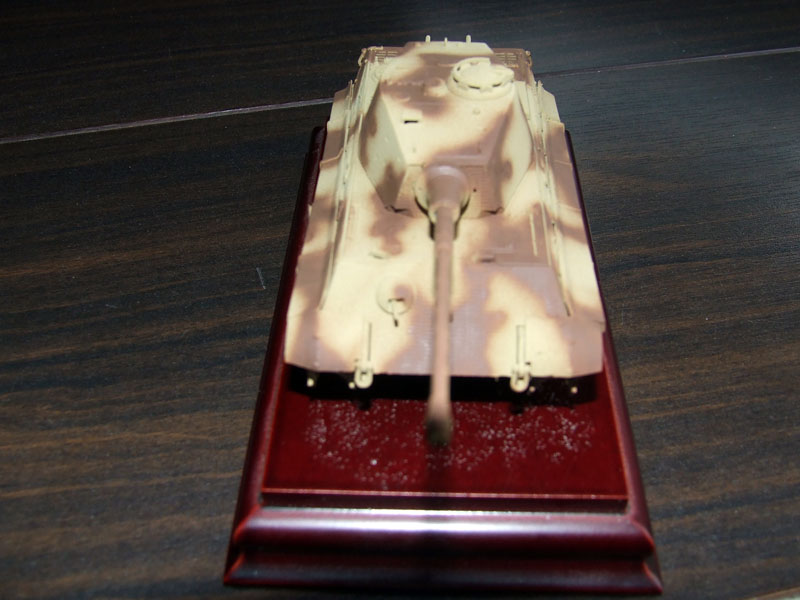


Let it dry long enough not to damage the paint job, and started with green camouflage scheme, in this case I'm using and creating outline freehand airbrush using the XF-68 (Olive draft).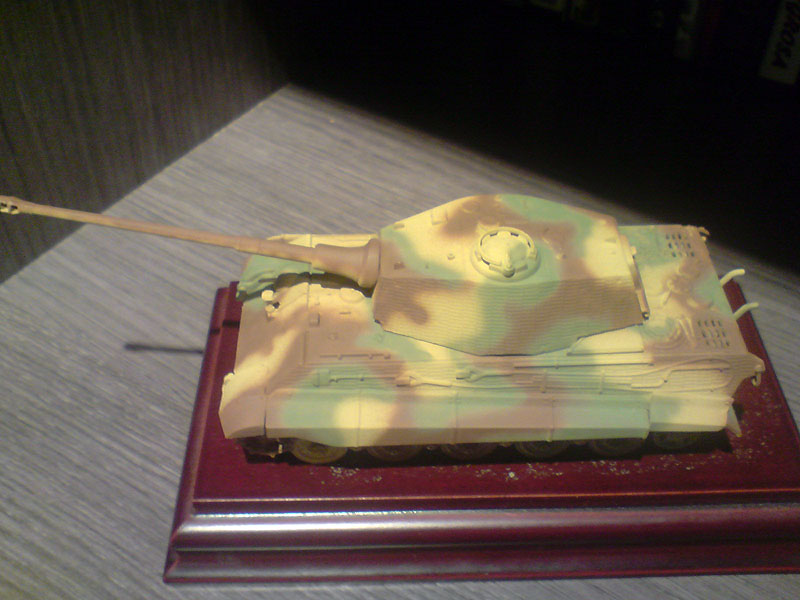
Once dry the paint job on Tiger II, protect all with a glossy varnish passes, advantage and paint some details of shielded cable as side drag, exhaust pipes etc..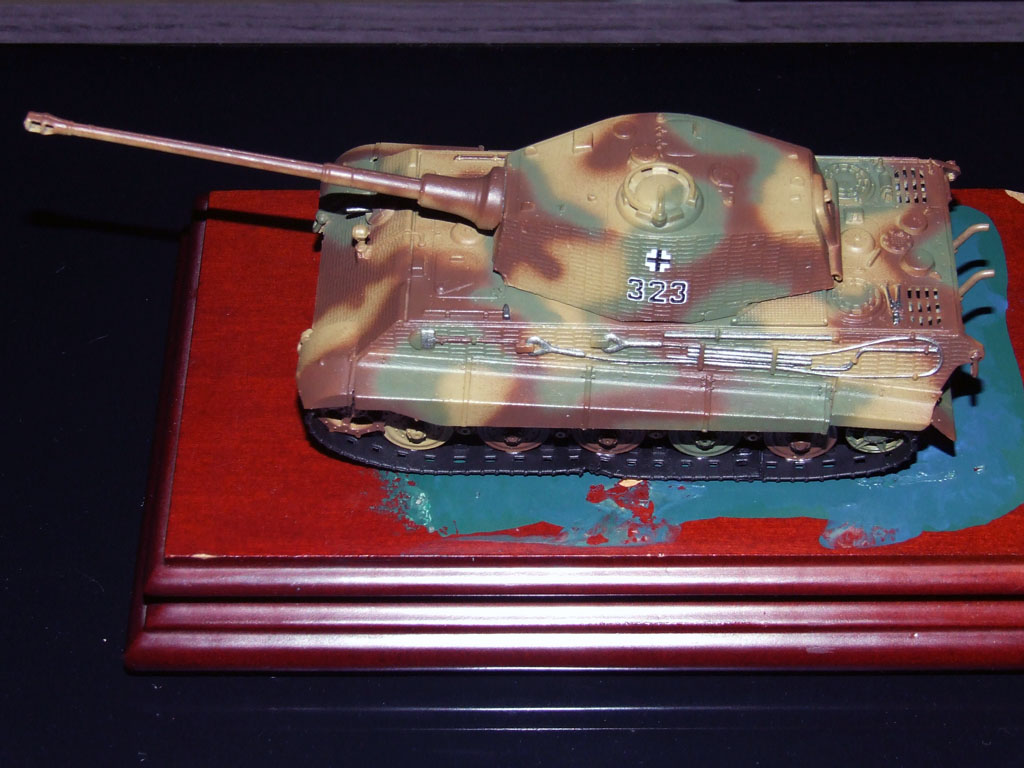
Al cobo few hours we apply the decals wiping the surface with clean water and preparing to liquid calcas Micro Set and Micro Sol.
And back to apply a thin layer of gloss varnish to protect other decals and paint jobs.
 I proceed to make some descorches / scratches around the car, especially at the corners to simulate the attrition etc.. for this I use gray metallic colors XF-56 (Metallic grey) and dark yellow base color and apply the first dark yellow and dry this once a smaller touch of metallic gray.
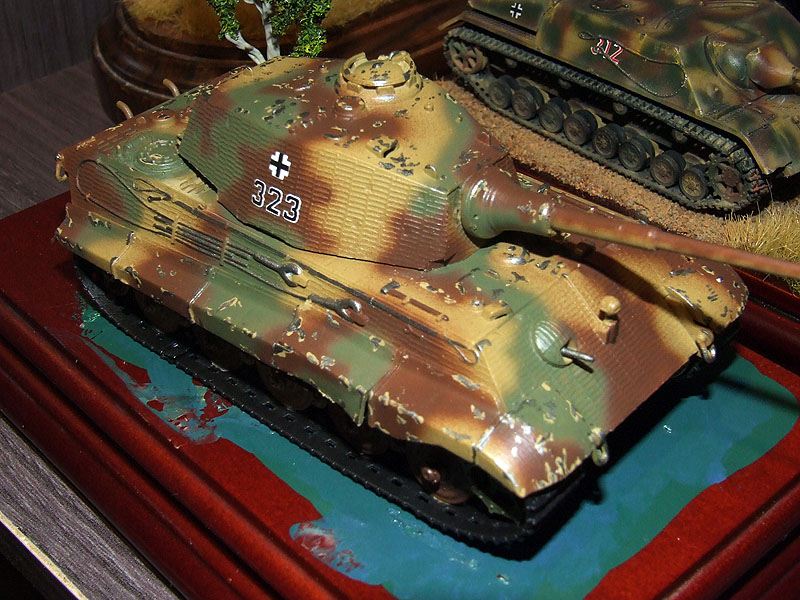 The next step is washed for this model I bought black paint vallejo and have a little diluted with water to make it very liquid which gets a gray color with a brush have washed the whole vehicle, I followed step removed with a cotton swab ears accumulations and I left dry.
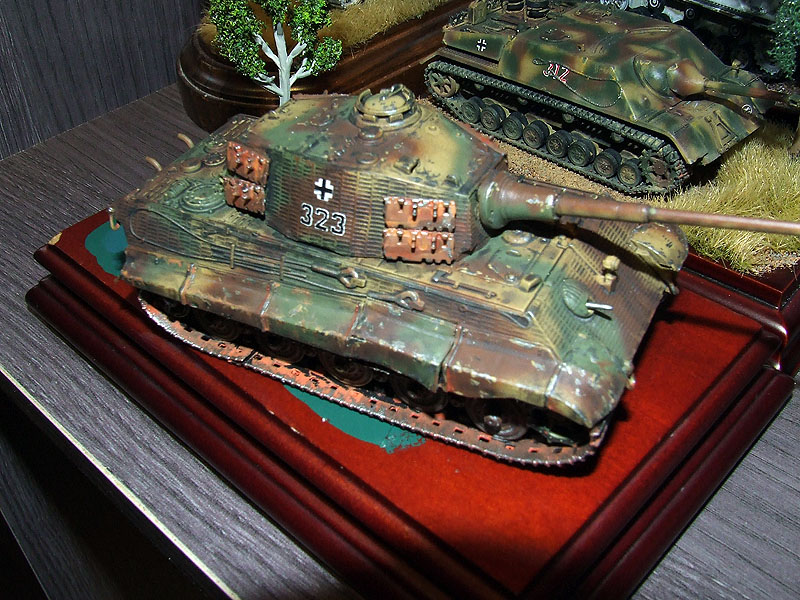
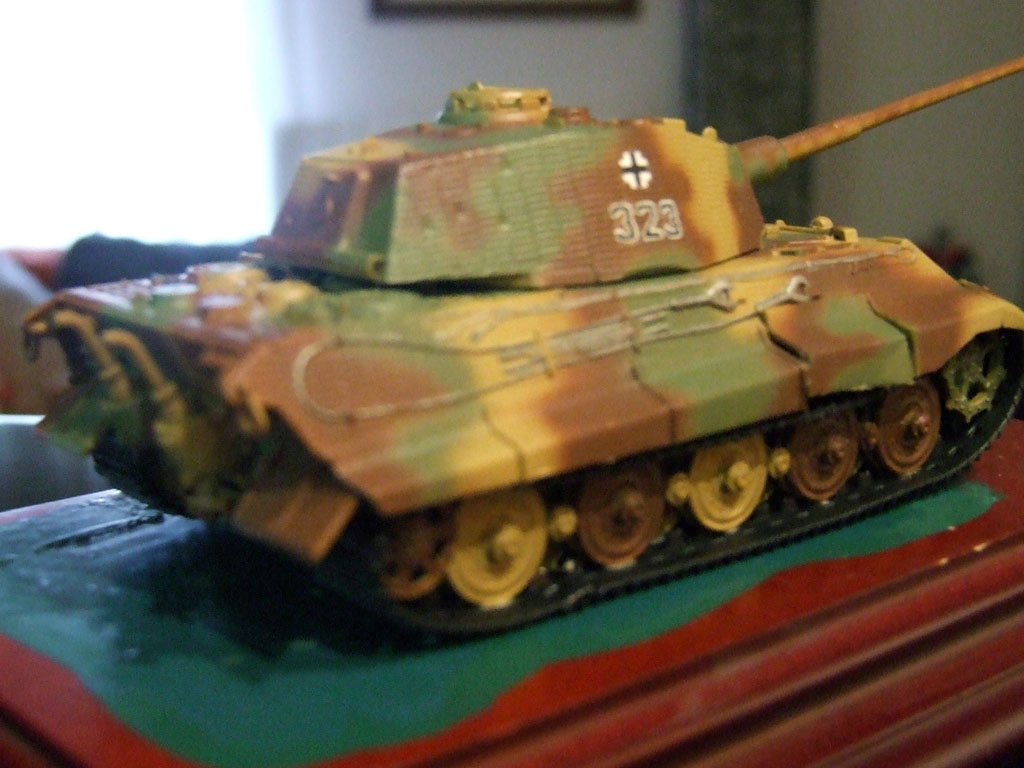
Meanwhile I painted the chains which are all in one piece and made of black rubber, for them I used the metallic gray XF-56, I used the same color for links loose parts that are subject to the turret, once dried gray metallic I have simulated a little rust orange tones using the brush marks vallejo.

Once dry everything and added the final pieces like links, MG turret and chain drive system have given one pass around the shielded matt varnish and let dry for about 24 hours.
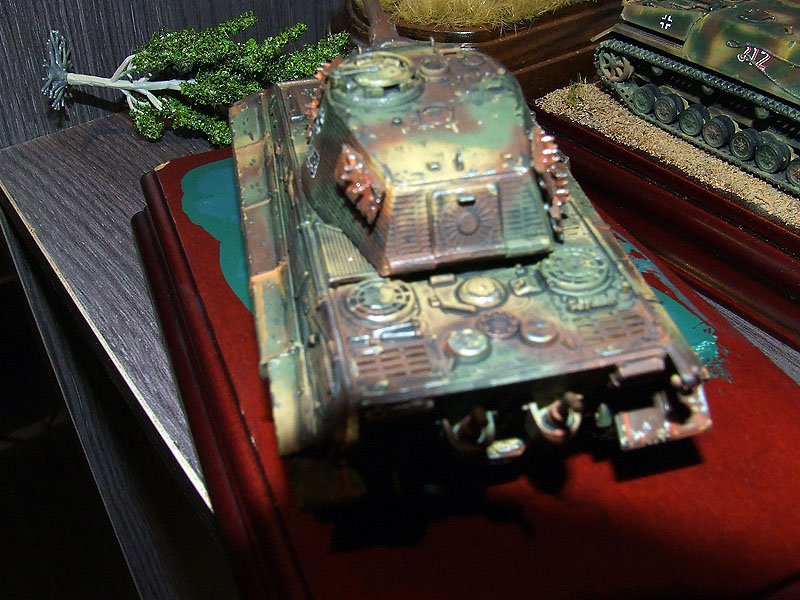
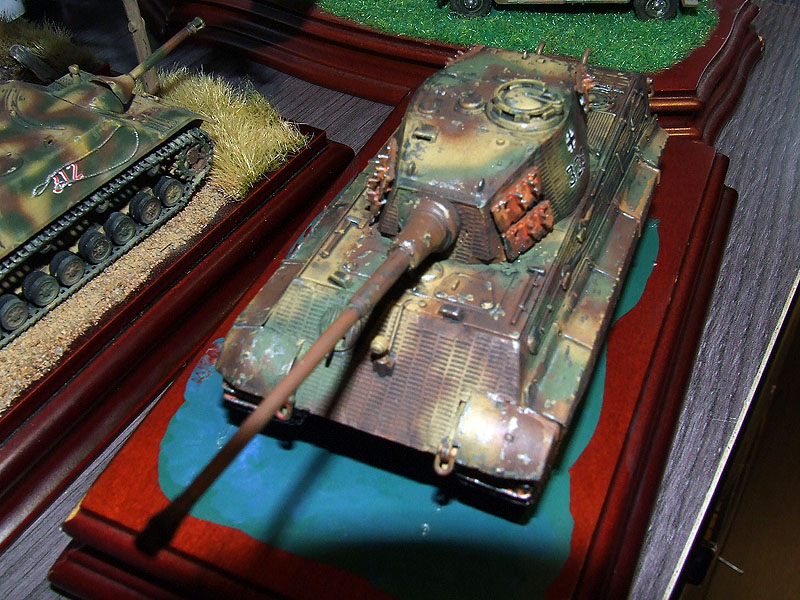
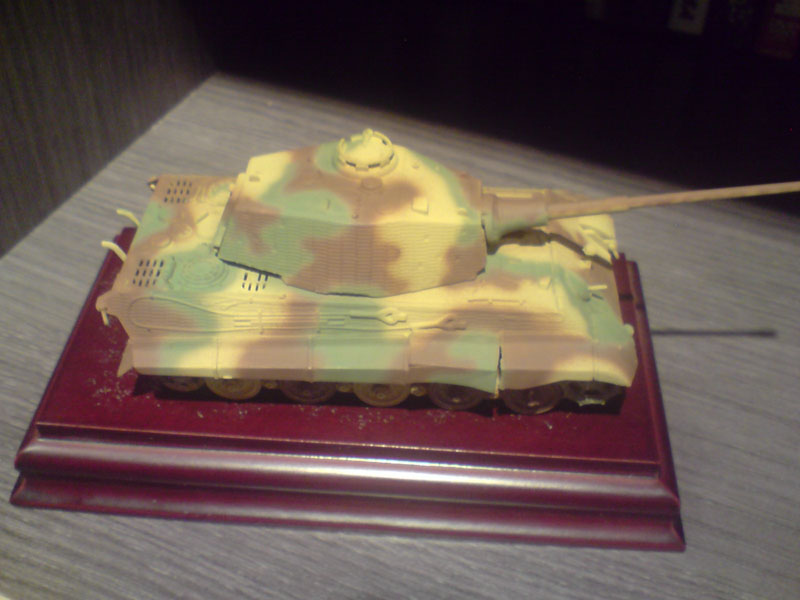
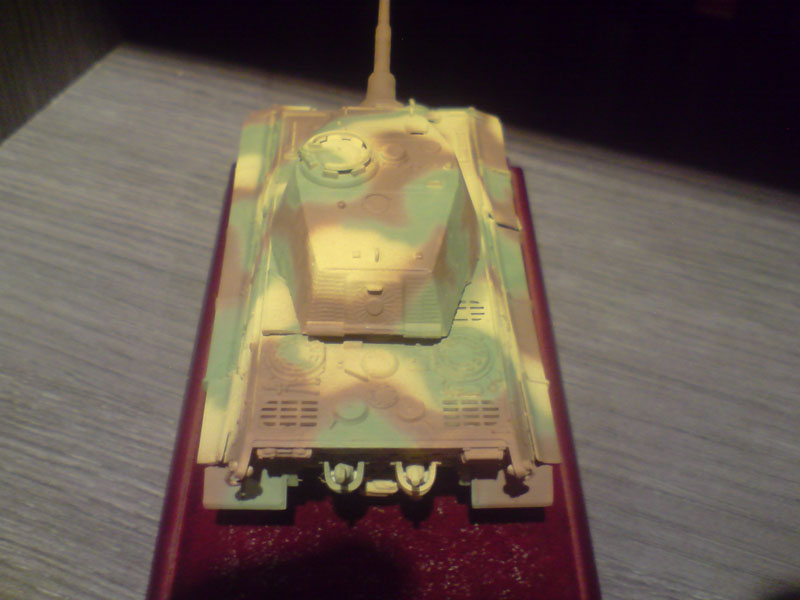
Here is the Tiger II (King Tiger) completely finished and ready to choose new base. 
PROYECTO TERMINADO
German Sd.Kfz 182 King Tiger Henschel Turret Zimmerit Trumpeter 1:72
Autor Armand C.M.