German SdKfz 234 /3 8-rad Heavy armored car stub Hasegawa 1:72 – Modeling
One of the best brands of plastic modeling kits certainly Hasegawa, and it can be shown by the finish and details that can be found in some kit scale 1:72 this brand. German car kit SdKfz 234 /3 8-rad Heavy armored car stub It is a good example, for small that is has very good detail and can be found in model shops for a price of € 16 at this time (2015).
The SdKfz 234/3 It is a variant of a heavy vehicle 8 I participate wheel end of the Second World War in the theater of Russia, Italy and France in the army of III Reich the Wehrmacht.
El kit en cuestión: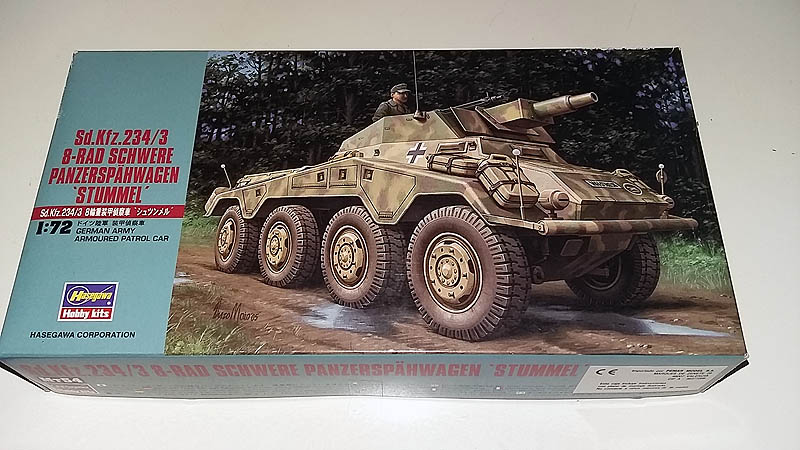
A little background on the SdKfz 234 /3 8-rad Heavy armored car stub:
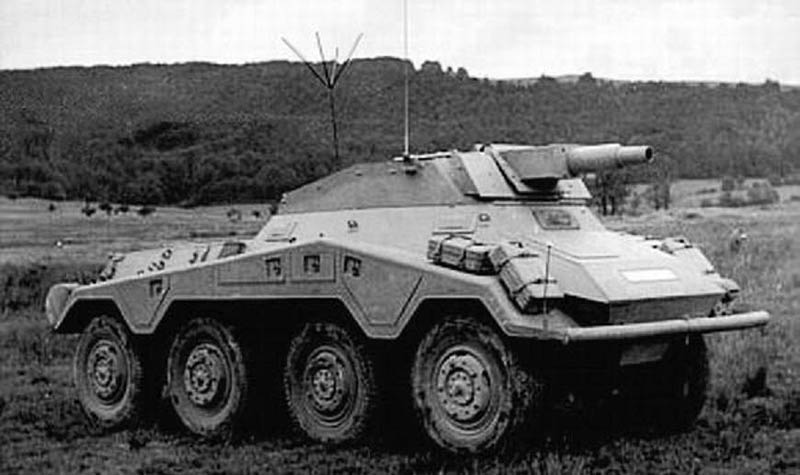
El SdKfz 234 (Special motor vehicle 234) It was an armored fighting vehicle, the series 8 Rad armored vehicle possessed a bidirectional conduction, and 8 Improved Rad had a more powerful engine than the previous version. During combat, a member of the crew occupied the rear driving position, ready to turn back an enemy sighted all point forward speed. The direction of the 8 wheels and little pressure exerted on the vehicle floor made him very popular among the crews serving in difficult terrain and extreme weather of the Eastern Front.
History and Development
Making SdKfz 234 like the rest of the Heavy Panzerspahwagen It was motivated by the need for a heavy vehicle recognition by the Wehrmacht. As the war progressed it became apparent that other models such as the SdKfz 232 They had already been surpassed and a vehicle was needed more armor and more firepower, so in 1940 Bussing-NAG He began to develop a new model.
Retain the configuration 8×8 , but the engine was improved, including ventilation systems to operate in tropics. at the time when it was designed it was fighting the Axis in North Africa, whereby a vehicle capable of properly operate in this environment is designed. Finally he did not participate any of these vehicles there, since when they were ready front had fallen. The engine used was a Tatra de 12 cylinder V air cooled, providing 210 hp. She was mated to a six-speed transmission allowing six gears forward and backward.
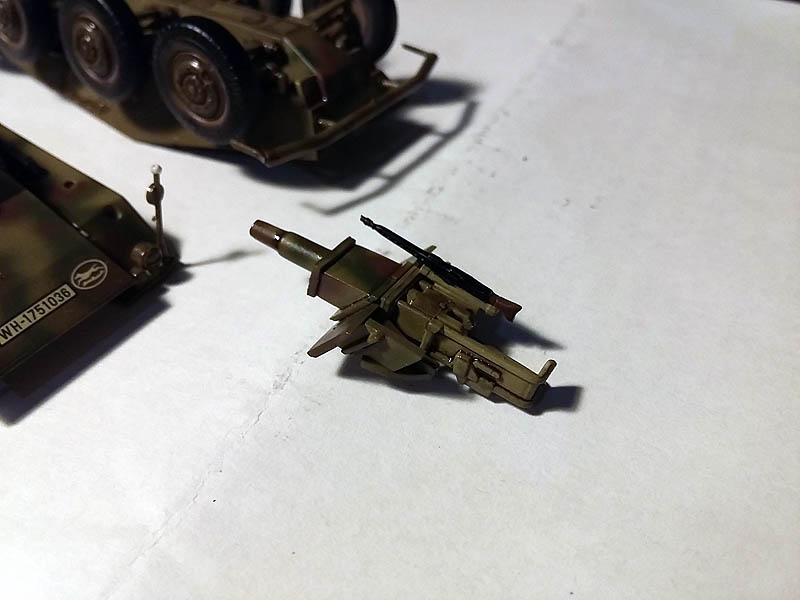
The frontal armor increased to 30 mm and the design of the hull plates were used at an angle of inclination to increase protection. The main improvement of these vehicles was the weaponry , since in the Eastern Front Soviets they were facing increasingly heavy vehicles, so they decided to increase the firepower of the reconnaissance vehicles. Some models like the 234/3 and 234/4 They had an open turret, as the main armament that they set was too large to fit in a normal turret, when anti-tank artillery pieces installed on the vehicle, almost no changes.
El Sd.Kfz. 234/3 version was supported by the improved series Achtrad (8×8) heavy armored vehicles. Its main task ere eliminate the entrenched positions of machine guns and anti-tank guns, through direct shots with high-explosive projectiles. Had a KwK37 of anti-tank gun 75 mm.
| Production history | ||
|---|---|---|
| Manufacturer | Bussing-NAG German Edelstahlwerke of Krefeld Daimler Benz Ringhoffer-Tatra-Werke AG |
|
| Specifications | ||
| Weight | 10,5 tm | |
| Length | 6,02 m | |
| Width | 2,36 m | |
| Height | 2,10 m | |
| Crew | 4 (commander, artilleryman, loader, conductor) | |
|
|
||
| Shield | 9-30 mm | |
| Primary weapon | 1 x 20 mm (234/1) KwK40 cannon L / 48 75 mm (234/2) Canyon KwK37 of 75 mm (234/3) Canyon PaK 40 L / 46 75 mm (234/4) |
|
| Secondary Weapon | 1 MG machine gun 34 de 7,92 mm | |
|
|
||
| Motor | Tatra 103, Air cooled V12 Diesel 210 CV (157 kW) |
|
| Maximum speed | 85 km/h | |
| Fuel capacity | 360 l diesel | |
| Autonomy | 900 km (highway) 600 km (cross country) | |
| Filming | 8 wheel | |
| Suspension | springs | |
Installation and coloring kit:
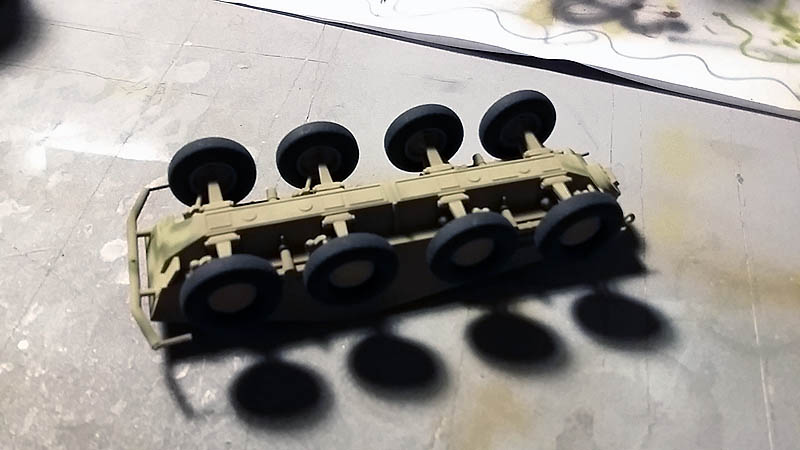
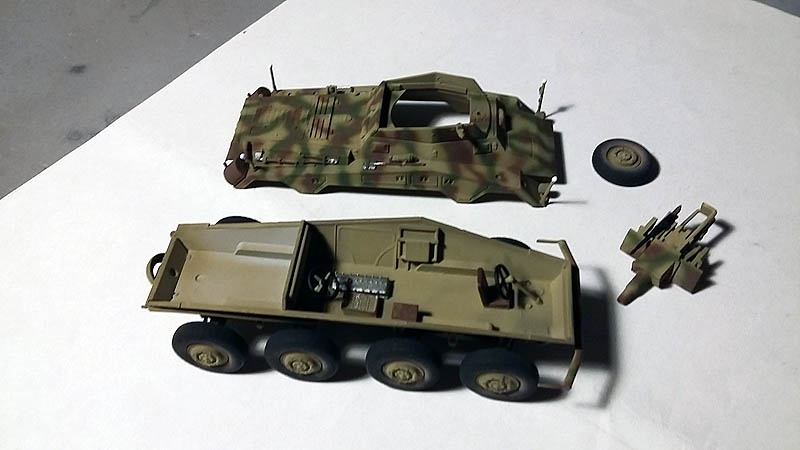
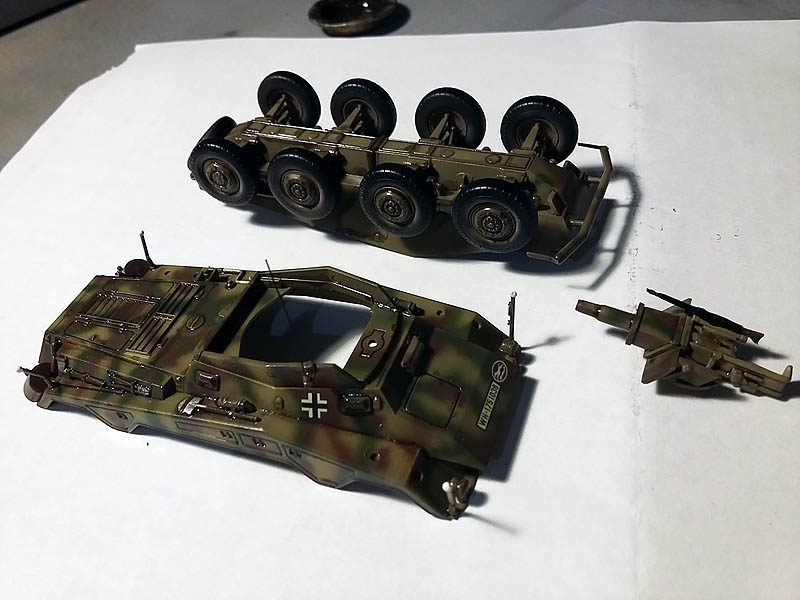
The kit consists of four sheets of pieces, decals and instructions. Although the model is of a small enough scale takes small parts which makes it more difficult to assemble but in turn easier to paint to make fundamental pieces divided into several parts such as wheels, which they are divided into three, tire rim and in turn is divided into two giving me free hand to paint without mask.
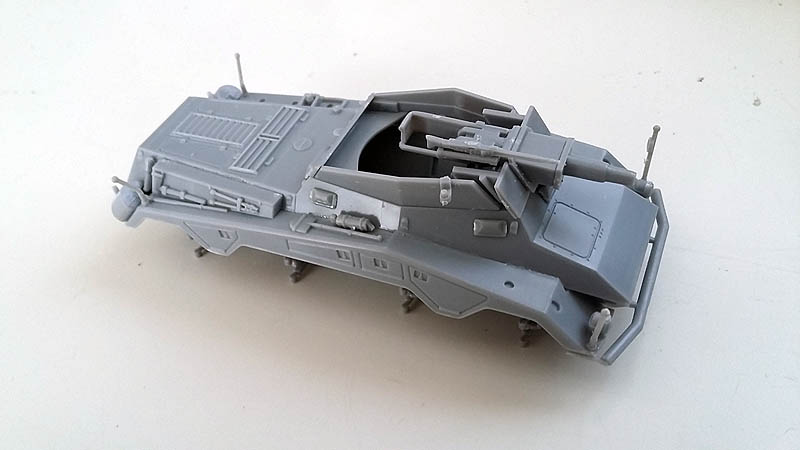
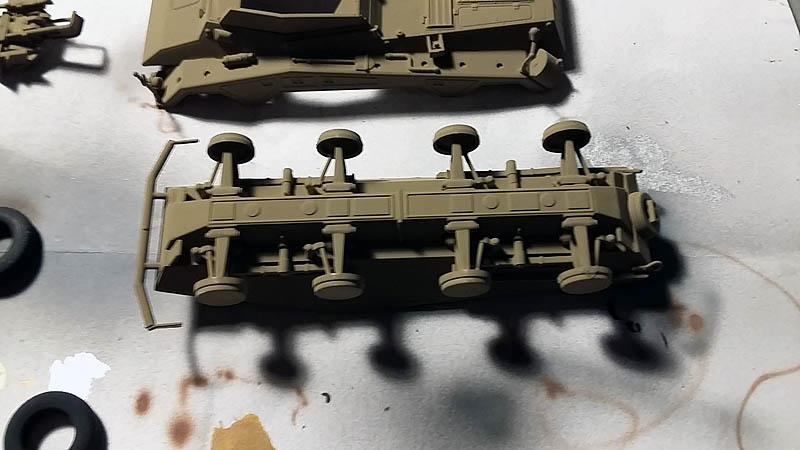
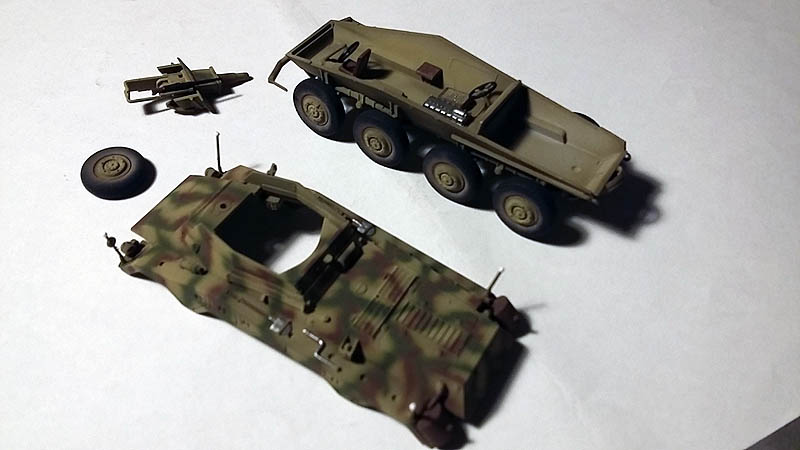
 Start assembly paste leaving the body and chassis for easy access to the interior paint, as well as wheels and barrel for the same purpose.
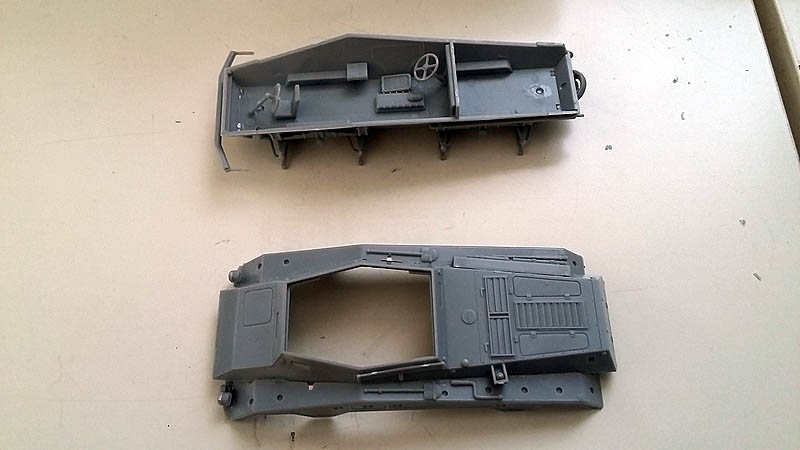

 Also I leave without hitting all deposits and tools.
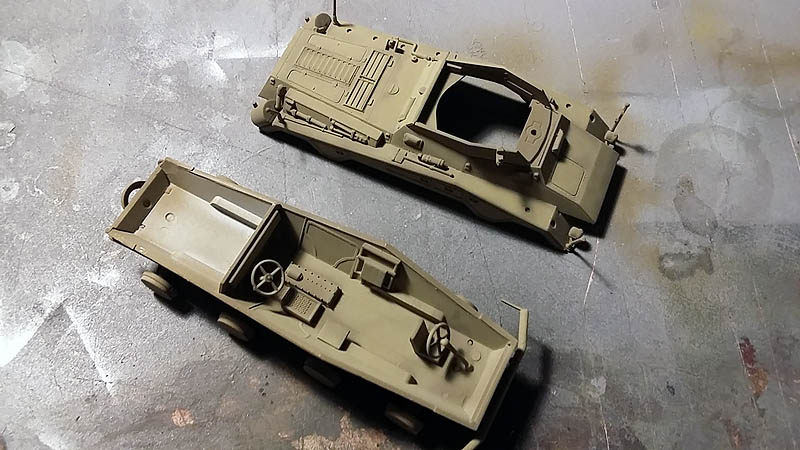
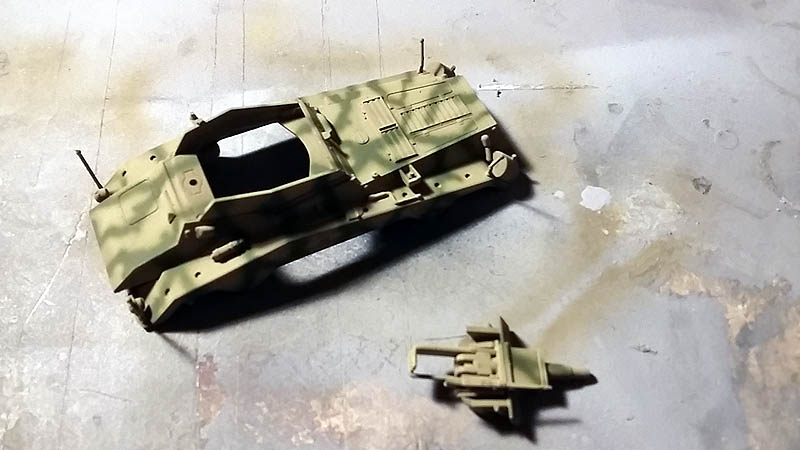
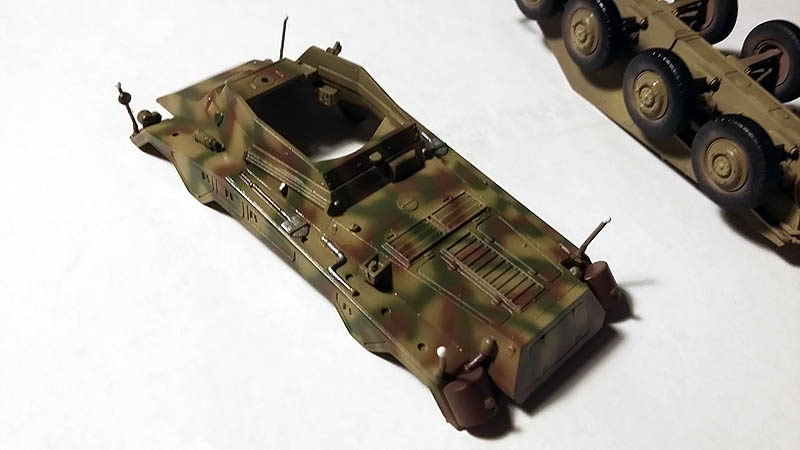
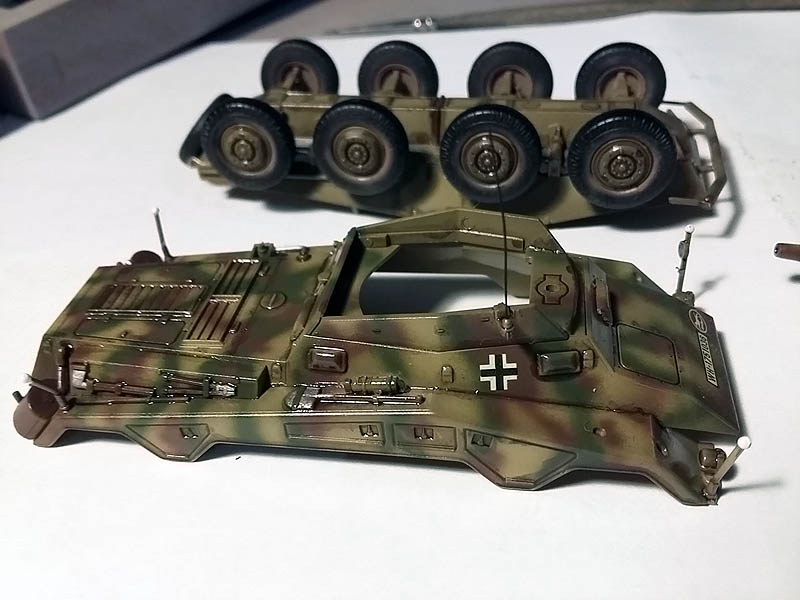
 Once everything is in place and dry start to the process of painting, as always with gray print Vallejo spray the whole model and once dry prepared for camouflage scheme of three colors, the colors used are from the Tamiya brand: XF-68 Nato Brown , Verde Nato XF-67 y XF-60 Dark Yellow.
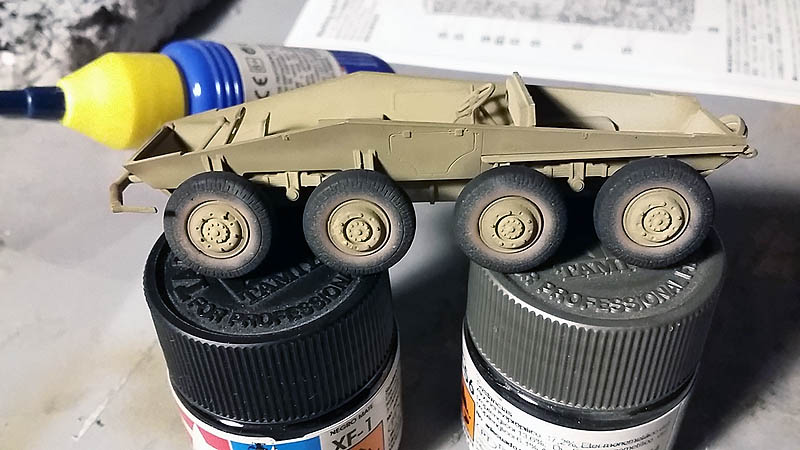
I give it one last deep yellow base color and apply negro mate XF-1 tires.
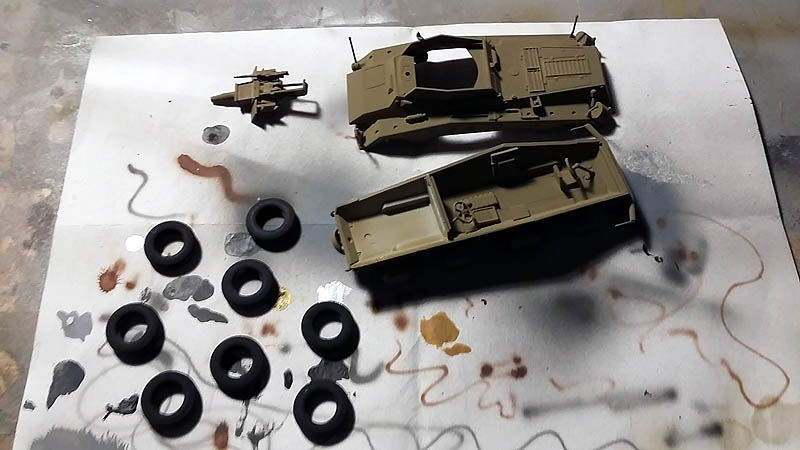
 Pinto also tires.
 Once dry, apply a mixture of lights with a white base color and matte 9 a 1.
 I hope 24 hours for all dry paint job properly to begin with camouflage scheme. A freehand airbrush I apply the first born green lines.
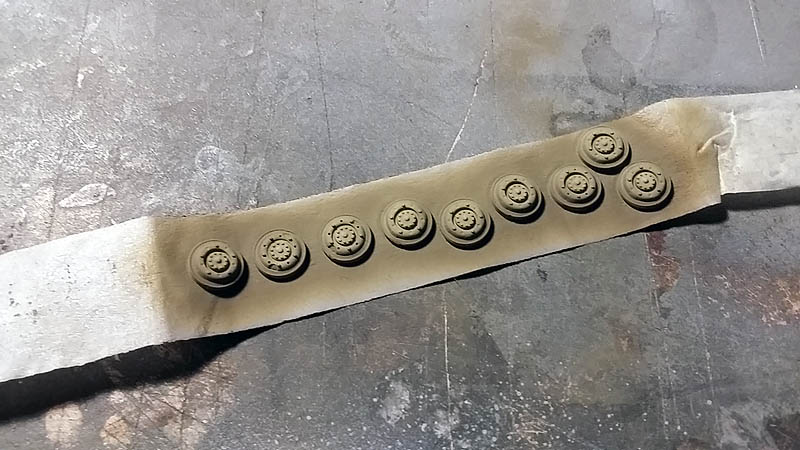
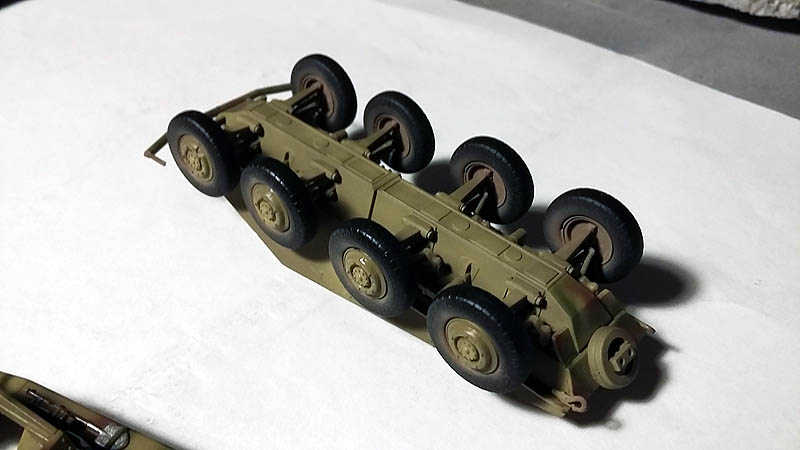
 Waiting for it to dry in a few minutes before applying the other lines brown camouflage born, take to glue the tires to their hubs, leaving the tires for later.
 Now I apply the same technique with the last color for camouflage with brown.
  Before gluing the tires take the opportunity to paint with airbrush and earth colored edges of the tires to give an effect of accumulation of dirt, color utilizado Flat Earth XF- 52 de Tamiya, then I hit parts.
 The next step once all the work is drying paint all interior and exterior accessories, shovels, tools and other.

 The next step, apply a layer to the entire vehicle with glossy varnish Tamiya XF-22 to protect all paint to the following process.
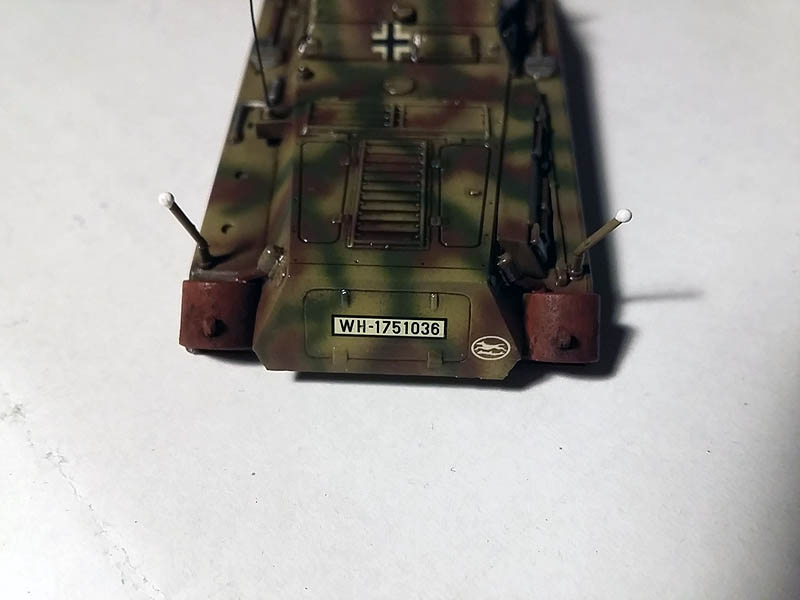
 Varnish drying step applying decals with MicroSol and MicroSet products, This kit takes few as seen.
 After several days leaving varnish dries beginning with fine paneling dark brown oil using highly diluted with turpentine or white spirit.
With a fine brush will dilute adding dark brown panels in the nooks and I want to make.
 Let dry slightly, not much if not then I will be more difficult to remove excess bad luck and sometimes you can remove the paint job if you rub hard on the surface, so with the help of a stick ear or maybe a Boston foam ones that are used for eye shadow, soaked with turpentine or white spirit is going to stop removing excess adequate shade.
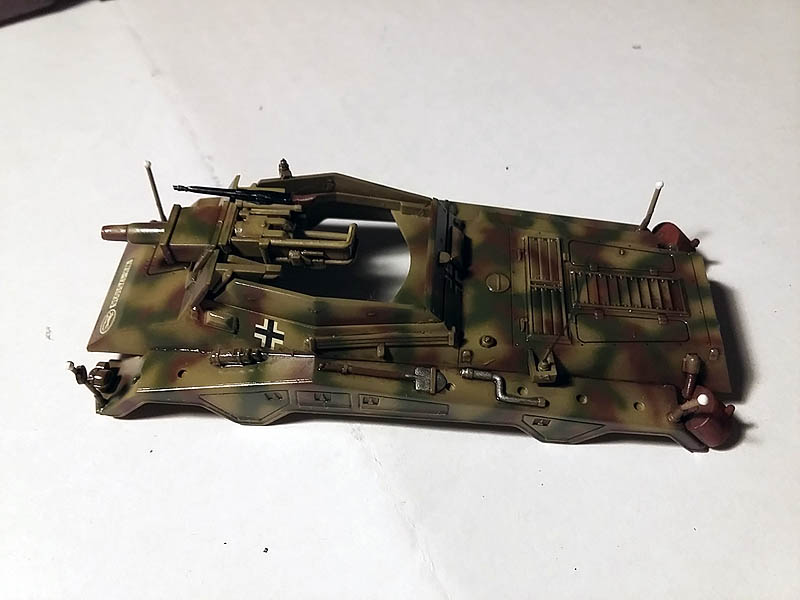 I now turn to the exhaust pipes Sdkfz 234/3, to simulate the deterioration of these oxidation etc.. utilizo 2 ringtones reddish pigment and black I add mixed with the liquid to fix.
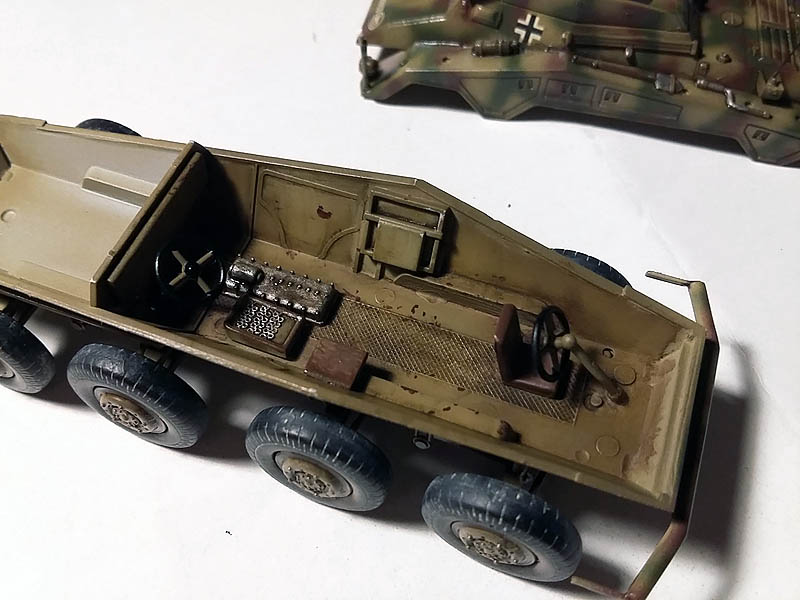
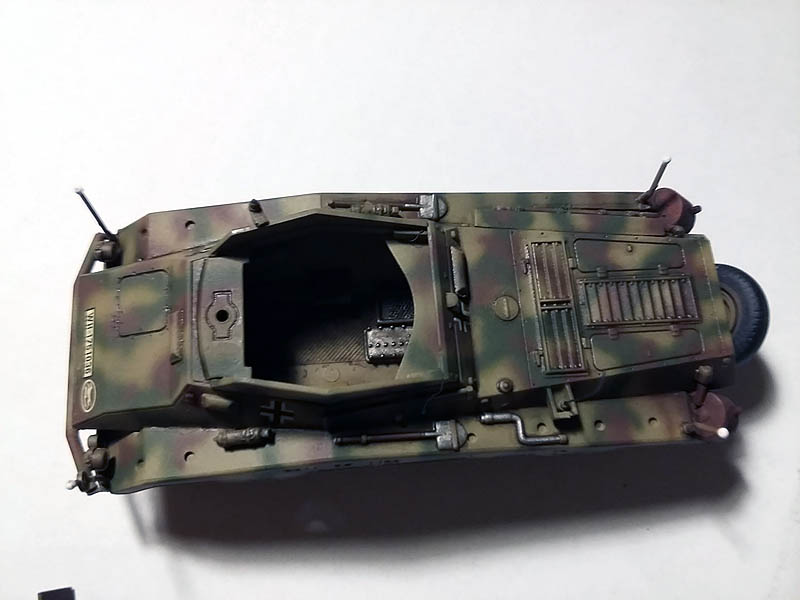
 Let dry all the work of the top of the car and the interior passage, to simulate dirt and internal deterioration and brown use a small brush to apply some descorches, then I apply a brown wash to simulate and other dirt that accumulates inside the compartment Sdkfz 234/3.
 Applied to the wheels washing with a light color earth.
 Before connecting the two parts of the kit I apply some passes satin varnish Vallejo the entire interior.
 And step by joining the two halves.
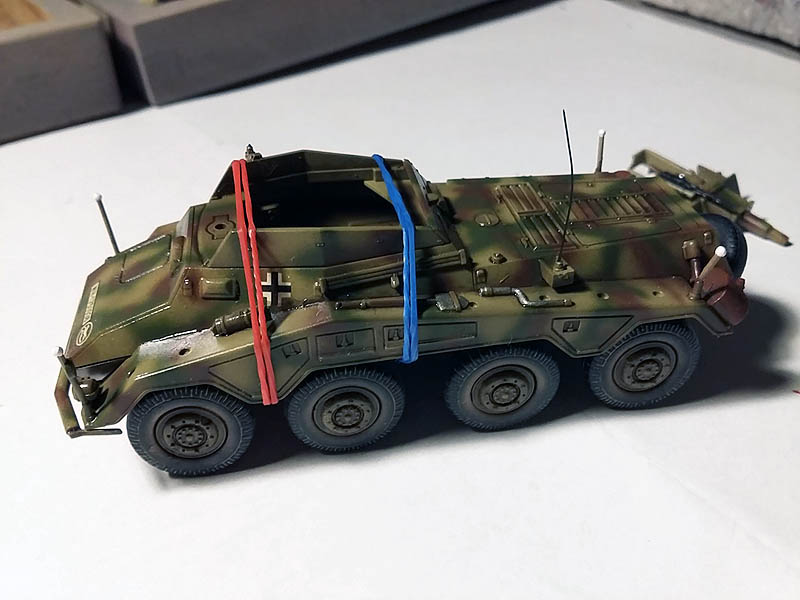 A very strong bonding time I start with the exterior painted with satin varnish Vallejo n. reference 70.522 to go taking the right tone.
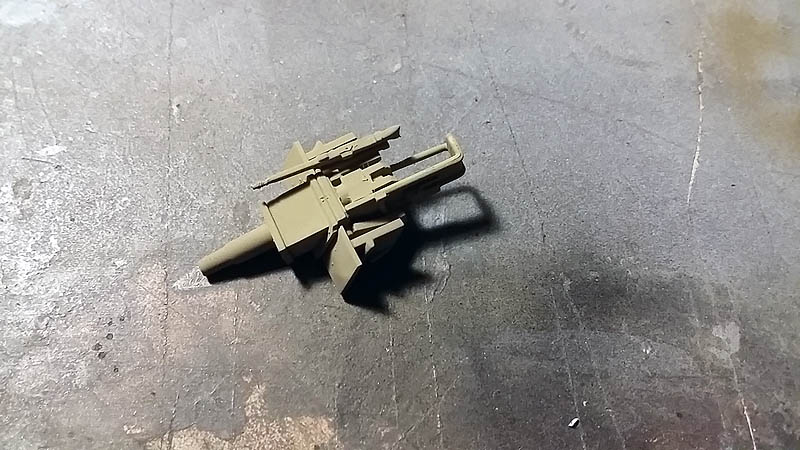
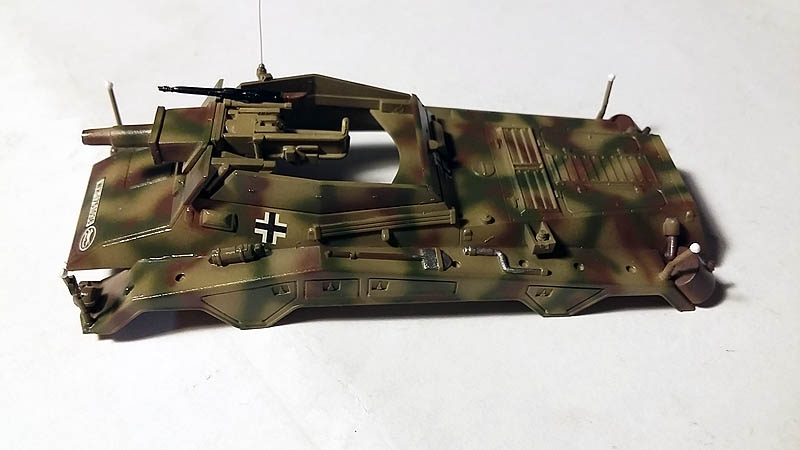
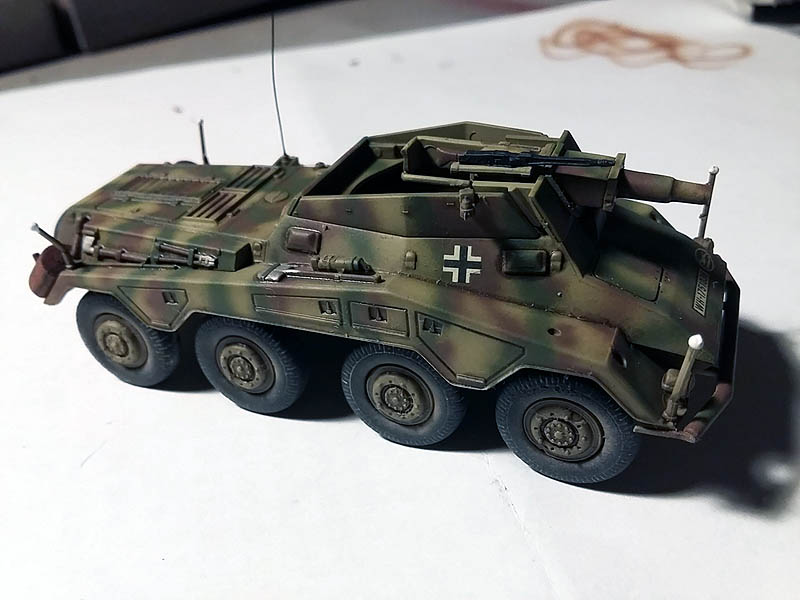
 Once applied the varnish and spent a few hours in the turret I add the Canyon.
 I'm applying coats of satin varnish Vallejo to eliminate glare from all parts of the kit.

 Next step finish and add external fuel tanks.
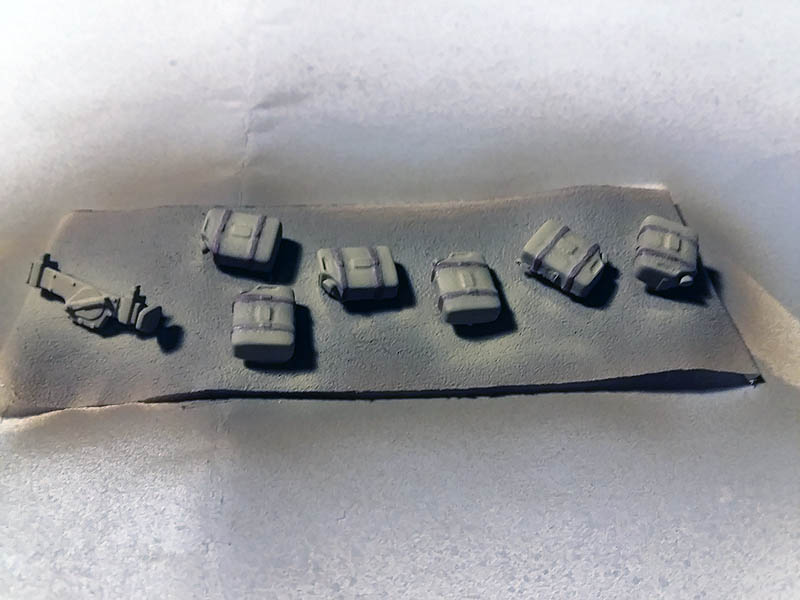
And finally I start the final pieces, external tank and hydraulic jack.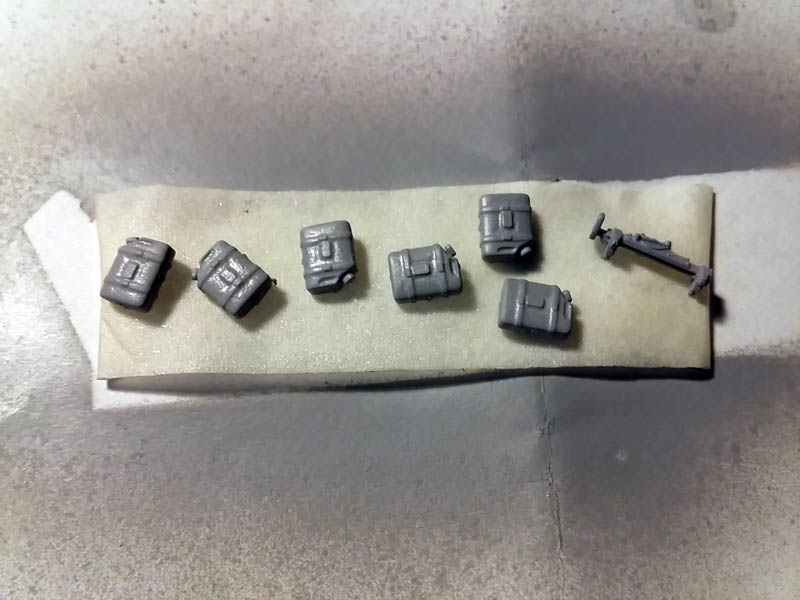 I start with painting, I use the khaki for the base.
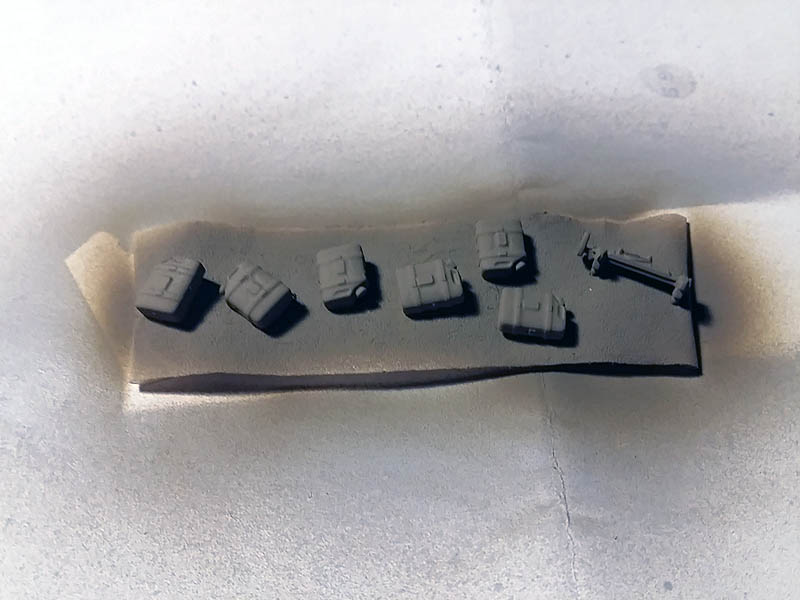 Pinto tethers brown.
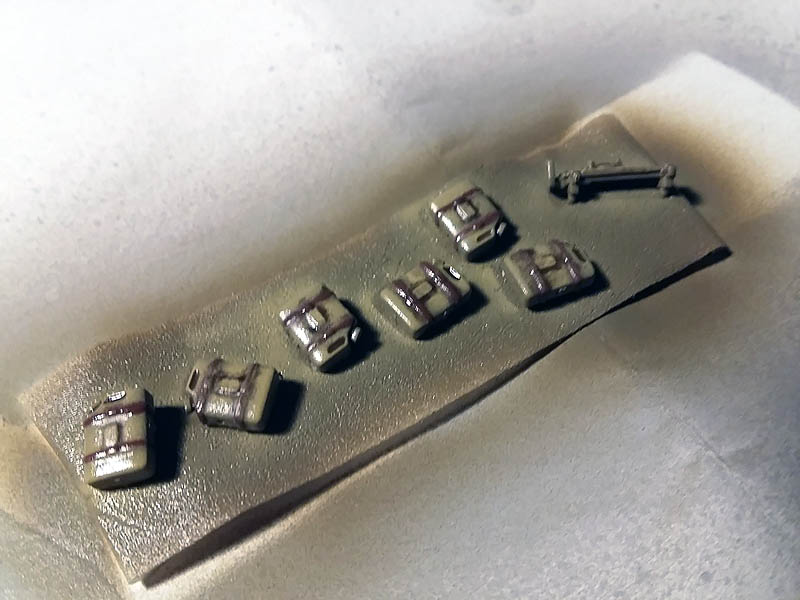
 Dark yellow lights.
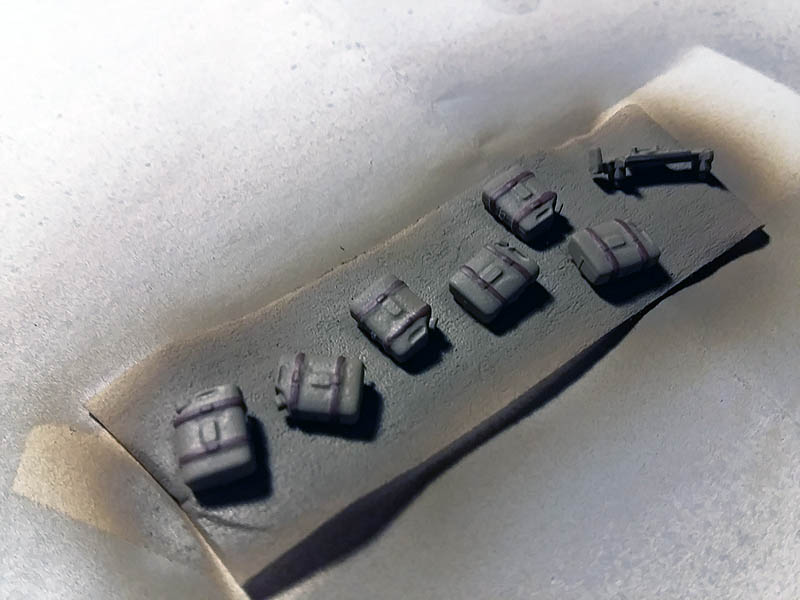
 Varnished with glossy transparent varnish and when dry I make a dark brown wash.
 Once dry, remove the excess and with clear satin varnish it and finally add the kit drums.
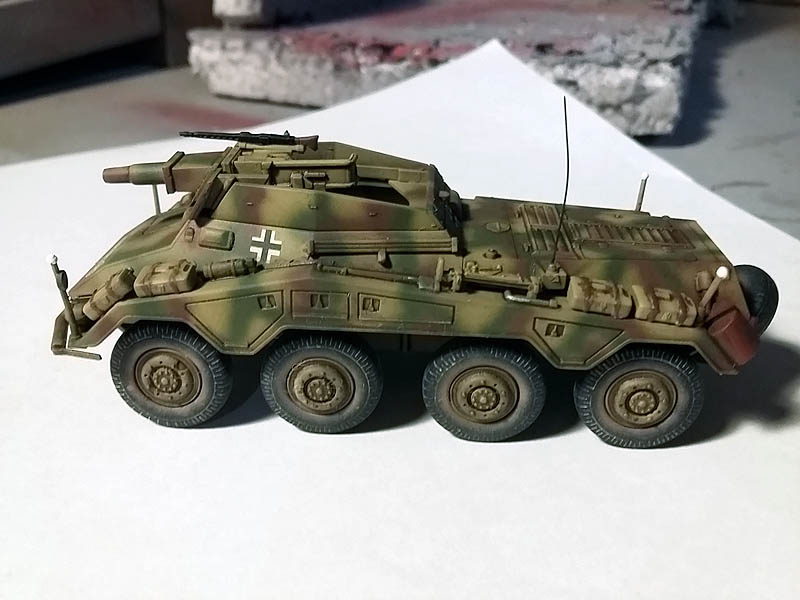
 Let dry for several days to dry out the oil and satin varnish again to remove all shine.
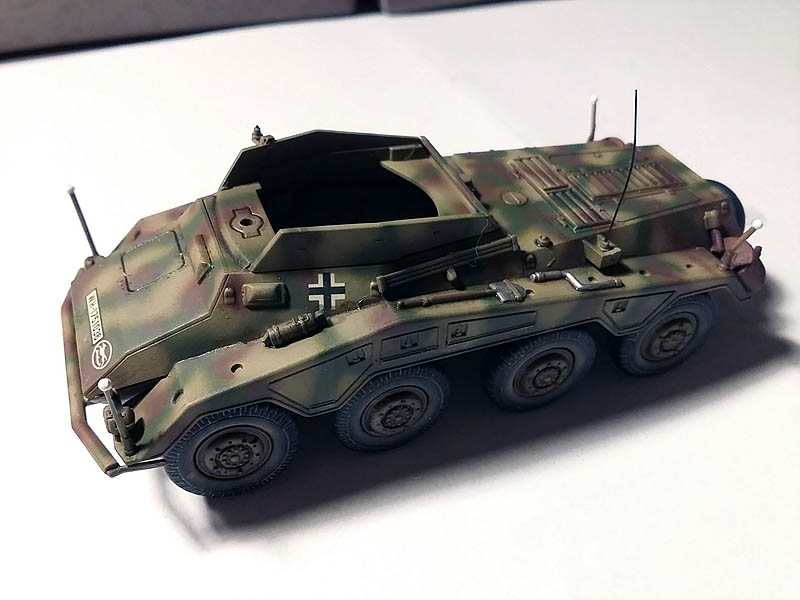
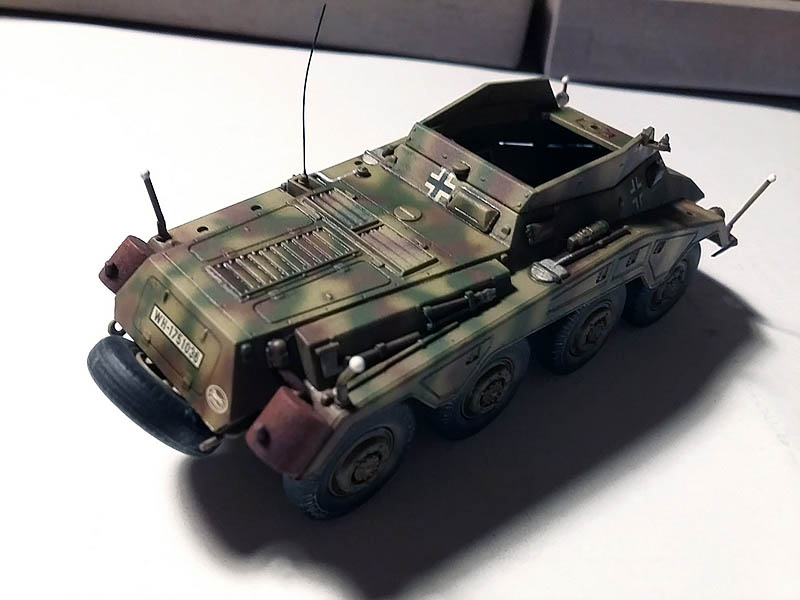
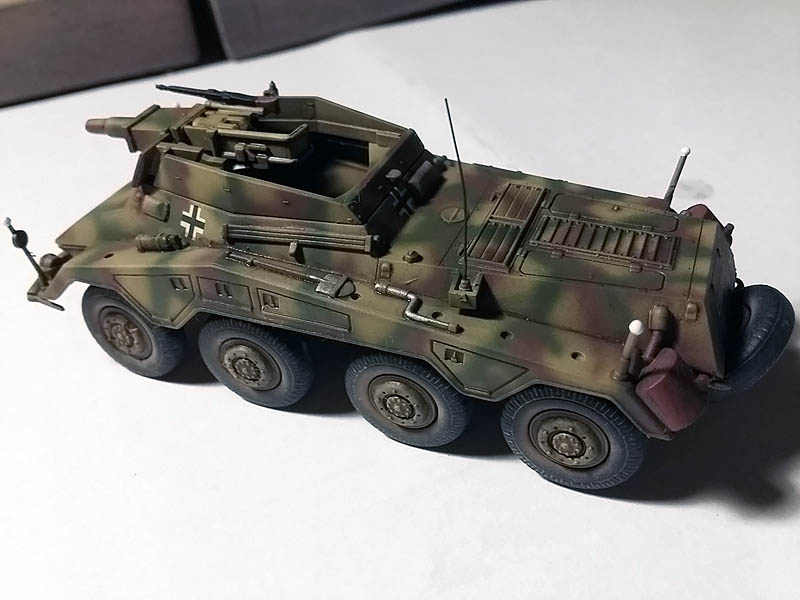
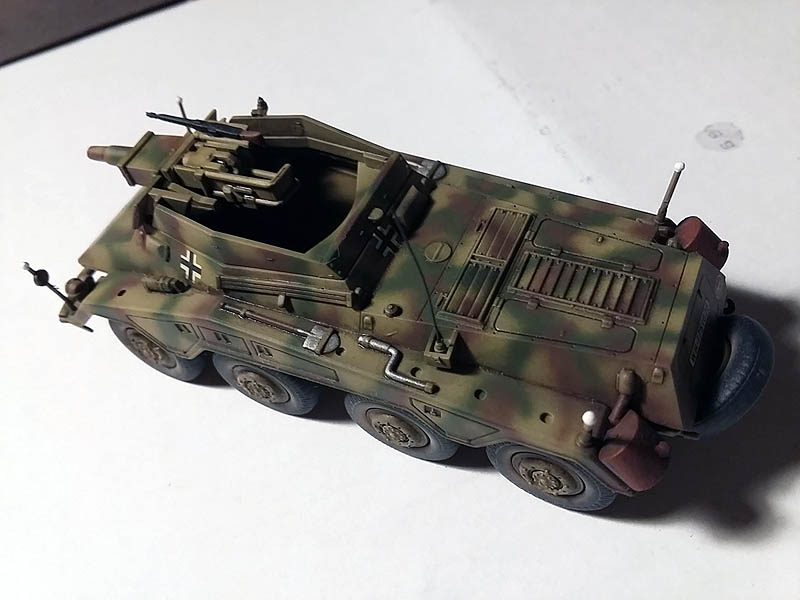
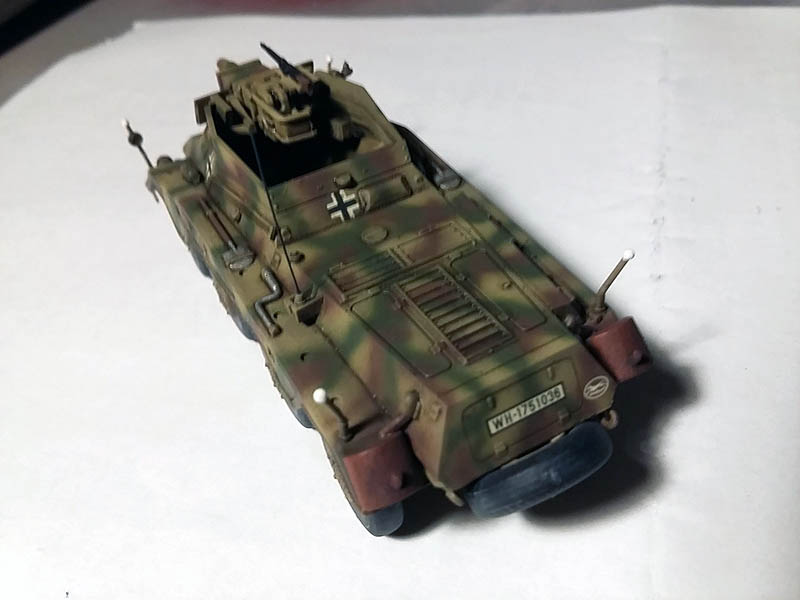
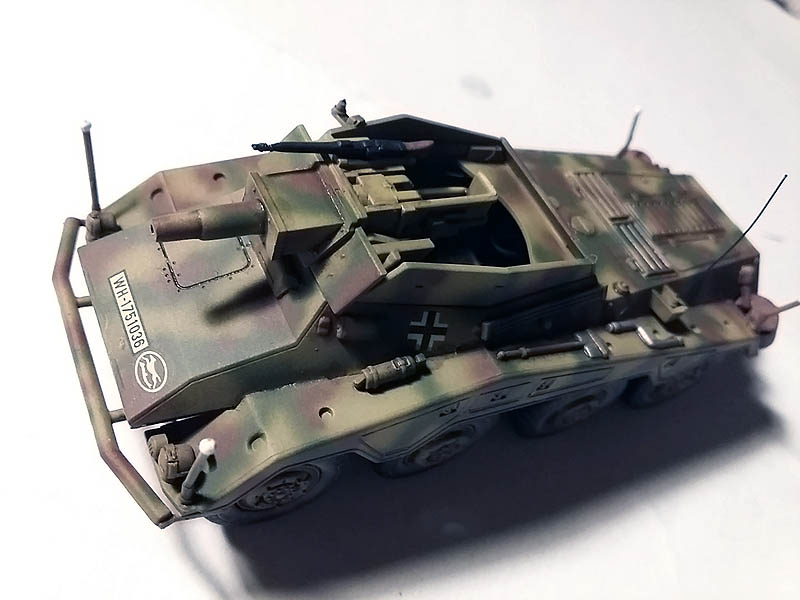
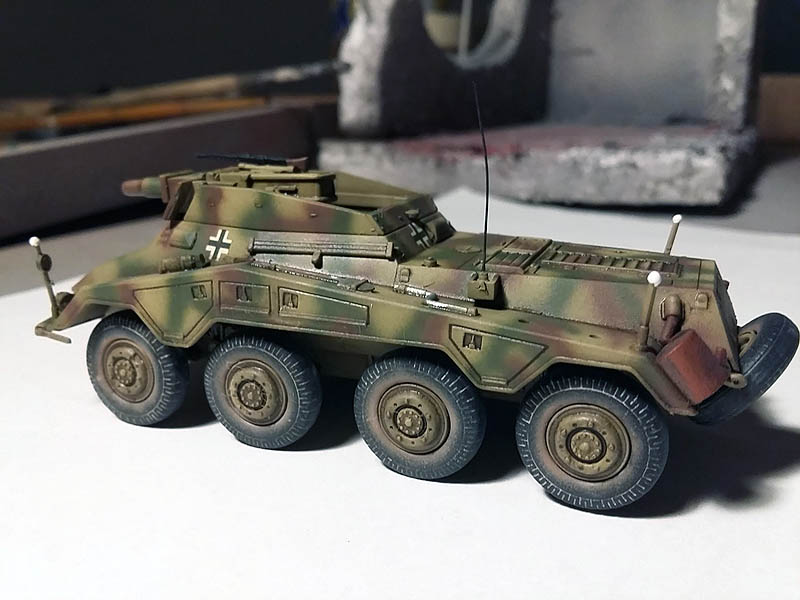
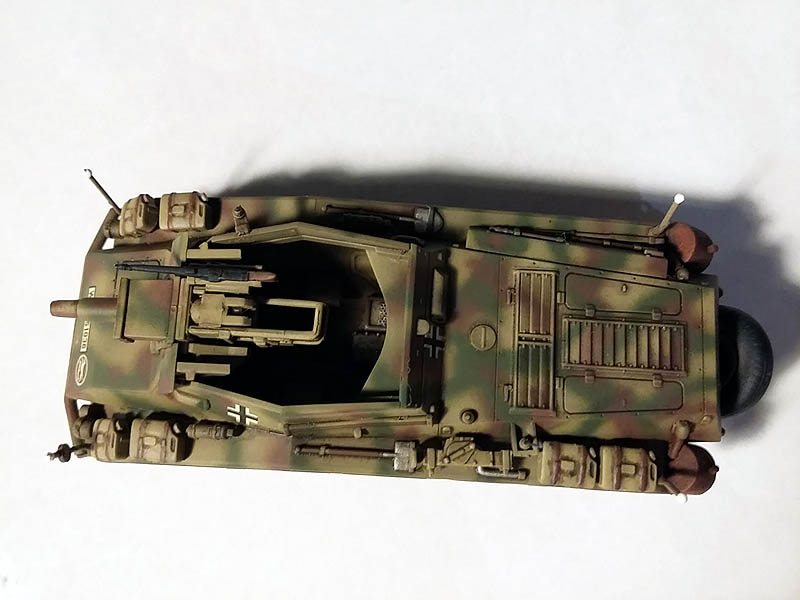
The finished kit:
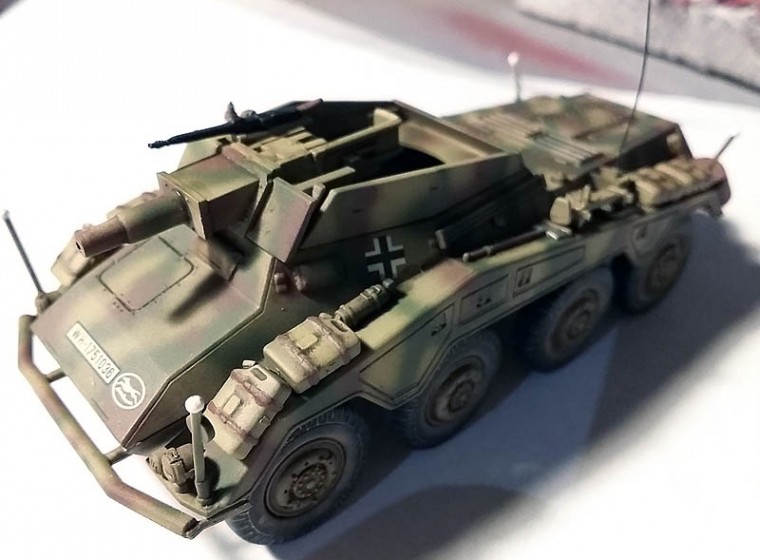
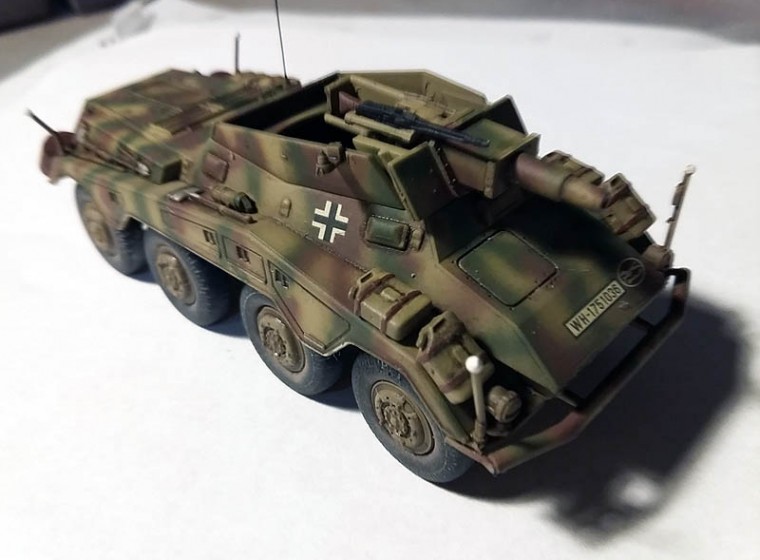
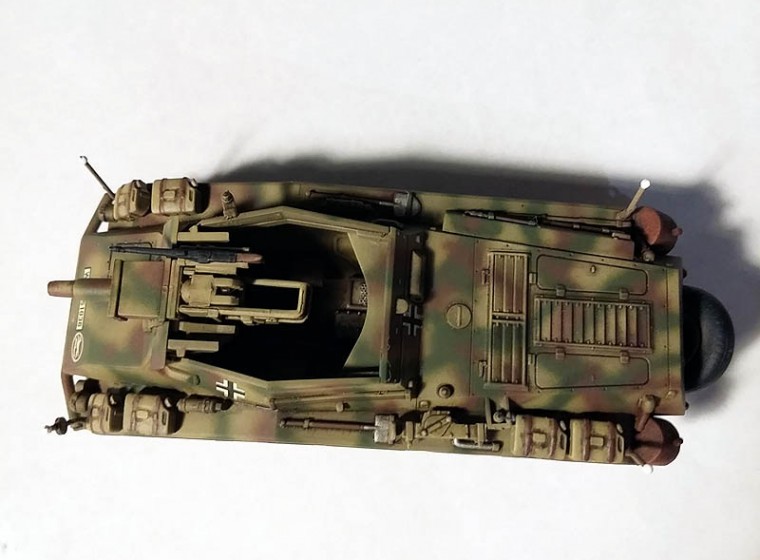

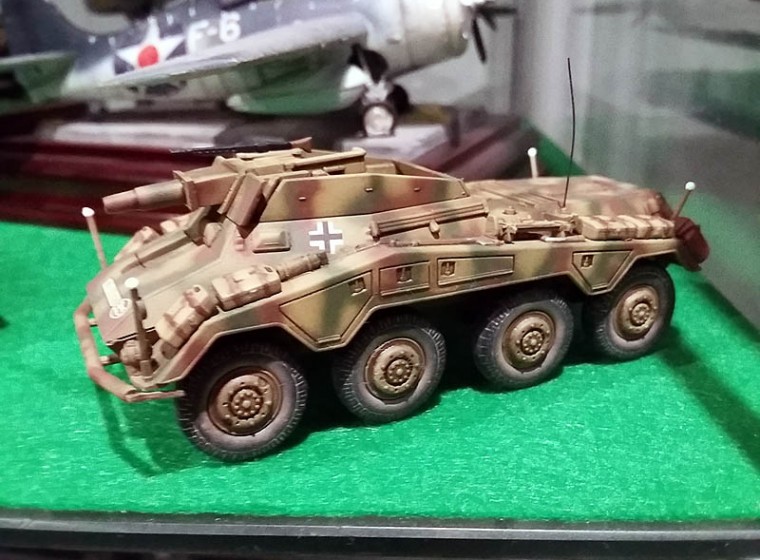
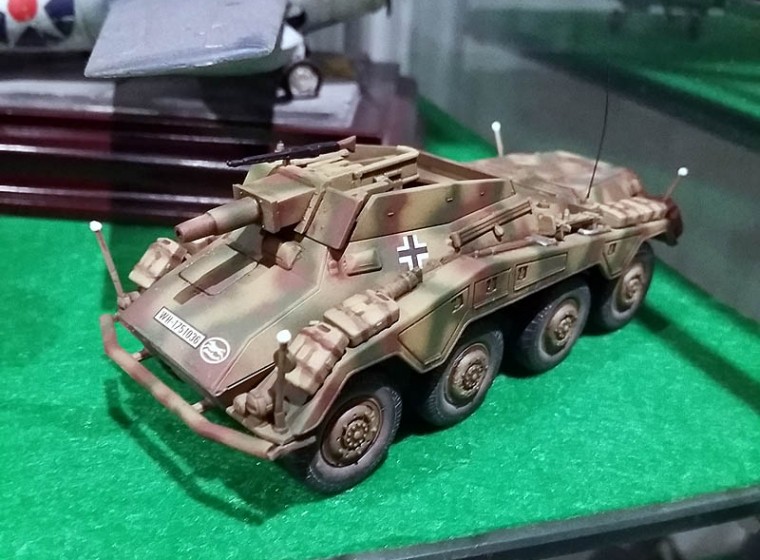
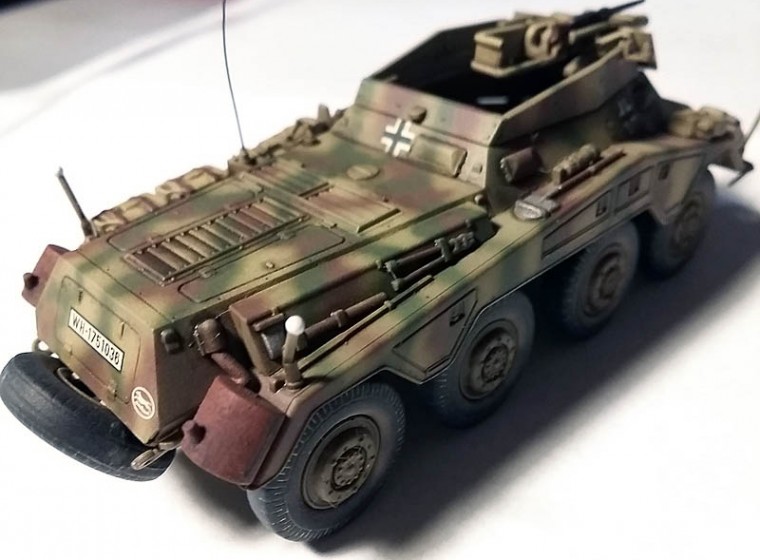
PROYECTO TERMINADO
Autor Armand C.M.