German Tiger I Initial Production Ausführung Afrika Tamiya 1:35 – Modeling (Restoration)
Some years ago when I started in the world of modeling, buy a kit Tamiya a powerful German Tiger I that lead to put these batteries and motorcito, the kit in question was "German Tiger I Initial Production Ausführung Afrika"From Tamiya scale 1:35.
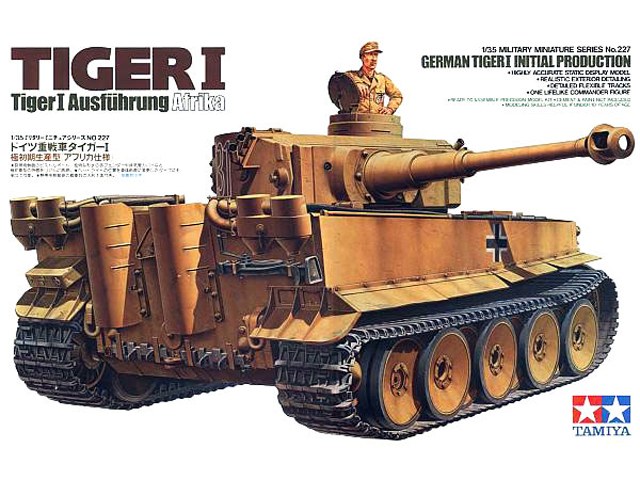
While this kit does not carry great detail in his time for me it was second to none, paint it as it wore the color in the box and brush heh heh heh ... After several years thinking that my talent had improved decided to give it another coat of paint this time with airbrush and returned to be forgotten until today I have decided to give it a new face and take the bull by the horns.
This is how stay on my last attempt to finish the model.

A little history on the Panzer VI (Tiger):
Tiger I is the name by which is usually known a German heavy tank developed in 1942 and used in World War II. His last German official designation was Panzerkampfwagen Tiger Ausf. And ('Tiger armored fighting vehicle variant E'), often abbreviated as Tiger. The nickname of the tank was placed by Ferdinand Porsche, and the Roman numeral was added after the Tiger II went into production. The first official German designation was Panzerkampfwagen WE Ausf. H, but the name in March 1943 was changed to Panzerkampfwagen VI Tiger Ausf. And. The inventory designation German military vehicles for this tank was Sd.Kfz. 181.
It was an answer to the unexpectedly formidable force Soviet armored found in the first months of Operation Barbarossa, particularly the T-34 and KV-1. The Tiger I gave the Heer his first tank equipped with cannon 88 mm, which had previously demonstrated its effectiveness against both air and ground targets. During the course of the war, Tiger I saw combat on all fronts battle that had Germany. Usually was deployed in independent tank battalions, where he proved to be a formidable.
While the Tiger I was feared by most opponents, it was technically complicated, used materials and production methods expensive and labor intensive, consuming much production time. Only they were manufactured 1347 units between August 1942 and August 1944. The Tiger was prone to certain types of failures in the caterpillars and detention, but nevertheless, It was generally mechanically reliable but expensive to maintain and difficult to transport because of its support wheels overlapping and intertwined. In 1944 it ceased production in favor of Tiger II.
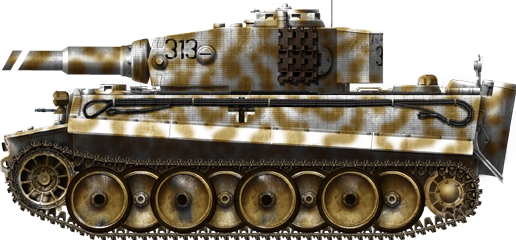
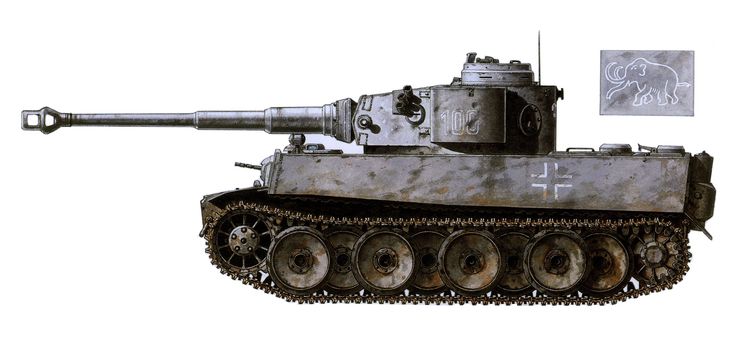
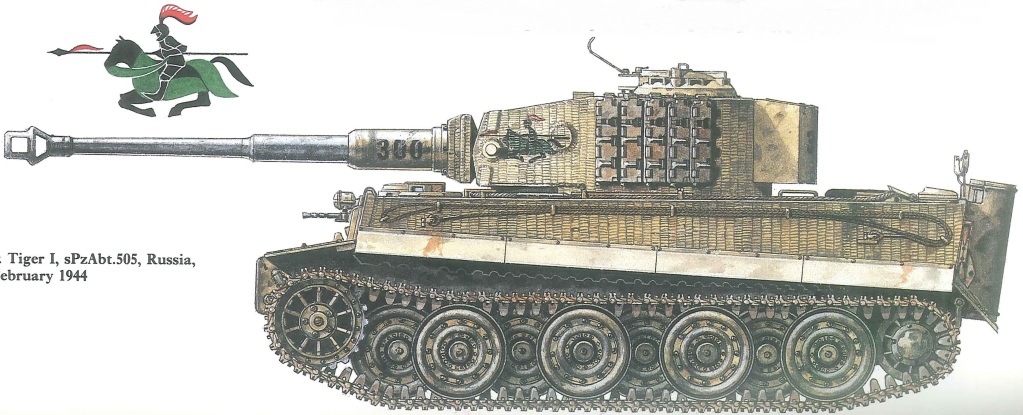
Some camouflages used in the race:
Restoration process
First of all, stripping the kit as it takes 2 layers of paint and a brush so the detail of crumpled iron is Invisible, for this I use a plastic bucket where the whole kit fits with warm water and I cover, then add caustic soda using gloves to manipulate since it is a corrosive product and can cause skin burns, once removed all let stand one week.
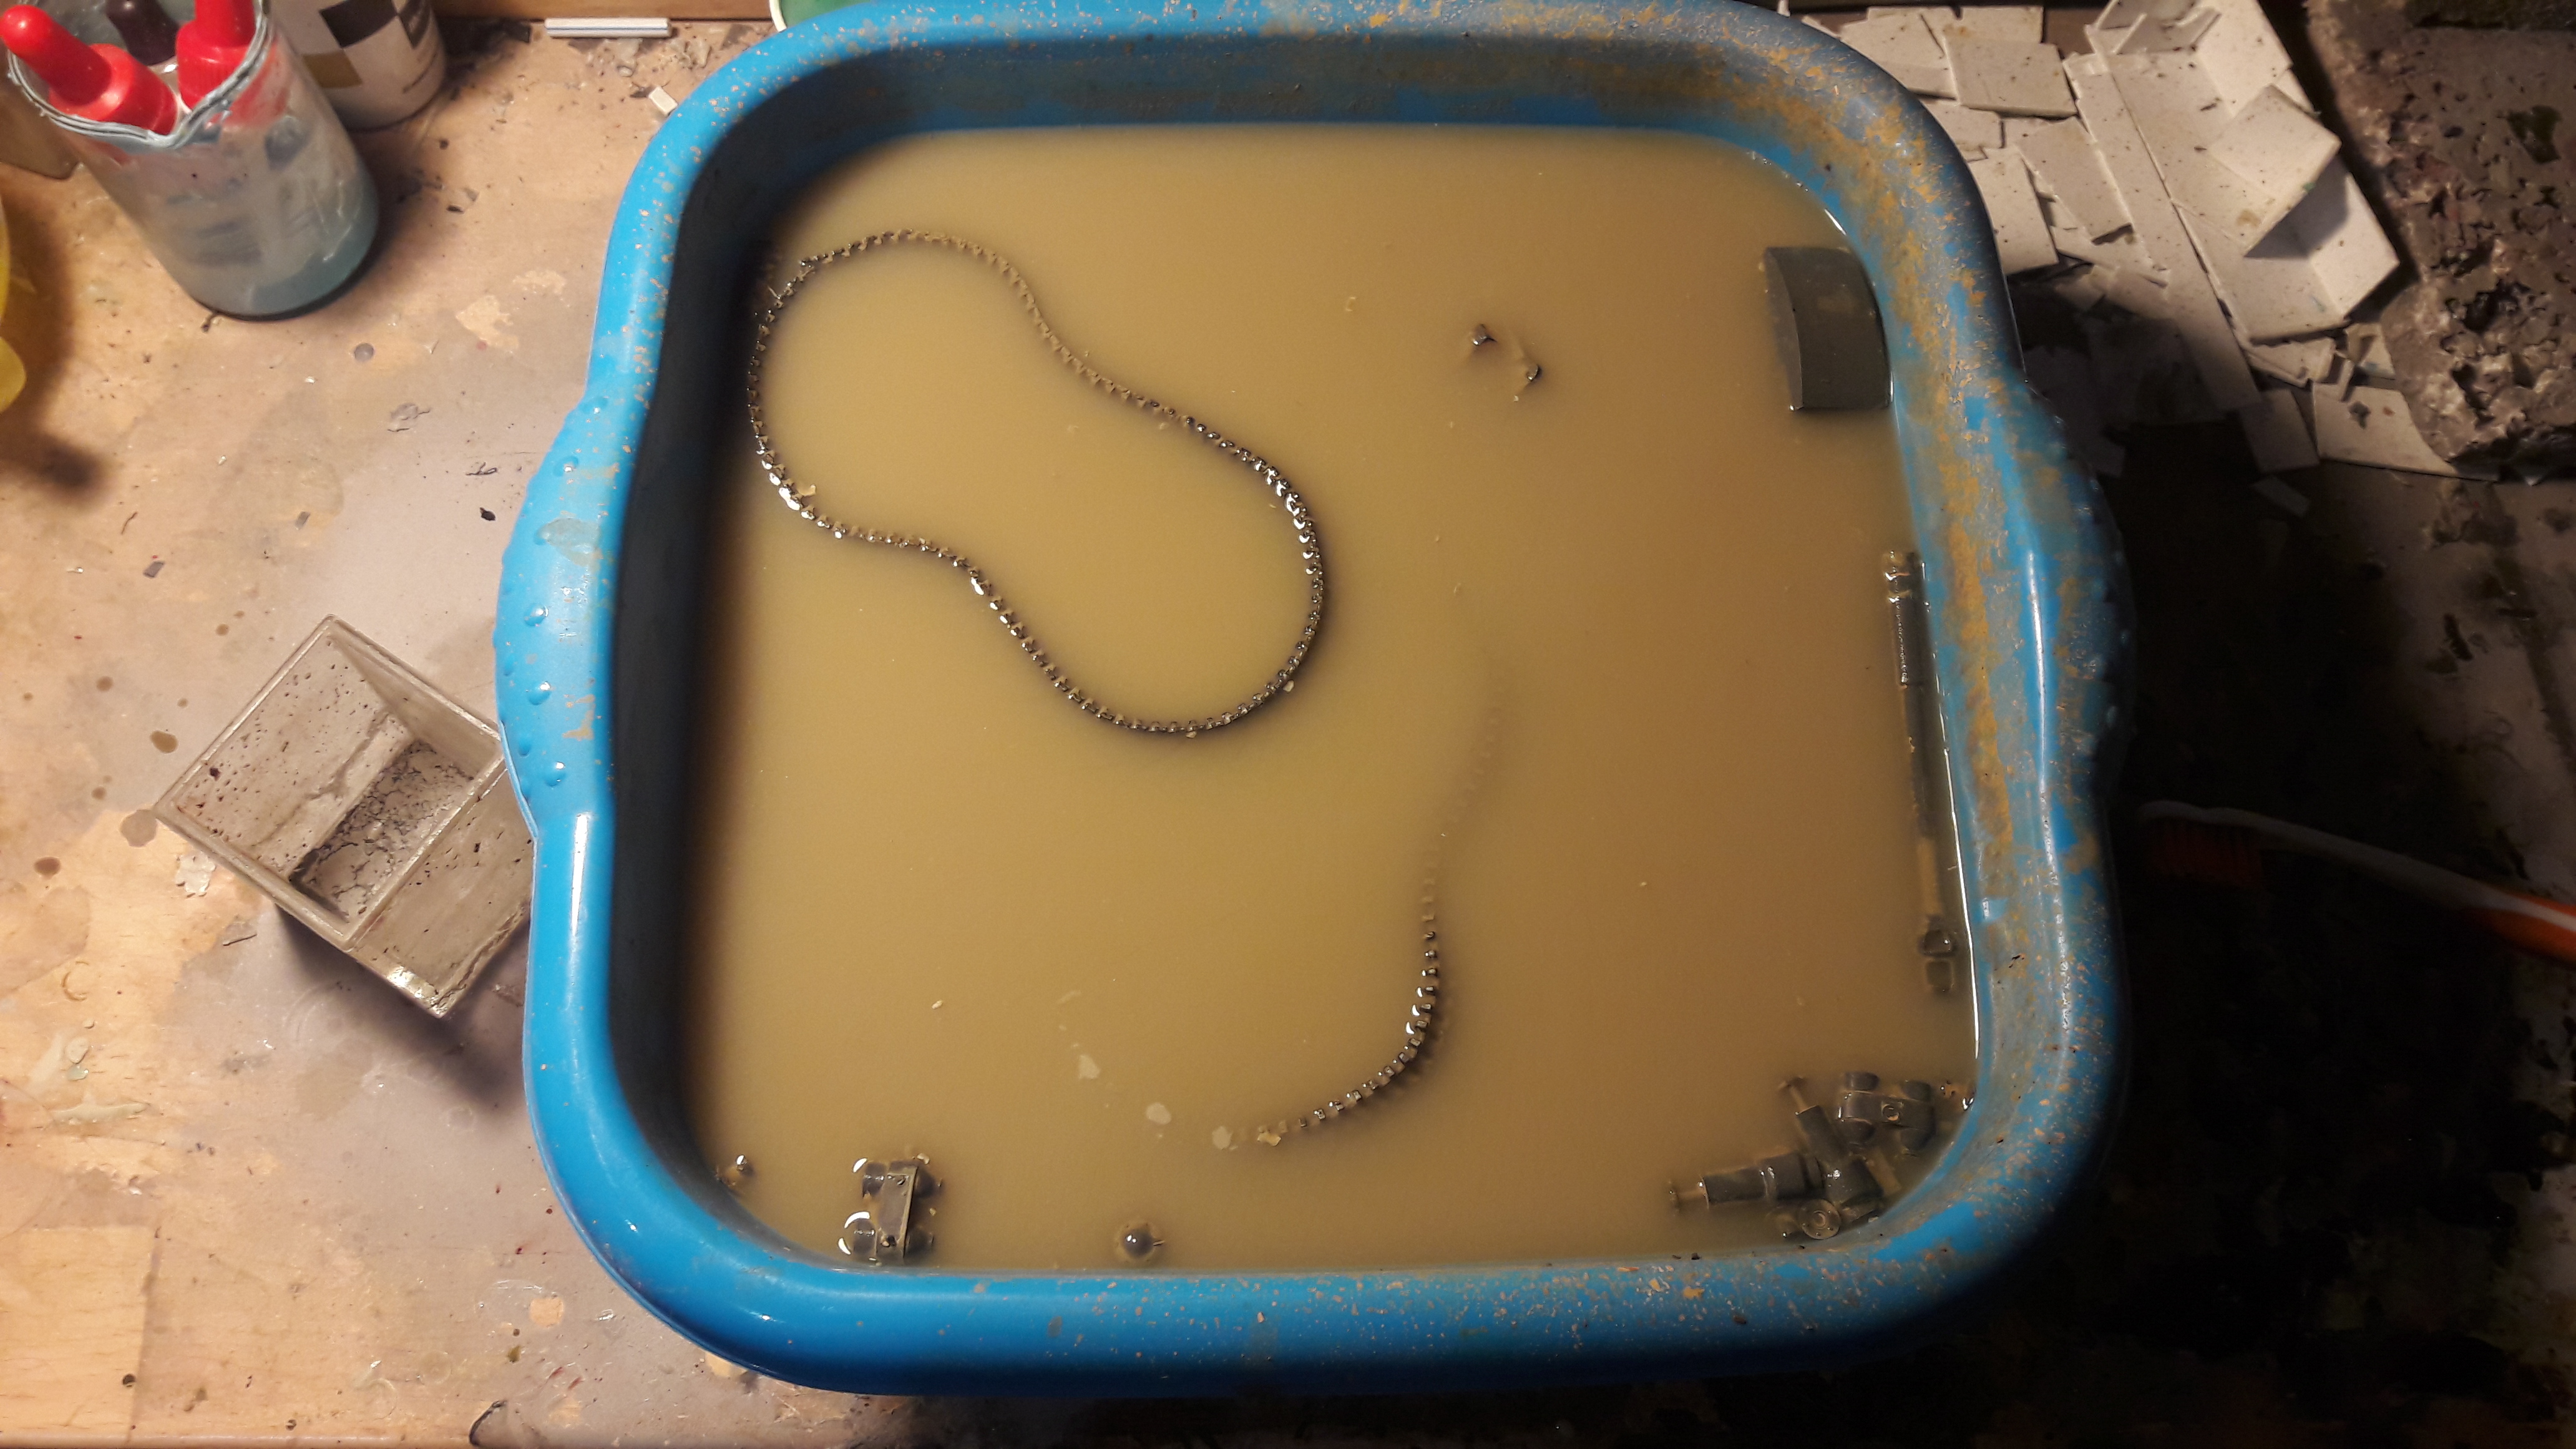
After a few days and you can see that the water is no longer transparent and has the predominant color painting, but I hope and I pass this week and once elapsed time using a toothbrush, gloves with soap and warm clean water and begin to clean the Tiger I.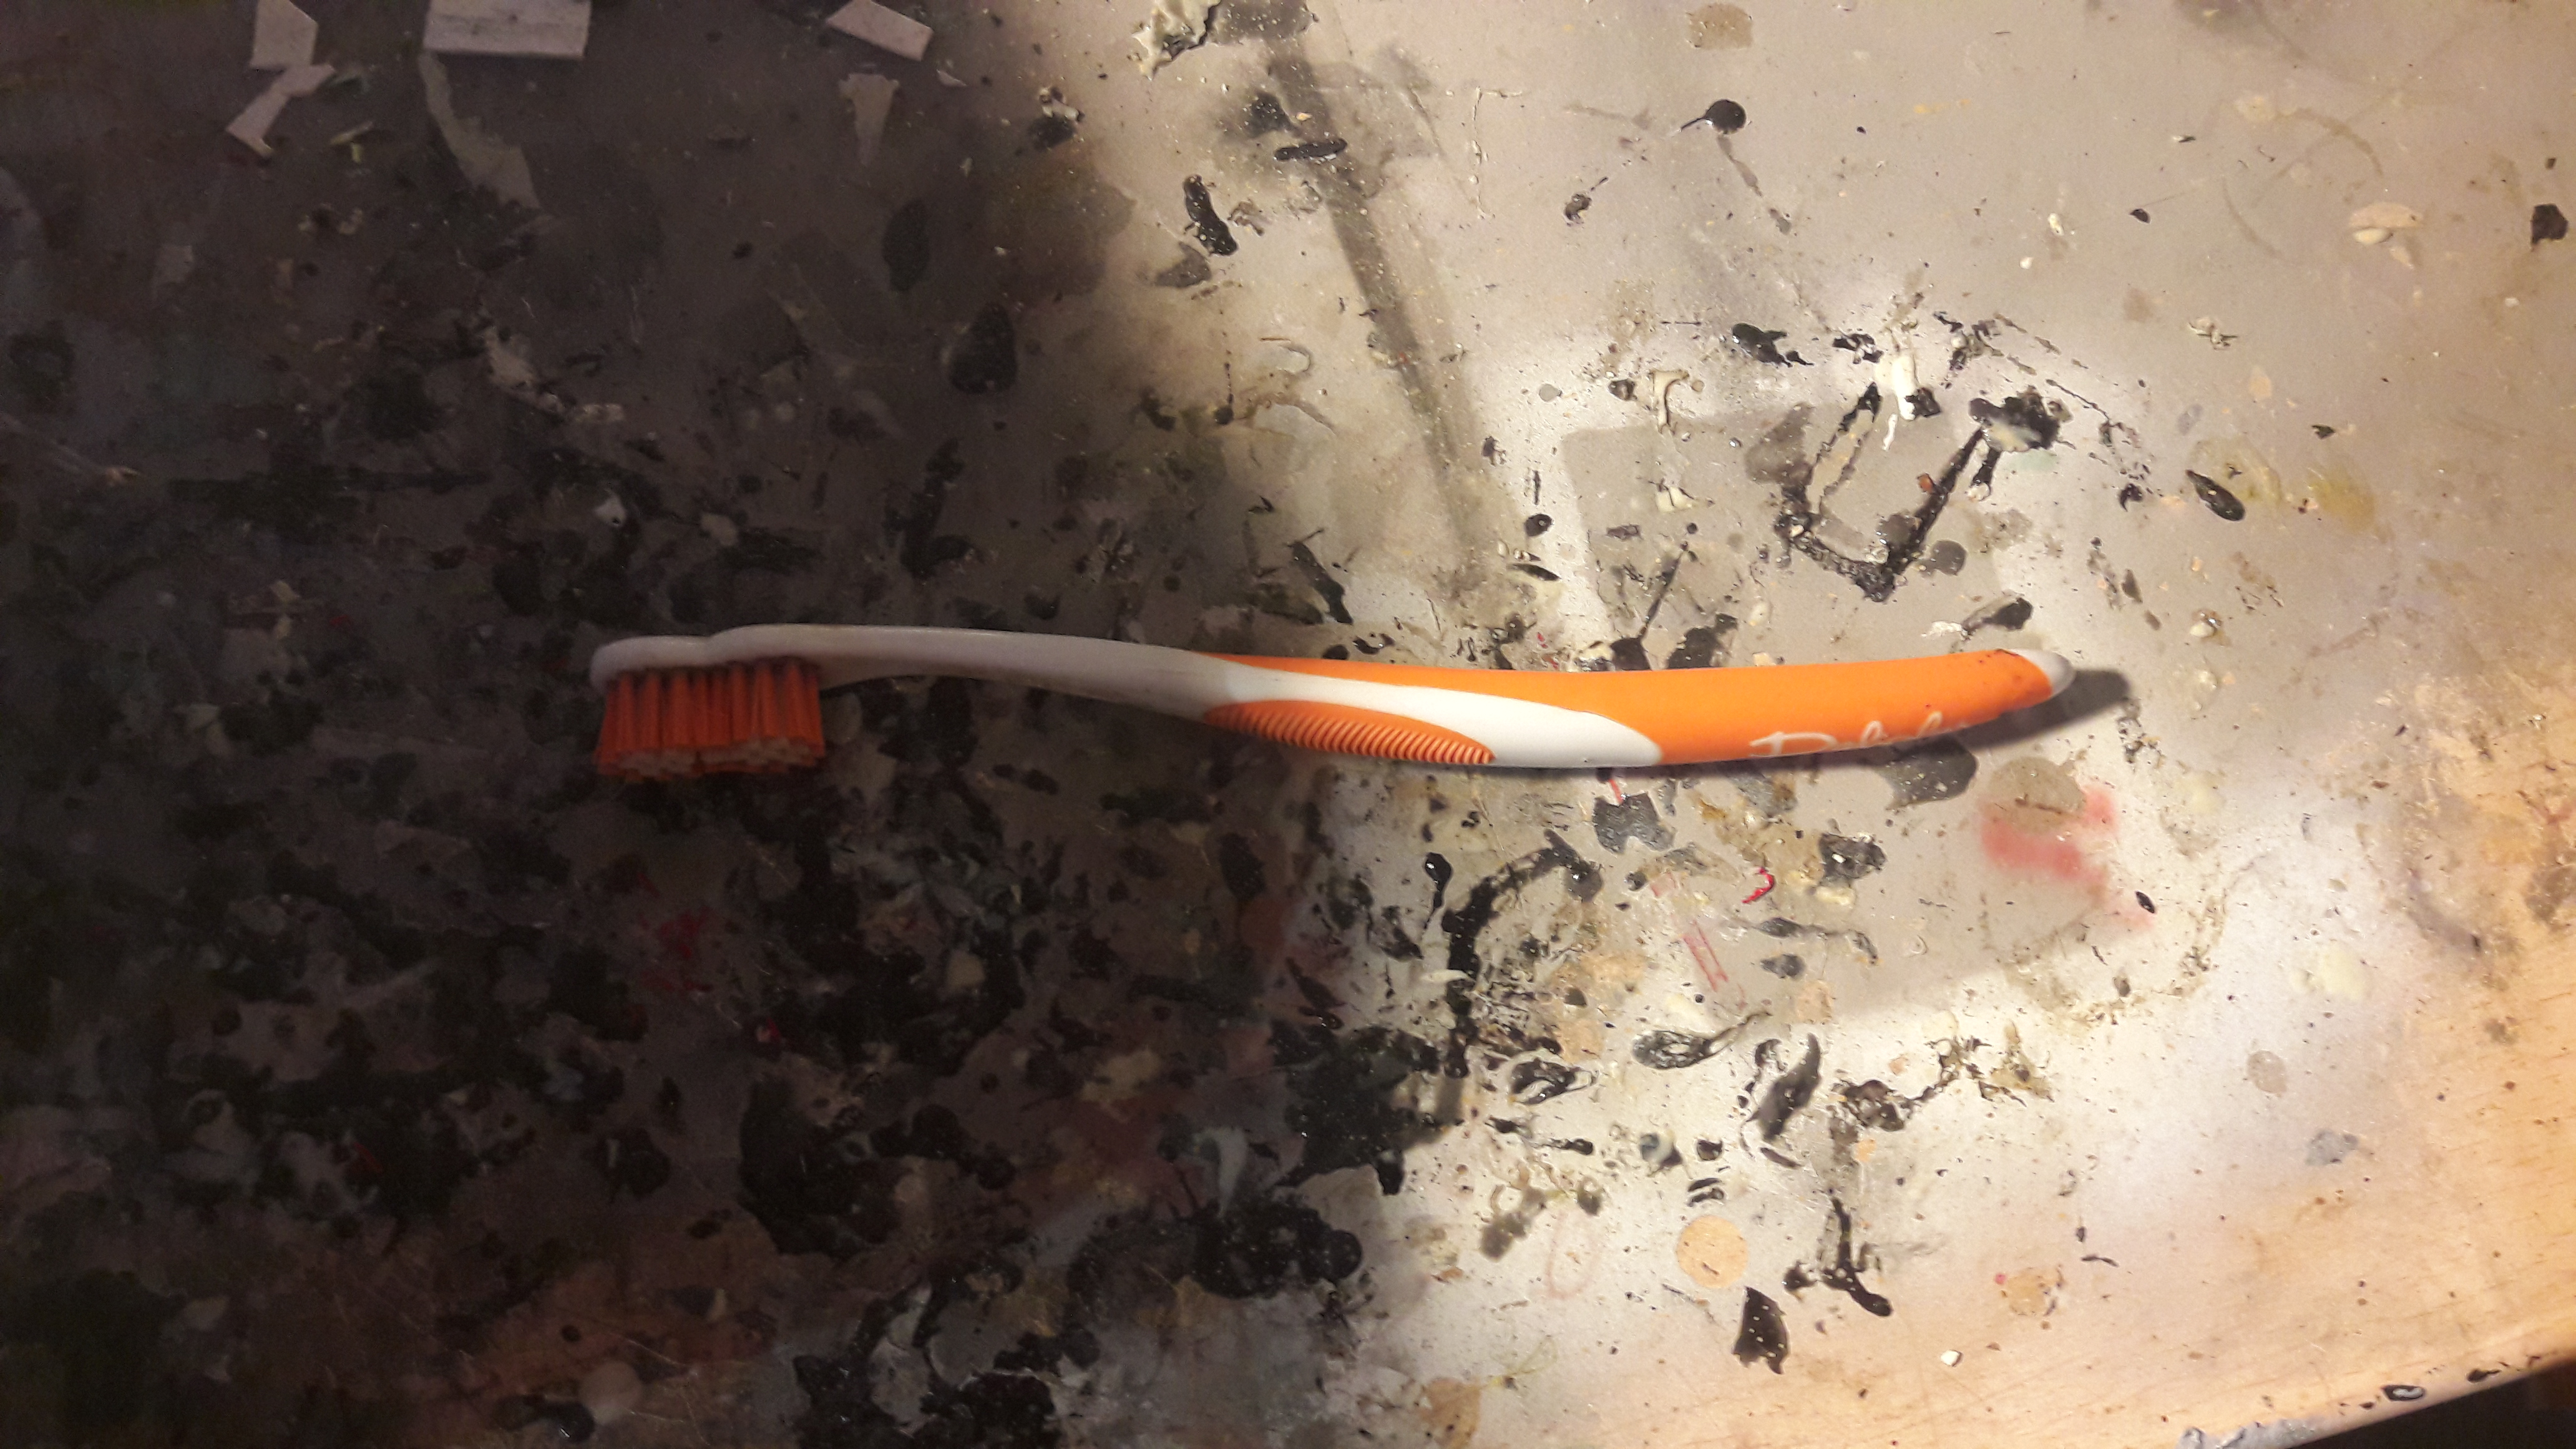
In many cases soda acts on the adhesive and can be removed the Tiger I with great care and using a box cutter.
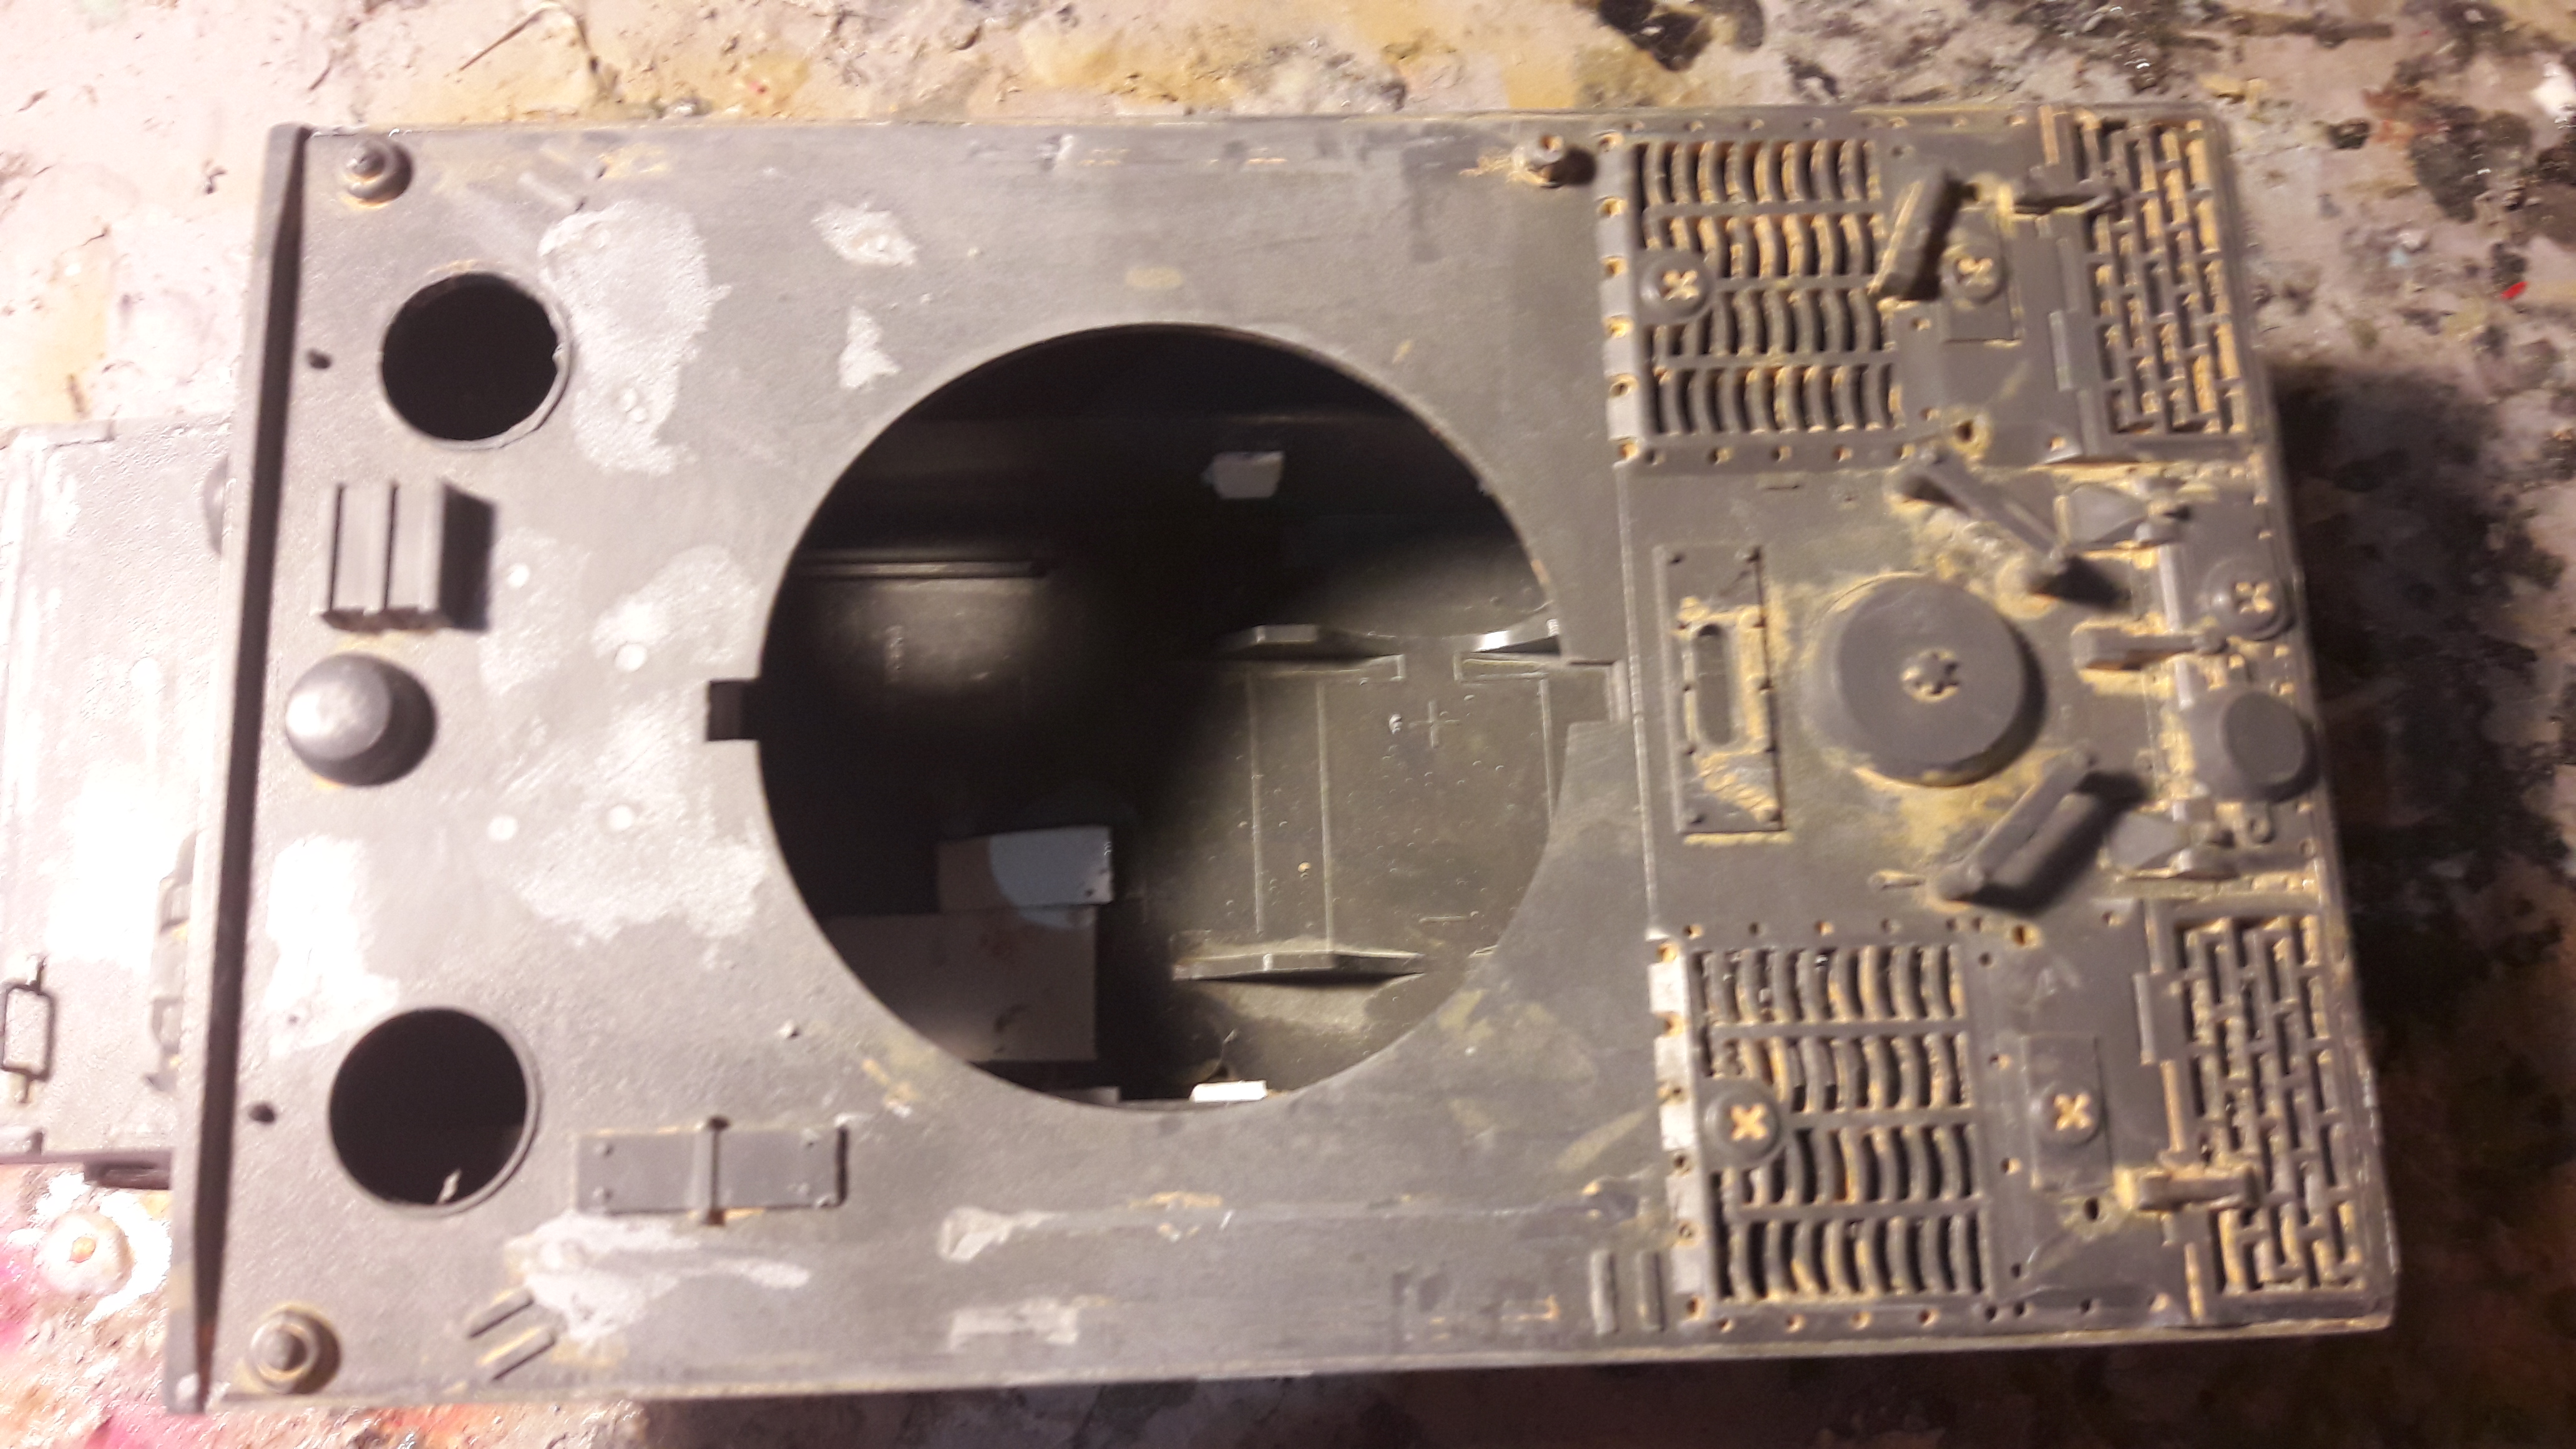
With a cleaning job somewhat cumbersome way to glue the pieces I could separate so that they can be cleaned more easily and depth, the first is the chassis and the next task once dry is plug all the holes with putty (putty) de Tamiya.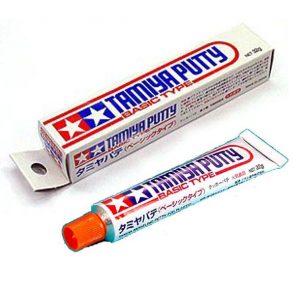
I will discard many pieces as tools and leave almost smooth entire chassis, on the back I will leave only the exhaust pipes without protective, mudguard, warps and other accessories like the rear turret box etc.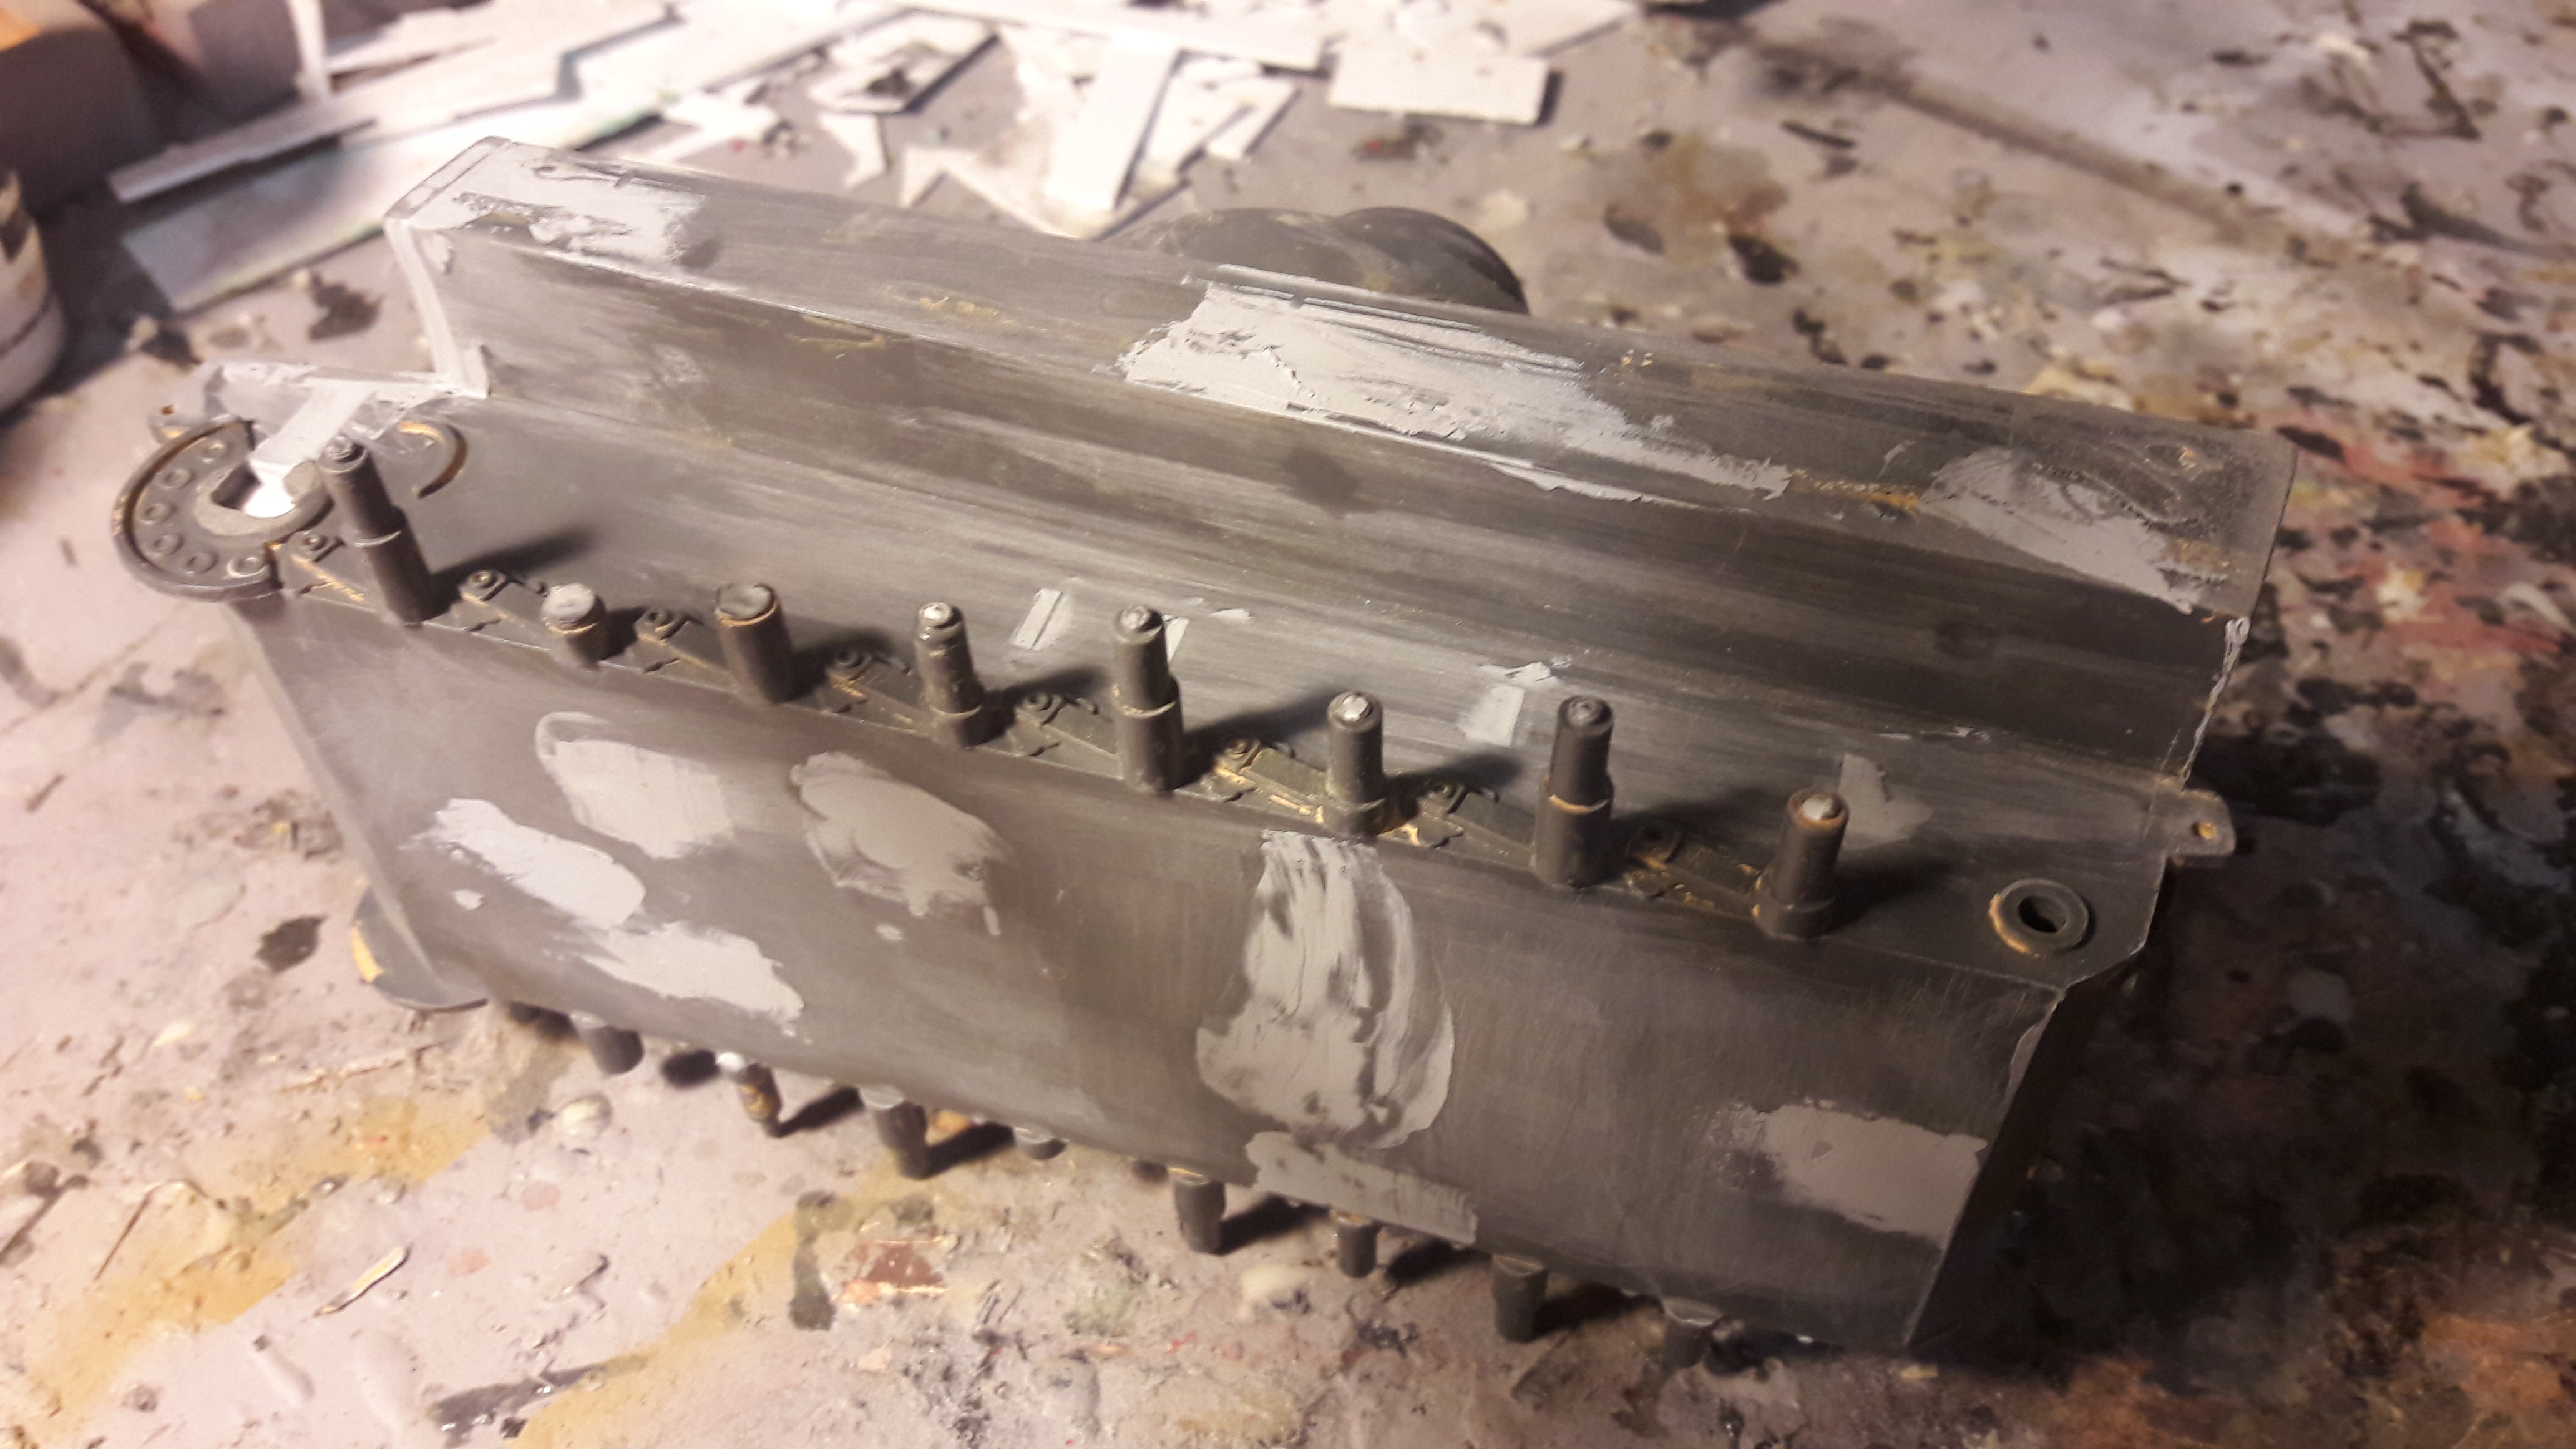
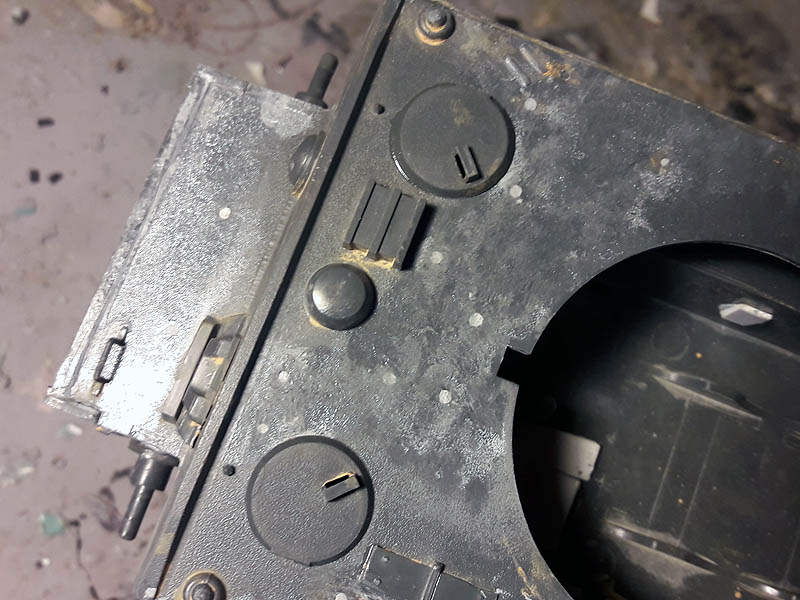
When the putty is completely dry using a alija I remove all excess and continue with the turret.
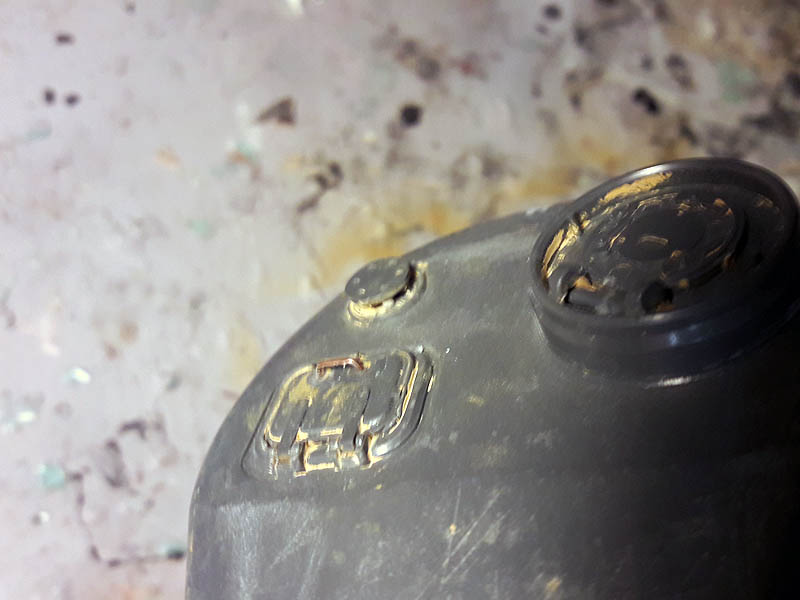
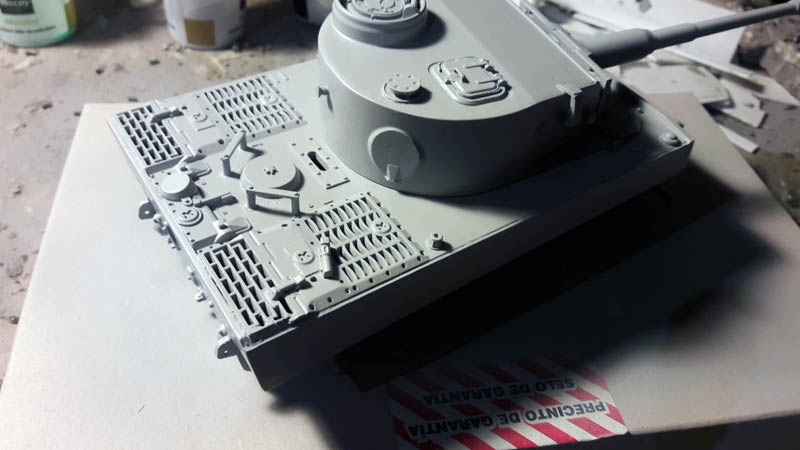
After puttying and sanding of the turret I add some details that did not exist or disappeared by accident, stands as fumigants and doorknobs and I add a backstop made of plastic.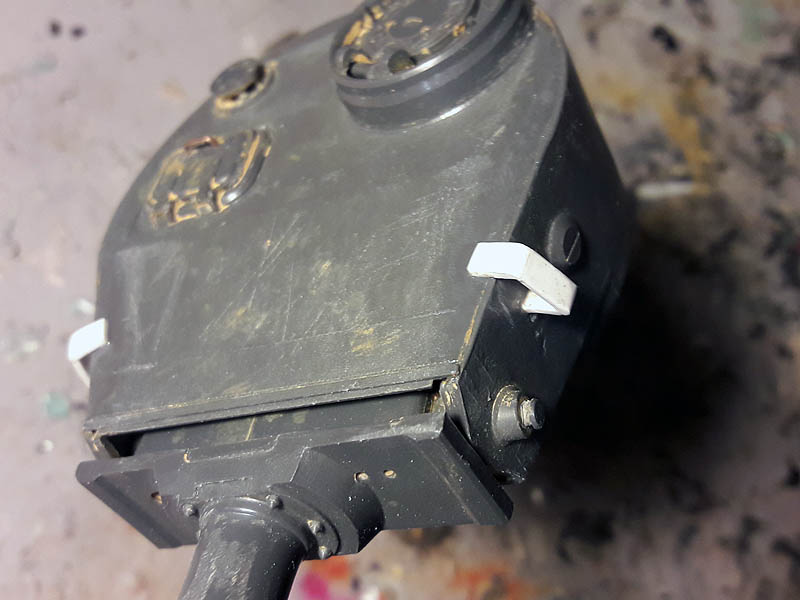

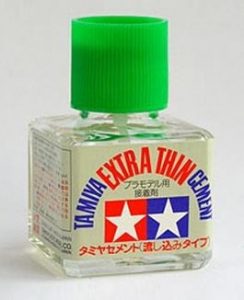
By the process of sanding the rough iron detail of the Tiger has disappeared, to achieve a similar detail I use quick-drying glue and with very diluted Tamiya brand texture exactly glue green cap.
With the help of the brush carrying clarifying areas where I lost all its detail.
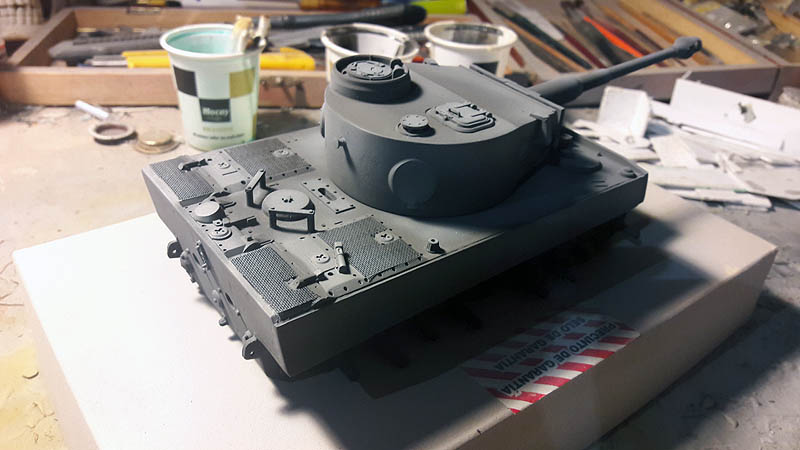
 Once dry glue step to give the layer of gray primer, in this case I use Tamiya since the dry leaves a thin layer of primer compared vallejo that is a bit fatter and ever given me trouble gripping.
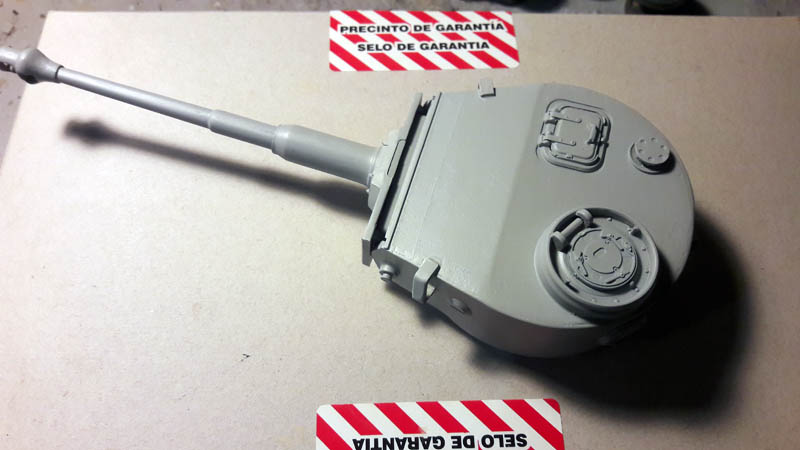
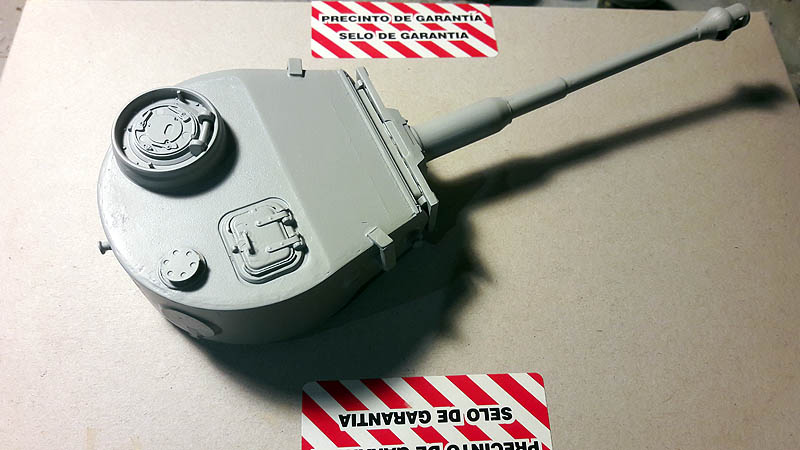
also ended with the primer and the whole body.

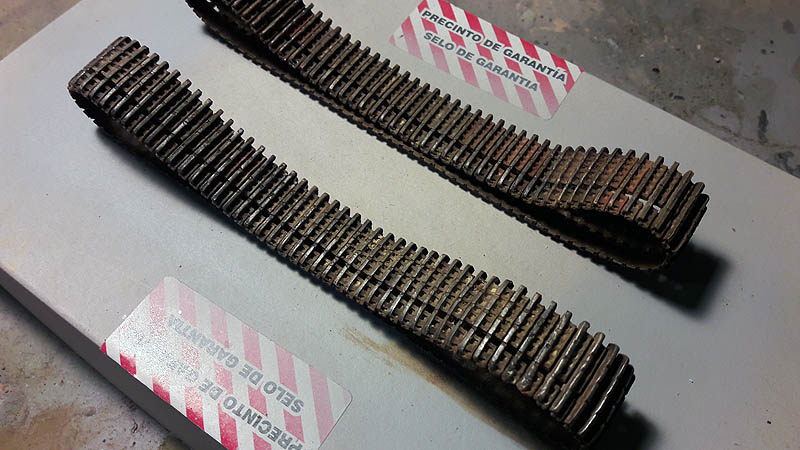
And step to prepare the traction chains, in this kit are soft rubber.
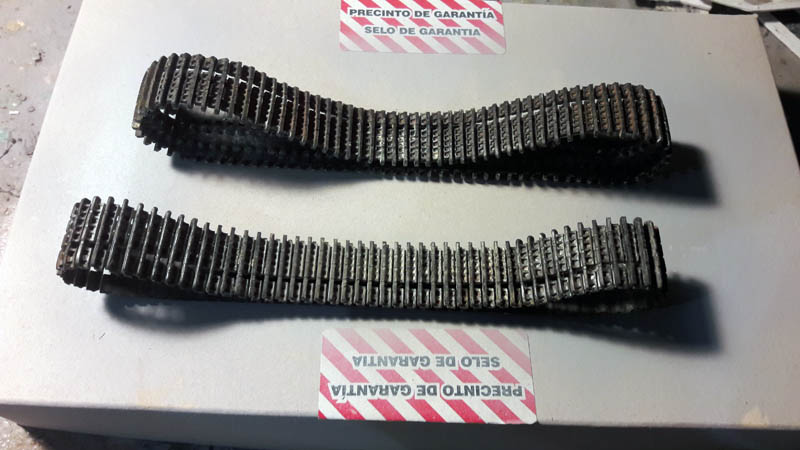
After a primer gray, paint the base color to use it "Dark yellow" from Tamiya XF-60 and once you apply a dry wash traction chains AK-Interactive.

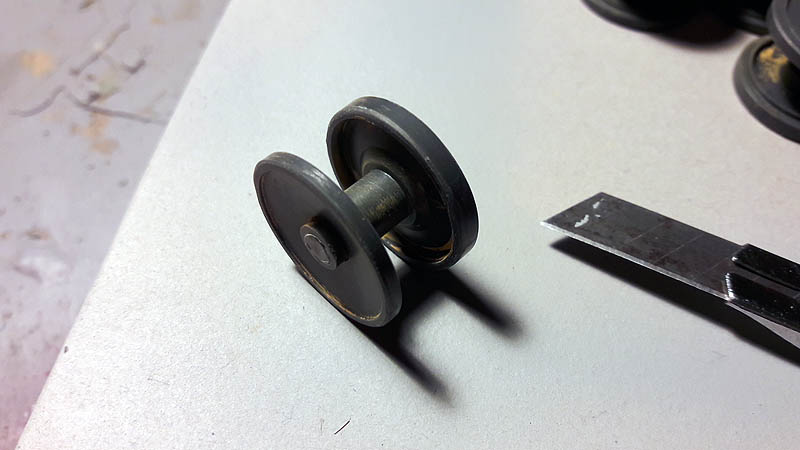
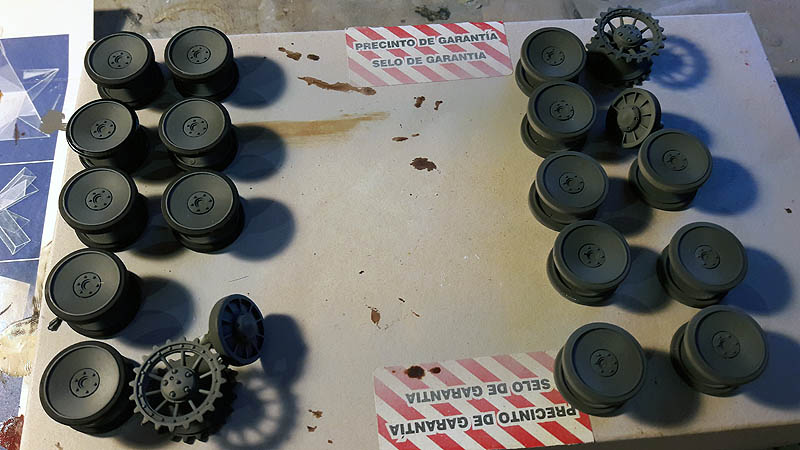
While dry traction chains, prepare wheels, Tiger I initial leads 8 double wheels of the tractor and the voltage on each side and this means checking hours.
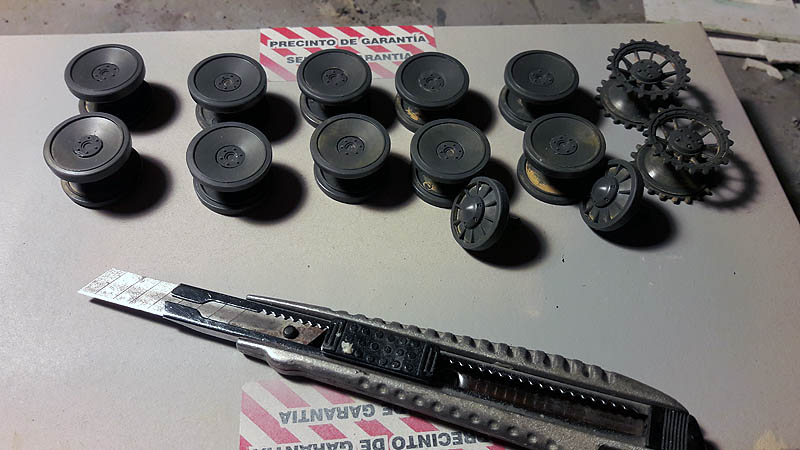 Once burrs and clean all well glued with the help of a boxcutter feature carefully the corners of the rubber to make them shoot a little round parts.
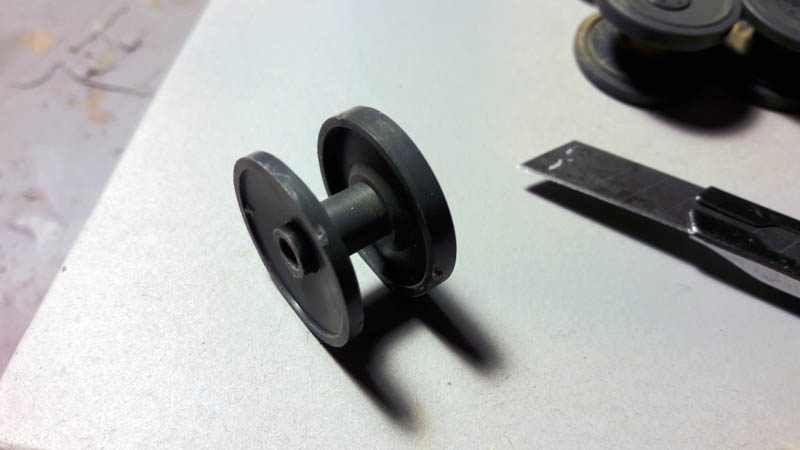
 Step primer.
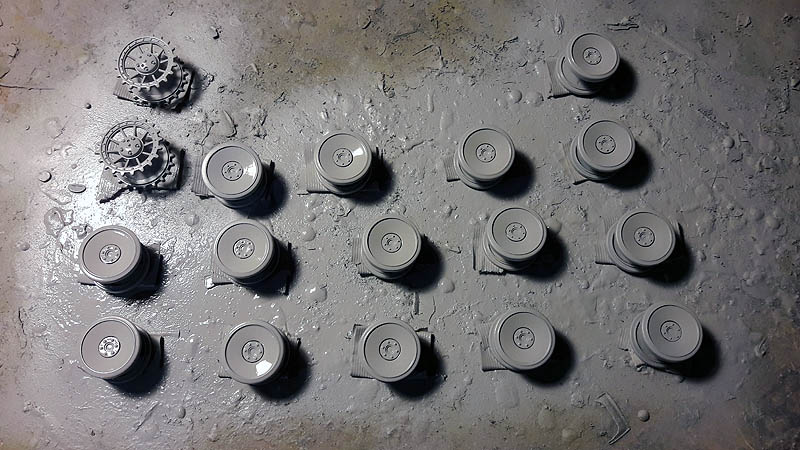
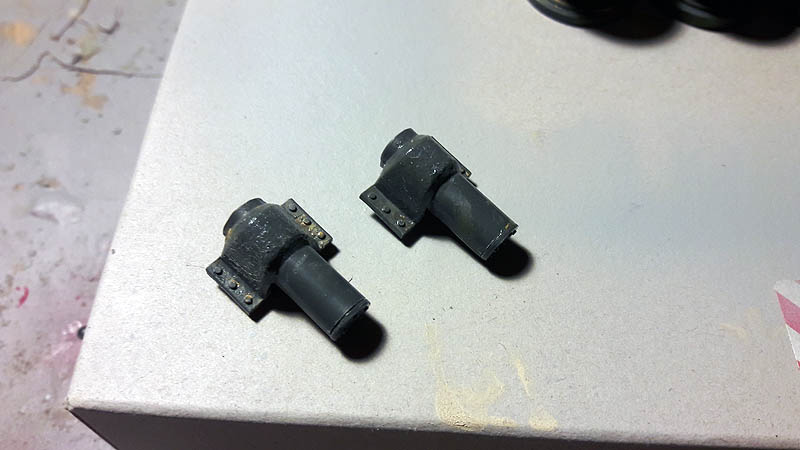
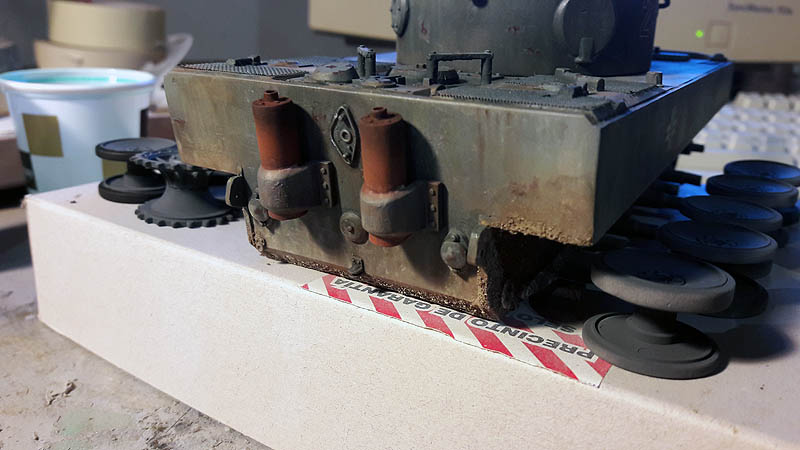
Modified exhaust pipes as this kit carries covers two elevations for leaks and vent, remove the elevations and add a plastic tube to simulate the tailpipes. Finish this apply glue Tamiya the green taponcito to simulate the rough metal.
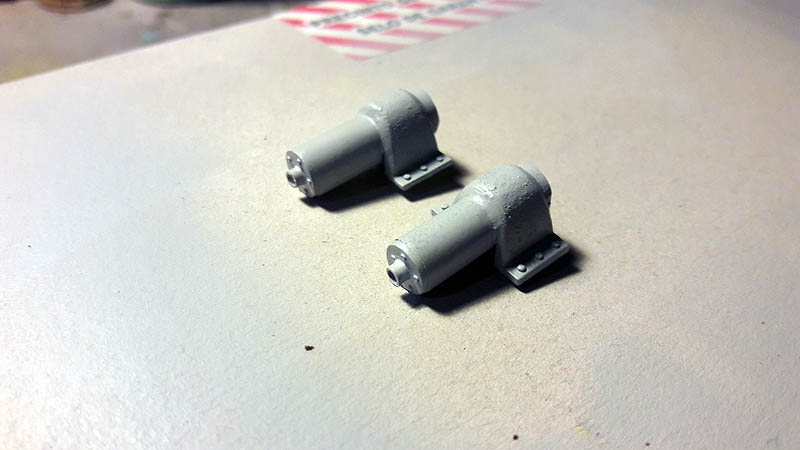
And step primer.
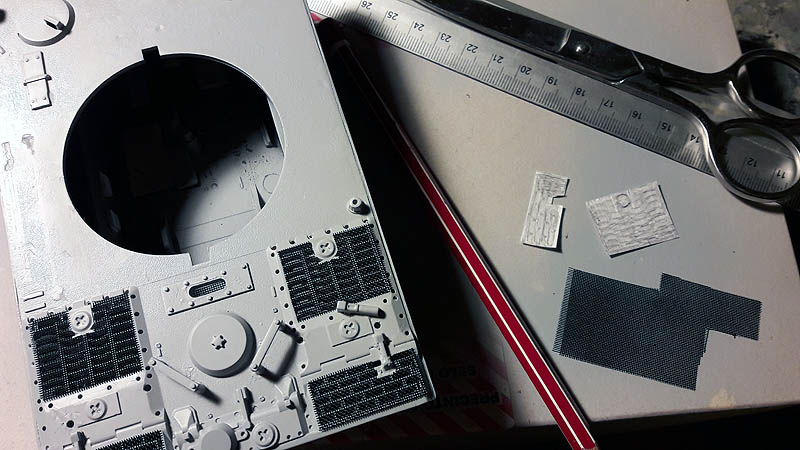
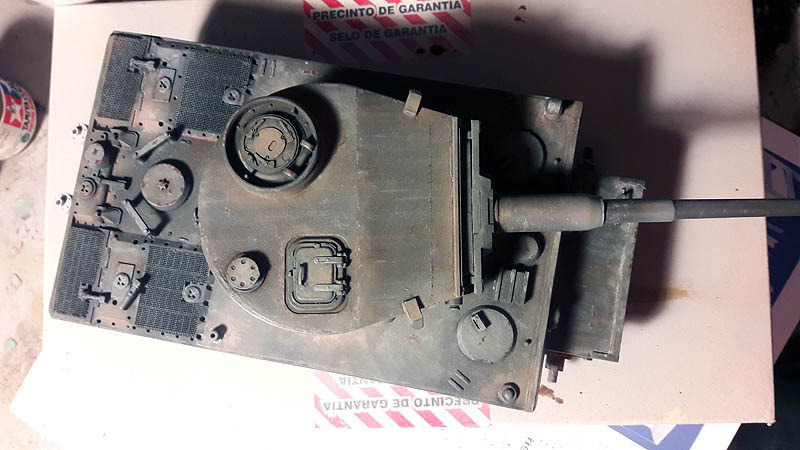
With the aid of templates created with paper fabricate grids for engine vents.
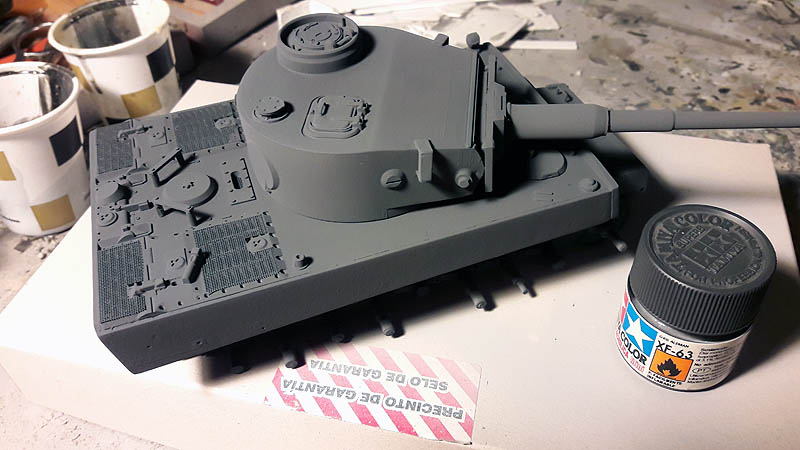
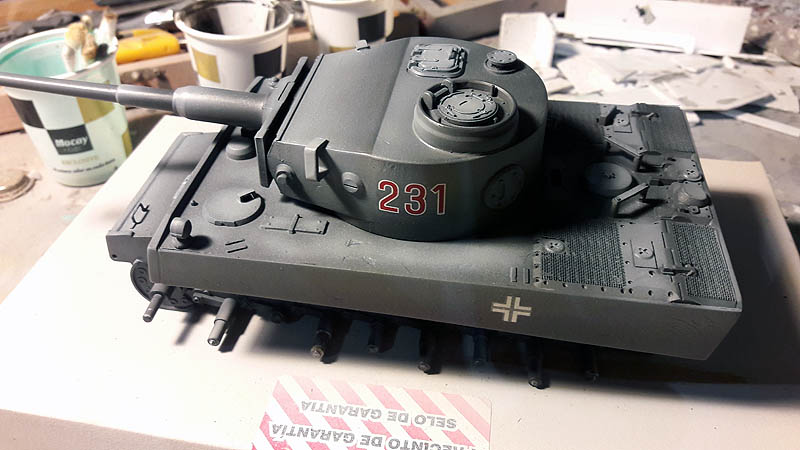
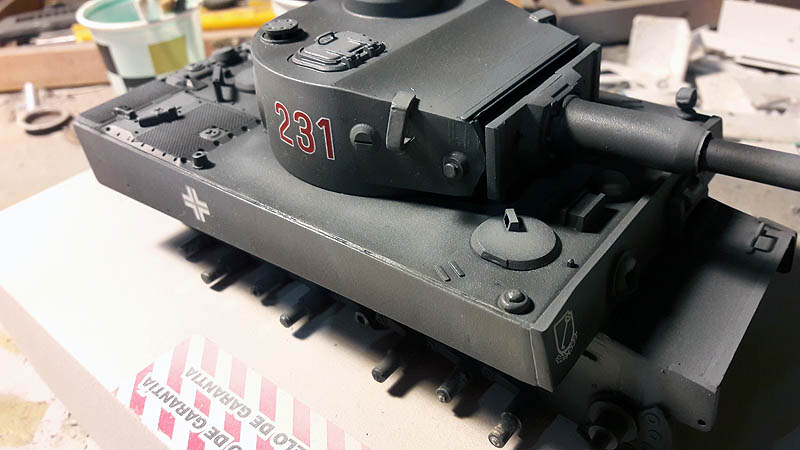
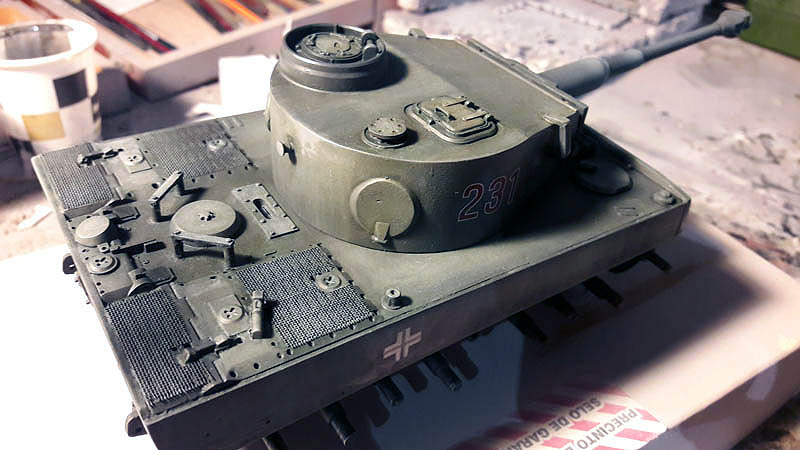
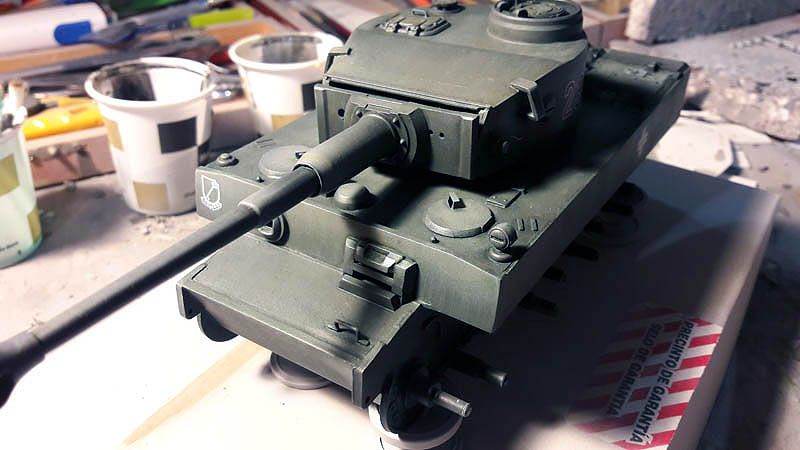
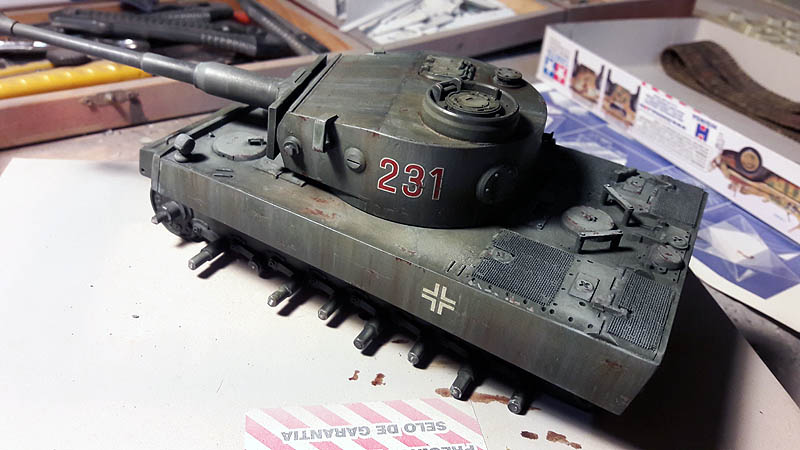
Step paint job to last priority of base color "German Grey"I use acrylic paint Tamiya mate XF-63.
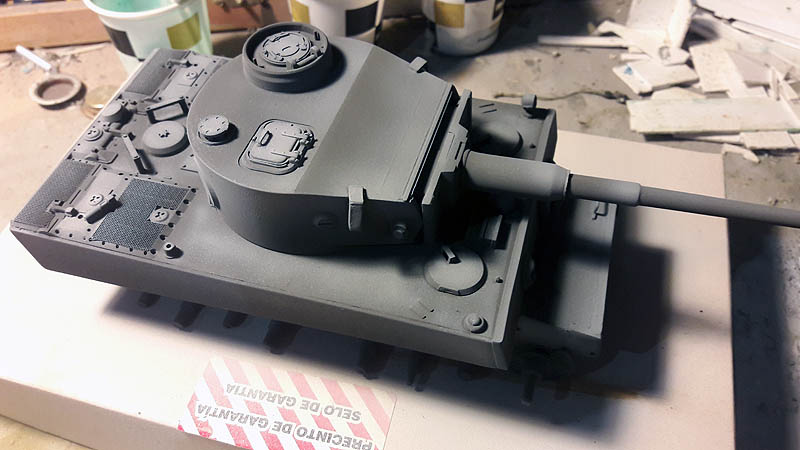
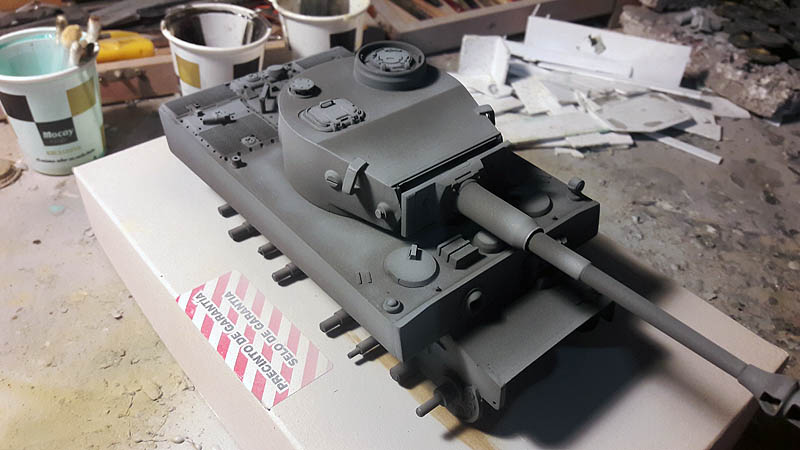
 With a lighter color, in my case I made a mixture of the base color and white ratio 50/50 step to create a shading effect type to add depth and highlight parts of the tank a technique called color modulation.
Modulation drying work, apply a coat of gloss varnish then apply the decals and eliminate the effect of the bright decal on the bottom matt.
As this kit was assembled and painted decals I lack so I've done a search on "grab-bag"Of surplus rubbings of other models and I've put together some believed suitable for this Tiger I.
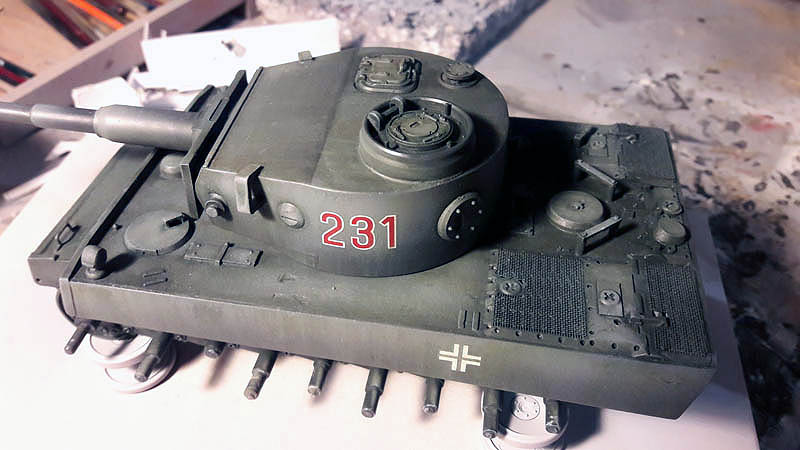
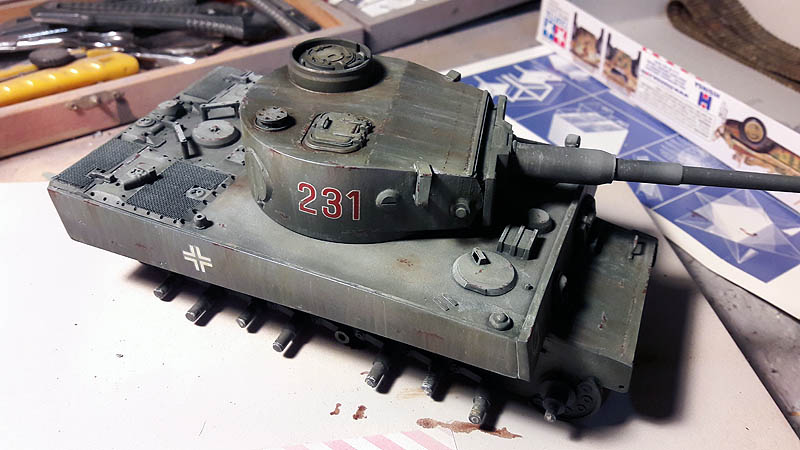
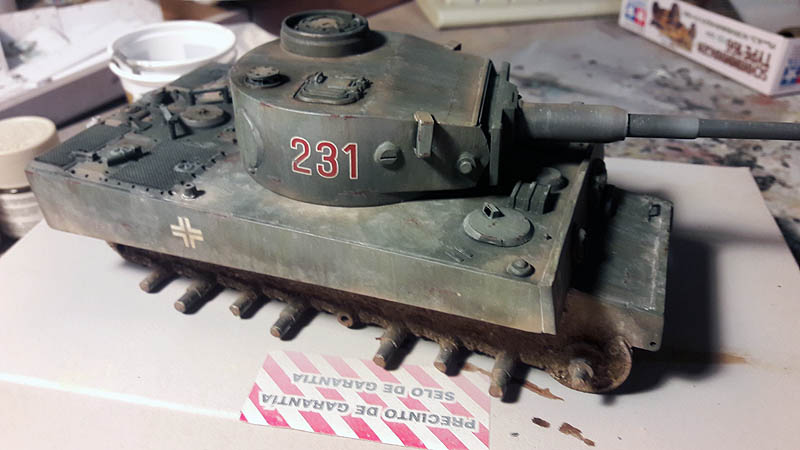
The next step, apply a wash to German gray and work with oils to merge all shades of color and give a greater richness of color.
And with the filter and oils.

While dry whole body work I continue with the traction chains, Now I'll start with the pigments, for strings I use various earth tones, a dark tone, light one, European land and desert, Powdered with a brush the strings, but before I add pigment fixative so that they are adhered and after a while I remove the excess.

For the body, turret and other'll start with the work of aging and enguarrado, for this task I will use oleos, pigments and some washings.
For chorretones I use white oil, sienna and black also use the washing chains above the oxide chorretones.

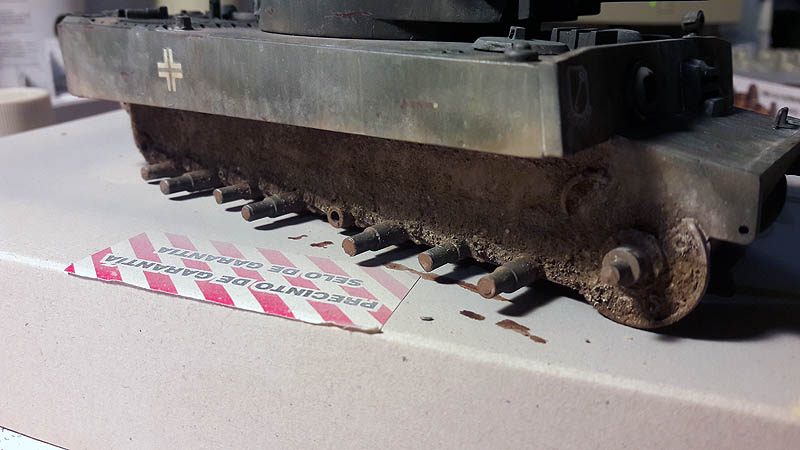
Following the aging process step by applying pigments simulating accumulated dust and mud especially in low where are located the drive wheels.

For this process I used pigments If Interactive, dark hearth, light hearth y European hearth.
For low I have also used a silicone to give volume and have a little mixed pigments accumulating them in the appropriate areas with a brush, first of all I liked a little "fixer" Ak-interactive so that it adhered.
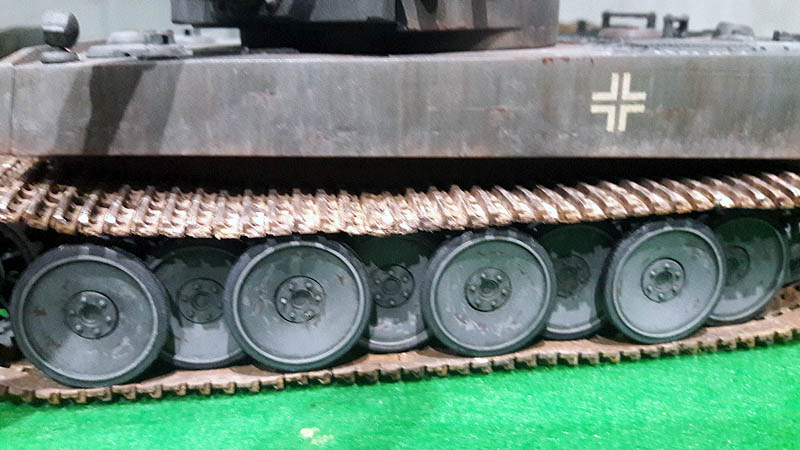
Beginning with the task of carrying wheels painted the same process as the work body, German gray with lights + Matte black gums chafe, I use a light gray to give some light to the band separation of the rubber and tire tread.
 I also finished leaks and add to the body, for rust effect I have used various shades of pigments, the rust light and medium Ak-Interactive and black oxide vallejo.
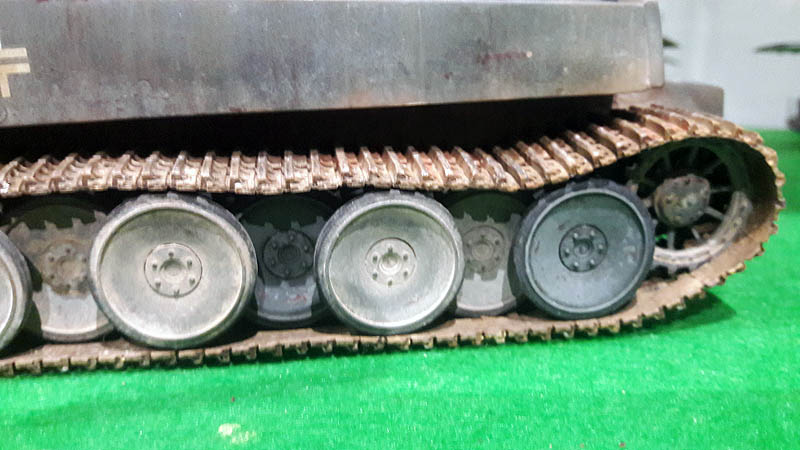
Finished the drive wheels with due panzer gray gradations and black for rubber friction and corresponding lines in light gray and brown to simulate scratches and wear, glossy transparent varnish it to apply a wash and then apply the varnish matte finish.
Next step assembly and fixing tractors chains.
With the help of pigment applied to the body I follow the same steps on the driving wheels.
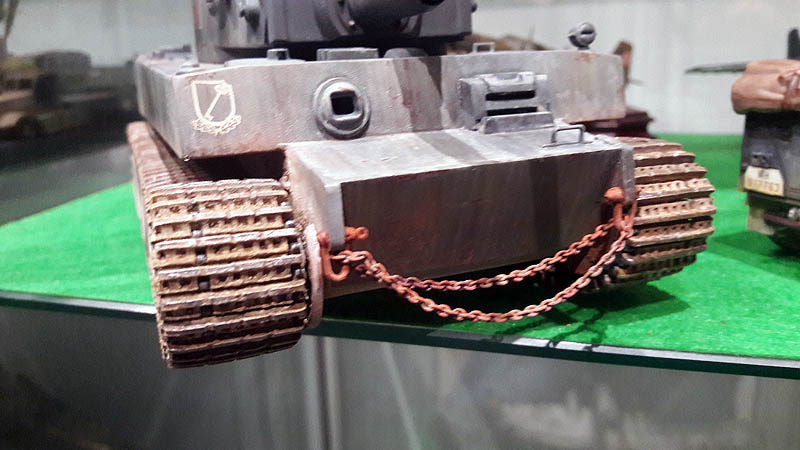
I'm adding some supplements to Tiger I like a rusty tow chains on the front.
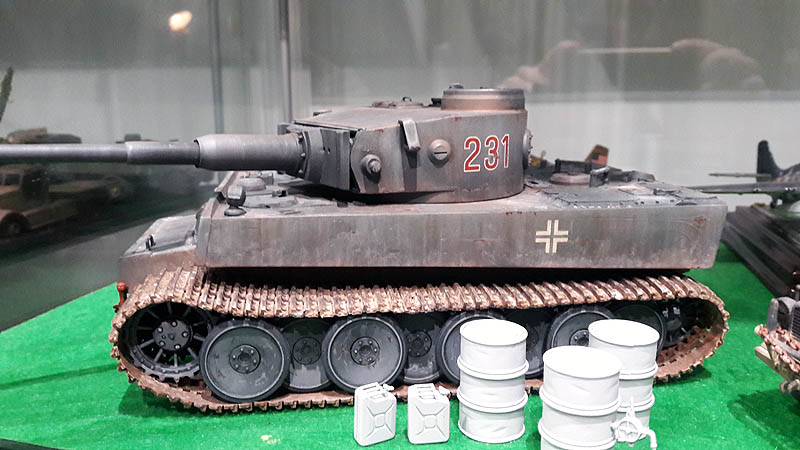
A failure to complete the aging process I'm preparing more extras to add to Tiger I, as some drums and cans of gasoline on the same scale and brand Tamiya.
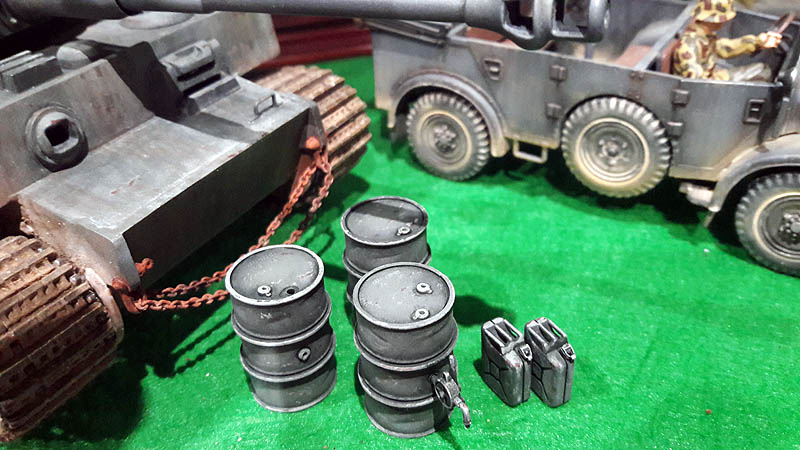
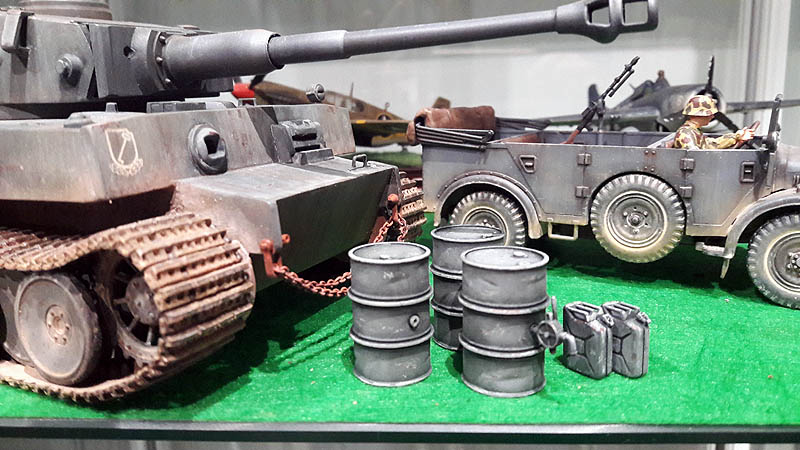
Completing some complements for the tiger I. The canisters and gasoline cans I have painted with the same colors and blends the tiger, although I have tried a variation of tones to be differentiated as if they have the same tones it is all very monotonous.
TO BE CONTINUED ...
Autor Armand C.M.