X-Wing Manufacturer Kenner, Restoration and custom – Modeling
With this fever Star Wars, after the premiere of the new movie "The awakening of force", Internet buy a batch of toys Vintage Kenner manufacturer of late 70 early 80, in which several vehicles as included Y-Wing a AT-AT and X-Wing, It is clearly incomplete, after looking over the network extortionate price for which spare parts are sold, I decided to give another approach to these toys, the restoration and custom home form.
The vehicle I chose is the T-65 X-Wing the Ala X, one of my favorite ships of the Star Wars saga, This is the original toy sold in its early years.

And that whoever buys the lot:
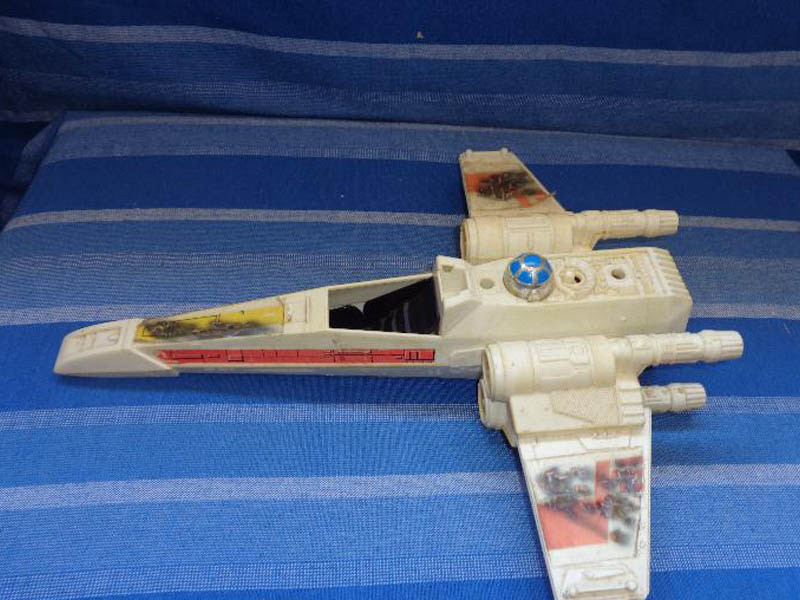
Well, I'll put to work.
Although measures and appearance of the toy leaves much to be desired “I mean that is ugly Coj..nes” the new models sold in this starfighter used by rebels and Luke Skywalker, I'll try that resembles as much as possible to this that I found on the Internet image, you may modify some tidbits to suit the client that I am heh heh heh ...
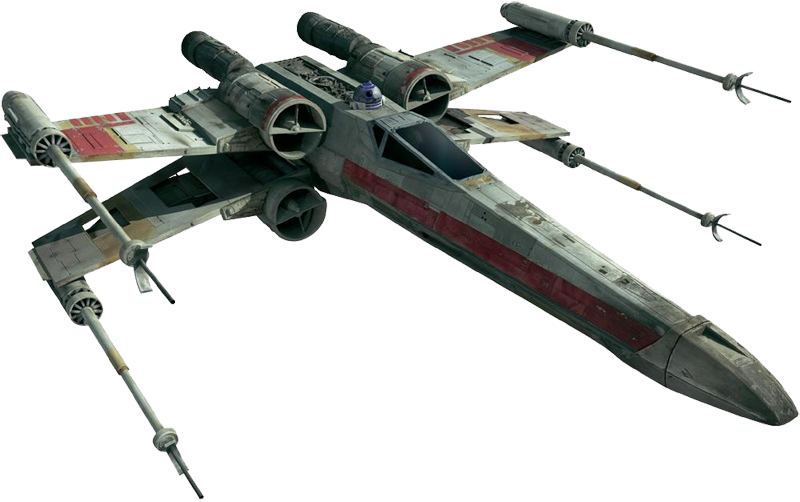
Convert to the beautiful beast will be complicated, but all the excitement will be.
The first is to clean the toy well and remove stickers and adhesive that can be so that later we spoil the paint job. Once a limpito, I give a pass primer in this case buy spray PS Tamiya green color special for Policarbonatos, to have a good grip surface.
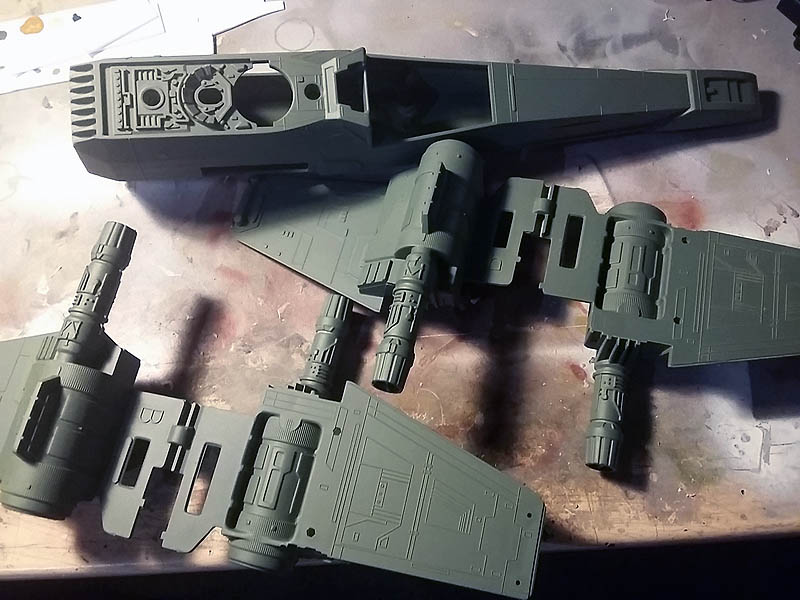
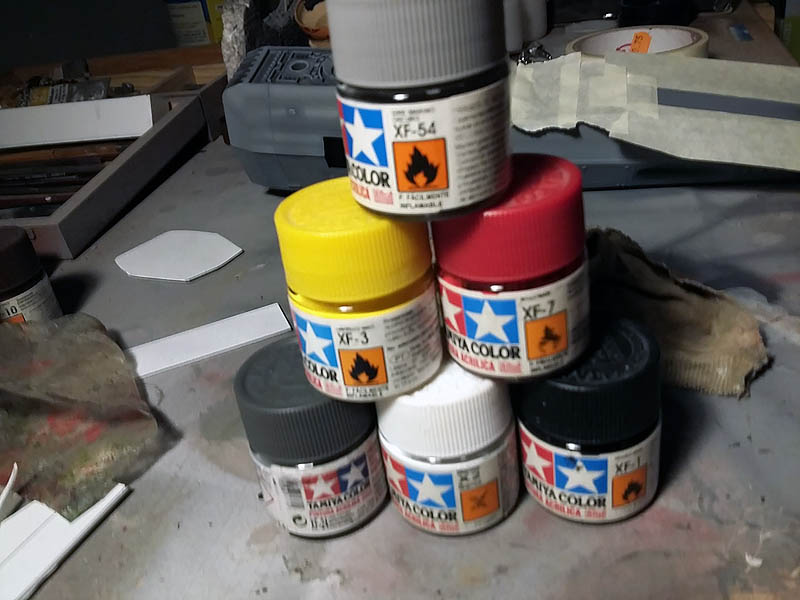
Once the entire model with spray painted left to dry for several days. Now get to choose colors for the toy and these are the list of colore I will use.
As you can see the toy is missing some pieces, as the glass cockpit I will try to make, and the laser tube wings, Well the solution I found was more feasible to make a copy with the resin turbo laser which comes standard with the new X-Wing of the new trilogy "The awakening of force", Luckily my son has it and borrow for a few hours.
First create the mold and make it a container with Evergreen.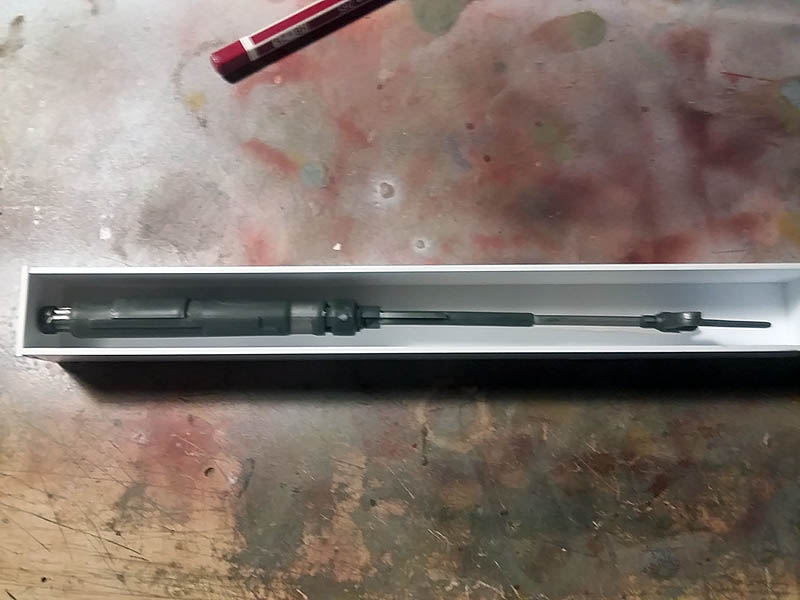
With silicone molds, perform mold laser turbo.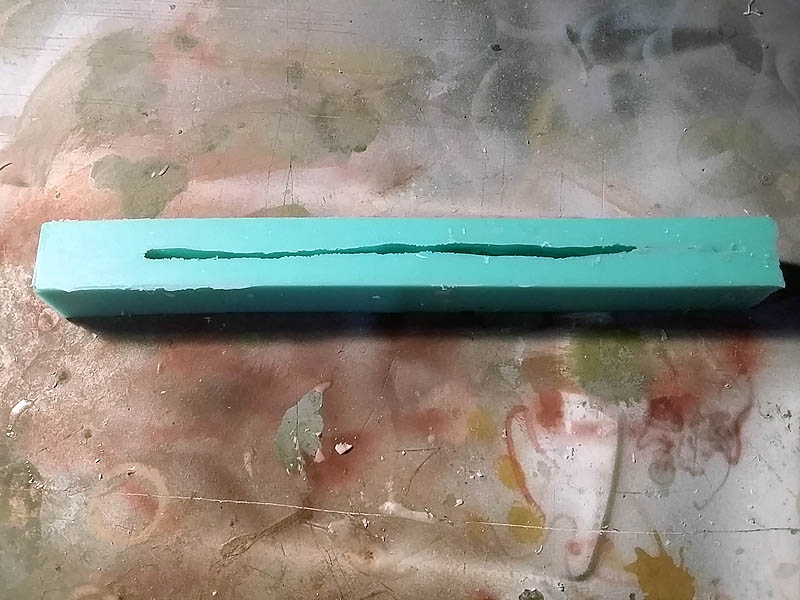
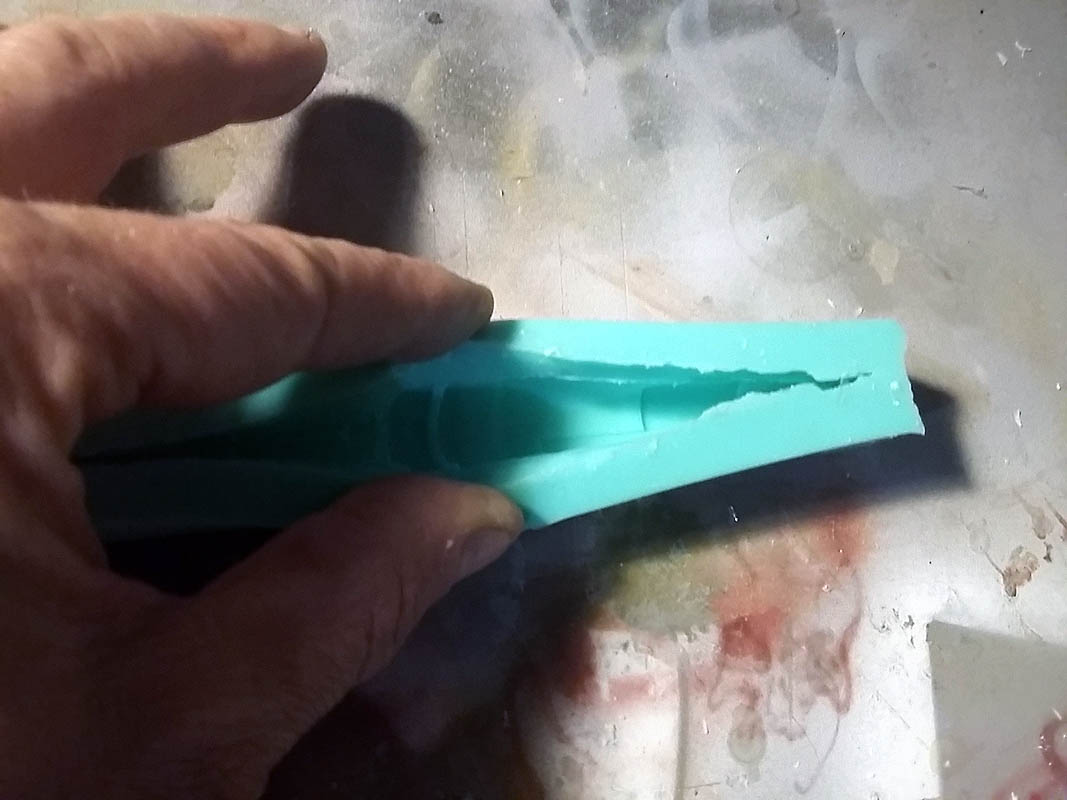
Polyurethane resin fill the mold and create 4 turbo laser, to mate instead had to make some holes and then glue with Loctite.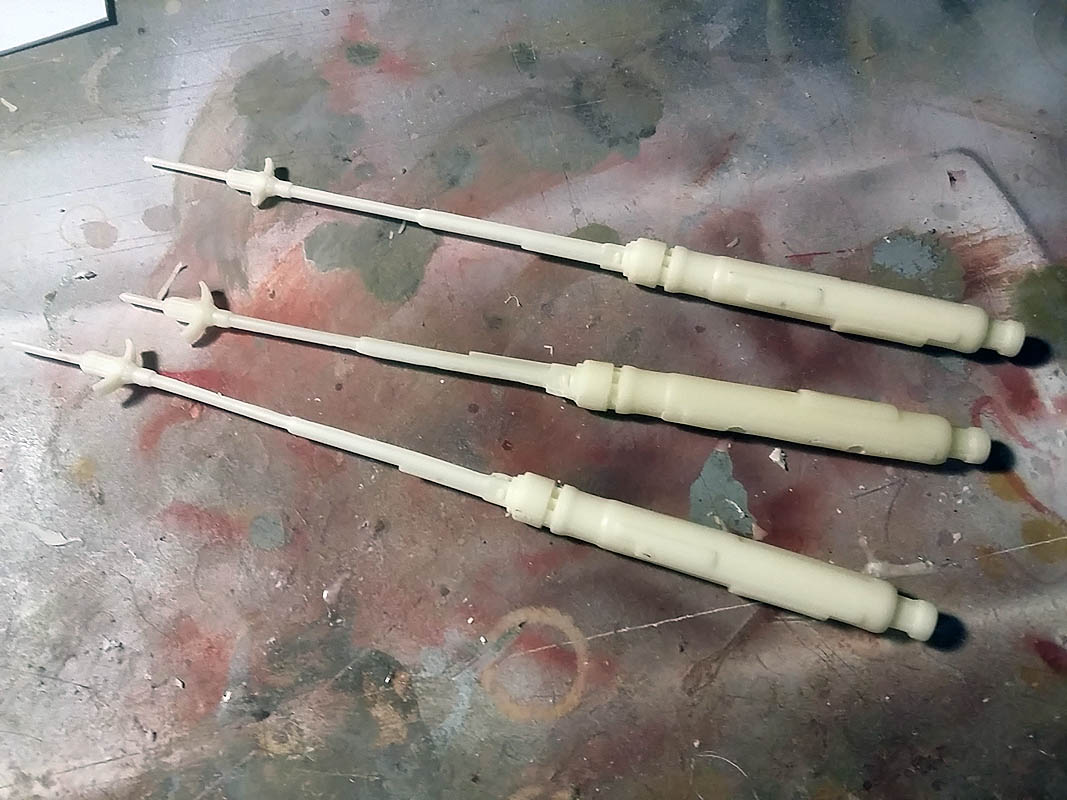
The result was better than expected.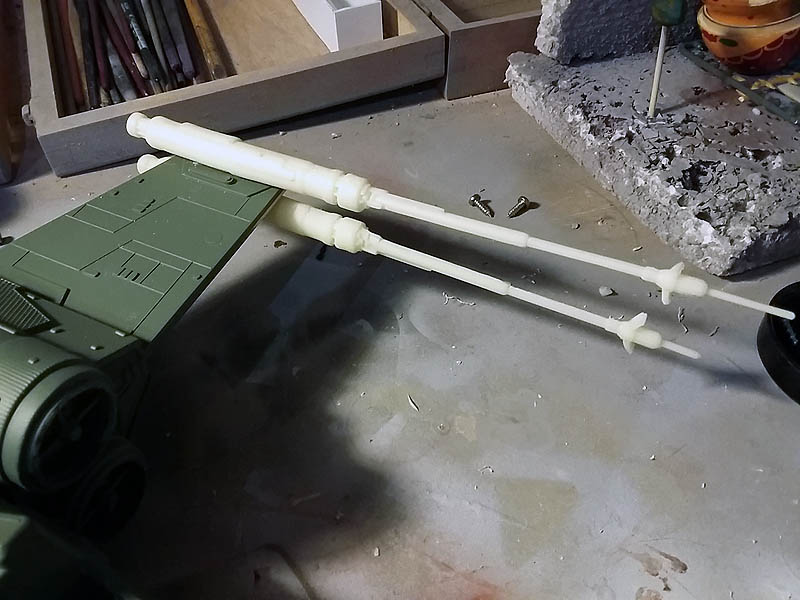
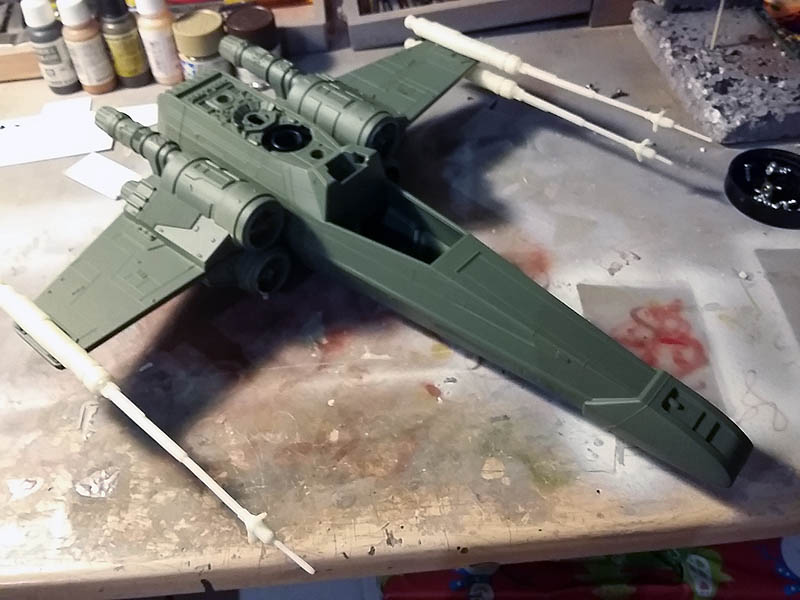
The laser turbo before painting gave them an old gray primer. Step paint job and the first color to use as a base color is dark gray XF-24 Tamiya paint to airbrush the entire toy.
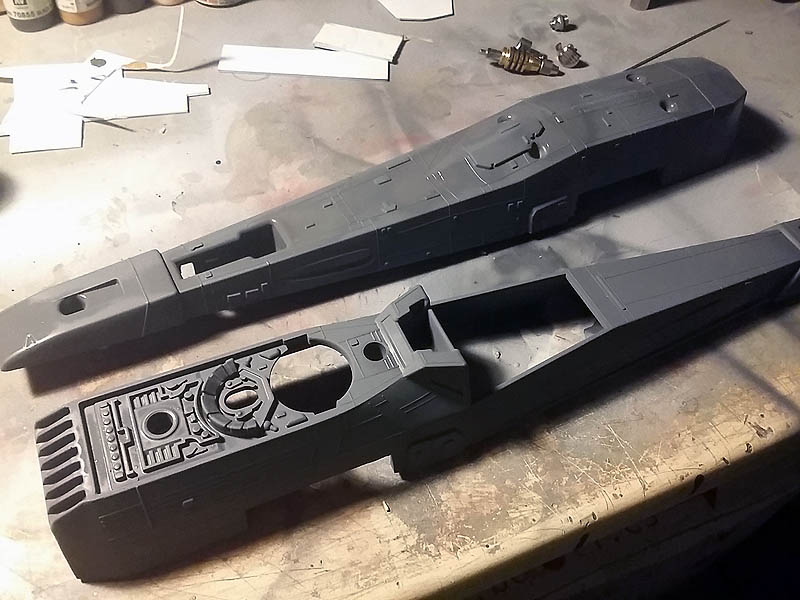
Let dry for a few days and step lights, for it has used a lighter color than the base, a light gray as the basis for the lights is the XF-54 and I will turn white rinsing with a little more until you reach the desired effects, in some very salient points as small panels I used white XF-2 de Tamiya. 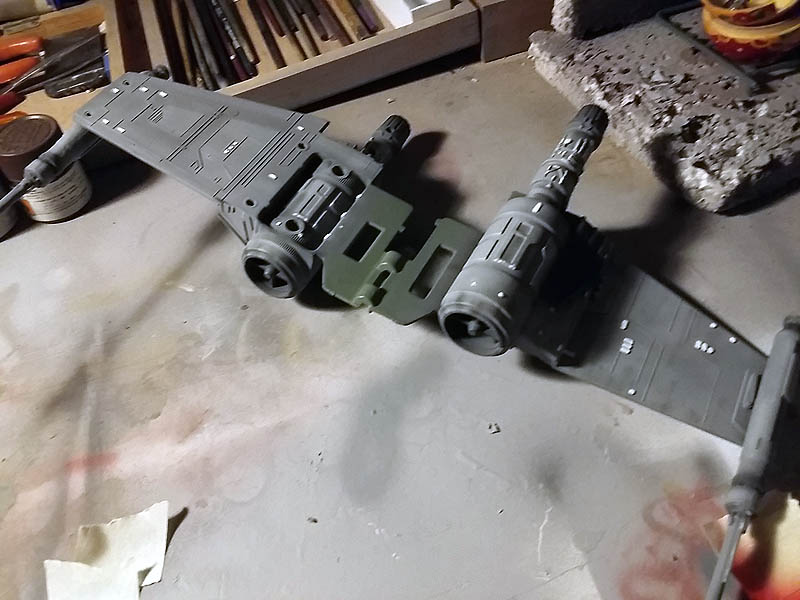
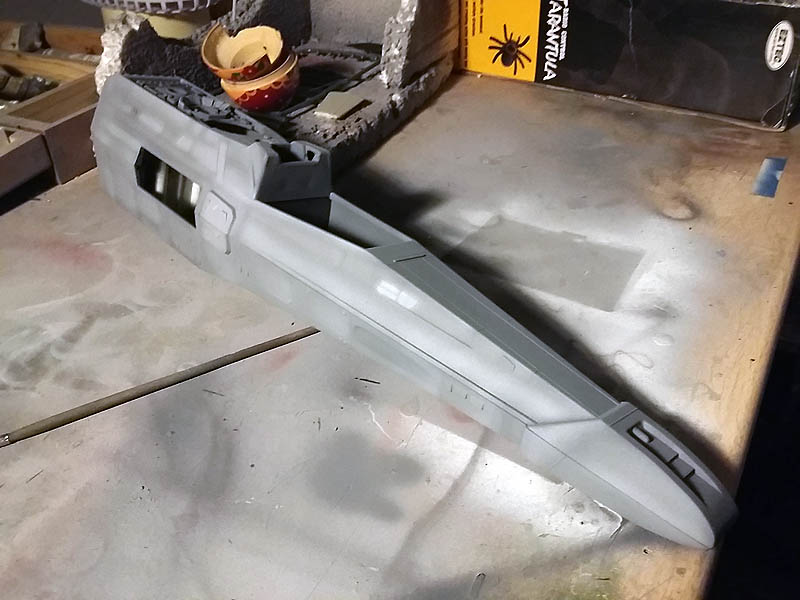
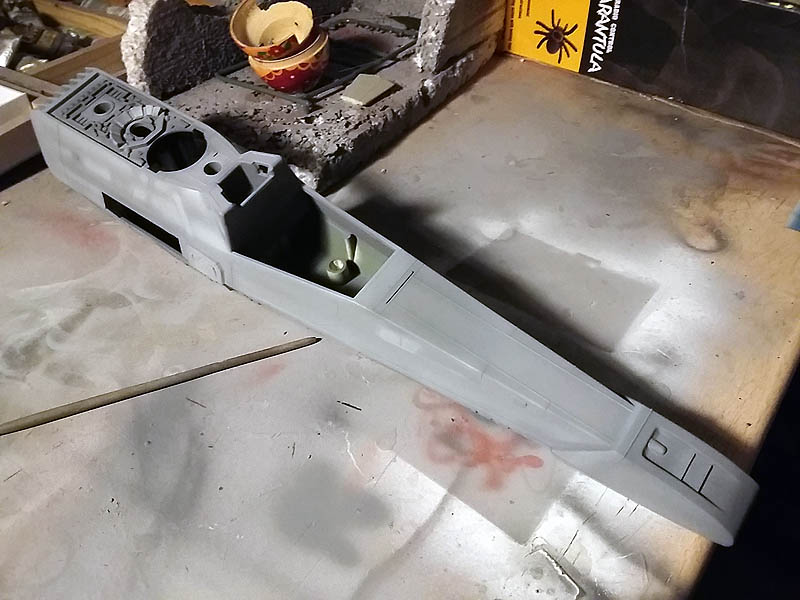
The clearest lights in the most outstanding areas I apply with a brush.
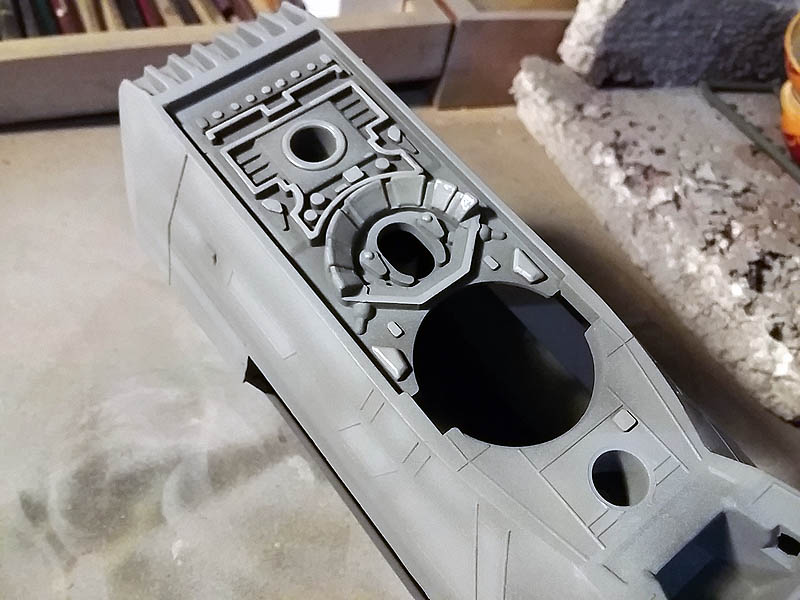
After applying the lights, I darken the corners and other places that have been clearer than desired with black XF-1 slightly more dilute than normal and as the whole process of painting I apply airbrush.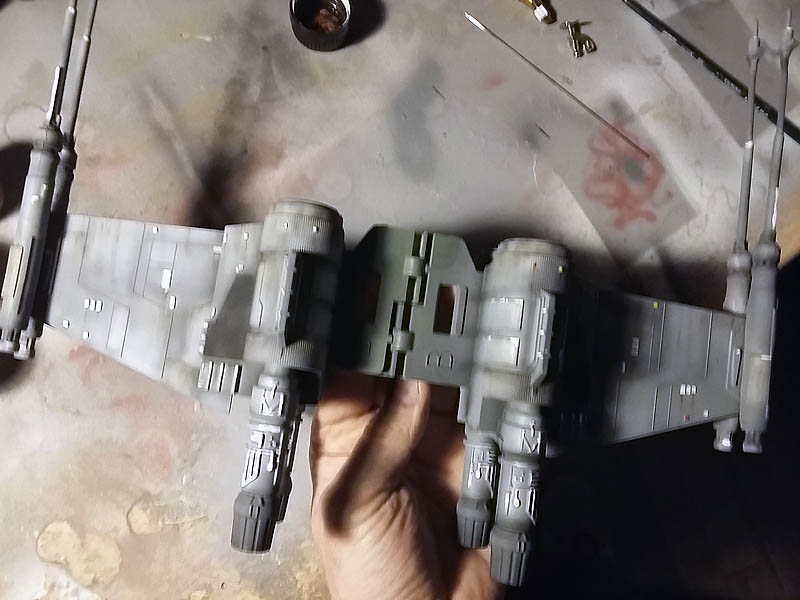
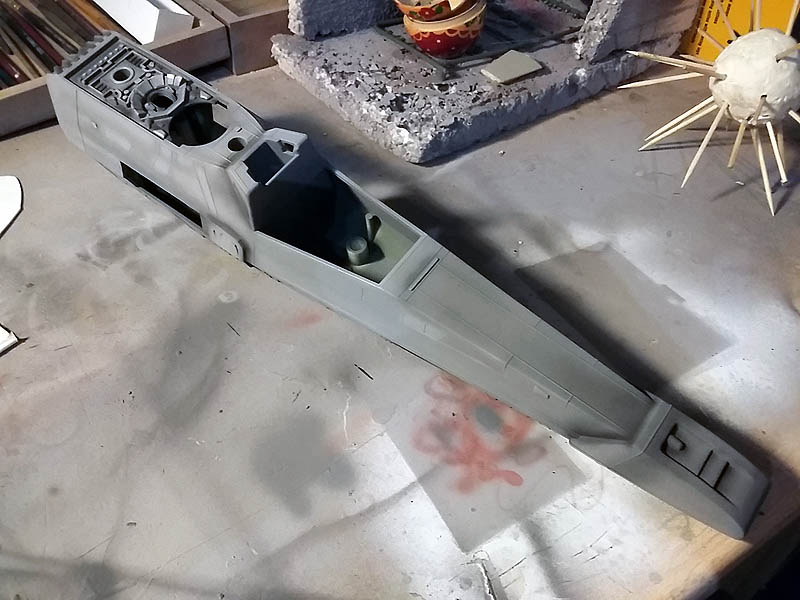
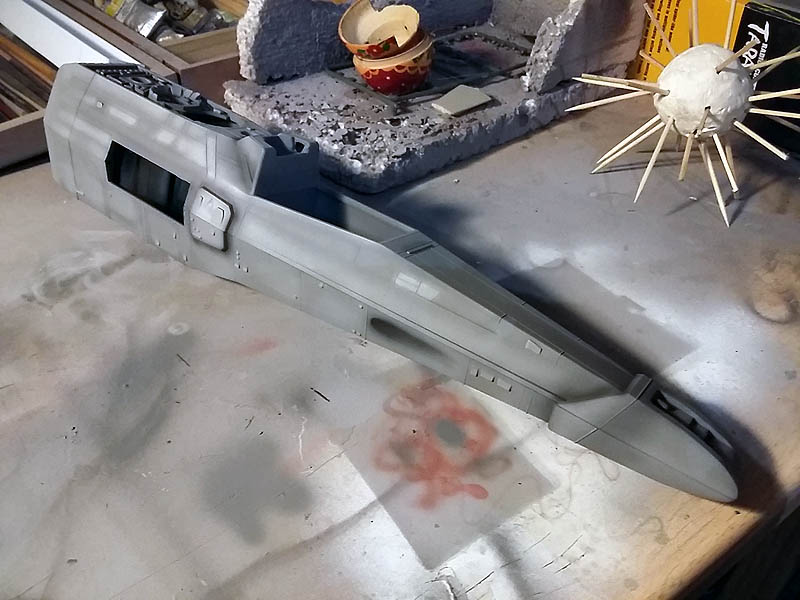
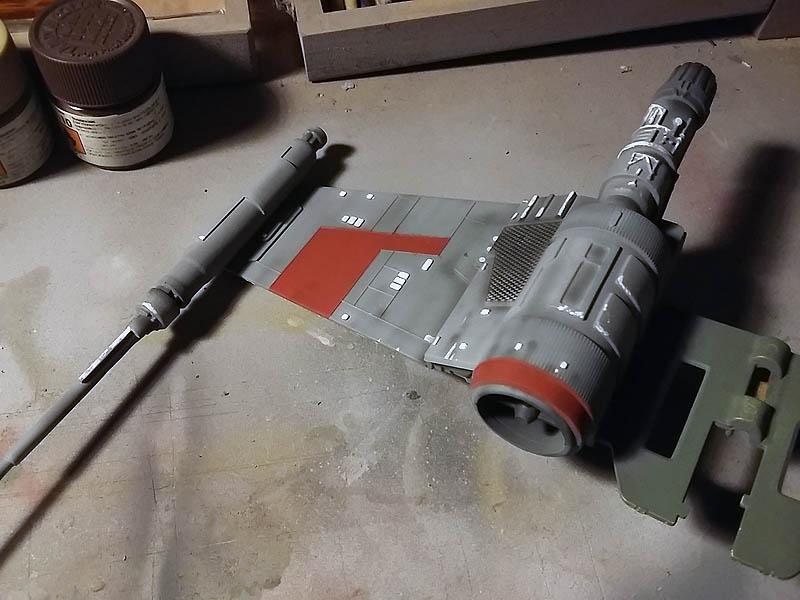
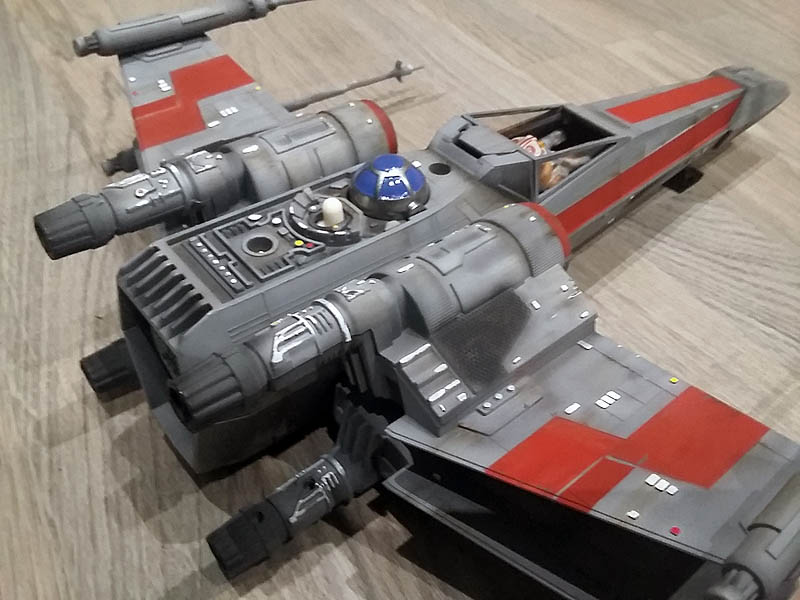
After the process of base paint color and lights of all the toy, step details color and distinctive fedora starfighter, in this case I will use the red XF-7 of tamiya, to create straight lines helped me with masking tape body builder.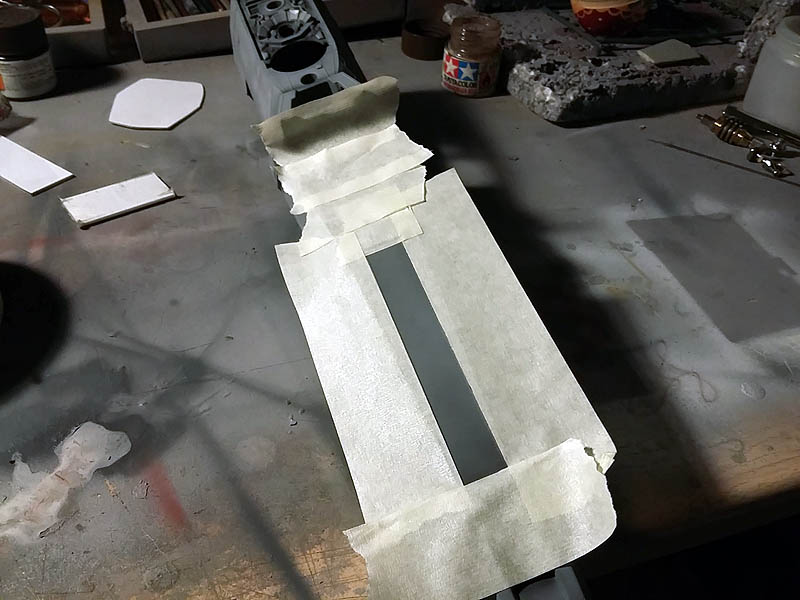
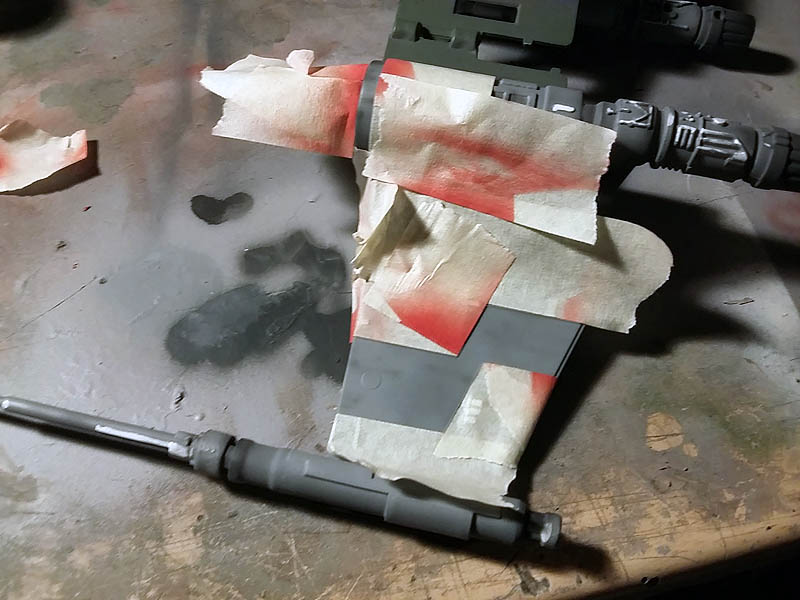
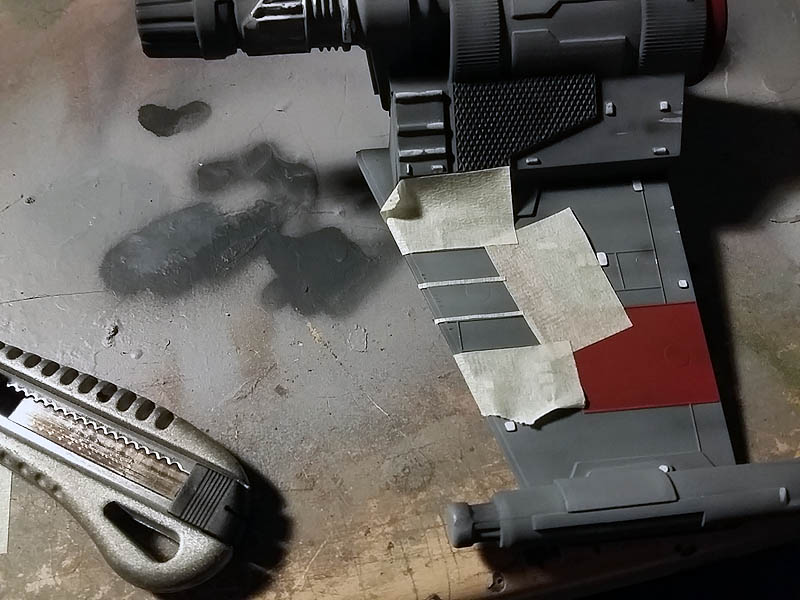
And I apply the red airbrush.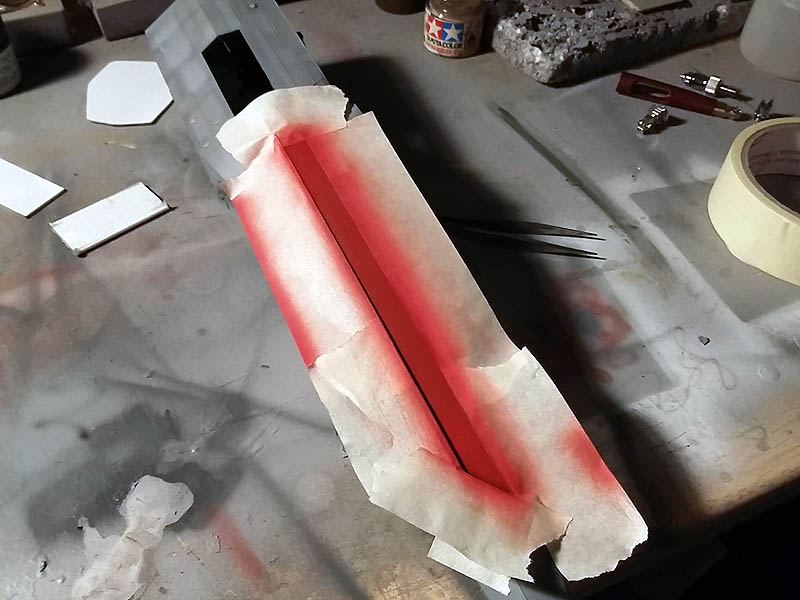
The end result is pretty good.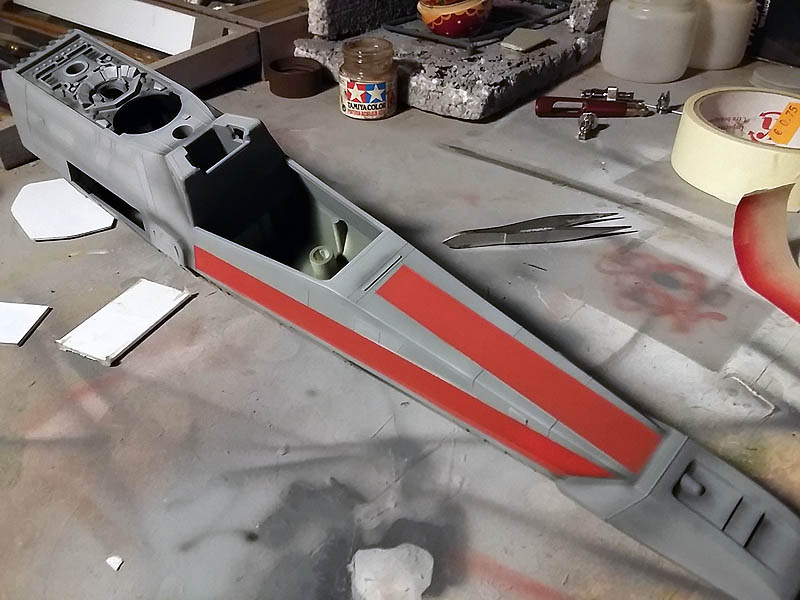
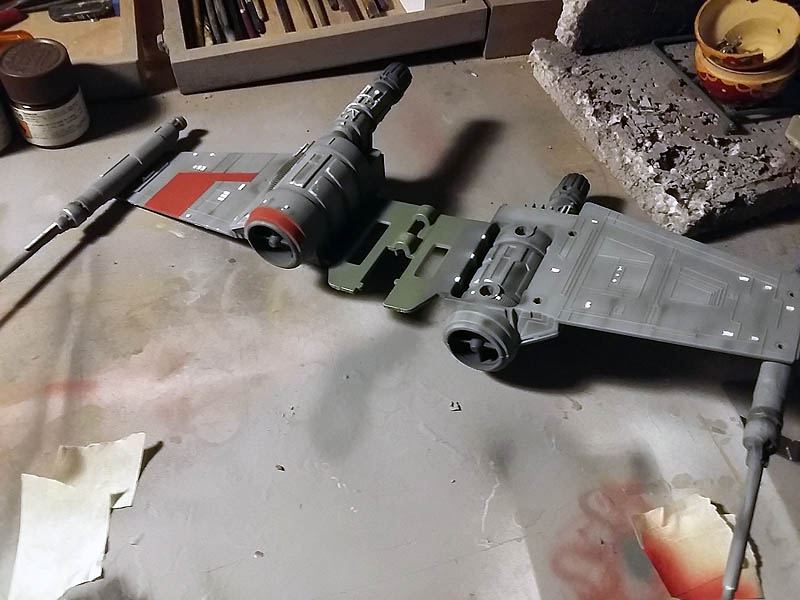
To give a little more detail and I apply colorful red and yellow some points in the fuselage, wings and belly.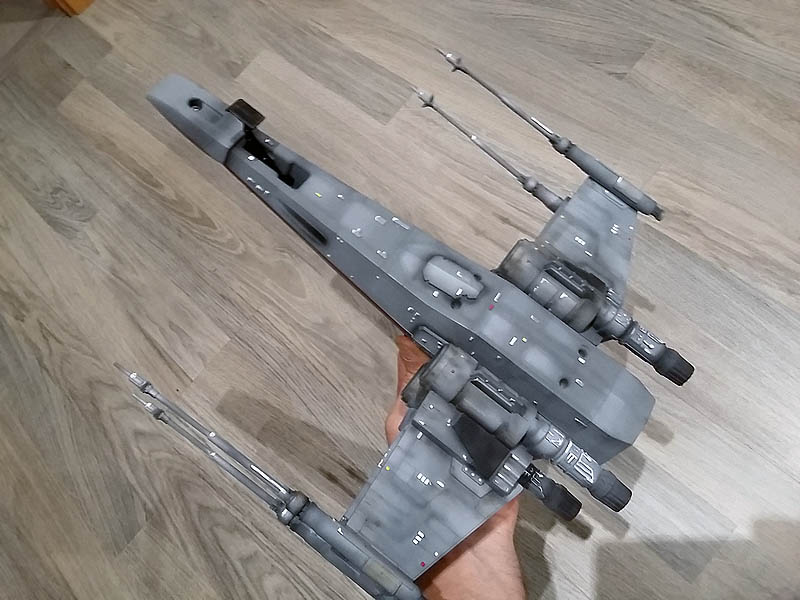
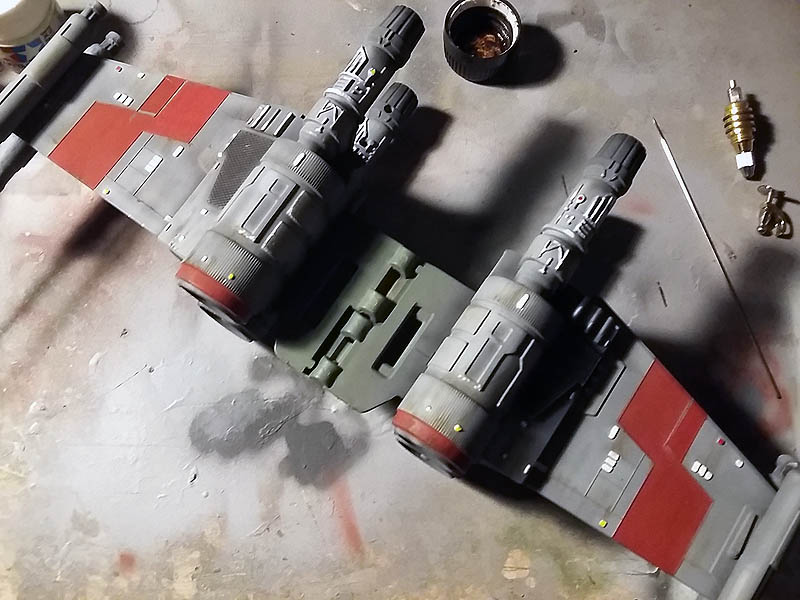
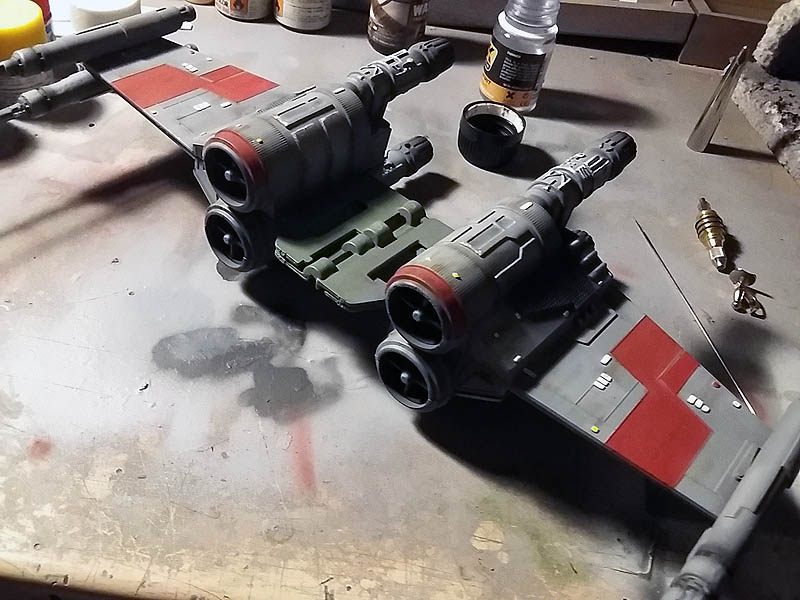
The toy is taking a different aspect and the truth that I like it the look that is having.
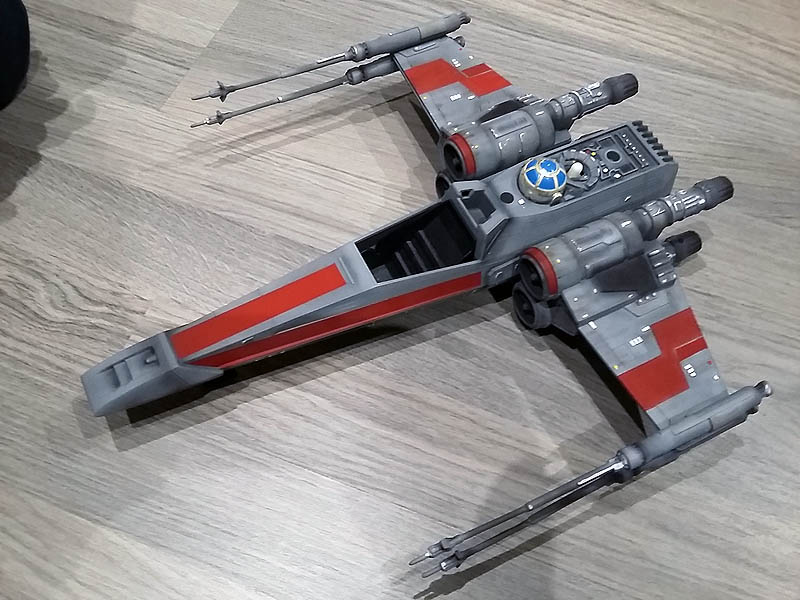
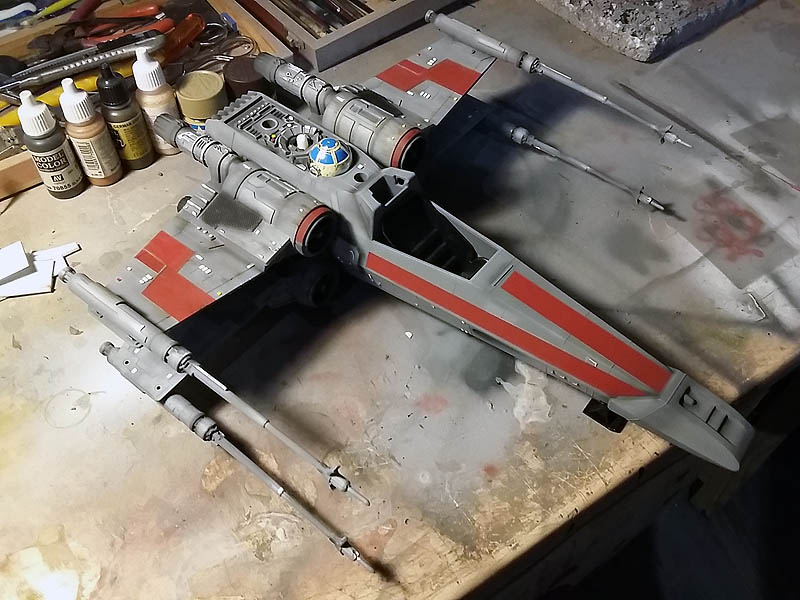
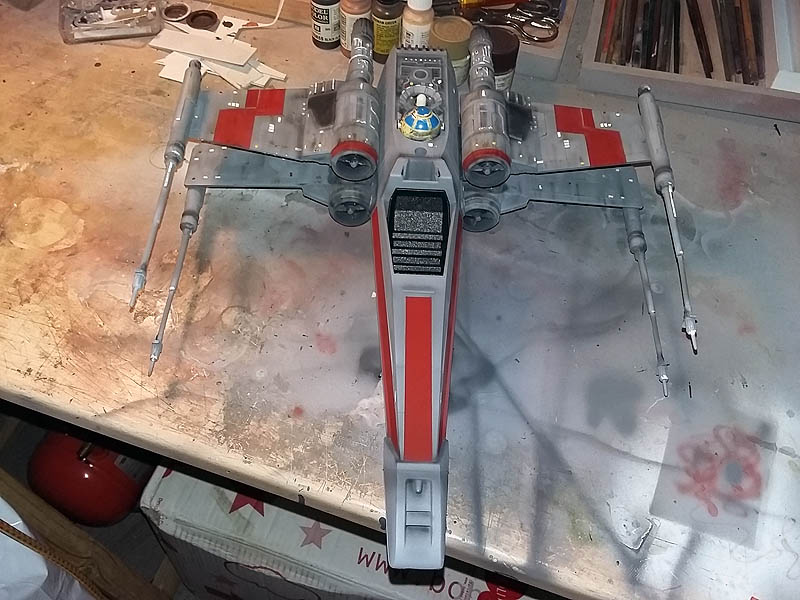
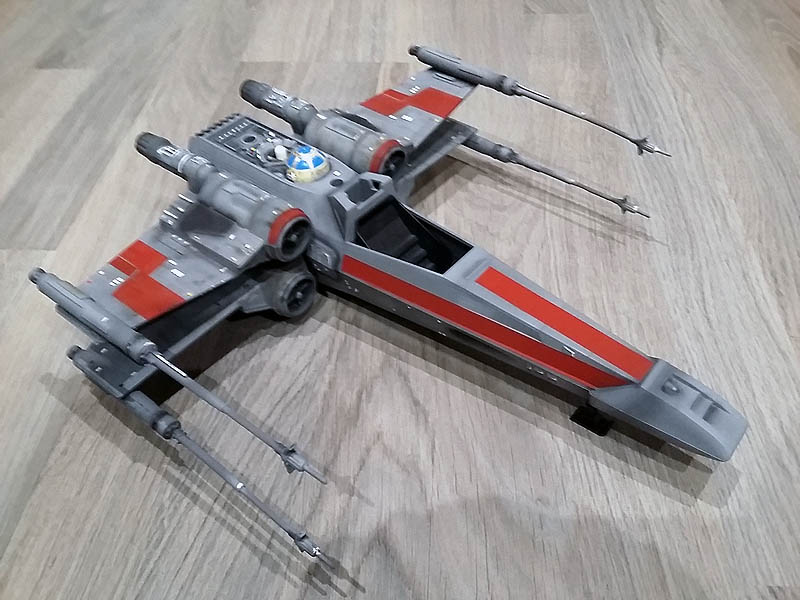
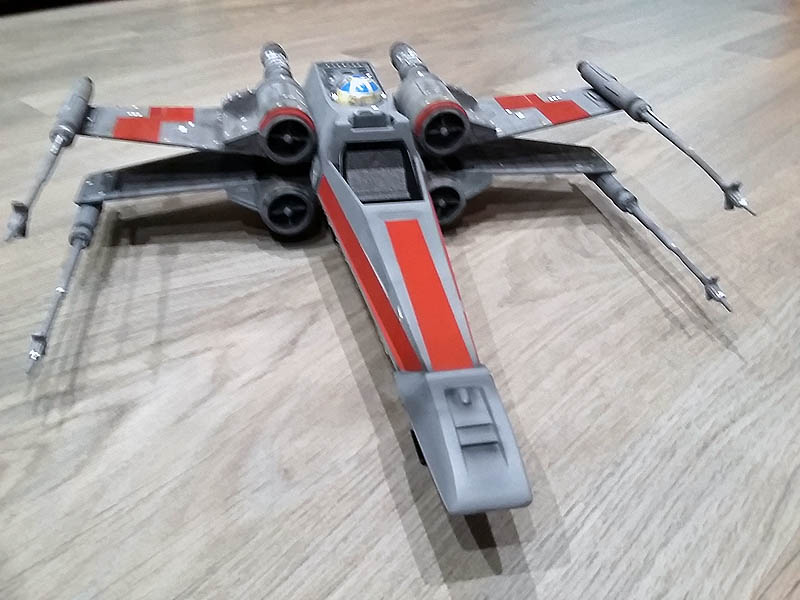
Finished the paint job, start now wear it and use a wash in brown for brand chains AK-Interactive which I apply in places where dirt can accumulate as corners near the engines, low, nose etc..
I apply it in small dots with brush and diluted with White Spirits the Turpentine using a flat brush in the direction of vehicle movement.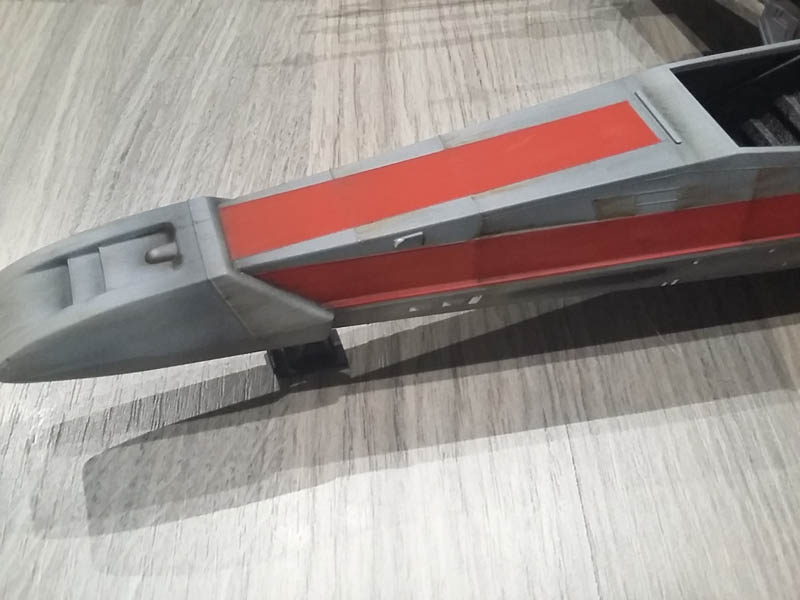
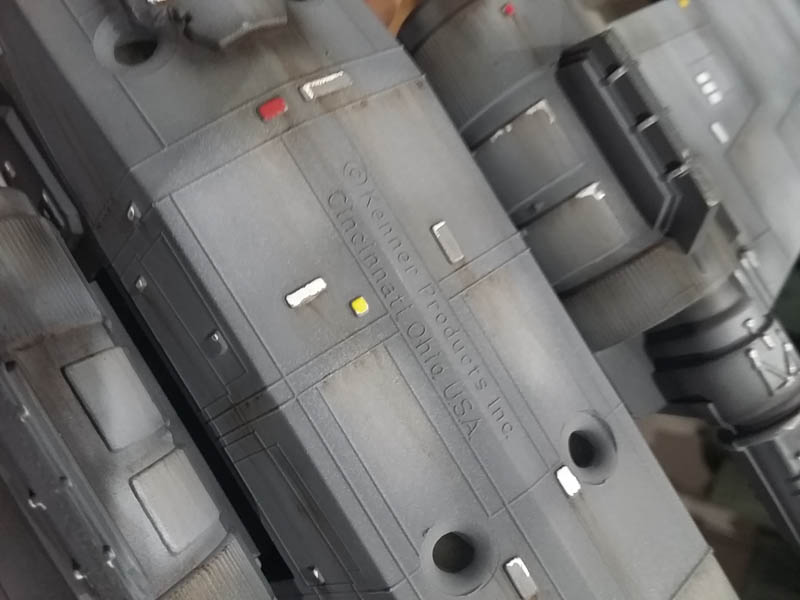
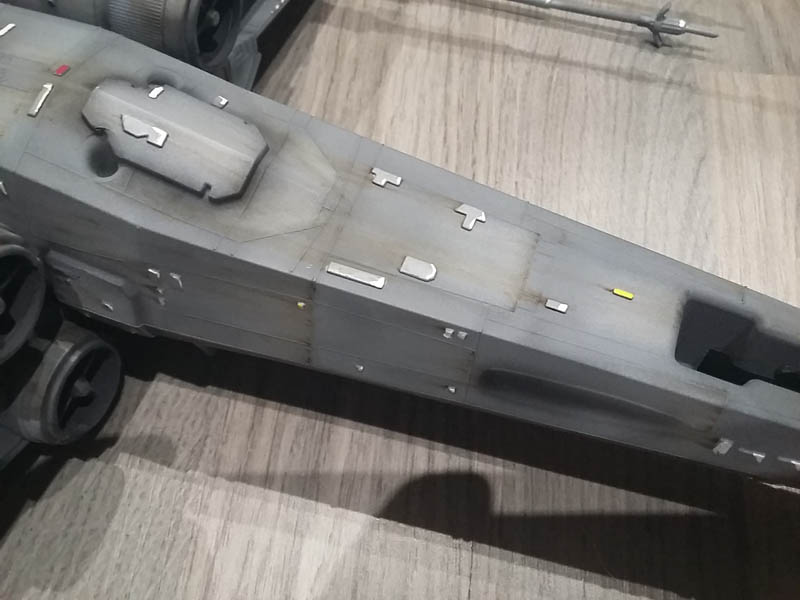
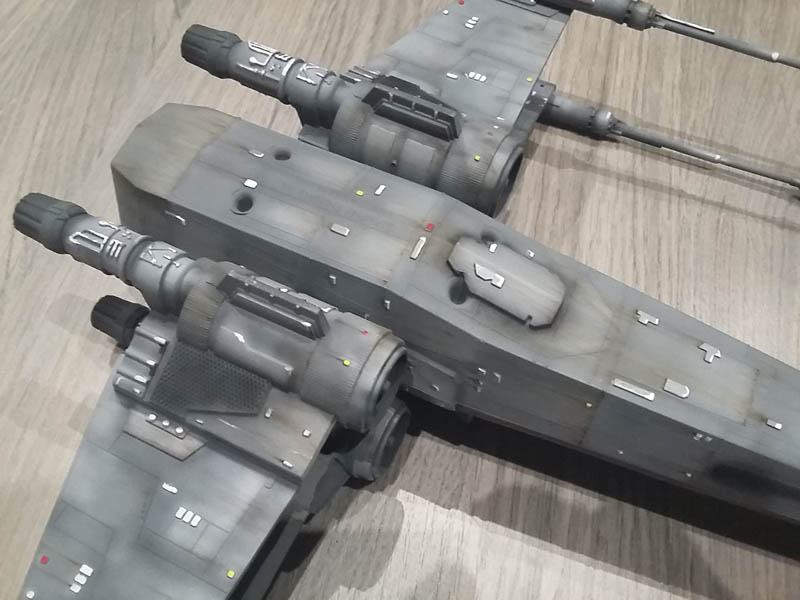
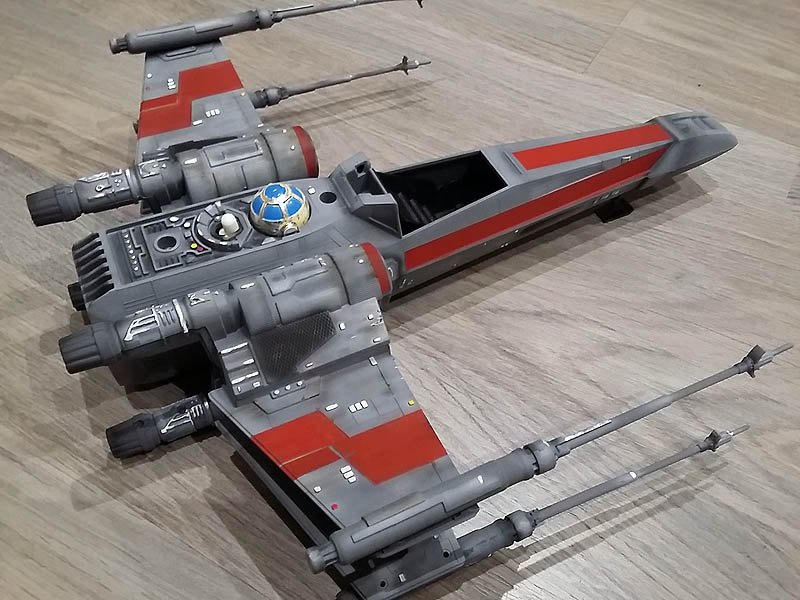
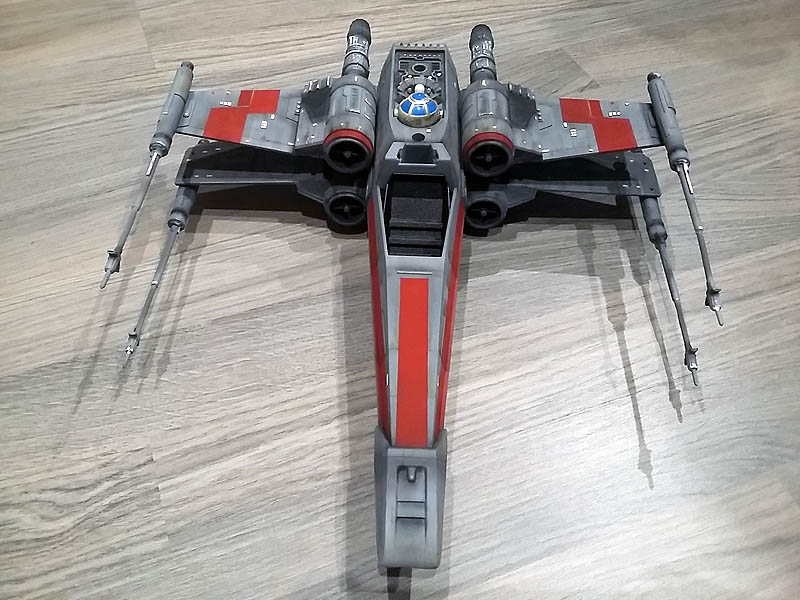
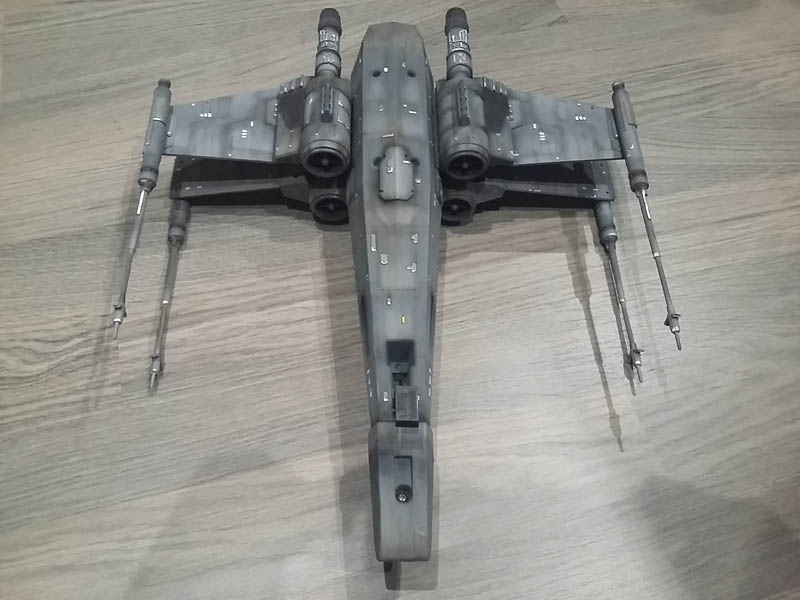
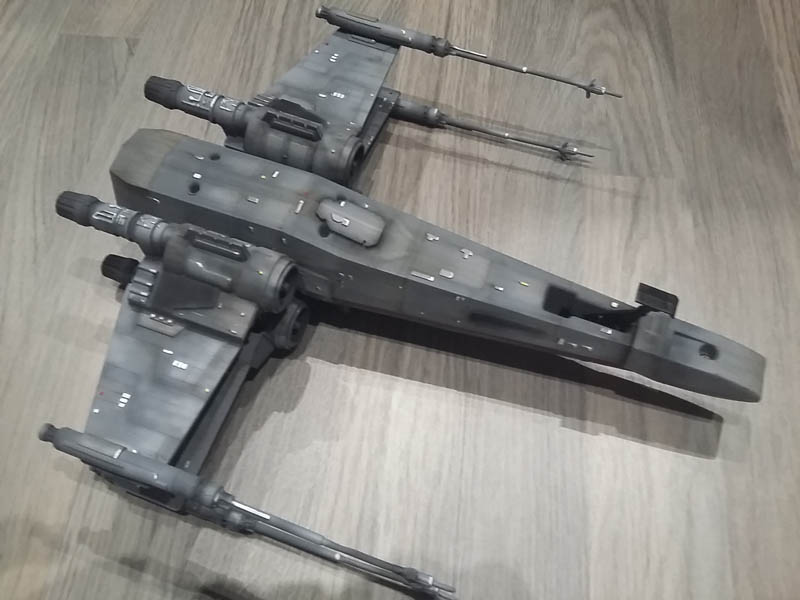
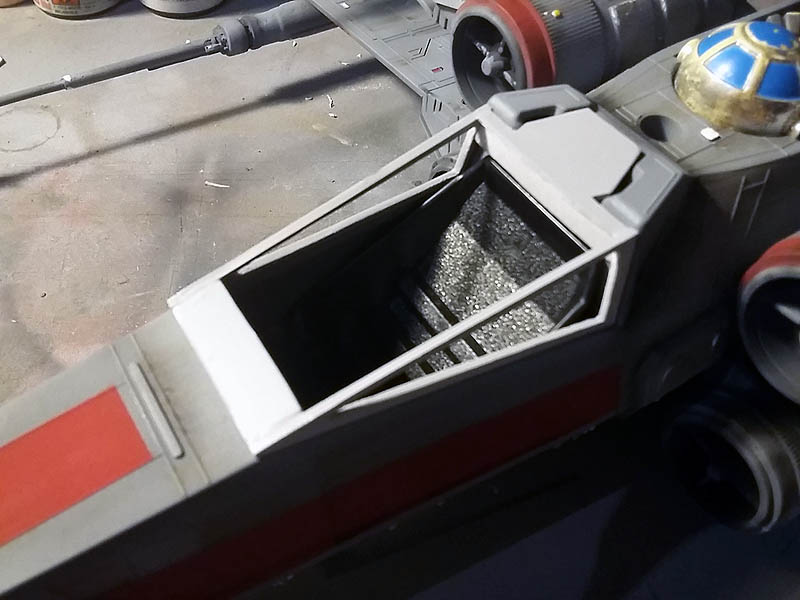
Now it manufacture the glass cockpit, My idea is to use methacrylate, but also lack restore the button to open the wings X is a bad imitation of the robot C3PO It is leading to the rear.
At the end analyzing the pros and cons I decided to create the deck of the cabin Evergreen, the hardest part will have to be embedding crystals, which are the same material but transparent.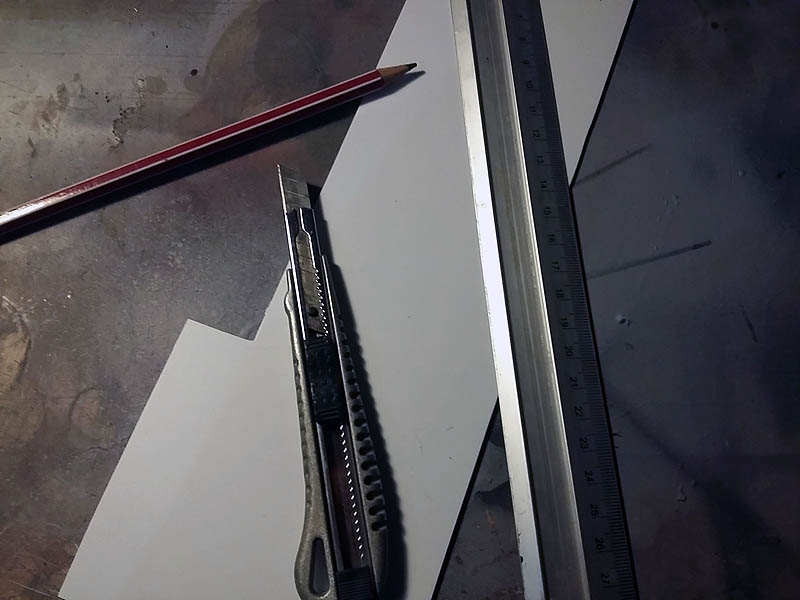
After much measuring and cutting, Mount cover the absence of caulk and tie and of course ... the paint job.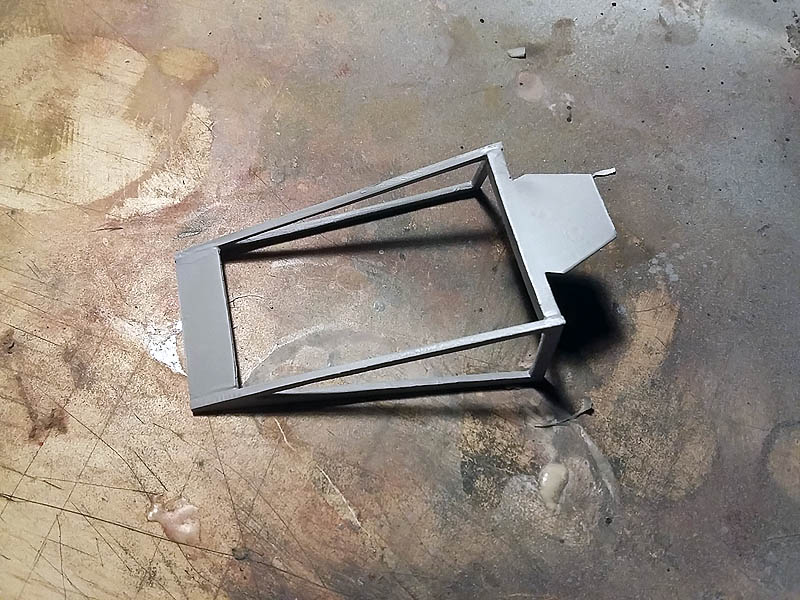
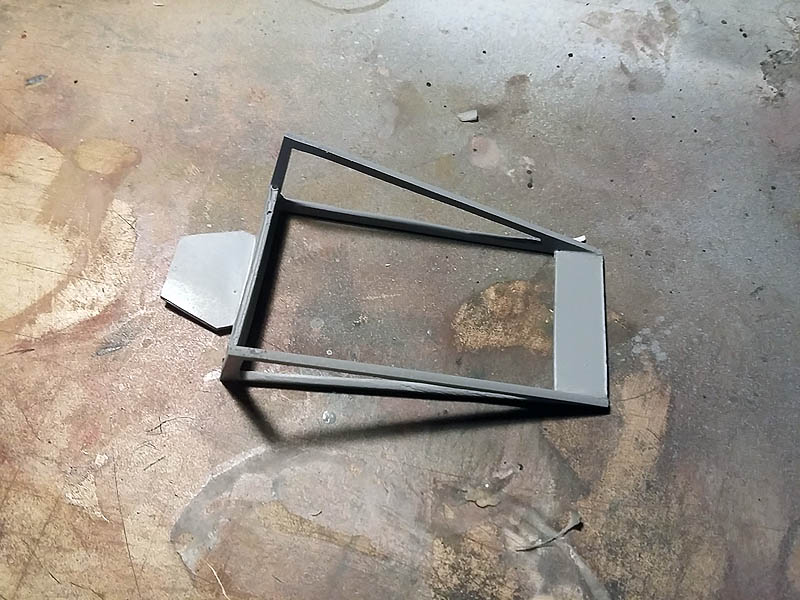 Proving the coupling of the cover on the model, but is missing some adjustments correctly.
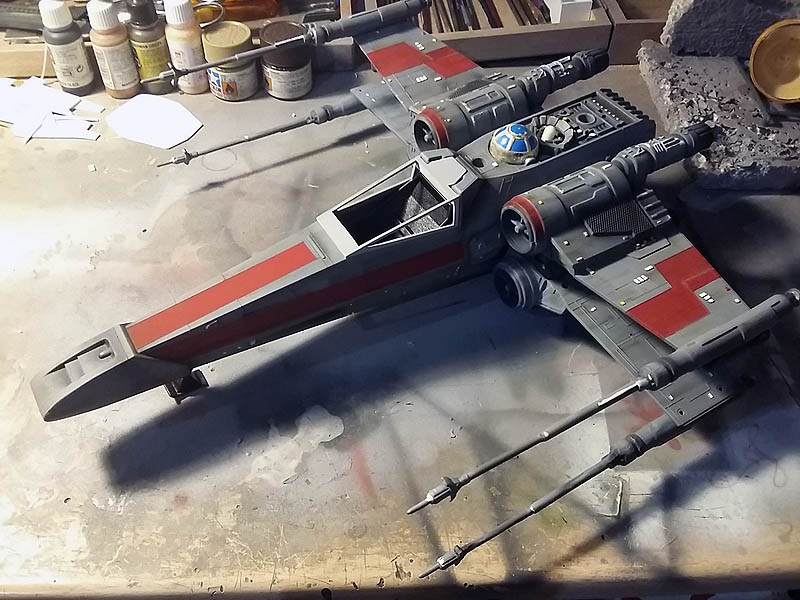
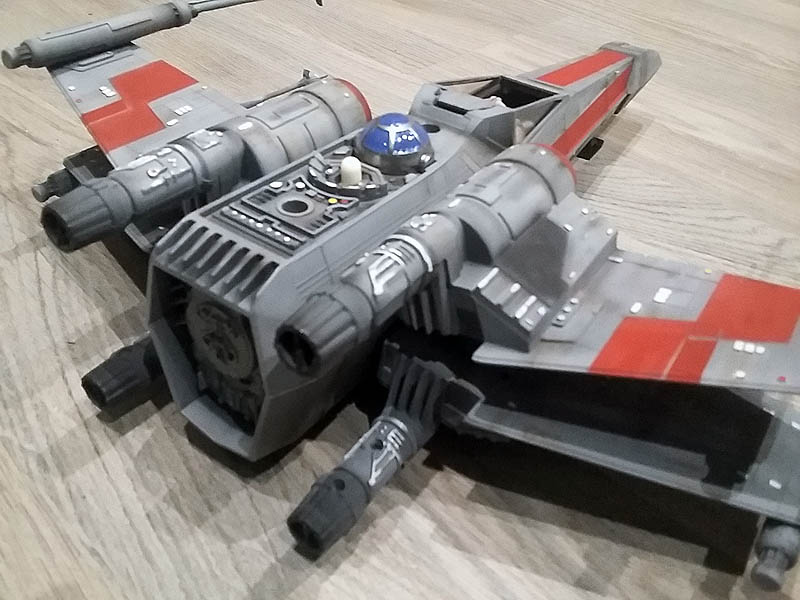
This model toy is the first X-Wing that went on sale, as you can see the detail is quite poor almost all recorded panels were wearing stickers, then another manufacturer called Tonka sack another model with the same mold but with sound and detailed the rear of the X-Wing in the previous Kenner was totally flat, so after much reflection I have decided to issue clone the back of the X-Wing Tonka añadírsela to the manufacturer for Kener that is being customizing.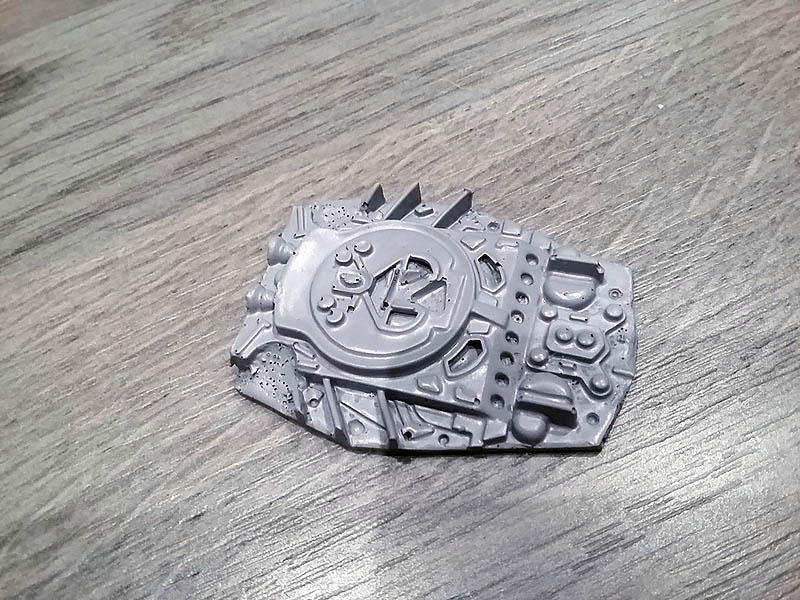
The result is quite acceptable, In this case I have decided to screw as the X-Wing is already painted.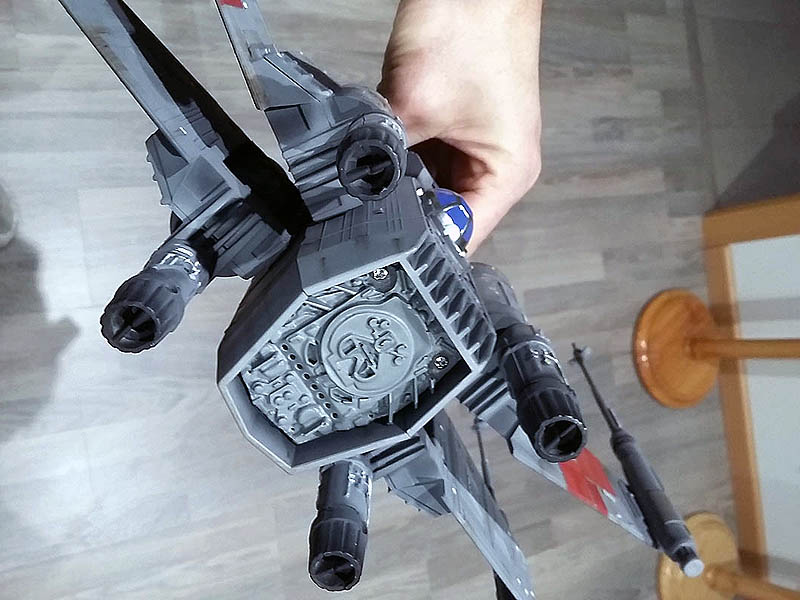
Once the frame of the cab step-finished paint it with the same tones that the entire fuselage of the X-Wing, leaving the end the crystals that I play with sheets of clear acetate 0.5mm.
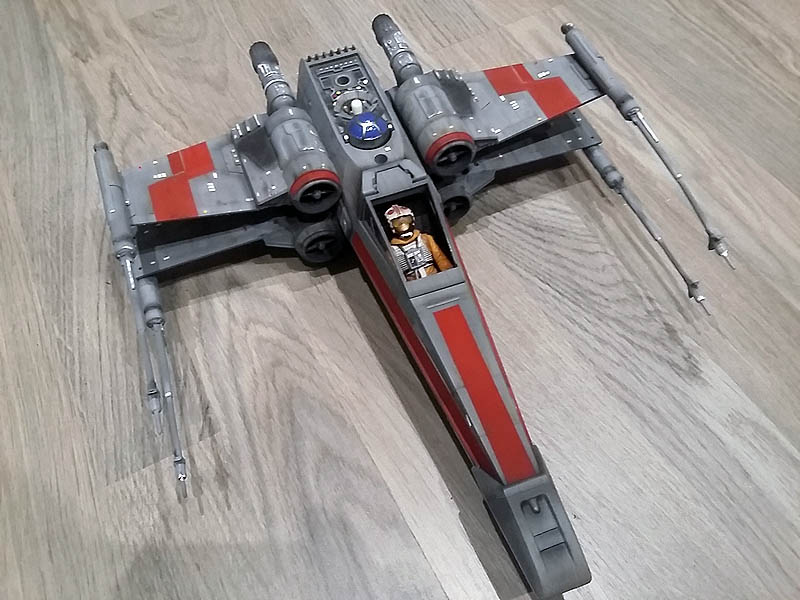
With the cut crystals I use acrylic paint to darken Tamiya, the color I used is X-19 the smoke of tamiya.
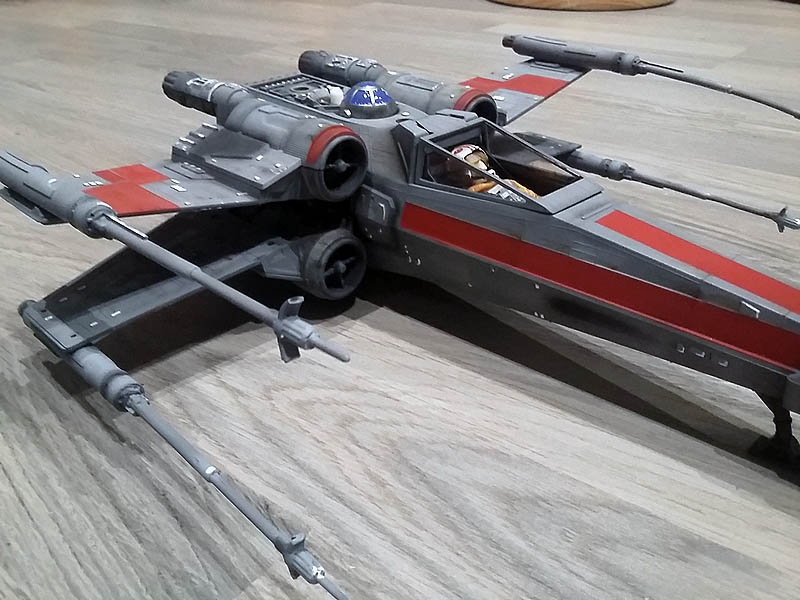
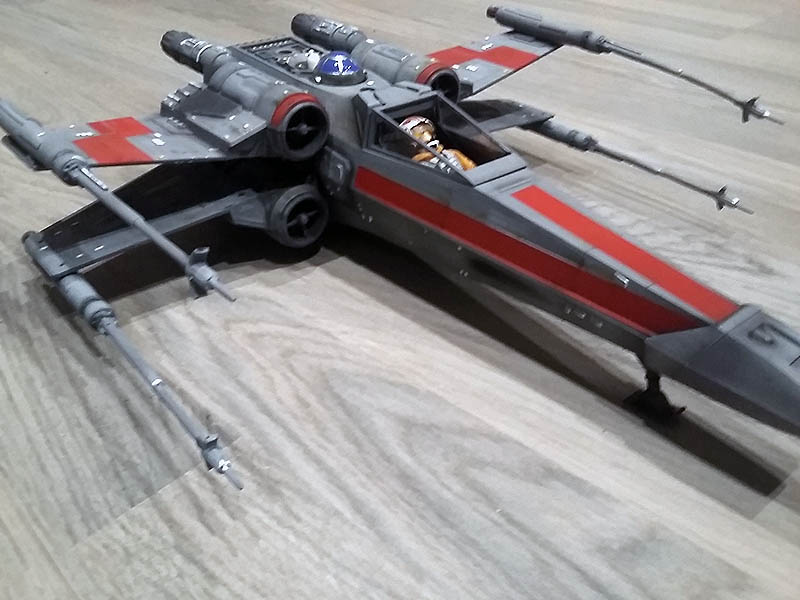
The R2D2 using the model to open the wings in attack, I was somewhat deteriorated so I've repainted with a dark touch of chrome and blue.
TO BE CONTINUED ...
Autor Armand C.M.